Mistakes Everyone Makes With Homemade Crumpets
We may receive a commission on purchases made from links.
Crumpets are found in every U.K. supermarket, but in the U.S., they're harder to find. This might prompt you to bake your own. But there are many common mistakes everyone makes with homemade crumpets — and these can lead to subpar results. Too dense, burned on the bottom, or lacking their signature holes, versions made from scratch often run into all of these issues and more.
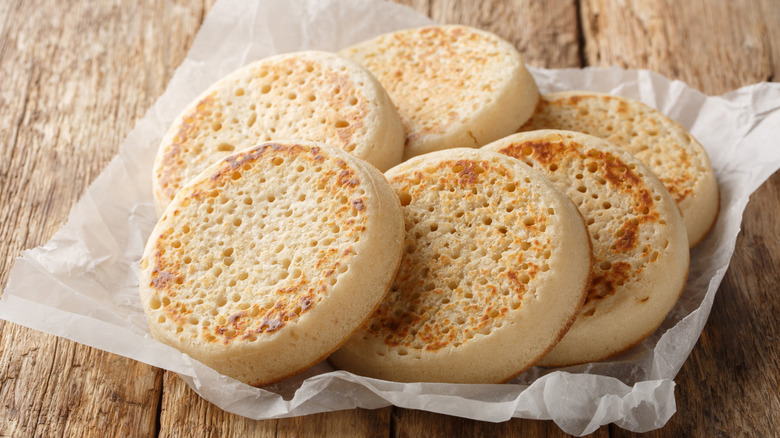
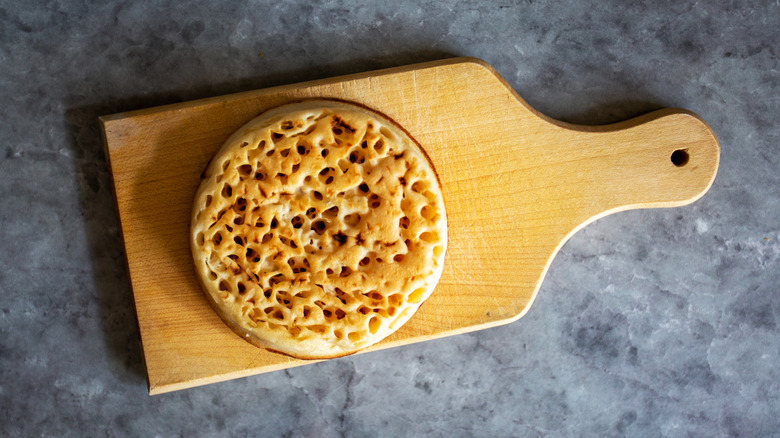
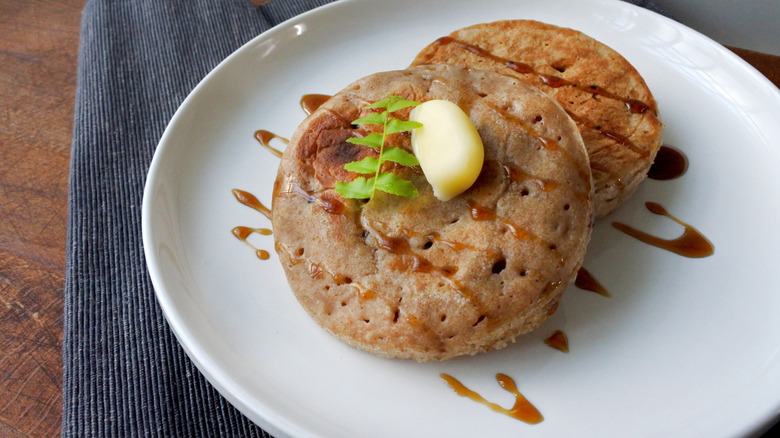
But if you're new to these British bakes, you might still be wondering about the difference between crumpets and English muffins. You need to unpack this first, because understanding what you're looking for in a crumpet is vital to getting them right. Crumpets have holes through them from top to bottom and are eaten whole, buttered on top. English muffins have a breadier texture, and are split before being buttered or topped.
Once you know what you're aiming for, it's time to look at frequent missteps. Understanding where people go wrong and how to avoid or fix these problems is a vital step to making great crumpets. Despite looking fairly simple, it's actually quite difficult to get them perfect. A good homemade crumpet is so much better than a grocery store one, but a bad version will leave you wishing you'd just bought one instead. But, pay attention and you'll soon be making incredible crumpets.
Thinking you have to buy specialist equipment
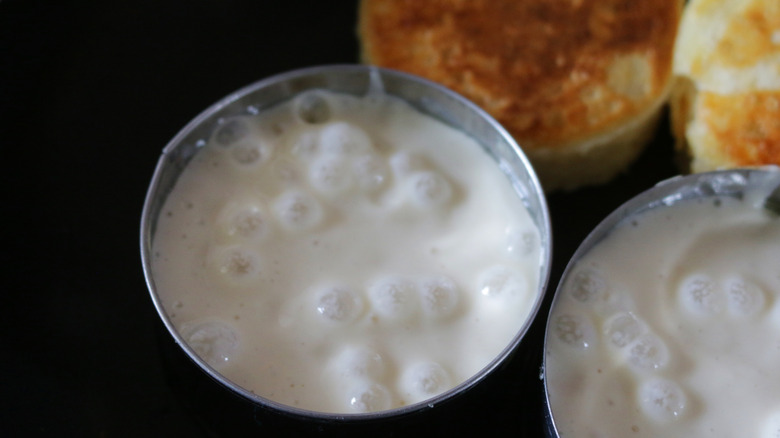
Crumpets aren't baked in the oven, they're cooked in a skillet on the stovetop. And, because they're made using a fairly thin batter rather than a formable dough, they're traditionally shaped using crumpet rings. These are metal circles that you place in a skillet before filling them with batter. It gives you the classic crisp round crumpet shape. However, they aren't essential. So, if this is putting you off making crumpets, know that you don't have to buy specialist equipment.
Another perfectly viable option is to make large crumpets in small skillets. You can then cut these large crumpets into smaller individual portions before serving. Sure, they won't have that iconic crumpet shape, but they'll taste just the same. Plus it will make your life easier and save you some cash. It's a great way to try out making crumpets without committing to buying something new. If you end up loving the process and wanting to make them in the traditional shape, you can always buy crumpet rings down the line.
Whether you want crumpets right now and don't have time to wait, your kitchen lacks storage, or you just don't want to spend the money, there's no need for special equipment. Your crumpets will look more rustic and homemade, but that's okay. If you want them perfectly circular, you can buy them from the store.
Not using baking powder in crumpet batter
Ever wondered why crumpets have such a particular texture? They're spongy and filled with holes, while other breads and griddle cakes have dense crumbs. Well, the secret to making crumpets is using a mixture of yeast and baking powder. Leave out the baking powder and you won't get the same results.
Yeast is responsible for the slow fermentation process. It develops the flavor and creates a base level of bubbles in the batter. As the yeast ferments, it produces carbon dioxide gas, which gets trapped in the sticky batter and forms small air pockets. This gives crumpets the initial rise needed for their spongy texture, along with a bready flavor from the yeast itself.
Then, there's baking powder, which provides a quicker, more immediate lift. It's a chemical leavening agent that reacts with moisture and heat to produce carbon dioxide gas. This increases the number of bubbles and creates the distinctive holes in the surface when the batter hits the hot skillet. Without baking powder, the holes wouldn't form as prominently, and the crumpets would have a denser texture. It works twice — first when the wet and dry ingredients are mixed, and again when the batter is cooked.
The combination of yeast and baking powder is what makes crumpets different. Yeast builds a complex, fermented flavor and a chewy interior, while baking powder makes them lighter and gives them that signature cratered top that's perfect for soaking up butter. So, don't leave out the baking powder.
Using old baking powder
We've already talked about how vital baking powder is for achieving that iconic crumpet texture. Without it, the results will be dense, lacking a complex network of holes. But, using baking powder that's past its best can be just as bad as leaving it out altogether. Over time, baking powder can become inactive, no longer producing enough carbon dioxide to form bubbles or help the batter rise.
It's frustrating, because sometimes baking powder lasts past its expiry date, while other times it stops working well before reaching it. This can happen if it's been exposed to moisture in the air. It can seem like a gamble working out if your baking powder is still good or not. But, you don't just have to guess whether or not it's still active if it's nearing its expiry date or has just gone over. You can easily check.
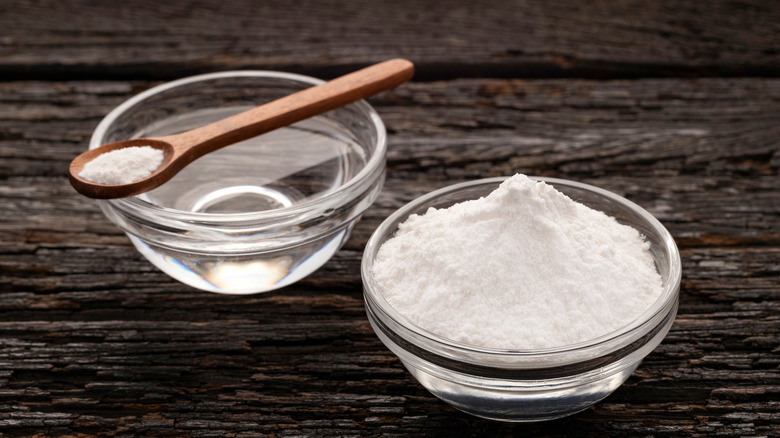
To test if baking powder is still active, add about a ½ teaspoon to a small bowl and pour a ¼ cup of boiling water over it. If it bubbles vigorously right away, it's still good to use. If there's little to no reaction, it's time to replace it. You can save yourself from crumpet disaster by testing baking powder that's close to expiring.
Not proofing the yeast
It's not just old baking powder that can let you down, sometimes yeast can fail to rise to the occasion, as well. Whether it's nearing or past its expiry date or, less likely, you just got a bad batch, yeast can die on you. This means your batter won't rise or become as airy as it should be. Your resulting crumpets will be dense and won't have all those signature holes. Luckily, it's easy to check if your yeast is active by proofing it. Skipping this step might seem like a time-saver but it's a mistake to skip it. Ultimately, you'll waste way more time if your crumpets turn out inedible.
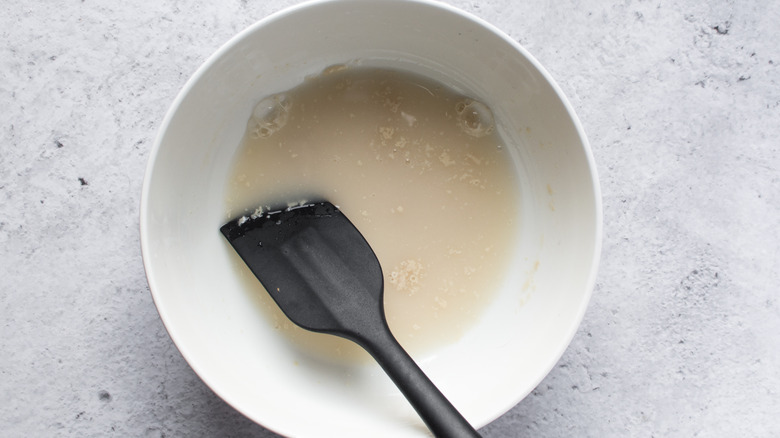
So, how do you proof yeast? It's quite simple. You take all the yeast in the recipe and mix it with ½ to 1 cup of tepid to lukewarm water, plus a pinch of sugar. Leave it for five minutes and see if the liquid forms a thick frothy layer on top — this is the yeast becoming active and starting to multiply. If it's active, carry on with the recipe as directed, remembering to account for the liquid you've already used. If there's no foam, that means the yeast is dead. You might need to go out and buy a new box, or try another sachet if they're individually packaged and within the best before date. Yes, it takes an extra five minutes but it's so worth it to save the heartache of flat crumpets.
Using the wrong flour
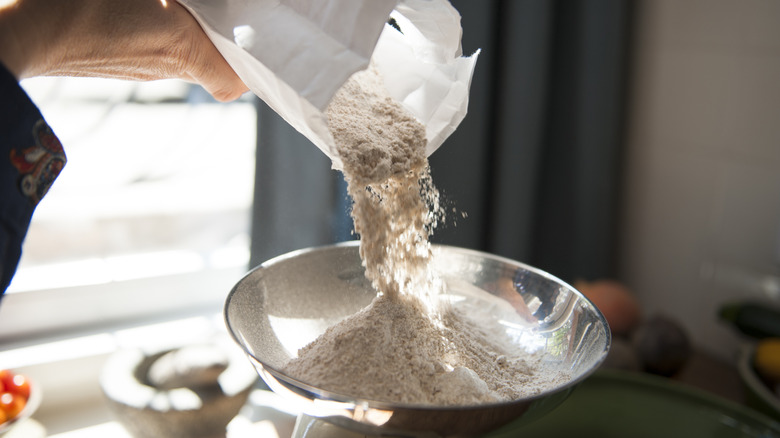
Your choice of flour matters when making crumpets. If you choose a flour with too much protein, you won't get the lightness that you're looking for. It can also be tough to get those perfect holes from top to bottom. But if there's too little protein in the flour, you won't get the springiness that a good crumpet has. Getting this right can take some trial, error, and adjustment.
You might think you should reach for the bread flour since you're making something akin to bread, but this can leave your crumpets tough and chewy. Bread flour has a higher protein content than all-purpose flour, which helps loaves form their springy, chewy structure. But too much of this isn't right for crumpets. Some recipes call for all-purpose flour, while others ask for a mixture of bread flour and all-purpose. The slightly higher protein content of this blend helps give the crumpets structure and a slight chewy spring, without leaving them overly dense.
However, some recipes go in the other direction, using a blend of all-purpose flour and cake flour, which has an even lower protein content. Cake flour gels faster than all-purpose when heated, helping the holes to set. This may aid you in getting perfect holes that run top to bottom. That said, it can come at the price of some chew and spring. If you're committed to the cause, you can try a few variations and see what you like best.
Cooking your crumpets right after mixing the batter
If you start cooking your crumpets right after mixing the batter, you're making a mistake. Because it's a thin mixture, like cake or pancake batter, it can seem logical that you should cook it right away. However, it contains yeast, so it's a different beast. Like any other yeasted mixture, it needs time to rise. Without this, you'll get dense results that aren't particularly crumpet-like.
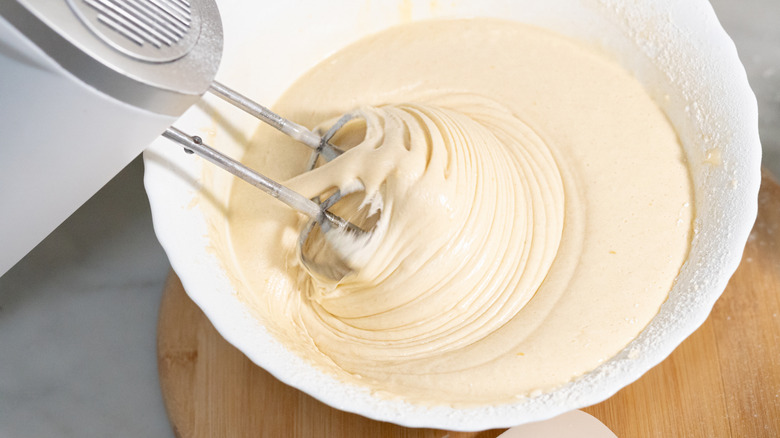
Unlike thick bread doughs, the batter doesn't require kneading. You just mix it together until all the ingredients are fully combined. But when it's mixed, it needs some time for the yeast to develop and the batter to become airy. You should let it rest for around 45 minutes to an hour — but check the specifics of the recipe. It won't rise in quite the same way as bread dough, but it will become slightly bigger and noticeably more bubbly.
After this point, it's ready to cook. You don't need to do anything special with it — just be careful not to shake the bowl or mix it vigorously at this stage. Doing so will knock the air out of the batter, so you won't get such light, spongy crumpets. So, be patient and wait for your batter to rest and expand before cooking. There's no point making a yeasted batter if you don't wait for those nifty microorganisms to do their thing.
Not greasing your crumpet rings
Although we've already mentioned that rings aren't essential — you can make a large crumpet in a skillet instead — many people use them. If you choose to make yours in crumpet rings, it's important to grease them. Even if they have a nonstick coating, it's possible for the batter to stick to the sides as it cooks. If this happens, you're left with crumpets that are stuck in the rings. You can cut them out, but you lose the crispy edges and make cleanup much harder for yourself.
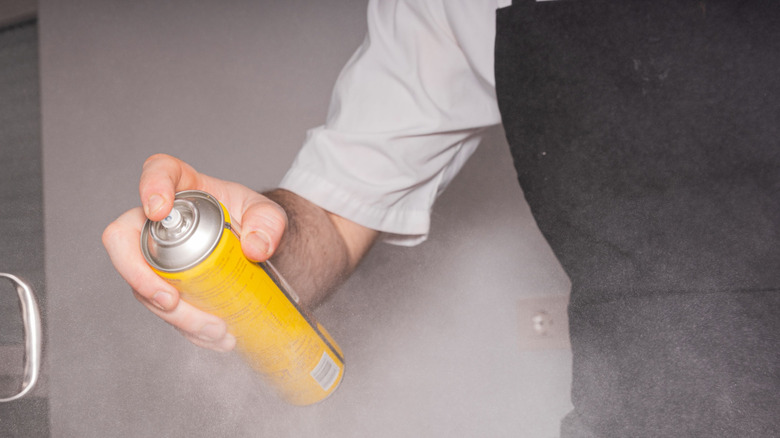
Greasing crumpet rings is simply a matter of rubbing the inside with some butter or oil, or spritzing on some cooking spray. You can also make a DIY alternative to baking spray if you need to. You don't need much of whichever of these options you decide to use, just enough to prevent sticking. However, it's a good idea to apply it right up to the tops of the rings, even if you're not sure your crumpets will come up this high. It's a bit like greasing the inside of a cake tin. When you've greased the interior, you set the rings in your hot skillet and pour the batter in. Once cooked, the edges of your crumpet should come away from the sides of the ring and it should slide out easily after you've cooked both sides.
Overfilling or underfilling the crumpet rings
Both overfilling and underfilling your crumpet rings is a mistake. When you don't put enough batter in, they'll come out disappointingly flat. You won't get enough of that spongy, springy texture that you're looking for. But put too much in and it might spill over the top of the ring, giving you a misshapen crumpet. It can also be hard to get a too-thick specimen to cook through before the bottom burns.
Exactly how full you fill the ring depends on how tall it is and your thickness preferences. Some recipes call for filling it ½ full and others around ⅔ full. Ultimately, you want your crumpets to be between ¾ and 1 ½ inches thick. Around an inch is the sweet spot, though. It's not so thick that it's difficult to cook through but it's still satisfyingly deep and spongy.
Crumpet batter doesn't rise all that much during the cooking process. It may puff up by around a third, at most, but more likely by about 10% to 15%. So, filling your crumpet rings no more than ⅔ full is a safe bet to avoid them spilling over. Think about your preferences, too. Do you like a thinner, crispier crumpet with more exterior-to-interior ratio? Or do you prefer lots of that soft yet springy interior? You get to decide what your perfect crumpet is.
Cooking crumpets on too low or too high of a heat setting
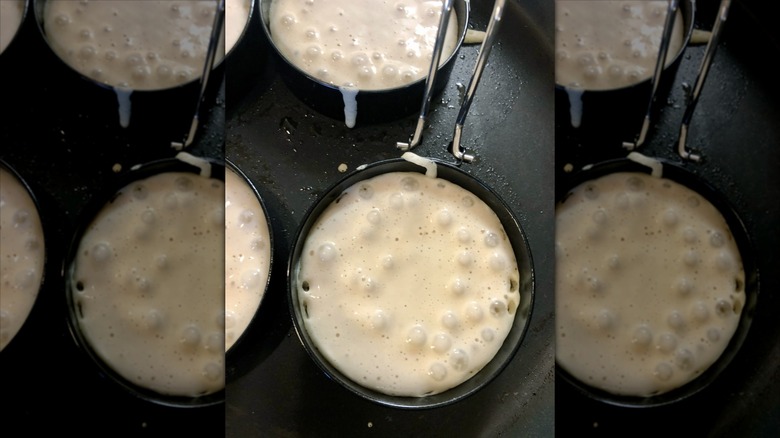
The tricky thing about making crumpets is getting them to cook all the way through before they start burning on the bottom. The conventional wisdom to combat this, which you'll find in most recipes, is to cook them slowly on a low heat. However, the problem with this is that it can leave you with crumpets that are lacking in holes — and we all know the holes are what make them such a good vessel for butter and other melty toppings.
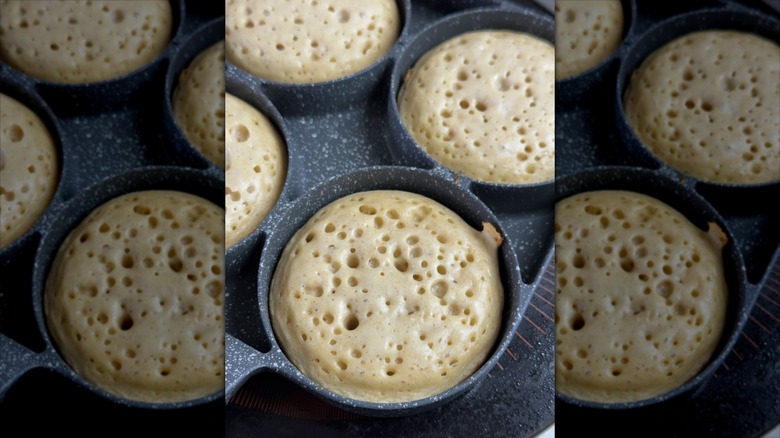
Cooking crumpets at a high heat produces more steam and forces the carbon dioxide out of the batter, which is what causes those signature holes. This sounds great, but, as you might guess, it can also cause the base to burn. What you need is a compromise — an initial blast of high heat to get those bubbles popping and holes followed by a period of lower heat.
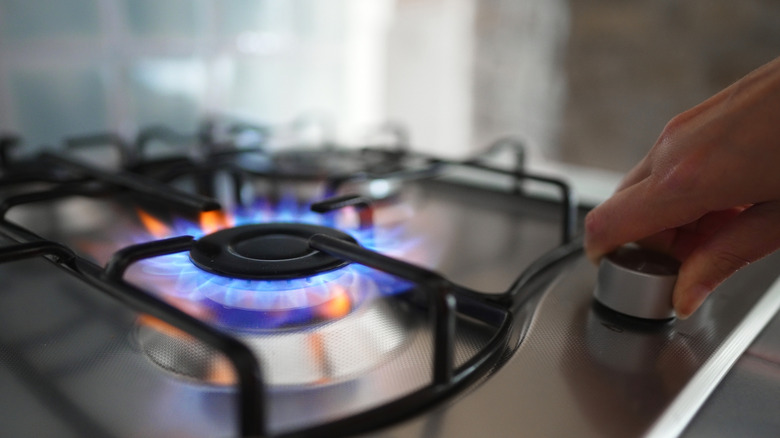
The fact is that most of the holes in a crumpet form within the first 30 seconds. So, turn that burner up to high and get the pan hot before you add the batter, cook them at this temperature for 45 seconds, then turn them down to medium-low to finish cooking. This gives you the perfect combination. The initial high heat gives you more holes. However, by turning it down quickly, the bottoms don't burn and you aren't left with cooked outsides and a raw center. It just makes sense.
Not removing excess batter before flipping crumpets
We've mostly talked about the initial cooking of your crumpets: Pouring the batter into rings or a skillet and cooking the underside until holes have formed. But, you also have to flip your crumpets and cook them on the top side. Sometimes, when you get to the point of needing to flip, there's still some wet batter on top. It's a mistake not to remove the wet layer, as it can end up ruining all the work you put into making a batter that forms good holes.
Ideally, by the time you flip your crumpets, the top will be fully dry and the holes set. This means that they'll stay put when you cook the top side and you've got a lovely network of crevices for toppings to melt into. However, you often get to the point where the underside is approaching overcooked so you have to flip, even if the top is a little wet. But, when you do this, it can push batter back into the holes, filling them up.
To combat this, use a flat spatula to remove the excess batter. You can do this without smearing the excess into the holes by laying the spatula on top of the wet crumpet then pulling up sharply, taking the wet batter with you — wipe the spatula before repeating. Using a flat spatula is great for large crumpets, but a smaller implement like a spoon or mini rubber spatula is good for individual crumpets.
Focusing too much on the holes
Some of our advice is focused on getting those perfect holes like you'd find on store-bought crumpets. This is all well and good, if it's your goal to make technically perfect crumpets. However, if the thought of going to all that effort in want of a more pitted surface stresses you out, don't worry too much about the holes. Just choose a crumpet recipe and do your best with it.
You're cooking a homemade version, they're not meant to look like you got them straight off a grocery store shelf. Versions made from scratch often have fewer holes or holes that exist in the middle but don't make it all the way to the top, and that's okay. In fact, some people prefer this more rustic version. Sure, they might not soak up butter quite as impressively, but you can still slather them in whatever toppings you like.
It's not just about the texture of the crumpets, they also have to taste great and you don't want to sacrifice flavor or other aspects just because you're thinking about nothing but a cratered surface. It's also the sort of thing that can end up putting someone off baking. It is supposed to be fun. Perfecting crumpets isn't essential to your survival, so if you aren't having a good time making them, what's the point?
