Mistakes Everyone Makes With Popovers
We may receive a commission on purchases made from links.
Popovers might seem simple to make but it's surprisingly easy to get them wrong. If yours have come out flat, soggy, or otherwise lackluster, you're not alone. There are some mistakes everyone makes with popovers that lead them to come out wrong. But, luckily, once you know what they are you can avoid them.
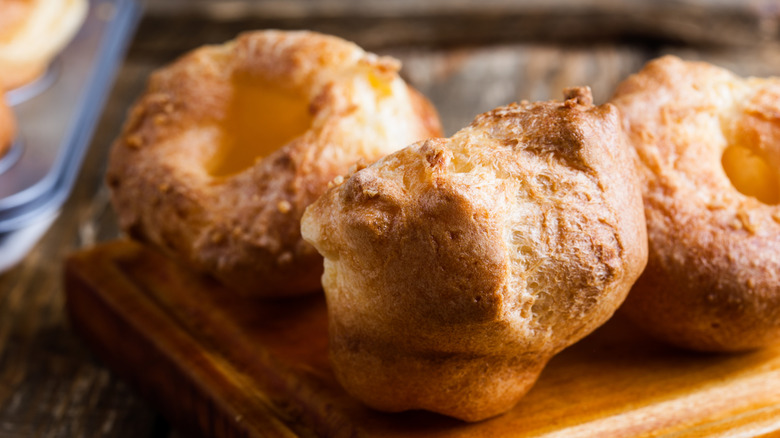
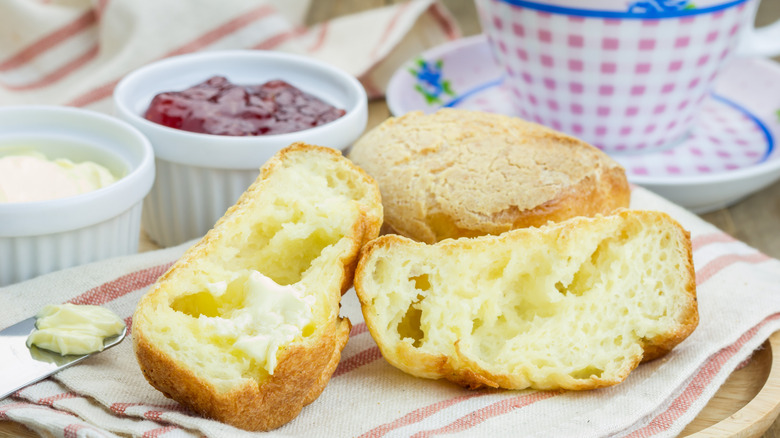
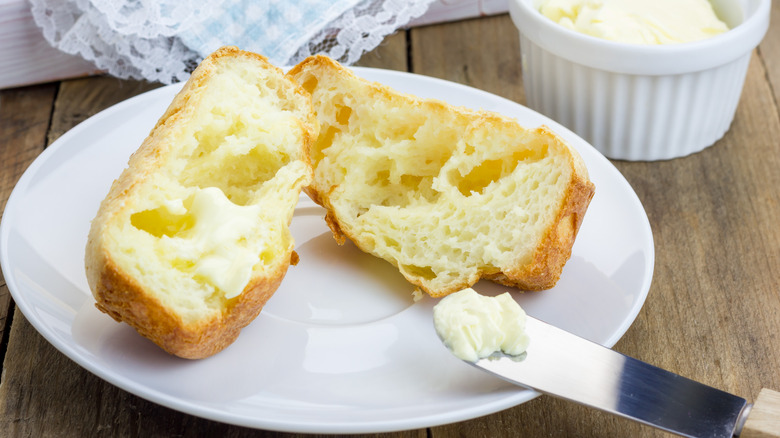
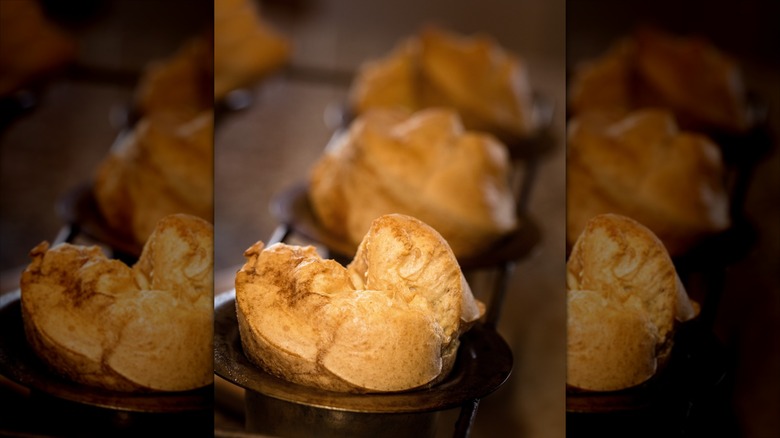
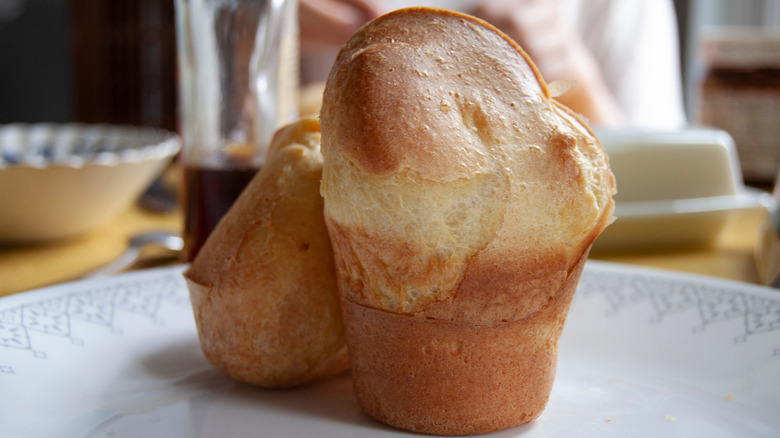
But, maybe you're still wondering what popovers are. In this case, we've already gone too fast and need to step it back a little. A New England classic, popovers are perfectly-risen little pastries that are partway between a crêpe and a bread roll but actually not all that much like either. They're made with a simple pancake-like batter and blasted in a hot oven until they've risen tall. They should have a crisp exterior and an almost custardy center with a network of large air pockets. Popovers are almost impossible to describe accurately to someone who hasn't tried them — and pretty tricky to get right, too.
But I've made hundreds of popovers in my time, as well as their sisters, Yorkshire puddings, and I know all the places they can go wrong. I'm going to cover all the common missteps people make with popovers so you can get perfect results first time out.
Assuming popovers and Yorkshire puddings are the same thing
You might assume that a popover is the same thing as a British Yorkshire pudding but you're wrong — kind of. Yorkshire puddings and popovers are so similar that it's likely that they share a common history, although this hasn't been verified. However, they're not exactly the same.
So, what's the real difference between popovers and Yorkshire puddings? One of the differences comes from the ways they're traditionally cooked. Originally, Yorkshire puddings would have been cooked with a bit of beef dripping in the bottom of the pan. Today, Brits tend to use vegetable oil, but the point remains. When making popovers, you just have to grease the pan. Popovers also tend to be taller, made in popover pans with tall sides. Yorkshire pudding pans are wider and flatter — though good Yorkies still rise high. Plus, Yorkshire pudding can be made in one large pan and divided, rather than cooked individually.
There's also the difference in how they're consumed. Popovers are seen as a versatile side that can go with almost anything, while Yorkshire puddings are usually eaten with a roast dinner. That said, it's not unheard of for them to be eaten with jam in the U.K. Ultimately, the two might be extremely similar but they aren't identical.
Failing to realize how versatile popovers are
Sure, it's nice to be able to make great popovers but it's a bit of a waste if you aren't using them to their full potential. You might be treating them like Yorkshire puddings and only eating them with roasted meats and potatoes with a slathering of gravy, but they're way more versatile than this.
Although they're texturally different, you can eat popovers just about anywhere you'd serve a bread roll. They're great dipped into soup or as a more substantial side to a salad. You might eat them with a simple mushroom gravy like you would biscuits or even as a side to mac and cheese or another pasta dish.
They also work for sweet uses. Crack them open and spoon on some jam or jelly. Cover them in apple pie filling. Make a popover PBJ. Or, simply eat them with butter when they're still warm from the oven. Honestly, you can't get much better than that.
Using cold ingredients
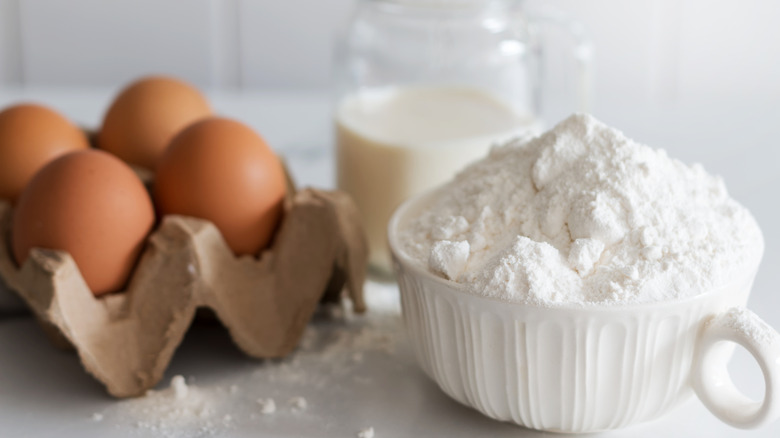
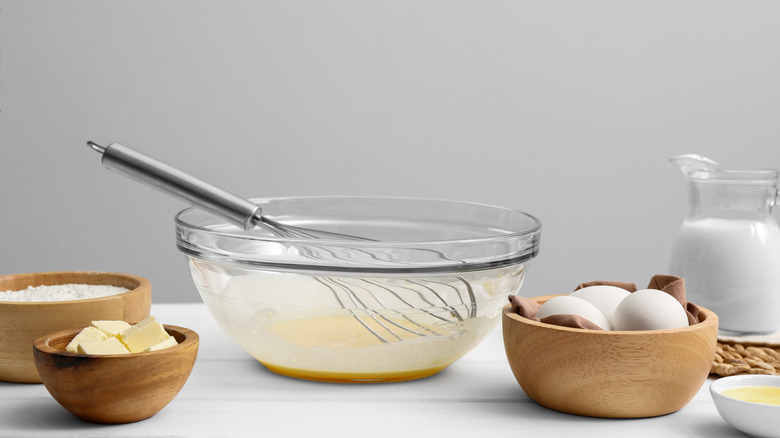
Popovers are made from simple ingredients: eggs, milk, and flour. It makes sense that you'd grab the eggs and milk straight out of the fridge and get to work. But as our classic popover recipe explains, you're better off using room temperature ingredients.
The temperature trick to ensure tall popovers is that you avoid using cold ingredients straight from the fridge. The reason behind this is all about steam and lift. The steam that's created by the moisture in the recipe is part of what gives popovers their impressive rise and the signature custardy texture peppered with large holes. Early heat when in the oven seems to achieve the most impressive rise because the batter has time to lift before the exterior fully sets into a hard shell, at which point they can't rise any further.
Some recipes rely on preheating the pan for a long time or setting the oven to a particularly high temperature. But actually you can achieve the same effects by making sure the batter is tepid or at least at room temperature when it goes into the oven. Cold batter takes longer to rise and therefore you don't get as much oven spring and you're left with popovers that don't pop. But if you don't want to wait for your ingredients to come to room temperature, there's an alternative. Heat the milk to around 120 degrees Fahrenheit but use cold eggs and this should even things out.
Making the batter too thin or too thick
Another common error with popovers is making the batter either too thin or too thick. Both of these can be a problem. Following a reputable recipe will help you get the consistency correct, but you should also know what to look for in a good batter.
The reason why batter consistency is important comes down to steam again. The science behind that classic popover texture is that the heat from the oven quickly gels the batter's surface. This means that it's able to stretch when the moisture deeper in the batter transforms into steam and expands. Ultimately, the steam creates the large interior holes that are characteristic of popovers.
But what has this got to do with batter thickness? Well, when it's too thin, the batter is weak and can't contain the steam, which leads to flatter popovers. On the other hand, when it's too thick, it never even creates enough steam to rise properly, also leading to flat results. That's why you need that perfect Goldilocks batter. Not too thick, not too thin, but just right.
The correct batter consistency for popovers is thinner than you might expect. It's similar to heavy cream in thickness. Not as thick as pancake batter. But it shouldn't be so thin that it's water, either.
Choosing all-purpose flour
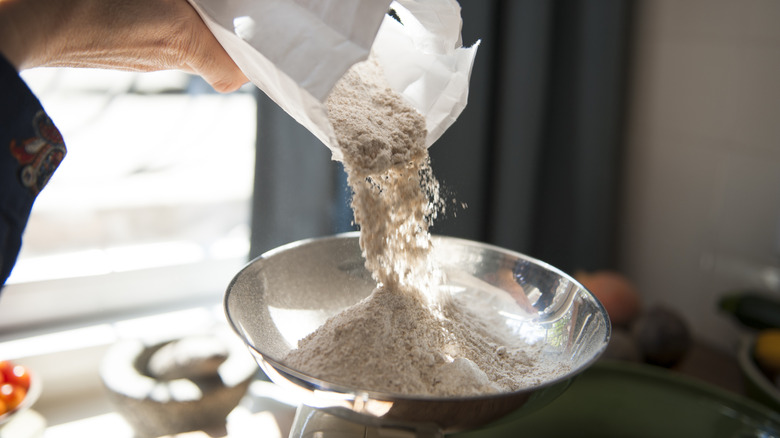
All-purpose flour is the go-to in many popover recipes. It seems to make sense. Popover batter is similar to crêpe or pancake batter and those use AP flour. However, it can be a mistake. With its higher protein content, you generally get better results by using bread flour in a popover recipe.
Bread flour has a higher protein content because it contains more gluten. And gluten is what forms strands in dough creating a stronger network and more structure in the finished bake. That's what gives bread its distinctive texture. Using bread flour in popovers makes the batter more stretchy so that it can manage a better rise. It also makes the walls of the popovers thinner so they stay crispier, even after cooling.
It might not seem like it would make much of a difference, but using bread flour can make the finished bakes around a third taller, even without any other changes. That's a notable difference and one that can take your popovers from just fine to impressive.
Adding butter to the recipe
One thing you'll notice about a lot of popover recipes is that they contain melted butter in the recipe. This seems like a nice addition, bringing a rich flavor to the batter and making the finished pastries even more delicious. However, adding butter is actually a mistake, as it hinders the texture.
What you want from a great popover is a crispy exterior and a custardy interior. That's the dream. Due to its high fat content, butter actually ends up softening the popovers. This means they're less crisp on the outside and, to make matters worse, you can't even really taste the butter in them. What's better is to save the butter for spreading on your popovers. That way, you can taste it better and it won't muck up the texture.
It's worth noting that higher fat milks can also cause popovers to soften. So, popovers made using skim milk are crisper than those made using the full-fat stuff. It doesn't make as big a difference to the finished texture as butter, so it shouldn't be a deal-breaker if you don't have skim milk to hand. However, if you're heading to the grocery store to buy ingredients, pick up milk with the lowest fat content you can find.
Using the wrong pan
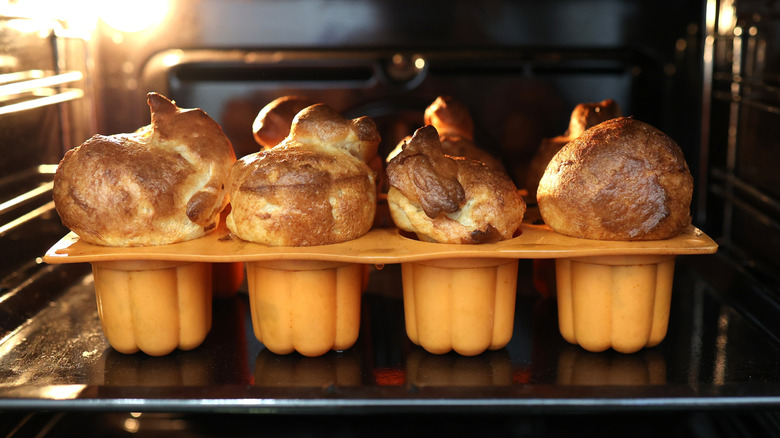
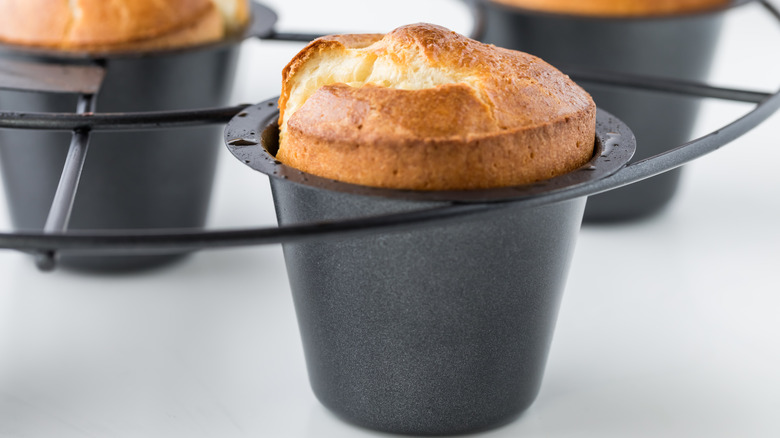
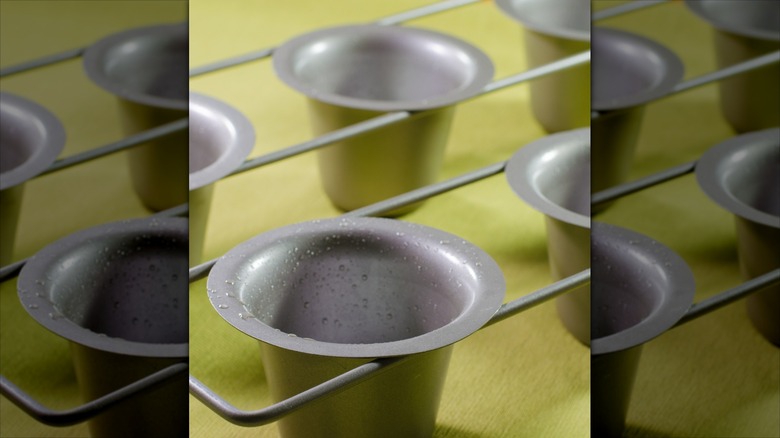
Popover pans are specifically designed to make these classic bakes. They look a little bit like strange muffin pans with slimmer, taller cups. You might be wondering if you really need a special pan to make popovers. Well, the answer is yes, kind of.
The pans are what give popovers their iconic shape. The thin, tall cups with almost straight sides are what force the batter upward as it bakes, so it pops over the top of each hole. Using a different kind of pan won't give you that exact shape and it might leave you less than impressed with the results.
However, if you're not precious about the exact shape of your popovers, it's fine to use a regular muffin tin. You probably already have one in your house, so it means you won't have to go out and buy something new. Plus, it's multifunctional, so you can also use it for muffins, cupcakes, and similar, whereas a popover pan will get limited use. Unless you get so into popovers that you make them weekly.
Made in muffin pans, they won't be quite as tall, but they'll still rise nicely — assuming you do everything right — and will have the right texture. You can also try a jumbo Texas muffin pan for extra-large popovers.
Unnecessarily preheating the pan
Here's an age-old query: do you have to preheat the pan when making popovers? Most people would say yes. And, while it doesn't hurt the outcome, it's still a mistake to unnecessarily preheat your pan, as it takes time and makes it more awkward to handle when you're pouring your batter.
Some people claim that you need to get the pan nice and hot before adding the batter. The idea behind this is that the more heat that gets to the batter at the start of cooking, the more the popovers will rise. There's also the idea that a cold pan will take a while to heat up and suck energy from the batter that would otherwise go into rising. However, with modern thin metal pans, this simply isn't true — they take seconds to heat up. That said, the origins of this idea may come from a time when cast iron pans were used, which would take a while to get hot.
Side-by-side comparisons, however, show that it doesn't make a great amount of difference whether the pans are heated or not. Hot pans can jumpstart things but if you add oil to the pans to heat, this can stop the batter from sticking to the sides and ultimately leave you with flatter results. Frankly, it's easier to add the batter to a cold pan and since the difference is negligible, this seems like the better option.
Cooking popovers in an ungreased pan
If you try to cook your popovers in an ungreased pan, you're making a mistake. Rather than them just sliding out of the cup when they're done, they'll stick and you'll end up having to prise them out of the pan. Instead of a perfect crisp shell, it will end up torn and you might even leave that crispy bottom behind in the pan. Tragic.
That's why it's important to grease the pan. You only need to lightly grease it, so a nonstick cooking spray is ideal. Otherwise you can use a little butter or Crisco to prevent sticking. The traditional method is to add a glug of oil to each of the cups and then heat this in the oven. But, as we've already touched on, too much fat can stop the batter from climbing up the sides of the pan, actually impinging on the rise. So, lightly greasing a cold pan is the way to go. It will stop the popovers sticking without stopping them rising.
Baking at the wrong temperature
It's common for people to end up baking popovers at the wrong temperature. Too hot and the outsides will burn before the insides are fully cooked. Too cool and you won't get that initial oven spring and you'll end up with popovers that are flat and dense. Many recipes solve this with a two-step bake. You start on a high temperature to get that initial rise and then turn the oven down. But this comes with its own limitations.
First, let's look at the two-step version. With these recipes, you start at a high temperature — usually 450 degrees Fahrenheit — and cook at that heat for 15 to 20 minutes before turning it down to 350 degrees Fahrenheit to finish cooking. Additionally, these recipes may call for positioning the pan on a low oven rack to avoid burning. It makes sense in theory, but it doesn't always work out if your popovers are sharing the oven with other dishes. So, what's the solution?
Well, you need to find a moderate temperature that's hot enough to allow a good rise but not so hot that you'll have burned popovers on your hands. It seems that cooking at 400 degrees Fahrenheit is the answer. And what's convenient is that a lot of other dishes also do well at this temperature, if you're preparing a full meal in the oven.
Opening the door while they're in the oven
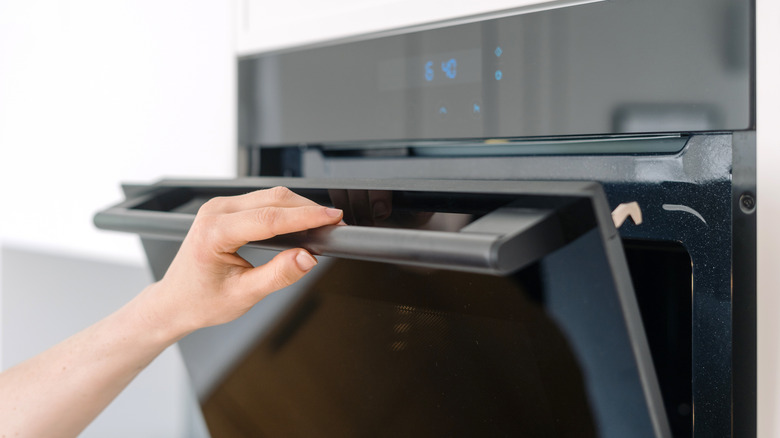
We know how tempting it is to peek at your popovers to see if they're popping. Or, maybe you want to put another tray of something in the oven. But, we entreat you, don't open the door while your popovers are in the oven. At least not until they're fully set and there's no risk of ruining them.
Much like when you're baking a cake, it's important not to let the heat out of the oven while these little gems are baking. It's an easy misstep to make but one that can totally mess things up. If you let the heat out and the cooler air of the kitchen in, it can affect the rise. Those popovers that were looking set to rise high end up sinking and you're left with something flat and dense.
To avoid this, just keep the oven door firmly shut for the first 20 to 25 minutes of baking. After this point, they'll be structurally sound enough to withstand a little change in temperature. Don't be tempted to take a look or just add one extra tray of something into the oven. It's not worth the risk of sad, flat popovers.
Not considering a cheese variation
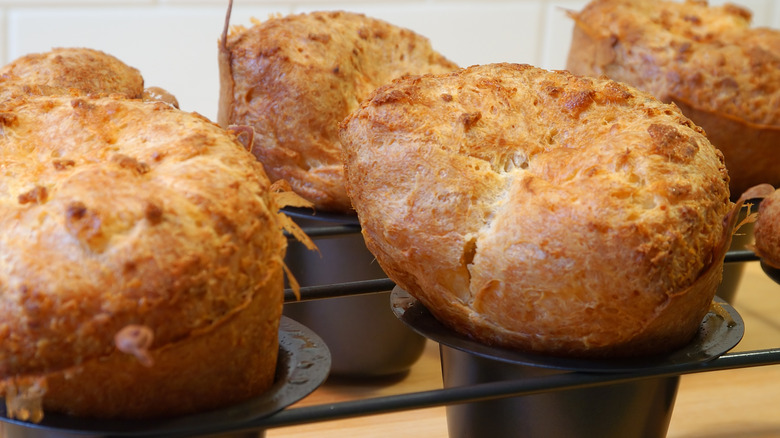
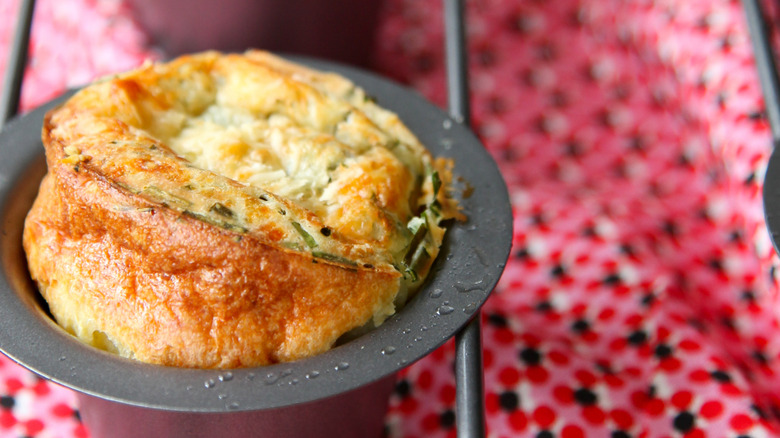
Yes, popovers are delicious. But, do you know what's potentially even better? Cheese popovers. Covered with a crispy cheese topping, they're great with all kinds of savory dishes — or just slathered in butter and eaten right away.
It's super easy to make cheese popovers. You simply make your batter as usual and, after pouring it into popover pans, sprinkle over a generous handful of cheese. Bake them as you normally would, and when they come out of the oven, the cheese will be melty underneath and crispy on top.
White cheddar is a great choice for this because it's robust enough to bring plenty of flavor to your popovers. But you can branch out for that. Blue cheese like stilton or Roquefort is another great choice if you want a strong flavor. Alternatively, you could reach for mozzarella or edam if you want a milder cheese. Whatever you opt for, it can take your popovers up a notch. Of course, it means you aren't going to want to cover them in jam and powdered sugar but for savory purposes, they're amazing.
Not pricking the popovers when they come out of the oven
There's a simple step that many people forget about — or totally overlook when making popovers. When they come out of the oven, you should prick them or cut a small slit in them. This goes a long way to helping them stay crisp. It only takes a few seconds and it can make all the difference to the quality of these tasty bakes.
The reason for pricking holes into popovers isn't some kind of elaborate hex. What it does is let the steam escape from inside. Steam is what gives popovers their signature texture. But all that hot air can also make them go soggy if it sticks around after baking. Just a little hole pricked with a skewer stick or a stab from a knife releases the hot air and keeps the bakes crisp. It might seem like an extra step you just don't need after putting all that time into baking perfect popovers, but that's precisely why it's worth doing it. You've already put in all that time, don't waste your hard work to avoid an extra step that will only take a few seconds.
