14 Expert Techniques For Cooking Beans You Need To Try
You probably already know that there's a difference between dried beans and canned beans, but the prospect of cooking beans from scratch can be overwhelming. Dried beans might be cheaper and tastier, but do you really want to spend hours over a hot stove? We're here to tell you that you don't necessarily have to. Cooking beans from scratch can be a lot easier than you might think.
If you don't eat meat, then you may end up chowing down on lots of beans for protein — and for their delicious taste. You may have even picked up plenty of bean-cooking tips over the years. Still, no one knows everything, which is why we consulted four food experts, including chefs and recipe developers, to learn their favorite techniques for cooking beans.
Of course, you can simmer beans on the stovetop, but this isn't always the most efficient method. We have expert-approved cooking tips that go beyond a basic stock-pot-and-burner situation. Plus, we'll explore other handy techniques for making the most out of your beans, from soaking them in hot water to adding fat during cooking. Armed with these expert bean-cooking techniques, you'll never have to eat disappointing beans again.
Use a pressure cooker
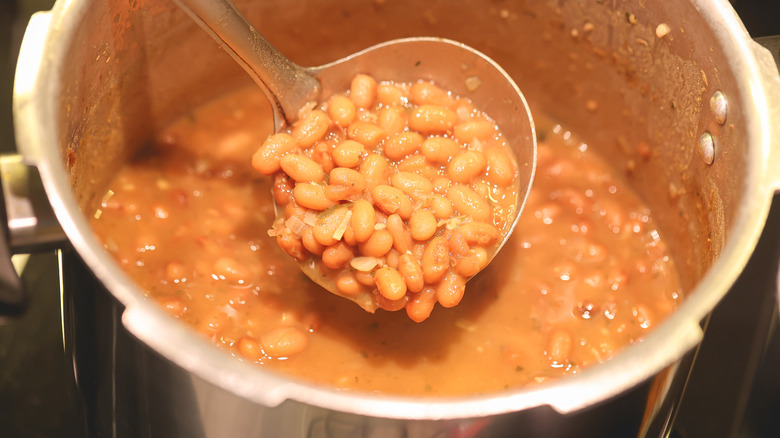
Some canned bean varieties are worth buying, while others aren't. Honestly, though, dried beans will always be a tastier choice. Their main downside is that they take longer to cook. Luckily, you can speed things up by making them in a pressure cooker. This can be either a stovetop pressure cooker or an electric pressure cooker (or a multi-cooker with a pressure cooker function, like an Instant Pot). Stovetop versions cook at slightly higher pressure and are therefore faster, but the difference is quite minimal.
"The Instant Pot (pressure cooker) is my favorite method to cook beans since they turn out tender without needing to soak them overnight," food blogger and recipe developer Isabel Byfield of Tasty AZ told Mashed. While nutritionist Katherine Maslen — host of "The Shift Podcast" at The Shift Clinic — is generally happy to cook her beans on the stovetop, she told us, "For harder beans like chickpeas, a pressure cooker really helps." She went on to explain, "[A] pressure cooker is hermetically sealed, which makes it able to achieve higher temperatures than usual boiling, which allows the beans to cook faster." So, the next time you're in a hurry, try a pressure cooker for making your beans. It takes roughly ⅓ of the time required to use a regular pot on the stovetop.
Cook them in the oven
Ashley Schuering, food blogger at Confessions of a Grocery Addict, likes to cook her beans "in the oven for the best consistency and flavor." This might seem like a strange method at first, but cooking in the oven helps the beans maintain a consistent temperature with little hands-on cooking time. Once they're in the oven, you can forget about them until the timer dings.
Of course, you don't just stick a pack of dry beans in the oven and roast away. There's a simple but specific method for cooking beans in this manner. First, you need to decide whether or not you want to soak them. This step isn't completely necessary, but it speeds up the cooking time. It can be especially beneficial if your beans are on the larger side or have been languishing in your pantry for a while.
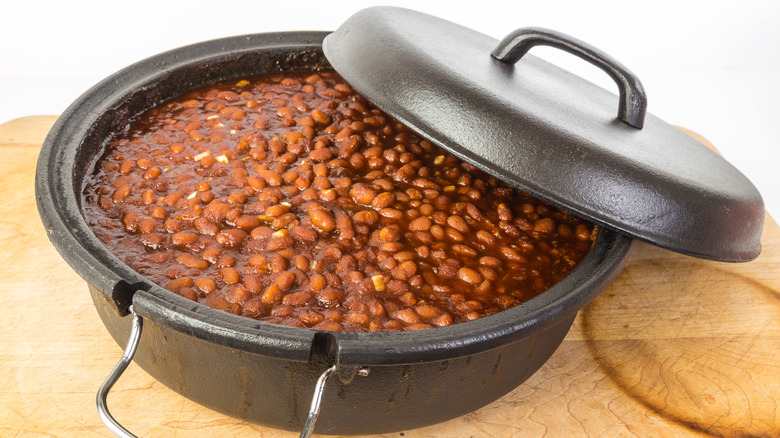
Once you're ready to cook (after your beans are done soaking), transfer the beans to a pot with a lid that can be used both on the stovetop and in the oven, like a Dutch oven. Add enough water to cover the beans by 1 inch and bring them to the boil on the stove. (If you're cooking kidney beans or cannellini beans, boil them for 10 to 15 minutes to avoid an upset stomach.) Then, transfer your beans to an oven preheated to 325 degrees Fahrenheit. Cook for 75 minutes, check, and cook longer if required.
Make them in a slow cooker
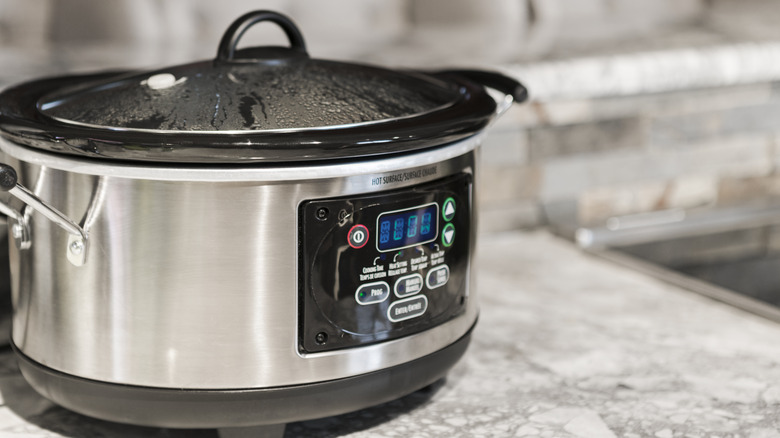
Katherine Maslen told Mashed that slow-cooking beans is also possible. It's a great set-and-forget option if you have plenty of time before dinner but don't want to do too much hands-on cooking. If this sounds like the technique for you, you'll first need to learn how to cook beans in a slow cooker.
Ultimately, you just have to throw your beans in the slow cooker and let them do their thing for anywhere between six and 12 hours, depending on the type of bean and how well you want to cook them. The thing about beans is that certain types — including red kidney beans — need to come to a boil for 10 minutes to break down toxins that can cause an upset stomach. So, either make sure your slow cooker's temperature is high enough that the beans boil, or boil them on your stove for 10 minutes before transferring them to the slow cooker.
The slow cooker isn't everyone's favorite method, though. "I don't love using the slow cooker unless it's to reheat stove- or oven-cooked beans for a party," Ashley Schuering told us. She said that she prefers a thick broth, and beans cooked in a slow cooker often end up with a thinner broth. If you simply drain your beans afterward, however, this won't be an issue.
Cook them at a simmer, not a boil
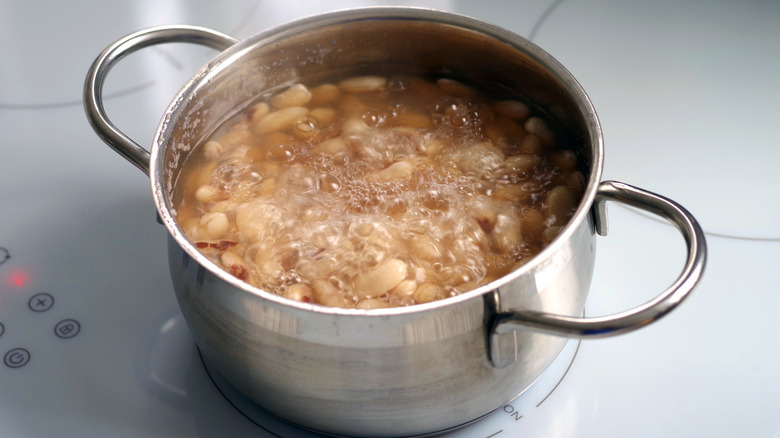
You might like the thought of your beans busily bubbling away on the stovetop, but don't let them boil too violently, as this could affect their texture. Those cooked at a full boil are more likely to split and break apart. Therefore, it's best to cook them at a gentle simmer rather than an intense boil. When cooking on the stovetop, you might need to turn your beans down once they come to a boil and peek at them every now and then to make sure things are going to plan.
As mentioned, some beans need to be boiled so they're safe to eat. Red kidney beans and cannellini beans contain a toxin called phytohaemagglutinin. This name may sound dramatic, but it won't kill you — it'll just upset your stomach. Even so, this is best avoided. Luckily, all you need to do is make sure your beans boil for 10 minutes to neutralize the toxin. So, for best results, cook your beans at a roiling boil for 10 minutes, then turn them down to a simmer.
Embrace long cooking times
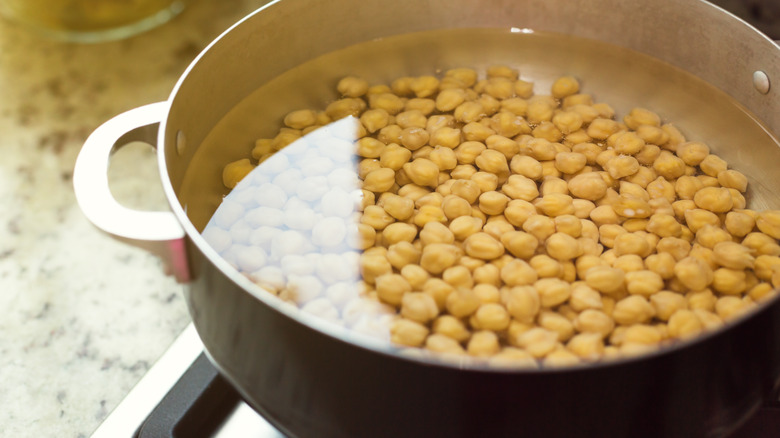
There are many types of beans out there, all with their own cooking needs. In some cases, you just need to embrace long cooking times. For instance, soaked chickpeas cooked on the stovetop need between 90 minutes and two hours to cook fully. That may not be conducive to a quick dinner, but it's worthwhile if you have the time.
Now, you could opt to use a pressure cooker as a quicker alternative, but that's not always the best way to go. "I've found that pressure cooking is fast and convenient but doesn't yield the same consistency and often makes the bean skins split," Ashley Schuering told us. She did clarify, however, "If you're planning on making hummus or refried beans, it doesn't matter as much." So, if you have the time and it's important that your beans stay whole (i.e., without splits), taking the long route may be worth it. Yes, it takes a while, but once you start simmering, the process is mostly hands-off.
Test for bad beans by seeing if they float
Some beans in a batch may be old or bad, and no matter how long you cook them, they'll never end up totally soft. Isabel Byfield has a technique that stops this from happening. "A rule of thumb is, when adding the beans to a bowl with water, remove the beans that float, as those are usually the bad ones in the batch," she told Mashed. It's extremely simple to skim off those floating beans, and once you do, you can be confident that every one in the cooking pot will be up to snuff.
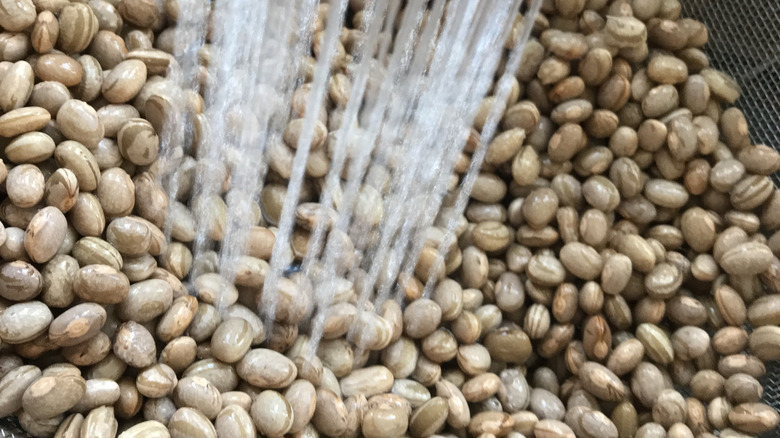
Another tip before you get to the soaking step is to wash your beans and pick them over. Thanks to modern processing methods, most beans found on grocery store shelves are clean and free from debris, but some can fall through the net. When washing your beans, check for small stones or bits of plant matter and remove them. That way, you won't get any nasty surprises in your meal.
Hot-soak your beans
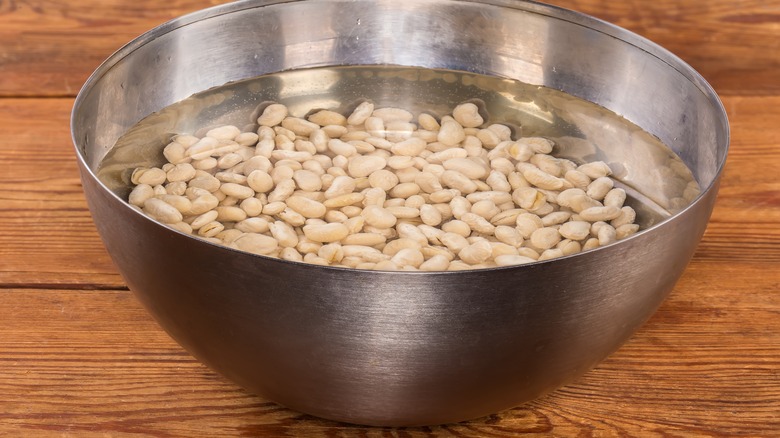
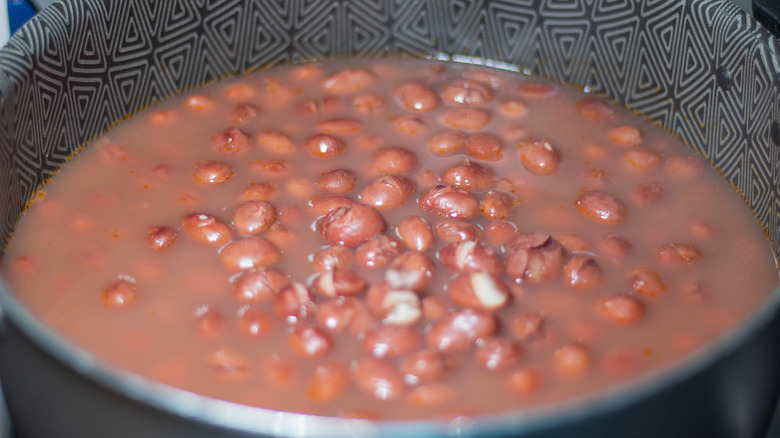
One of the common errors people make when cooking beans is not soaking them. Failing to soak increases the beans' overall cooking time and makes it hard to get them perfectly tender inside. Even if you do soak, however, you can go one step further by hot-soaking your beans. This technique is quicker than standard cold-soaking; it reduces cooking times, and beans prepped in this way tend to be consistently tender.
As you might guess from the name, the hot-soak method involves soaking beans in hot water, but the process is a little more involved than that. You should put your beans in a cooking pot with 5 cups of water for every cup of dried beans. Put them on the stovetop over a medium-high burner and bring them to the boil. Let them boil for two to three minutes before taking them off the heat. Then, just cover them and let them sit for four hours before draining, rinsing, and cooking. By contrast, you should soak beans in cold water for eight to 12 hours, so you can save up to eight hours using this method.
Add salt when you soak beans
Some cooks are always pro-soak where beans are concerned, while others think this is only necessary if you want dinner on the table more quickly. According to chef Yesenia Ramdass of New York's Dominican and Trinidadian vegan restaurant HAAM, soaking "reduces the amount of cooking time drastically," which is an obvious bonus. "This also improves the texture of the beans, so they hold up their shape but are still butter-smooth," she told Mashed.
Soaking isn't very controversial, but the practice of adding salt to the soaking water is. This seems like an obvious addition to help season the beans right to their core, but some cooks say that beans won't soften if you add salt while soaking. The folks at Serious Eats tested this theory and found that beans soaked in salty water absorbed slightly less water overall but were far less likely to burst their skins. The salted beans still got soft and creamy inside, so you have nothing to worry about. In fact, you get a better flavor and less splitting from salting the water.
Add baking soda when you soak beans
Anyone who's ventured into the world of cooking beans from scratch has likely had this experience: You simmer beans for hours, only to find that they're still hard or chalky inside — far from the soft, creamy interior you were expecting. Thankfully, there's a simple way to remedy this: Baking soda will help your beans cook more quickly.
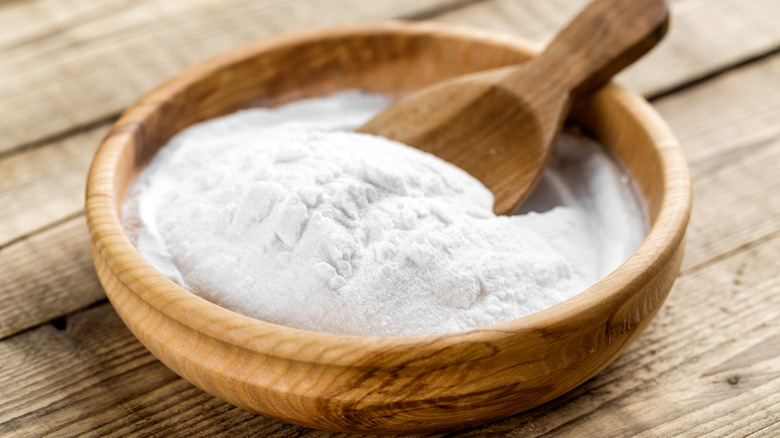
Katherine Maslen suggested this technique. "It increases the pH of the water, which in turn helps disintegrate the pectin, which helps the bean to soften more quickly, " she told us. But that's not all: "It can also reduce minerals in hard water that prevent beans from hydrating as quickly," she added. Depending on who you ask, you need between ¼ and 1 teaspoon of baking powder for every cup of beans, along with ample soaking water. Getting the ratio right can be tricky — if you end up with mushy or split beans, decrease the baking soda; if your beans are still cooking painfully slowly, increase it.
Incorporate aromatics
There are many myths about canned beans, including the notion that they're always inferior to dried. One of the benefits of dried beans, though, is that you can cook them with aromatics to improve taste and match their flavors to the dish they'll be in. This allows you to customize them in ways you can't with canned beans.
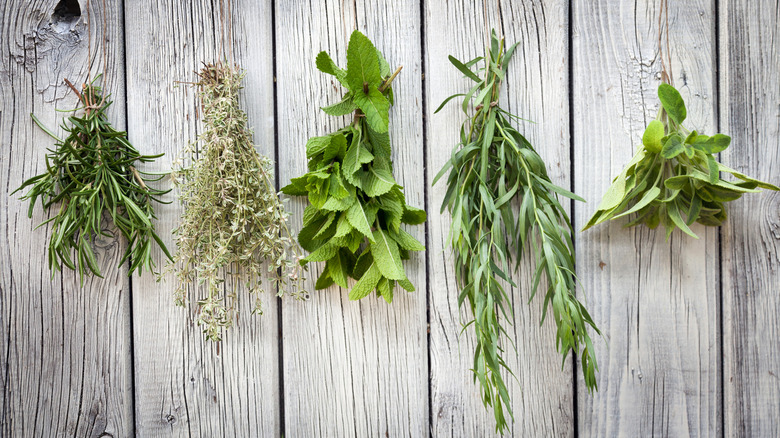
If you're wondering what aromatics are, they're flavorful ingredients such as onions, garlic, herbs, and spices. Simmer them with your beans in different quantities, and mix and match which ones you use. All the experts we consulted recommend adding aromatics. "My beans wouldn't be the same without them," remarked Yesenia Ramdass.
Want some inspiration? "In Colombia," Isabel Byfield said, "we cook our beans with bay leaf, garlic, onion, and fresh cilantro." Another Colombian method Byfield touts is sweetening the beans by adding whole carrots to the pot during cooking. "Once the beans are fully cooked, remove the carrots with some of the liquid, blend it, then add them back to the beans and cook for another 15-20 minutes to thicken," she suggested.
"Any aromatics like onions, garlic, celery, carrots, bell peppers, jalapeños, and spices are great here," said Ashley Schuering. "Mix and match based on your needs." For example, she suggested mixing white beans with a mirepoix and rosemary or black beans with the Cajun trinity, jalapeños, and cumin seeds.
Add fat and salt when you cook beans
Now you've got your aromatics in the pot, but why stop there when you're trying to cook the most delicious beans? Try adding some fat into the mix. Fat is a carrier of flavor, hence why some of the tastiest foods out there are also the fattiest.
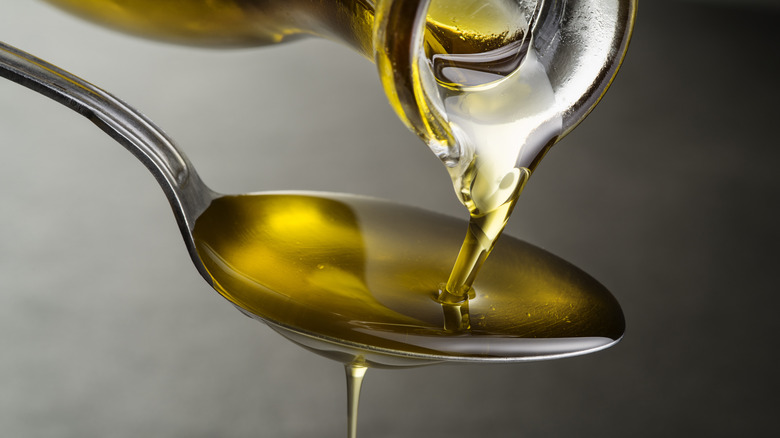
Simply add around ¼ cup of oil to the cooking liquid for every pound of dried beans you're cooking. A good-tasting extra-virgin olive oil is an obvious choice, but you can also experiment with other oils, such as toasted sesame oil, cold-pressed rapeseed oil, or even a flavored oil.
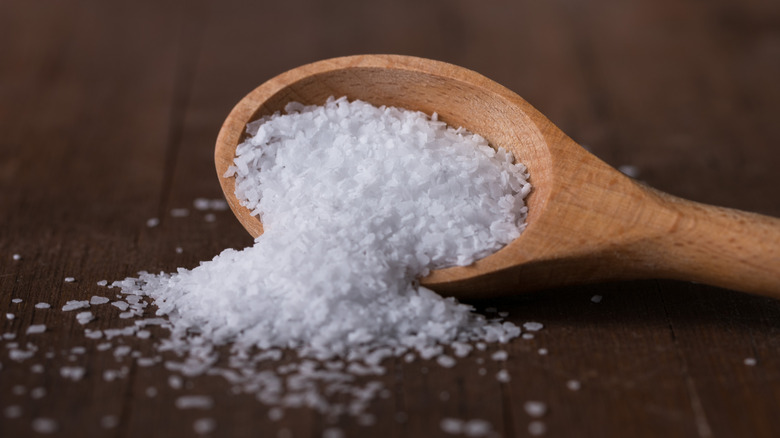
Another way to add some flavor to your beans during cooking is to give them a liberal dose of salt in the pot. You need 1 tablespoon of salt for every pound of beans. You can add it during the soaking process, as we suggested above, but if you aren't planning to soak your beans, throw the salt into the pot when you start cooking.
Try leaving the lid off the pot
Most recipes specify that you keep your beans covered to retain their heat and stop them from drying out during cooking. In some cases, however, it can pay to leave the lid off. This will help thicken the broth and give the finished dish a new dimension if you want to serve your beans in the broth. Otherwise, it leaves you with a flavorful broth to use elsewhere.
"For the bean brodo [broth] to achieve maximum flavor potential, don't cover the beans while they cook," Ashley Schuering suggested, adding, "Evaporation is important for concentrating the flavors and getting a nice starchy consistency." If you're used to draining off and discarding the cooking liquid, you'll want to change your ways. "Don't toss this broth!" Schuering warned. "It's super flavorful and is perfect for using as the base of soups, for thinning pasta sauces, or anywhere else you'd use broth." So, essentially, you get two dishes for the price of one when you leave the lid off your beans during cooking.
Cook your beans in stock or other liquids
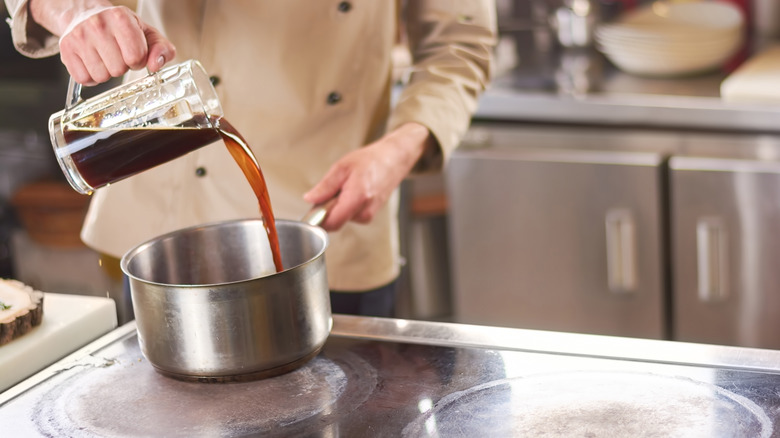
Usually, people cook beans in water, but this isn't the only option. If you want to make your beans even tastier, an easy technique is to change up the cooking liquid. This can easily add extra flavor, and you can adjust the liquid you use for cooking according to the dish or dishes in which you'll be using the beans.
Stock or broth is the obvious first choice. It's easy to get and simple to use. You probably already have cartons of stock or bouillon powder in your cupboard, so use what you have on hand (or whatever kind you like best). Just remember to use a meat-free stock if you're making beans for vegetarians. The could be a general vegetable stock, an umami-rich mushroom stock, or a meat-free chicken or beef stock.
Cooking your beans in alcohol is also a good choice, though if you use alcohol alone, your beans will be too boozy — mix it with water or stock instead. Wine and beer are two good choices, especially dark beers with rich, malty flavors; however, you could mix things up by using hard cider or spirits, such as bourbon or rum. Let the alcohol simmer with just the beans for a few minutes so it cooks off before you add water or stock.
Finish your beans with extra ingredients
Even once you're done cooking your beans, their flavor story isn't over — try finishing them with extra ingredients to make them even tastier. Some ingredients are best left until after cooking for various reasons, so you can make best use of them once your beans are done.
First off are acidic ingredients. A squeeze of lemon juice or a dash of apple cider vinegar can add some brightness to beans, which can tend toward the stodgy side. That said, these ingredients can stop beans from softening fully if you add them during cooking. Adding them at the end prevents them from getting lost in the mix.
Soft herbs are also best left until cooking has finished. If you add them too early, they'll go mushy and lose their flavor. Chop them and stir them in when the beans are done cooking but still warm. The residual heat will wilt them slightly and help the flavors meld.
