How Experts Really Make Baking Sheets Last Longer
Are you tired of your baking sheets not lasting as long as you'd like them to? You replace them only to find the new ones heavily stained, scratched, or warped within months. What gives? It sounds like you need to learn how to make your baking sheets last longer. With the right knowledge and a little care and attention, you could have yours lasting decades, rather than months or years.
But don't just take our word for it. We reached out to baking experts to get their opinions, speaking to two pastry chefs and the founder of a cookie company to learn what it takes to extend baking sheets' lifespan. From taking care how you wash them to using the right tools, there are plenty of tricks for keeping your bakeware in good nick.
And, while we're focused on baking sheets, you can use the same information to care for other bakeware, such as cake tins, muffin pans, and cookie sheets (no, they're not the same thing as baking sheets). It doesn't take long in the moment to follow this advice, but it can make all the difference in the long run. With all that said, here's how experts really make baking sheets last longer.
Choose the right baking sheets
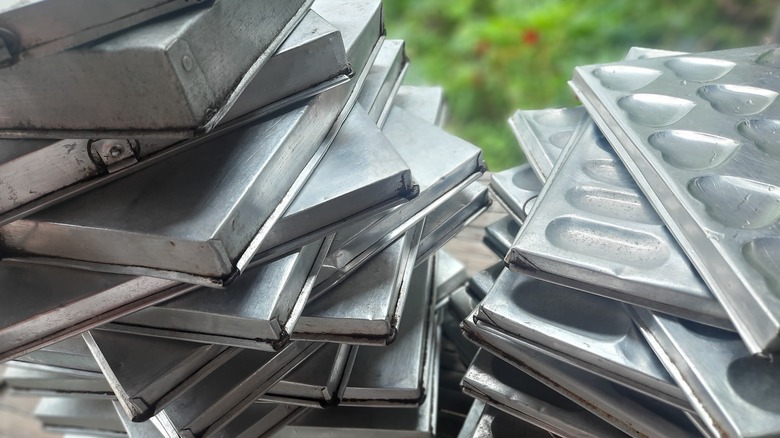
If you're looking to replace your baking sheets soon, the first thing to understand is that your choice of replacement will make a difference in terms of longevity. Durable, well-made options will last significantly longer than cheap, flimsy ones. So, you should think carefully about what you choose to buy. The sheer number of options can be overwhelming, though.
"A good baking sheet should be able to withstand high temperatures and not bend when subjected to high heat," says Laurie Lewis, head pastry chef of Culinary Canvas. "I prefer a heavy-gauge aluminum sheet with rimmed and rolled edges," she adds. Rims on a baking sheet help to prevent warping. And choosing aluminum over a sheet with a nonstick coating means that it's less likely to become scratched and damaged.
"When selecting baking sheets, the key features to look for are heavy weight and warp resistance," says Sara Taylor, founder of cookie brand Taylor Chip. She explains, however, that thick materials can slow down the browning process, which can be an issue for some recipes. So, you may want to look for a baking sheet that's thick but not too thick. "At Taylor Chip, we have found that 18-gauge rimmed sheets are perfect for baking cookies, offering a good balance of durability and functionality," remarks Taylor. "We have been using the same cookie sheets since we started our business five years ago, and they are still in excellent condition," she adds.
Don't use metal tools
You should be careful when using metal kitchen tools and utensils on a baking sheet — and avoid it completely if your sheet has any kind of nonstick coating, like you would with a nonstick frying pan. "Never use any tools that might scratch or dent your pans," says Laurie Lewis. "Try to avoid direct contact with metal spatulas, utensils, and scrapers to avoid scraping the baking sheet."
Jonathan Metcalf, pastry chef at The Barn at Blackberry Farm, agrees that you should be cautious when using metal tools. "Never cut on them or use a pizza wheel, no matter how hungry you are," he says. "The micro cuts can cause rust to form without necessarily being able to see it. They will also create a cleaning nightmare as food will likely stick in those tiny crevices." Instead, you should use things like wooden or plastic spatulas to lift and flip foods. And if you want to cut something you've cooked on a baking sheet, transfer it to a plate or cutting board before doing so.
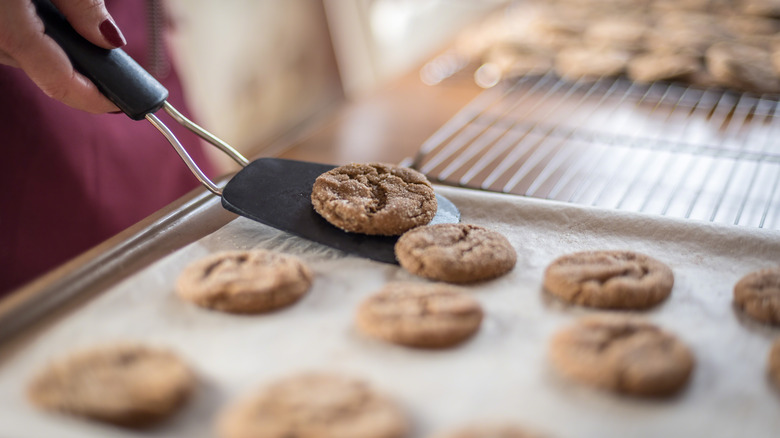
However, not everyone avoids metal tools altogether. "I highly recommend using a steel spatula with a beveled edge," says Sara Taylor. This type of edge helps you "lift cookies or other baked goods from the sheet without causing harm," she notes. Scratches are also somewhat less of an issue when using aluminum cookware without a nonstick coating, as Taylor does at Taylor Chip.
Use parchment paper when necessary
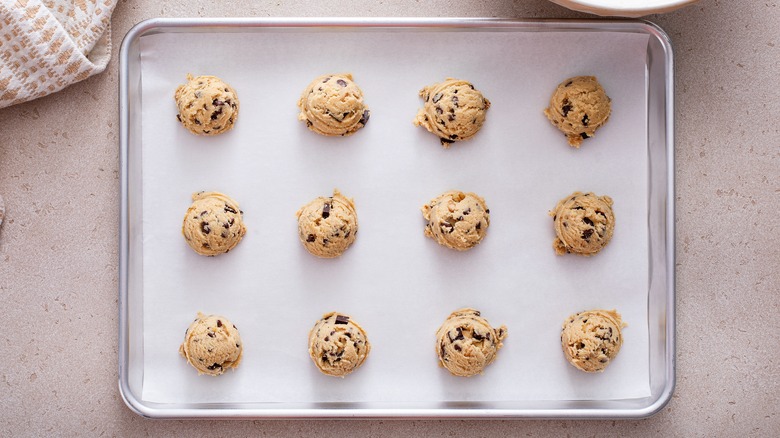
If you're someone who usually bakes directly on the sheet, you should think about using parchment paper. It's especially beneficial when you're cooking something that's likely to ooze melted chocolate, caramel, or anything else that might burn or caramelize in places and get stuck on your cookware. This is an expert-approved tip from Sara Taylor, who suggests you "use wax paper or parchment to line your sheets." She says that "this prevents direct contact with the sheet, allowing you to use it multiple times throughout the day without having to clean off melted chocolate or other residues."
You won't just have to clean your baking sheets less often if you use parchment paper — doing so can prolong their lifespan and keep them in better condition. We've all had those baking sheets that have developed a baked-on patina of grease, oil, and other baking residue. While this doesn't necessarily affect how long a sheet will last, many people prefer to keep theirs sparkling clean and free from this kind of residue. Using baking parchment makes this easier and also means you won't have to scrub your bakeware as heavily, which can lead to scratches and other damage.
Let your baking sheet cool before washing
If you've had problems with your baking sheet warping, it might be because you rinsed it in cool water while it was still hot or didn't let it cool completely before washing it. Warping is caused by thermal stress. It occurs when heating or cooling happens unevenly across the metal. Often, the pan rights itself once it has heated or cooled evenly, but when the thermal shock is too big, it might stay warped. This can happen if you don't let your sheet cool before washing it or rinsing it in cool water because of the difference in temperature between the water and the hot pan.
You can still use a warped baking sheet, but there are some cases where it might lead to uneven bakes. The best way to avoid warping is to make sure the sheet is cool to the touch before washing or rinsing it. However, you can also fix warped pans. To do so, heat for 10 minutes at 200 degrees Fahrenheit. Meanwhile, lay a towel down on a hard, flat, sturdy surface. After it's been heated for 10 minutes, place the sheet upside down on the towel, cover it with another towel (to avoid scratches), and lightly hit it with a mallet until it returns to its original shape.
Hand-wash your baking sheets
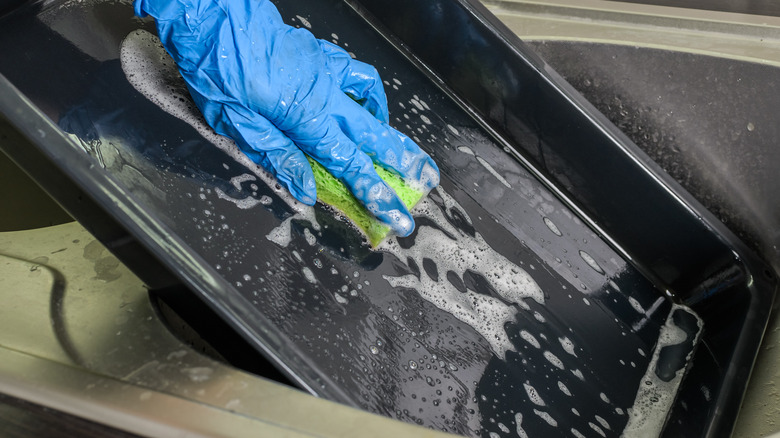
Yes, we would all so much rather chuck all our dirty cookware in the dishwasher and hope for the best. But if you want your baking sheets to last as long as possible, you're going to have to wash them by hand. Sorry. Even if they're supposedly dishwasher-safe, you'll make them last longer by hand-washing them. It's sad but true.
"I would suggest avoiding a dishwasher, as it can be too harsh on the cookware," advises Laurie Lewis. "You should always hand-wash your pans, using a washcloth to remove any loose foods and gently scrub," she adds. And she's not the only expert who advocates for hand-washing. "Baking sheets should always be hand-washed and allowed to air-dry," says Jonathan Metcalf. He explains that "using a household dishwasher can cause rust to form, as well as warp and shorten the life of your sheets."
So, in pursuit of the most long-lasting pans, you'll need to ditch the dishwasher and reach for the rubber gloves. Yes, it takes slightly longer, but it will make a huge difference for your bakeware's lifespan. Baking sheets are just one of those items you should never put in the dishwasher, and we have to live with that.
Don't let them soak too long
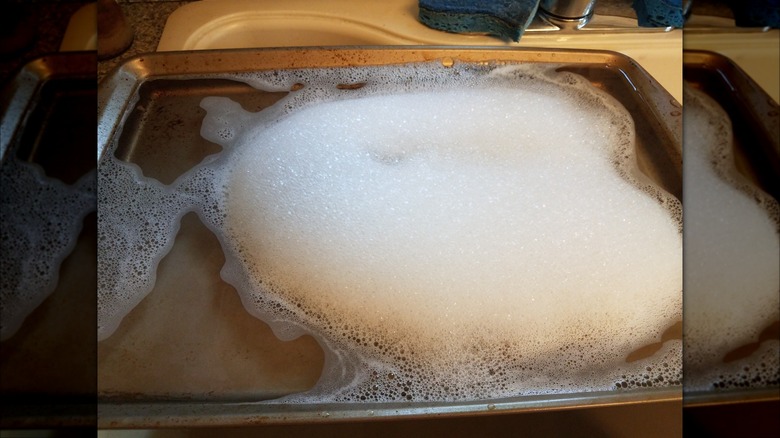
Sometimes your baking sheets will need to soak before you attempt to wash them. You might be wondering if soaking really helps remove stuck-on food, and the simple answer is yes, it does. It helps to soften stubborn stuck-on pieces, reducing the amount of scrubbing you need to do, so you're less likely to cause any scratches. And with any stuck or caramel or sugar, a good soak will miraculously dissolve it, basically like it was never there. But to keep your sheets in good condition, Jonathan Metcalf recommends you "don't allow them to soak for too long."
Excessive soaking can cause a range of issues. The main one is rusting. This is particularly likely to happen if your baking sheet has any scratches in it or if water gets stuck inside the rim and can't easily drain out. If you soak it for days, you could get mineral staining or limescale from the water, particularly if you live in an area with hard water. Plus, leaving a nonstick sheet soaking for long periods could damage the coating. Soaking a cold baking sheet in very hot water might also cause some warping. Although optimal times vary depending on how stubborn the stuck-on food is, you usually don't need to soak for longer than 15 to 30 minutes.
Avoid excessive scrubbing
Sometimes you'll need to scrub your baking sheet to remove stains and stuck-on food, but you should try to avoid excessive scrubbing, as this can cause scratches. We've already mentioned that this can lead to rust, but also, scratched nonstick cookware can be dangerous. So, you should particularly avoid any actions that will scratch a sheet with a nonstick coating — otherwise you'll have to throw it out before its time.
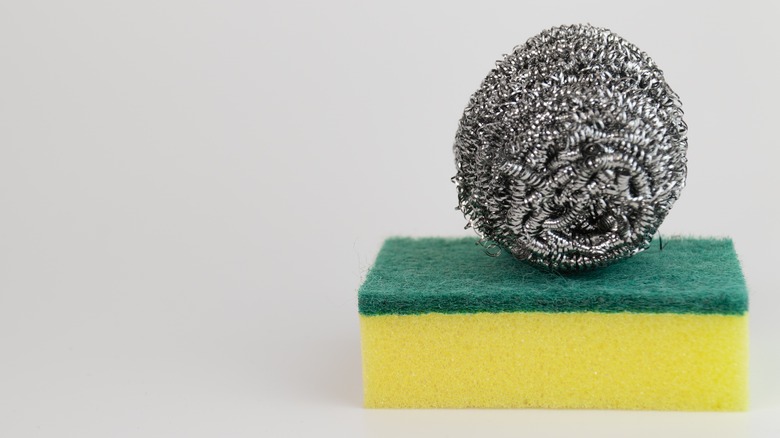
"A common mistake is using a wire brush or steel scrubber to clean baking sheets, as these can damage the surface," says Sara Taylor. On the other hand, Laurie Lewis doesn't avoid these kinds of tools altogether but uses them judiciously. "For stuck-on food, use a stainless steel scrubber to clean, but only as needed to avoid excessive scrubbing," she suggests.
If food is stuck to your baking sheet, your first step should be a 15- to 30-minute soak to see if this reduces the need for scrubbing. After the soak, you might find the food comes off just a dishcloth or a soft sponge. If this isn't enough, a non-scratch scourer is a reasonable middle ground. Only move onto a stainless steel scrubber if you must.
Use a mild soap
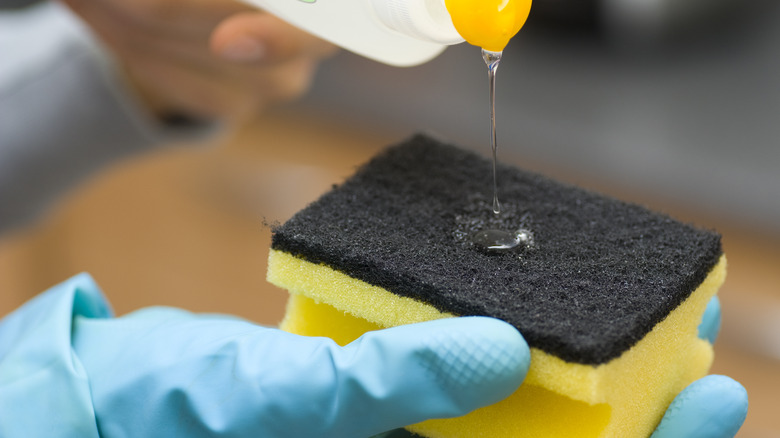
According to Jonathan Metcalf, you should "try to avoid using anything harsh and abrasive in the cleaning process." This entails using a mild dish soap. While strong, concentrated dish soap isn't exactly going to burn a hole through your baking sheet, using anything too harsh could gradually damage it, ultimately decreasing its lifespan.
Some harsher dish soaps contain ingredients that can affect nonstick coatings over time, so you must be particularly wary of what dish soap you use if your baking sheet is nonstick. Although it won't affect the longevity of the pan, harsh dish soaps are more likely to leave a residue, as well. They're often strong and highly concentrated, so it's easy to use too much. And when you do, it's hard to properly rinse off, so you're left with residue that might affect the taste of whatever you cook next. It could also get cooked on next time you bake, adding to the unwanted patina that can form on baking sheets.
Dry your baking sheets after washing them
You should always make sure that your baking sheets are totally dry before you put them away. Failing to do so could mean your cookware meets an untimely demise. "Thoroughly dry the baking sheet after washing to leave no soap residue and prevent sitting water from rusting the sheet," says Laurie Lewis.
Jonathan Metcalf notes that it's fine to let your sheets air-dry after washing but adds that you should "always dry them thoroughly before putting them away." So, if you have time to let your dishes hang out on the drying rack before returning them to their proper place, that's fine. But if you want to put them away before they're totally dry, give them a thorough once-over with a kitchen towel. This will go a long way toward keeping rust from forming.
We'd also recommend looking for any spots that might not dry as easily as others, such as around the edge of the rim. Pay particular attention to these areas when drying, as this is where water could collect and cause rusting. It only takes a few extra seconds, but it could mean the difference between sheets that rust within a year and ones that are still going strong after 10 years.
Store them somewhere dry
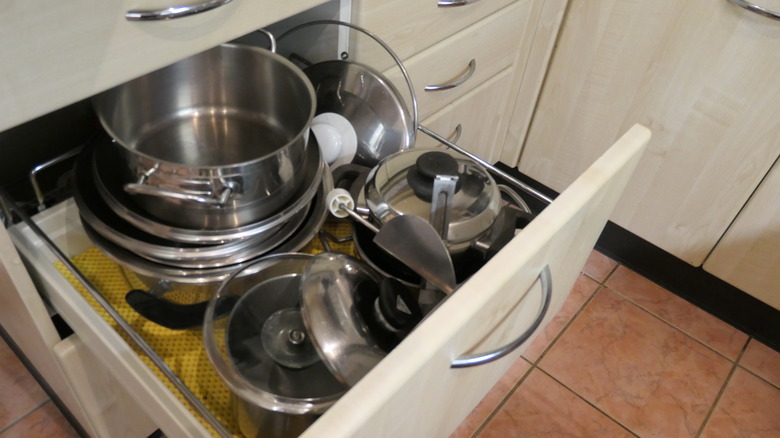
As well as making sure that you dry your baking sheet after washing it, you should "keep it in a dry location for storage," Laurie Lewis remarks. Now, of course, you're not exactly going to store it in a full sink or under a wet dishcloth. Nor is it going to live outside in the rain. But kitchens can be damp, steamy places, so be mindful of where you keep your baking sheets.
If you have a cabinet right above your stove, for instance, this isn't the best place for your baking sheet, as it's likely to get some moisture from cooking. The same goes for cabinets that sit above electric kettles. Some folks also choose to store their baking sheets in the oven when it's not in use. But ovens can also get moist and steamy, so unless you let yours cool and air out completely, it's not the best spot for storing your cookware.
Keeping baking sheets and other bakeware somewhere properly dry that doesn't get excessive steam from cooking will help keep rust at bay. This, in turn, will make them last longer before they degrade and need to be replaced.
Use baking soda to deep-clean your baking sheets
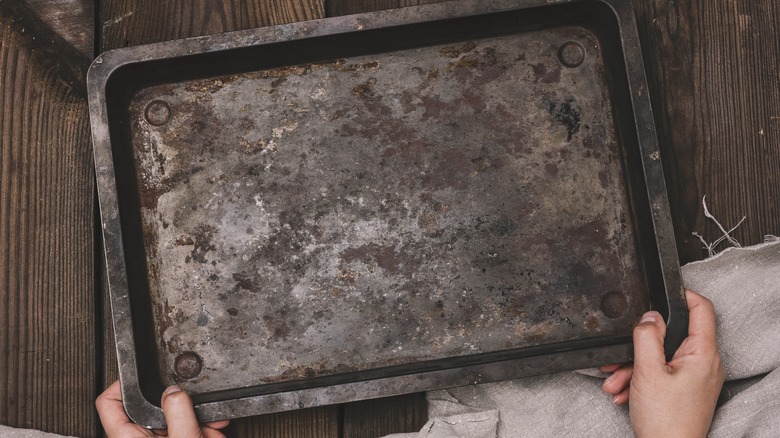
Baking sheets often develop a dark brown or black layer over time. This is caused by baked-on oils and fats. Over time, it polymerizes, much like the seasoning on a cast iron skillet. It's this process that makes it near-impossible to remove with only dish soap and a regular amount of scrubbing. But you can use baking soda to deep-clean your baking sheets.
We'll start by saying there's actually nothing wrong with this patina. In fact, it may make food brown better since dark surfaces heat up more quickly than light ones. Plus, the built-up, hardened grease forms a nonstick layer like a well-seasoned cast iron pan. However, we understand that a lot of people don't like this buildup, and it's something that might cause them to throw their baking sheet away before its time. So, learning how to get rid of it could make you hold onto your cookware for longer.
So, how do you deep-clean your sheet with baking soda? There are a few ways to do so. Firstly, you can add some hot water to your sheet, covering the bottom, and then add a couple of tablespoons of baking soda and let it sit for an hour. You should then be able to wipe away the stuck-up layer. You can also make a paste from baking soda and vinegar, spread it on the pan, and let it sit overnight before scrubbing it.
