From-Scratch Sourdough Starter Recipe
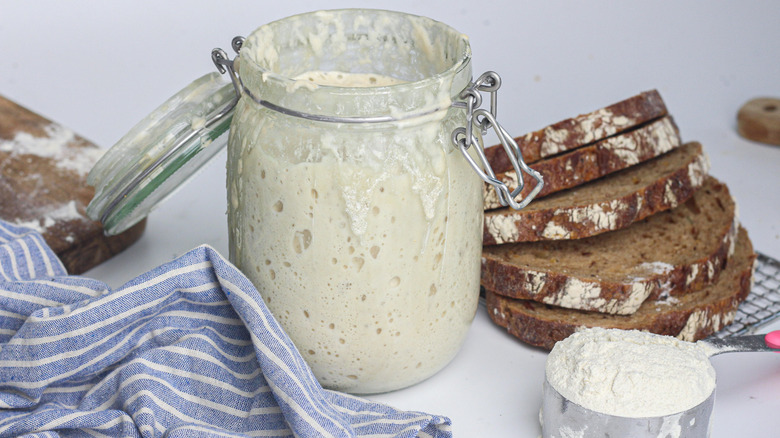
If you're a sucker for sourdough bread (and who isn't, really?), it may come as a surprise that you can make your very own sourdough starter with just two simple ingredients you likely have on hand. Once you have your starter, you can easily whip up a rustic sourdough bread recipe whenever the craving hits.
That's exactly why recipe developer Susan Olayinka of The Flexible Fridge loves the recipe so much. "I love anything sourdough! I love the taste and the way my body easily digests it. Fermented foods are so good for you," she raves. Of course, as simple as this recipe is, it does take a few days to prepare as the starter needs time to ferment. Be sure to give yourself about five days to do the prep work before making that first loaf of bread, although the exact timing might vary due to environmental factors like heat and cold. "In the summertime it will probably take less time for your starter to become active and in the winter it might take a bit longer," explains Olayinka. "Just keep an eye on it and trust your nose. If it smells sour and bubbly, it's probably ready to use."
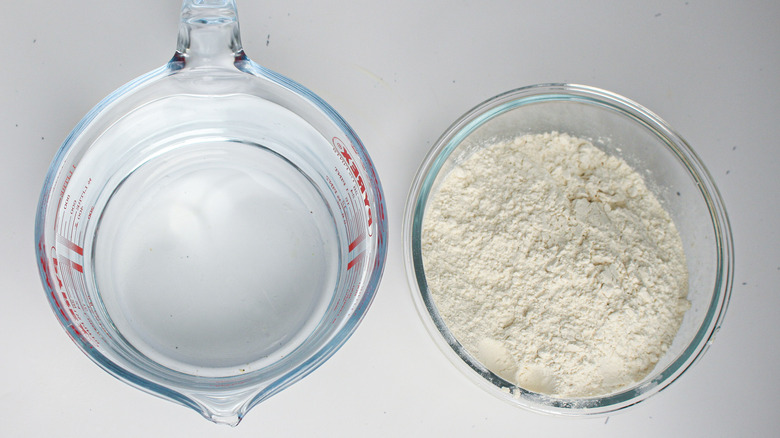
Gather your ingredients for this from-scratch sourdough starter
The ingredient list for this recipe couldn't be easier, and it's unlikely you'll even need to head to the store. If you have flour and water on-hand, you're ready to make your own sourdough starter.
You'll also need a Mason jar with a lid to prepare and store the starter.
Day 1: Mix a portion of flour and water in a Mason jar
In total, this recipe takes about 5 days to prepare, but the vast majority of that time is simply allowing the ingredients to sit and ferment. In terms of hands-on work, you'll only need a minute or two per day.
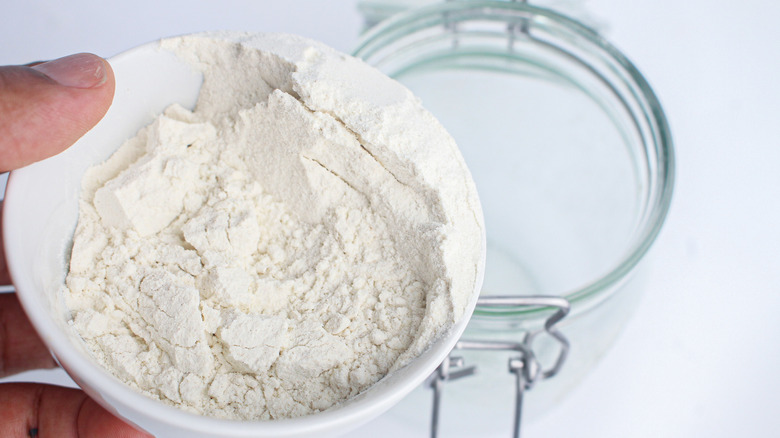
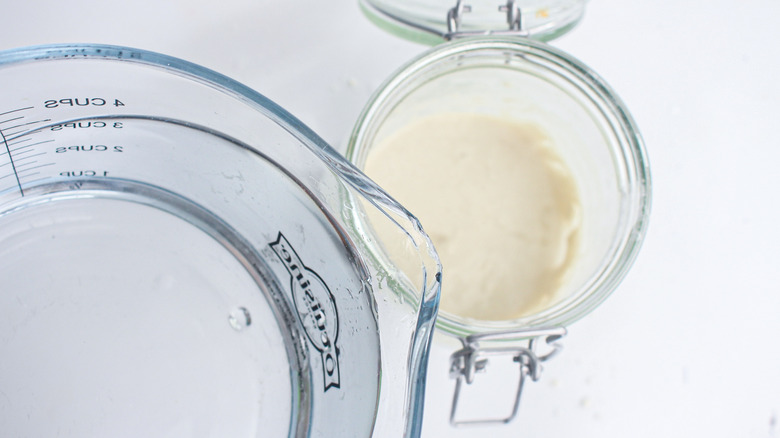
To start, add ⅓ cup flour and ⅓ cup water to the Mason jar. Stir well until the ingredients are fully combined. Place the lid on the Mason jar, but don't close it all the way — this is very important. "The key step is to make sure that your Mason jar is not airtight. This allows the yeast to breathe and do their work," explains Olayinka.
Then, simply set the jar on your countertop or any "warmish place" (shoot for a temperature between 70 F and 80 F), for 24 hours, making sure it's not sitting in direct sunlight.
Days 2-4: Add water and flour to the jar
Now that you've mastered the basic steps, you'll repeat them daily for three more days. Simply add ⅓ cup flour and ⅓ cup water to the Mason jar every 24 hours. Stir the ingredients well, then re-cover the jar, being sure it's not sealed airtight. Leave it on the counter (or your chosen "warmish place" after each new addition.
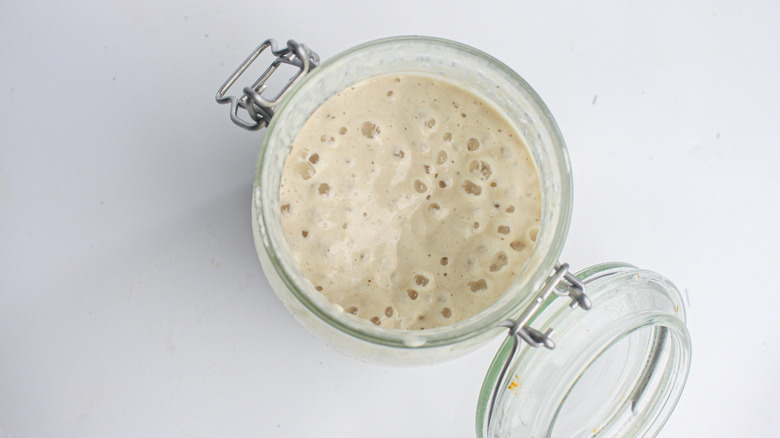
You're unlikely to see much change on day two, but Olayinka notes that "by day three, you should see bubbles in your starter and it should have a nice, sour smell." That said, if your starter hasn't yet achieved this stage, don't worry — simply continue with the daily "feedings."
By day four, you'll almost certainly note the changes taking place in your Mason jar. "Your starter should be nice and bubbly and have doubled in size," says Olayinka. If for some reason you're not quite there yet, consider placing the jar in a slightly warmer spot and double-check to make sure the lid isn't completely sealed when you place it on the jar. "If it is, the yeast will not be able to do their work and your starter will not be effective," explains Olayinka.
Day 5: Test the starter and put it to use or store it away
When you reach day 5 of your sourdough starter-making journey, your starter may be ready to use. The telltale signs — bubbles and the sour smell — are a pretty good indicator, but you'll want to test the starter before adding it to a recipe. Simply spoon some of the starter into a jug of water. If the starter floats, it's ready to use. If it sinks, keep following the daily feeding schedule (adding ⅓ cup flour and ⅓ cup water to the jar) until your test is successful.
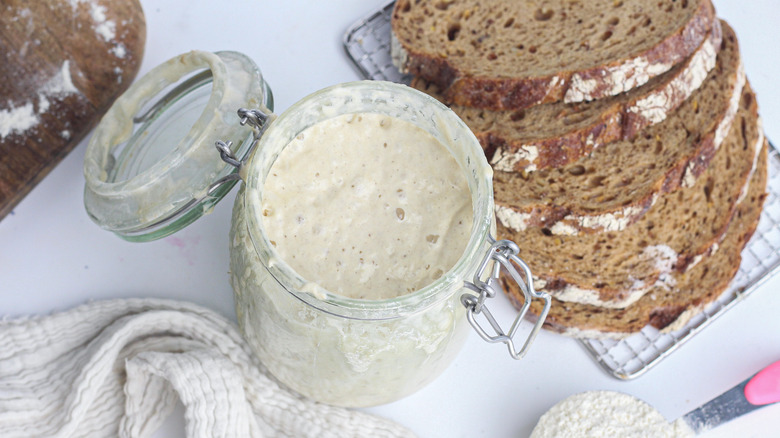
As for how to use the starter, you can add it to anything that would benefit from the classic sourdough flavor. "I love using this starter in sourdough bread! It's so delicious and easy to make. I also love using it in pancakes or waffles for a little extra sourdough flavor," says Olayinka.
If you don't plan to put your starter to use immediately, you can store it in the fridge or continue the feeding process. If you store the starter in the fridge, just keep in mind that you'll need to "refresh" the starter before using it. "Simply remove it from the fridge, add ⅓ cup flour and ⅓ cup water, mix it up well and let it sit out on the countertop for 12-24 hours before using. This helps to 'wake up' the yeast and gets them ready to leaven your bread," explains Olayinka.
From-Scratch Sourdough Starter Recipe
Learn how to make a sourdough starter from scratch so that in just a few days you will be able to bake bread or use it in recipes for pancakes or waffles.
Ingredients
- 2 cups all-purpose flour
- 2 cups water
Directions
- On day one, mix ⅓ cup flour and ⅓ cup water in a Mason jar. Stir until well-combined and cover it with the Mason jar lid, but make sure the jar is not fully closed. Set on the countertop or in a warmish place (around 70 F to 80 F is ideal), out of direct sunlight for 24 hours.
- On days two, three, and four, you'll continue with the "feedings." Each day, add ⅓ cup flour and ⅓ cup water to the Mason jar. Mix them up well and place the lid back on the jar, but make sure it's not airtight. Set the jar back on the countertop.
- By day five, you can test your starter to see if it's ready to use. Get a jug of water and spoon some of the starter into it. If the starter floats, it's ready to use. If it sinks, it needs a little more time so continue with the feedings for another day or two.
- When the starter is ready, use it immediately in recipes calling for sourdough starter or store it in the fridge until you need it.
Nutrition
| Calories per Serving | 228 |
| Total Fat | 0.6 g |
| Saturated Fat | 0.1 g |
| Trans Fat | 0.0 |
| Cholesterol | 0.0 mg |
| Total Carbohydrates | 47.7 g |
| Dietary Fiber | 1.7 g |
| Total Sugars | 0.2 g |
| Sodium | 6.0 mg |
| Protein | 6.5 g |
