Homemade Rock Candy Recipe
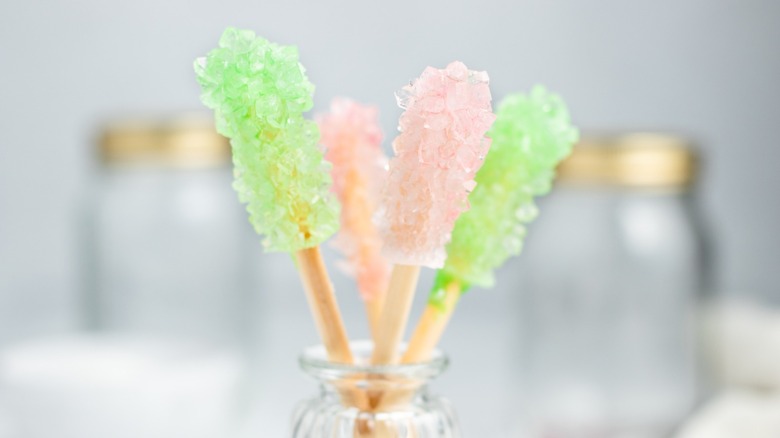
Some sweet treats — like your favorite chocolate chip cookie recipe — are better made at home, while others seem destined to be purchased at candy stores and dessert shops. If you've never made your own rock candy before, you might assume the crystal-like retro candy belongs in the latter camp. How could one make something so unique in their own kitchen? Well, as Catherine Brookes' recipe for homemade rock candy proves, it's relatively easy to whip up this confection at home. All you need (well, almost all you need) is a few Mason jars, a handful of sticks, and a healthy dose of patience. You see, while the prep work for this candy only takes about 25 minutes, it takes between 5-7 days for the sugar crystals to form.
"Making your own rock candy at home can be a fun experiment, and the end result is always much more satisfying when you've made it yourself," Brookes says. Plus, she adds, "There's lots of room for customization with different colors and flavorings, if desired!" Making rock candy is a gratifying experience the whole family can get involved with; here's how it's done.
Gather your rock candy ingredients
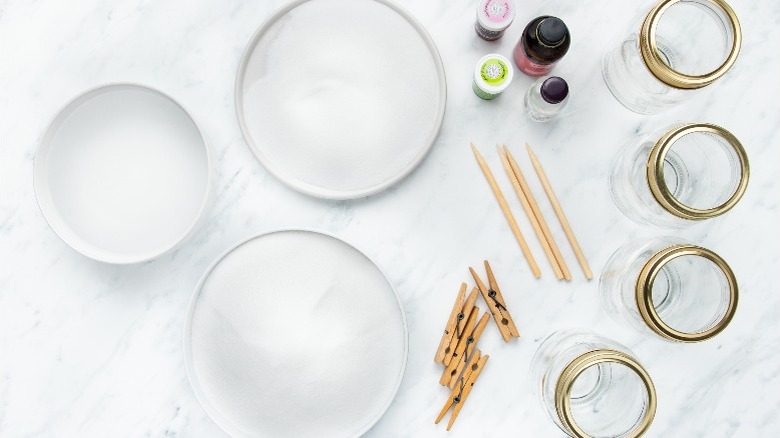
There aren't a lot of ingredients in rock candy, but there are a fair number of simple tools you'll need to have on hand. Rock candy is made from water and white sugar, so you'll need plenty of those, plus food coloring (or flavoring), if you want. You'll also need plates, clothespins, at least 4 Mason jars, and sticks made from wood or bamboo.
"The stick[s] I used were approximately 5-inches long and ¼-inch in diameter. This will, however, depend on the size of your jars, as you'll need them to reach to around 1-inch above the bottom of the jar [while] still ensuring the sugar-coated portion of the stick is fully covered in the liquid," Brookes explains.
Prep the sticks and liquid
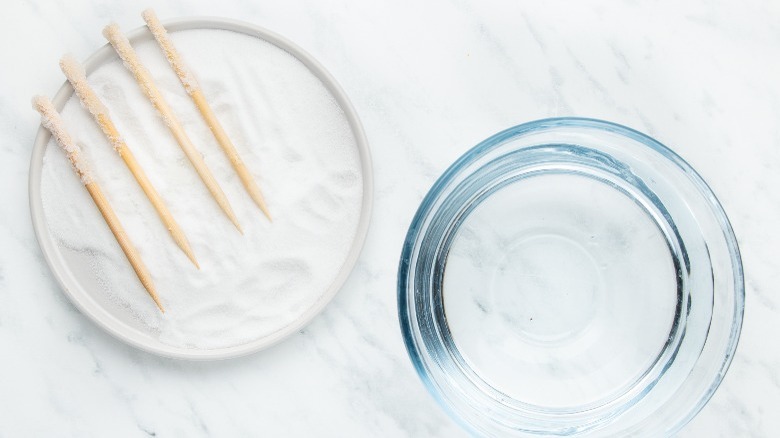
Rock candy is made by essentially allowing sugar crystals to grow on sticks over time, so it makes sense you start off the process by adding some sugar to your sticks. Pour some on a plate, dip the top half of your sticks in plain water, then roll them in the sugar.
Leave the sticks to dry, and get started on making the sugar syrup that will form the rest of the candy. Simmer a pot of water on the stove and add sugar to it about 1 cup at a time, letting it dissolve before adding more, until the liquid is boiling and you've incorporated all the sugar. Set the pot aside to cool for 20 minutes.
Submerge your rock candy sticks
After your sugar syrup has cooled, pour an equal amount into each jar and add whichever food colorings or flavorings you're planning to use. Brookes used peppermint and rose water extracts for hers. Stir the liquid so it becomes a uniform color and texture.
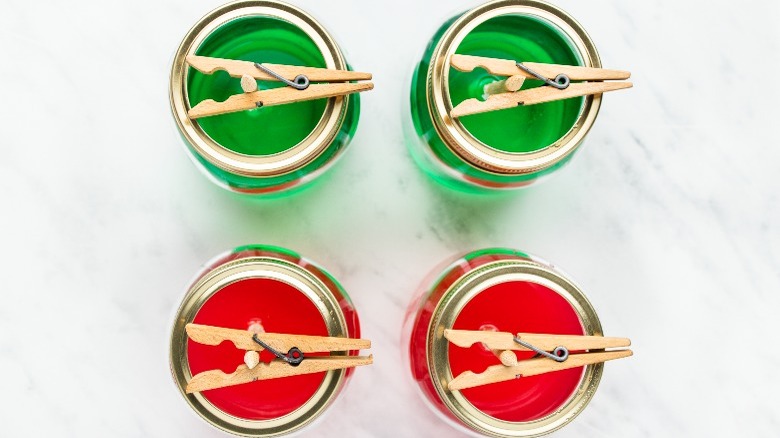
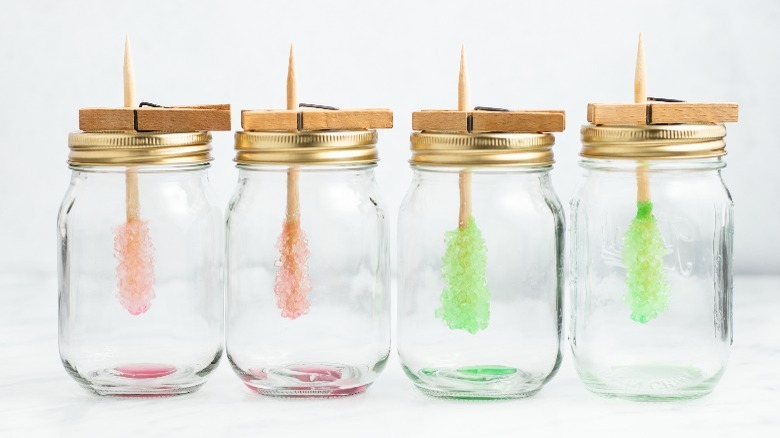
Then, add the sticks. Snap a clothespin on the bottom of each one (the area not rolled in sugar), and place each stick in a jar so the sugar-coated end is completely submerged. Now, the waiting game begins. The sticks should stay in the jars for at least five days, but can hang out for a week or even longer, if you want — Brookes says the candy "should gradually get bigger each day, waiting longer will yield a larger rock candy."
Reward your patience with rock candy
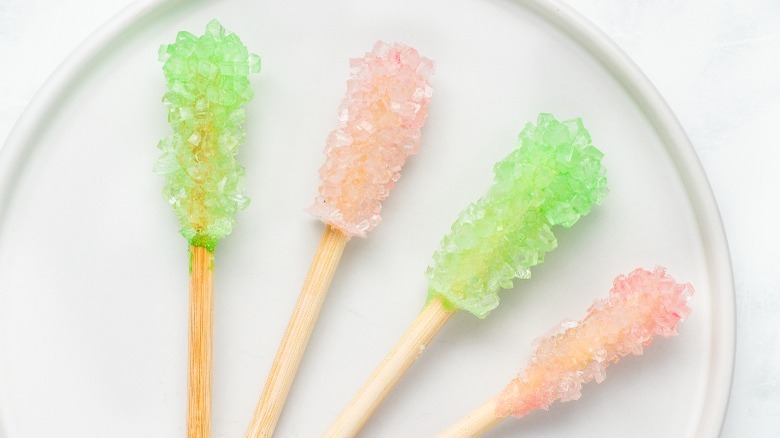
Once your candies have crystallized and grown to your desired size, carefully remove them from the jars of liquid. If any sugar solids have formed at the top of the jar, break them apart by softly tapping with a spoon. Once you've freed your homemade rock candy, you're not quite done. For the final step, suspend them in jars once again — empty ones this time — so they can dry for a few hours. Once you do that, your rock candy is ready to admire and enjoy.
Yes, this a bit of a process, but the fruits of your labor will last a long time. "If kept dry, rock candy can actually keep for up to a year! These are best stored at room [temperature] in an airtight container," Brookes notes. Whether you enjoy your rock candy by yourself, or unveil it at a gathering of loved ones, you can rest easy knowing you've created something just as impressive as what's sold at your local candy store.
Homemade Rock Candy Recipe
Rock candy may seem like a tough thing to make, but it's surprisingly easy. This recipe for homemade rock candy only requires 2 ingredients and some patience.
Ingredients
- 6 cups white sugar, plus extra for rolling the sticks in
- 2 cups water
Optional Ingredients
- Food colorings and flavor extracts of your choice
Directions
- Sprinkle sugar onto a plate, then dip the ends of the wooden sticks in water before rolling them in the sugar so the ends are coated in a layer of sugar crystals. Leave these to dry for 30 minutes.
- Add 2 cups water to a large saucepan and place it on the stove over medium-high heat. Once simmering, add the sugar 1 cup at a time, stirring after each addition until dissolved. Once the liquid is boiling and the sugar has completely dissolved, remove the pan from the heat. Let it cool for 20 minutes.
- Evenly distribute the sugar water between 4 Mason jars. If you'd like to add coloring and flavoring, do this now. Add ¼ teaspoon of the extract of your choice to each jar, if desired. Then add a few drops of the food coloring of your choice to each jar. Stir well.
- Clasp a clothespin on the uncoated end of each wooden stick, then rest them over the openings of the jars so the sticks are suspended inside, at least 1-inch from the bottom. The sugared ends should be completely covered in liquid.
- Leave the jars at room temperature for 5-7 days. The sugar crystals will develop slowly to form your rock candy.
- To remove the sticks from the jars, use a small spoon to carefully break away any solid crystals that have formed at the top of the jar, then slowly remove the stick.
- Use the clothespins to rest the candies over empty Mason jars for at least 3 hours so they can dry.
Nutrition
| Calories per Serving | 1,161 |
| Total Fat | 0.0 g |
| Saturated Fat | 0.0 g |
| Trans Fat | 0.0 |
| Cholesterol | 0.0 mg |
| Total Carbohydrates | 299.9 g |
| Dietary Fiber | 0.0 g |
| Total Sugars | 299.4 g |
| Sodium | 7.7 mg |
| Protein | 0.0 g |
