No-Churn Chocolate Ice Cream Recipe
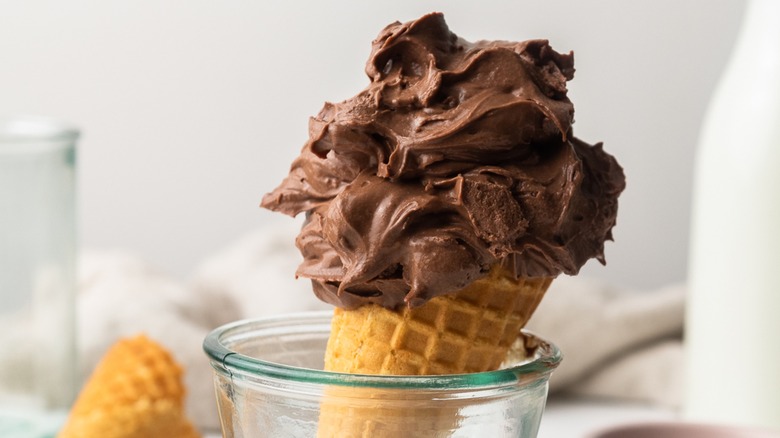
If you are looking for a really easy way to make ice cream in the comfort of your own home, then look no further than this no-churn chocolate ice cream. There are so many things to love about this ice cream recipe, including the fact that it takes just a few easy steps. Whether you're a beginner or a pro, this should be no problem to make.
Recipe developer and food photographer Jennine Bryant came up with this tasty no-churn ice cream recipe that is sure to be a new favorite in your dessert rotation. "I like how fun this recipe is, it's such a simple and different way to make delicious ice cream without the fuss and complexity of making the standard custard base. The inclusion of two bars of plain chocolate also means that it has a super chocolatey flavor, it isn't just reliant on cocoa powder to pack that chocolate punch," Bryant raves.
She also shares why she prefers the no-churn method, "I love no churn methods of making ice cream primarily because it means I don't have to find space to store an ice cream machine in my tiny kitchen! Ice cream machines are super handy and they make wonderful ice cream, but if you don't have the means or the space to justify having one at home, I think it's great to know that you can still make delicious tasting, soft and scoop-able ice cream!"
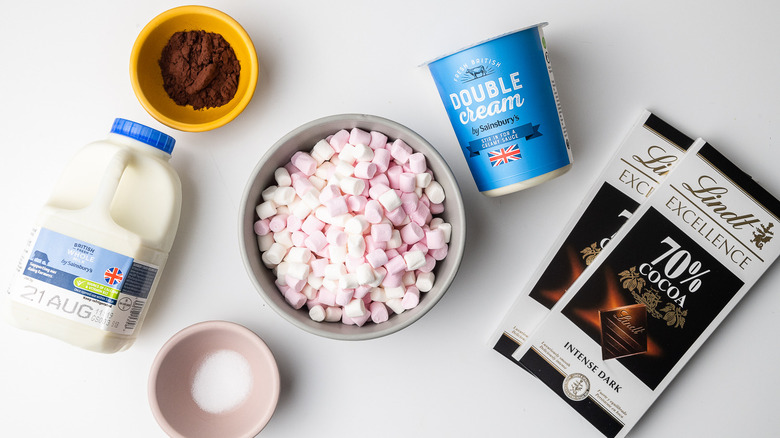
Gather the ingredients for this no-churn chocolate ice cream
This recipe is easy because it only requires a handful of ingredients. Get whole milk, marshmallows, plain chocolate, whipping cream, cocoa powder, and salt. "You could definitely sub out the chocolate for different flavors like milk or white," Bryant notes. "You could also add nuts, chocolate chips, more marshmallows, crushed pretzels or anything — your imagination is the limit!"
Once you have that short list of things, you can get going on this no-churn chocolate ice cream.
Add chocolate to a bowl and heat the marshmallows and milk
The first thing you will need to take out is the plain chocolate. After you break it up into small pieces, place the chocolate in a large bowl and then set it to the side since you won't need it just yet.
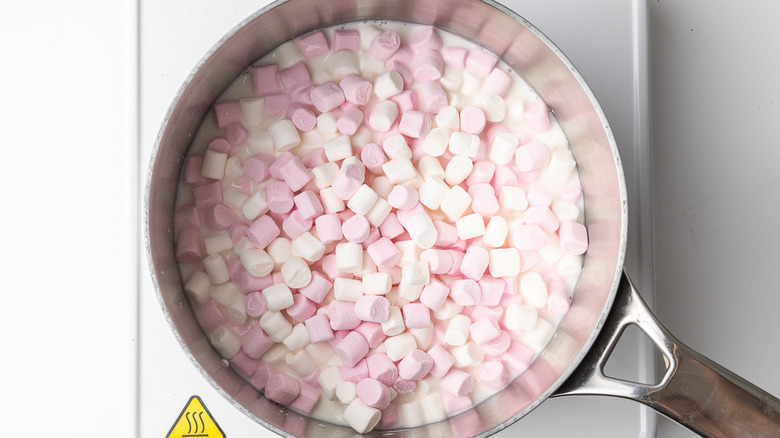
Next, select a saucepan and add the milk and marshmallows. Gently turn up the heat to warm the marshmallows and milk. Be sure to stir the mixture frequently to prevent anything from sticking to the bottom of the pan. "The secret ingredient in this recipe is definitely its reliance on marshmallows in place of the classic custard base," Byrant shares. "They provide both the sweetness and the softness to the ice cream which makes it easy to scoop. Also, somewhat wonderfully in hot weather, they actually decrease the drippiness of the ice cream which is a win in my book!"
Combine the marshmallow mixture and the chocolate
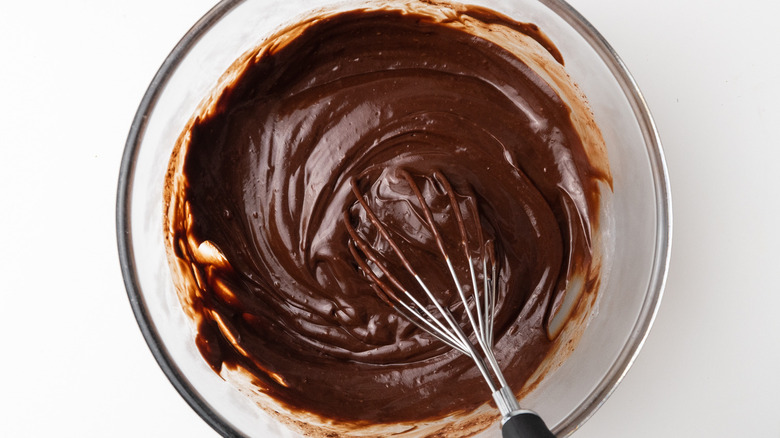
As soon as the marshmallows have fully melted into the milk, remove the saucepan from heat. Then, carefully pour the hot marshmallow mixture into to bowl with the chocolate, making sure to stir until the chocolate completely melts. Since your marshmallow mix is hot, it shouldn't take much time for the chocolate to melt.
Set the mixture to the side for the time being.
Whip the cream
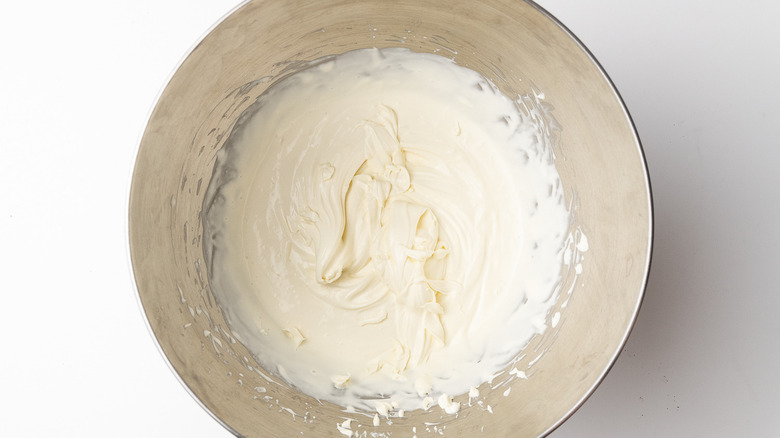
Grab the bowl of a stand mixer to use for this step. Alternatively, you can use a mixing bowl and electric whisk. Add the cream and whip. "I normally whip cream in my stand mixer and takes about 20 to 30 seconds until it is thickened," Bryant says. "By hand it should only take two or so minutes. Ideally, the cream should be thickened to the point that it can hold its shape and forms soft peaks. It's much better to slightly under-whip cream than to over-whip it and accidentally cause it to split."
Combine the cream and chocolate mixture
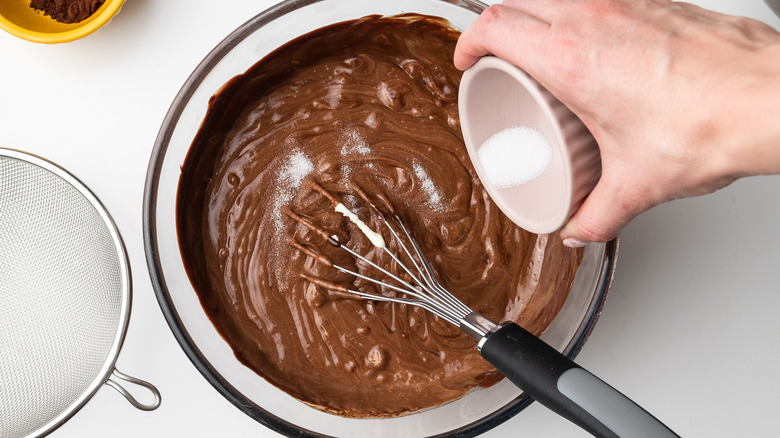
After you allow the chocolate mixture to completely cool at room temperature, add the whipped cream to the same bowl. The last two things you will need to add to the ice cream mixture are cocoa powder and salt. Once you add those ingredients, give the ice cream a few mixes to combine well.
Freeze the ice cream
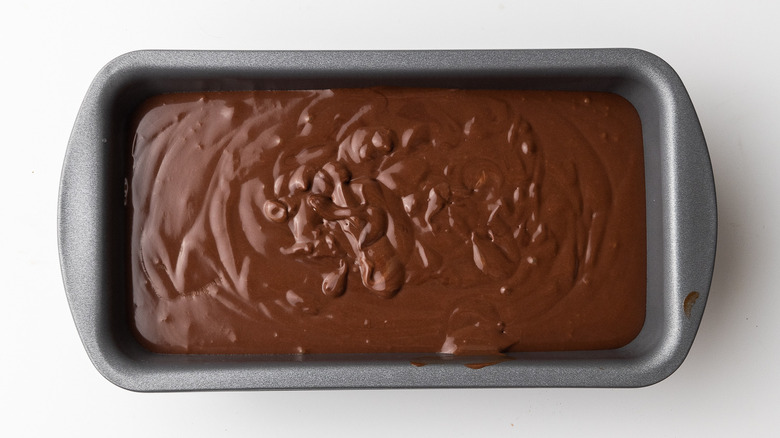
Pour the ice cream mixture into a 2lb tin or a loaf pan and be sure to cover it with cling wrap. Then, stick it in the freezer for a minimum of 8 hours. You can also just leave it overnight to chill.
Be sure to remove the ice cream from the freezer about 5 minutes before serving, so it has just a little time to thaw.
Serve and enjoy
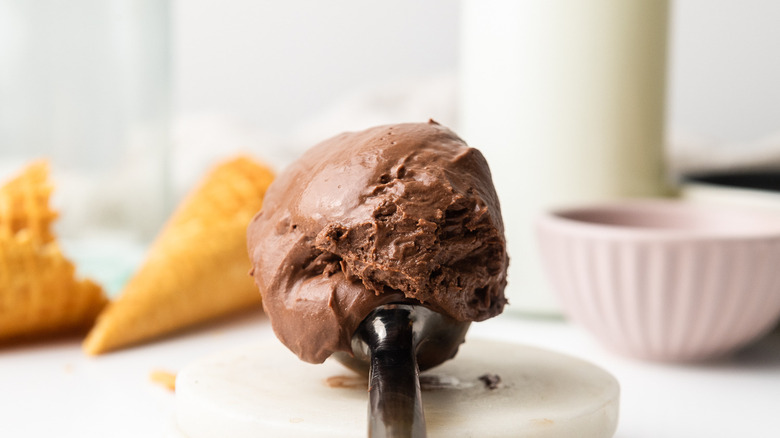
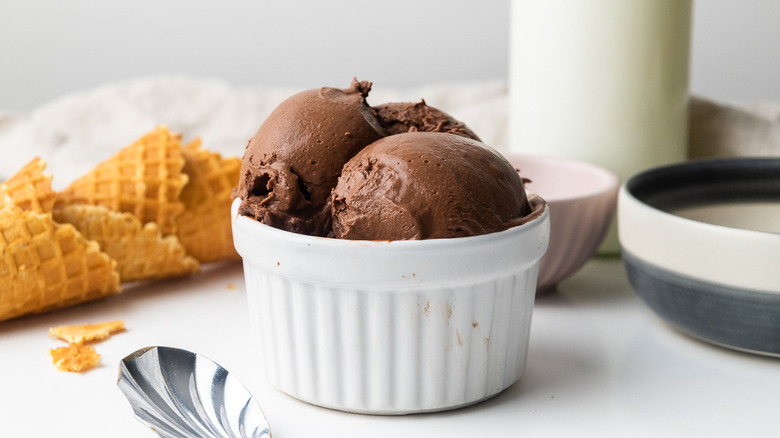
Now, all there's left to do is to start scooping the ice cream into bowls or cones. Of course, this rich ice cream is plenty on its own, but if you want to do a sundae bar or add sprinkles to the ice cream, go right ahead!
If you have anything left, don't worry! "It's best to consume home-made ice cream within the first week or two of having made it, which won't be hard with this delicious recipe!" Bryant says. "When storing it in the freezer, make sure that this ice cream is securely covered to protect it from freezer burn."
No-Churn Chocolate Ice Cream Recipe
If you are looking for a really easy way to make ice cream in the comfort of your own home, then look no further than this no-churn chocolate ice cream.
Ingredients
- 1 cup whole milk
- 3.5oz marshmallows
- 7oz plain chocolate, broken into pieces
- 1 ¼ cups whipping cream
- 1 tablespoon cocoa powder, sifted
- ½ teaspoon salt
Directions
- Place the broken-up plain chocolate into a large bowl and place to one side.
- In a saucepan, gently heat up the milk along with the marshmallows, stirring regularly.
- Once the marshmallows have fully melted, remove the saucepan from the heat and pour the marshmallow mixture over the chocolate and keep stirring until the chocolate has completely melted.
- Set the chocolate marshmallow mixture aside to cool. Meanwhile, whip the cream using an electric whisk or a stand mixer.
- When the chocolate mixture has cooled to room temperature, fold in the whipped cream, followed by the cocoa powder and the salt.
- Pour the chocolate ice cream mixture into a 2lb ice cream tin or loaf pan, cover well with wrap, and put in the freezer for 8 hours or overnight.
- Remove the chocolate ice cream from the freezer 5 minutes before serving.
Nutrition
| Calories per Serving | 384 |
| Total Fat | 26.8 g |
| Saturated Fat | 16.3 g |
| Trans Fat | 0.0 |
| Cholesterol | 59.3 mg |
| Total Carbohydrates | 38.5 g |
| Dietary Fiber | 2.3 g |
| Total Sugars | 31.1 g |
| Sodium | 245.3 mg |
| Protein | 4.2 g |
