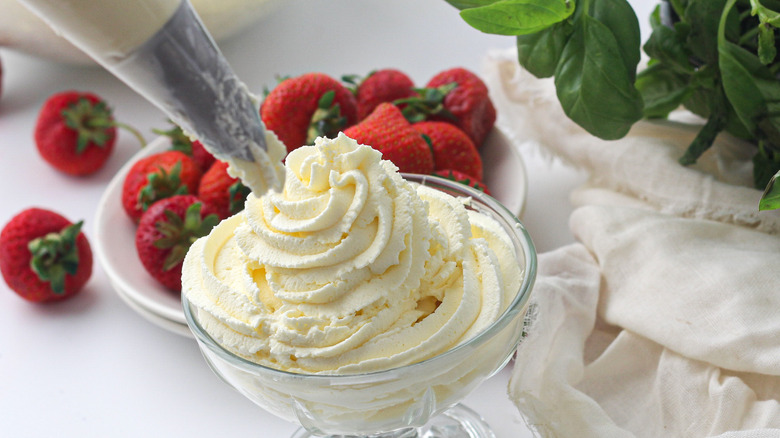
Stabilized Whipped Cream Recipe
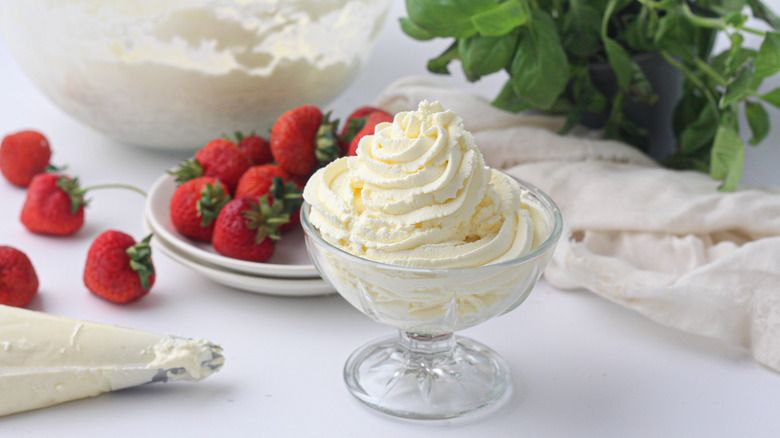
If you've ever tried to top a cupcake with a swirl of whipped cream, only to have the whipped cream lose its shape and turn into something more akin to a puddle, then you're in need of this recipe for stabilized whipped cream. "Stabilized whipped cream is made with a combination of heavy cream and additional cornstarch," explains recipe developer Susan Olayinka of The Flexible Fridge. "This results in a cream that is less likely to deflate." So instead of being left with "puddles" of whipped cream on top of your homemade pies, puddings, or cookies, you get to enjoy the bakery-style swirls of airy sweetness that look as good as they taste.
But if the thought of making stabilized whipped cream sounds like a hassle, it really shouldn't. This recipe only requires three ingredients to make, and you can have it ready to go in just a couple of minutes, which is exactly why Olayinka likes it so much. "This recipe is quick and easy to make, and it will hold its shape for several hours," she says, leaving us with a final tip to make sure the cream doesn't deflate: "Just be sure to use cold ingredients and beat the cream until it is very stiff before using it." Sounds simple enough, right? Let's get started.
Gather the ingredients for stabilized whipped cream
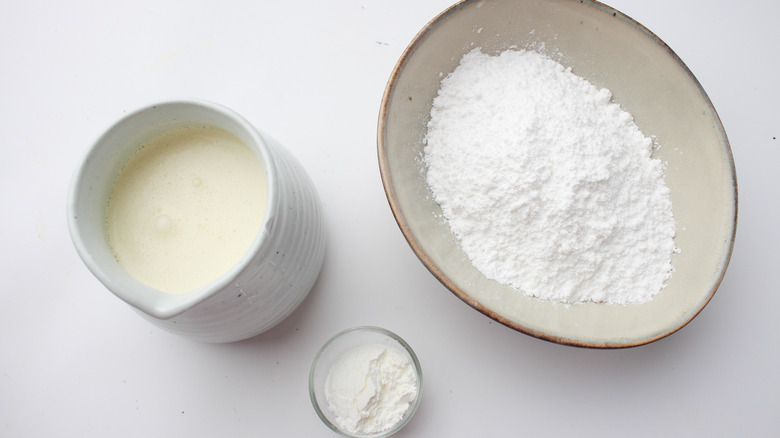
As we already mentioned, this recipe only requires three ingredients, and you might already have them on hand. All you'll need is heavy cream, powdered sugar, and cornstarch.
Depending on which brand you use, your powdered sugar may actually already have a trace amount of cornstarch in it to prevent it from clumping. Either way, you'll want to use some more. "Cornstarch is the key ingredient here! Without it, your whipped cream will likely deflate," Olayinka warns. But as long as you use all three ingredients, your stabilized whipped cream will be ready to go in a flash.
Mix the whipped cream ingredients
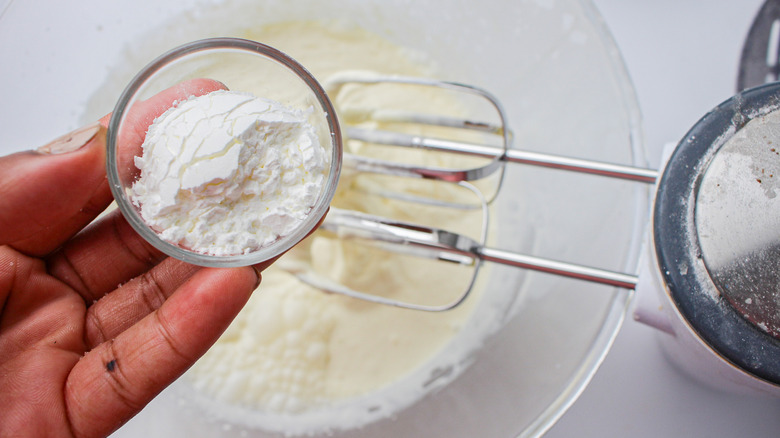
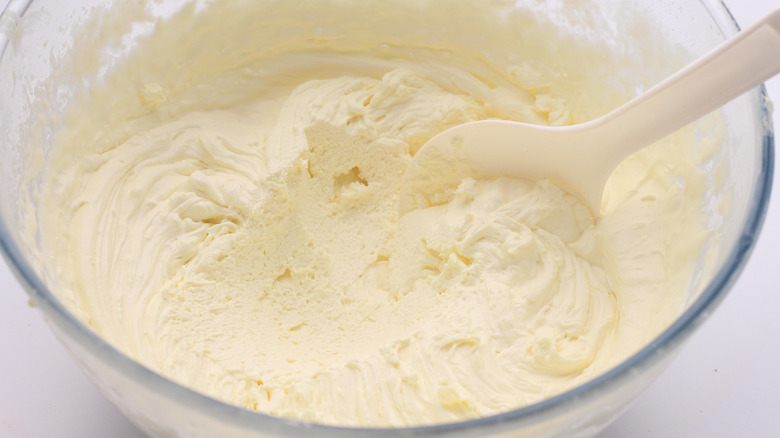
Place all three ingredients (the heavy cream, cornstarch, and powdered sugar) into the bowl of a stand mixer. Then, simply mix them together with the whisk attachment for 2 to 3 minutes until stiff peaks form. That's it; your whipped cream is now ready to use!
Consider coloring or flavoring the whipped cream
While the basic recipe couldn't be easier, Olayinka says that it's also very easy to color or flavor the whipped cream, if you're so inclined. "To flavor stabilized whipped cream, simply add in your desired extract (such as vanilla, almond, or peppermint) before whipping. To color it, add in a few drops of food coloring gel after the cream has been whipped," she explains.
Serve or store the stabilized whipped cream
With the whipped cream ready to go, all that's left is to decide when and how you're going to use it. "Whipped cream can be used as a topping for cupcakes, cakes, or cookies. It can also be used as a filling for cream puffs, or as a decoration for larger cakes," Olayinka suggests. You can use a spoon and knife to apply it, if you want, or you can put it in a piping bag to create swirls of whipped cream for your favorite desserts. And if you don't plan on using the entire batch in one go, it keeps fairly well. Simply store it in an airtight container in the fridge for up to 2 days.
Stabilized Whipped Cream Recipe
If you've ever tried piping whipped cream just to helplessly watch it melt into a puddle, then you're in need of this recipe for stabilized whipped cream.
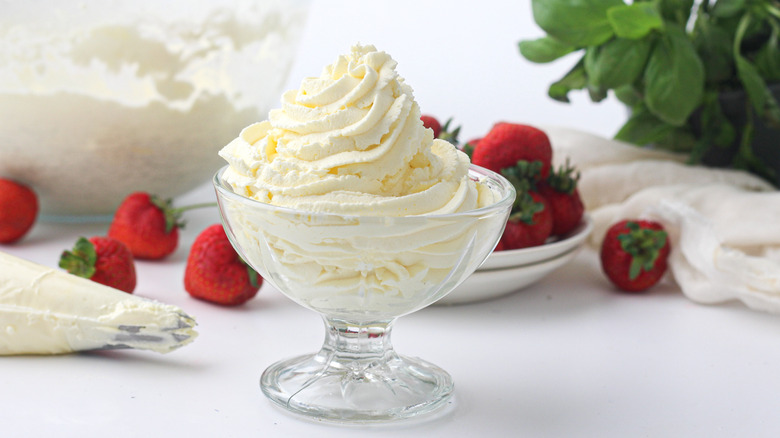
Ingredients
- 2 cups heavy cream
- ½ cup powdered sugar
- 1 teaspoon cornstarch
Optional Ingredients
- vanilla or other extract, for flavoring
- food coloring gel
Directions
- Add the heavy cream, powdered sugar, and cornstarch to a large mixing bowl or the bowl of a stand mixer. Add extract if using.
- Mix on medium-high speed with a whisk attachment until stiff peaks form, about 2 to 3 minutes.
- Fold in food coloring gel, if using.
- Serve immediately, or store in an airtight container in the fridge for up to 2 days.
Nutrition
| Calories per Serving | 236 |
| Total Fat | 22.0 g |
| Saturated Fat | 13.7 g |
| Trans Fat | 0.0 |
| Cholesterol | 81.5 mg |
| Total Carbohydrates | 9.4 g |
| Dietary Fiber | 0.0 g |
| Total Sugars | 9.0 g |
| Sodium | 22.8 mg |
| Protein | 1.2 g |
