Mistakes Everyone Makes When Preparing Homemade Sushi
We may receive a commission on purchases made from links.
Sushi is a popular dish in Japanese culture, offering tasty combinations of rice, raw fish, and other tasty additions for flavor and texture. Although sushi was originally reserved primarily for Japan's wealthiest eaters, more modern forms of preparation have made it easier and cheaper to make and, therefore, more accessible to consumers around the globe (via PBS).
Making sushi in home kitchens is becoming more of a mainstream task, as people desire to recreate their favorite sushi rolls in an affordable and creative way. However, if you've ever attempted making your own dragon roll or Hawaiian roll, you probably know that sushi is not the easiest dish to create. Sushi can be tricky to get just right and time-consuming to prepare.
That certainly doesn't mean you can't accomplish it. In fact, there might be a few common mistakes you're making with homemade sushi that you can learn to fix just by reading this guide.
Not using the right kind of fish
When it comes to making sushi, using the right kind of fish absolutely matters. You won't see sushi chefs choosing affordable prepackaged salmon filets from a grocery store when they make sushi for their restaurants. Nor are they using whatever raw fish a local fisherman brings them.
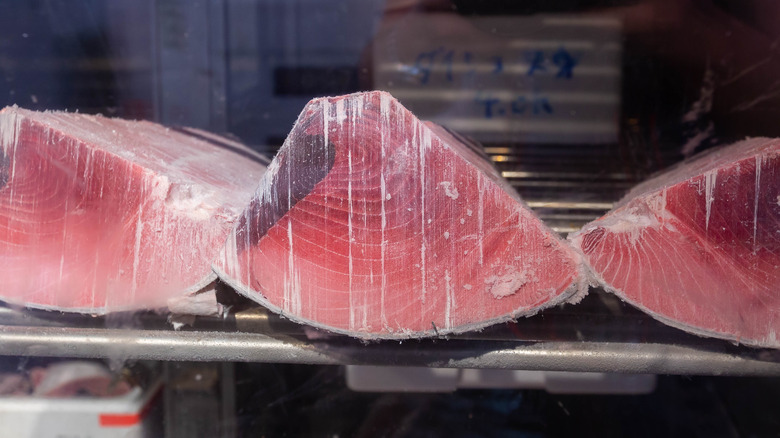
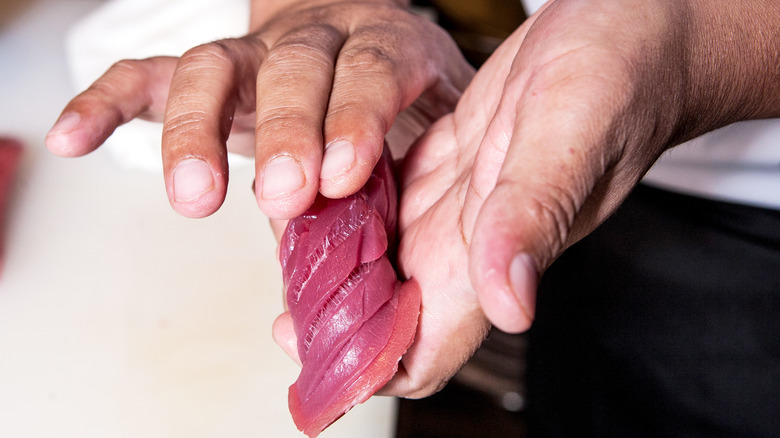
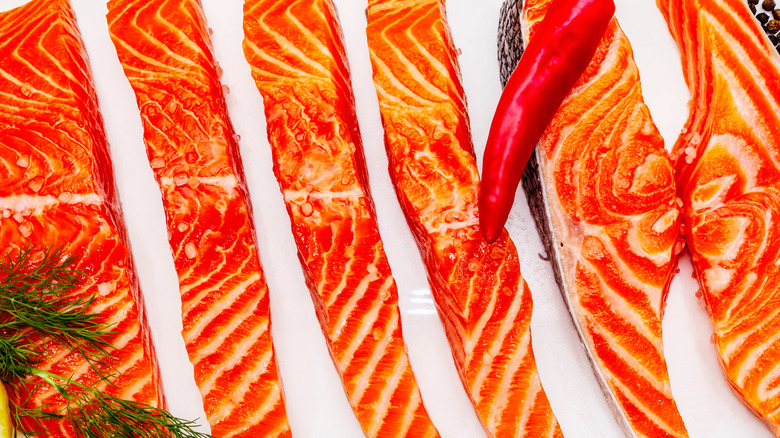
Instead, they're choosing high-quality, sushi-grade fish. Generally, fish marked as sushi-grade is relatively safe to eat raw, as you'll do when you eat a piece of sashimi or nigiri. However, as Serious Eats points out, sushi-grade fish isn't actually graded by anything, so there's always a chance that raw fish can lead to illness. Therefore, the more important feature to watch for is quality. Tuna and farmed salmon raised on parasite-free feed are usually good picks for sushi to lower the risk of contamination.
The U.S. Food and Drug Administration points out that examining fish before you buy it is a must for your own safety. Fish with a strong fishy smell may have gone bad due to not being fresh or stored properly. Also, avoid discolored or pale-flesh fish, and never buy fish with time and temperature indicators that signal improper storage. Finally, if you're going to eat fish raw, only eat fish that's been frozen, as the freezing process kills parasites.
Handling raw fish incorrectly
Speaking of raw fish, it's not just choosing quality options that's crucial to your homemade sushi preparation; you should also know how to handle it correctly once you buy it. Fish is one of the touchiest foods to handle because it comes with such a high risk of foodborne illness from improper storage and contamination (per the FDA).
According to the FDA, it's incredibly important to keep the fish you buy away from other foods that are ready to eat, like bread or tomatoes sitting in your refrigerator. Also, if you bought any cooked seafood to add to your sushi, be sure to separate it from raw fish to prevent cross-contamination.
Additionally, wash your hands thoroughly before and after touching the raw fish or changing tasks, like cooking rice. Better yet, wear a pair of gloves like many restaurant chefs are required to do when handling raw fish. Wash your utensils and cutting board thoroughly, too, before switching between raw and prepared foods (per the Clemson Cooperative Extension).
Using the wrong rice
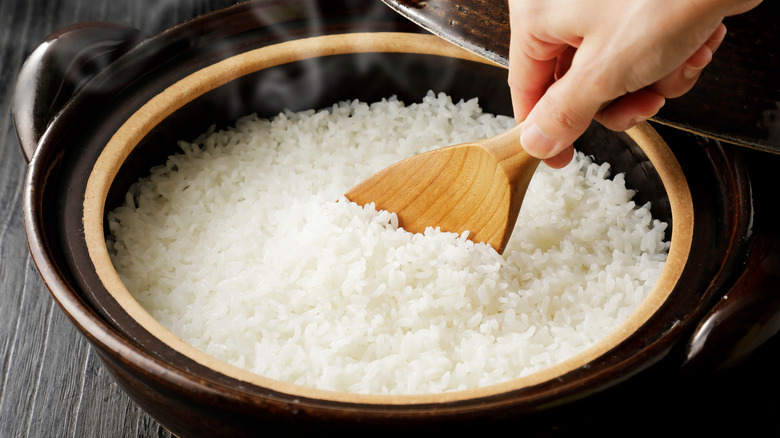
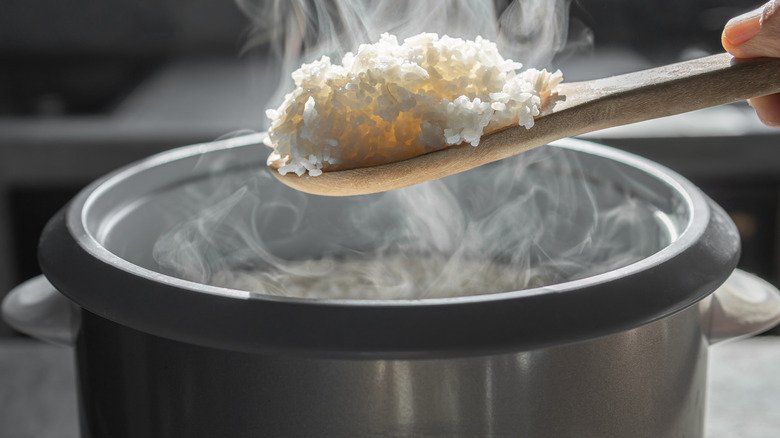
To make sushi at home, you shouldn't use just any rice you found in your pantry — especially the instant kind that takes water and just a few minutes in the microwave to cook. Sushi rice is its own special breed of rice that, when cooked properly, sticks together to make sushi easier to roll. This rice is known as japonica or shari, and it's a form of Japanese short-grain rice that has just the right texture for sushi (per Kobe Teppanyaki).
Just One Cookbook explains that short-grain rice like japonica is ideal for sushi, because its grains are shorter and wider than other kinds of rice and its starch content is much higher. When cooked, their shape and composition allow them to stick together better than, say, long-grain wild rice. When you turn this rice into rice made for sushi by seasoning it with sushi vinegar, it becomes sumeshi, which roughly translates to "vinegar rice."
Thinking a bamboo mat is necessary
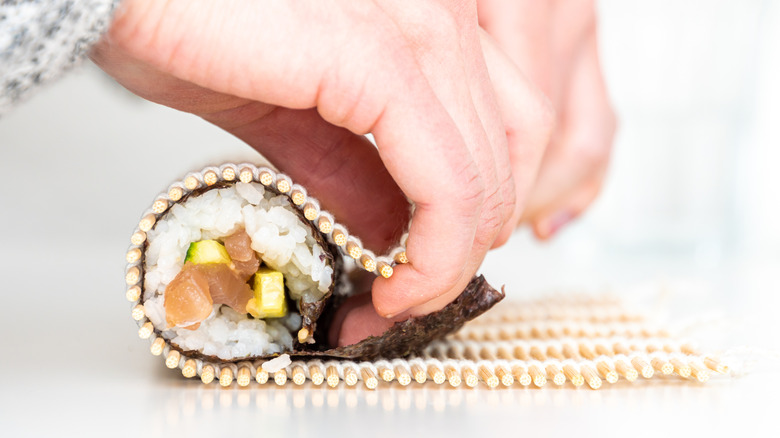
Whether you find a recipe for a cucumber roll or a caterpillar roll that you want to try out at home, you'll probably see instructions to use a bamboo mat to roll up your sushi. This bamboo mat is known as a makisu in Japan, and it's made of thin bamboo slats threaded together. With the flattened-out sushi ingredients and nori on the mat, you can roll it up to create your neat little sushi rolls.
However, if you're without a bamboo mat in your kitchen, there's no need to skip your sushi making. Spoon University explains that using plastic wrap can work just as well. To do it, lay down a dish towel with a sheet of plastic wrap on top. Then, add your nori and sushi ingredients on top, just like you would a bamboo mat. Starting with the side nearest you, lift the towel and plastic wrap to roll your sushi tightly together.
And that's not the only alternative. You can also skip the plastic wrap and just use a dish towel (per Gizmodo) or a piece of aluminum foil, parchment paper, or a cut-up paper grocery bag (via Spark Recipes).
Overstuffing the sushi
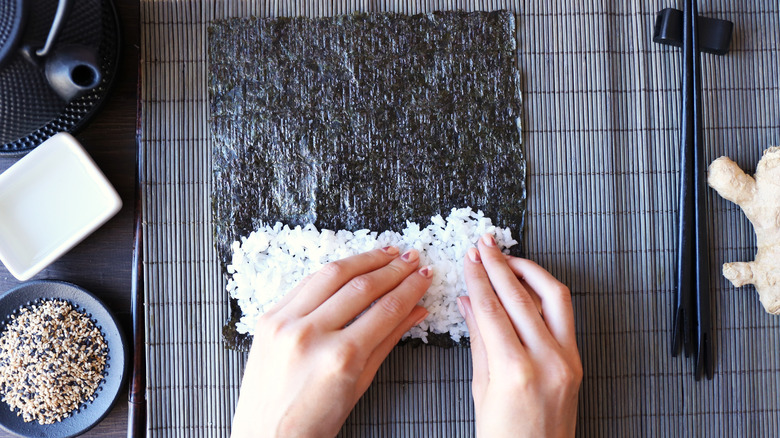
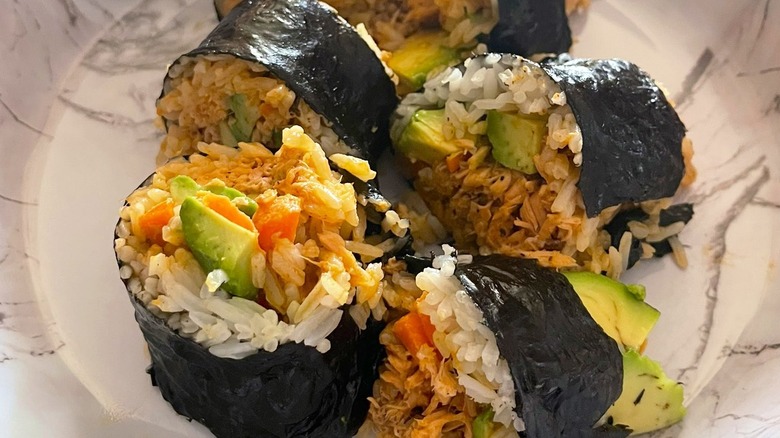
Sushi rolls are all about the rolling technique. If your sushi is overstuffed, it may not roll up tightly, resulting in a mess of ingredients on your plate rather than the neatly compacted rolls you're looking for.
Shogun Japanese Steakhouse says that adding thin layers of each ingredient on the nori is the key. You also need to leave about an inch of the nori free from ingredients, as that small amount of overlap is what will ultimately close your roll.
Japanese chef Nobuyuki Matsuhisa also has a secret for rolling sushi with just the right amount of ingredients. Matsuhisa tells Food & Wine that adding just five scoops of rice to the nori is what does the trick. Doing this balances the nori and rice while still giving you room to add your other ingredients. Still, it might take some time to perfect. "The first time will never be perfect, but try two or three times and it will get easier," says Matsuhisa.
Adding too much (or too little) seasoning
Sushi seems pretty straightforward in terms of flavoring, right? You have your nori, rice, and select ingredients, each giving their distinctive flavors to the overall taste of your sushi. However, you might not think you taste it, but sushi wouldn't be sushi without the addition of sushi vinegar in the rice.
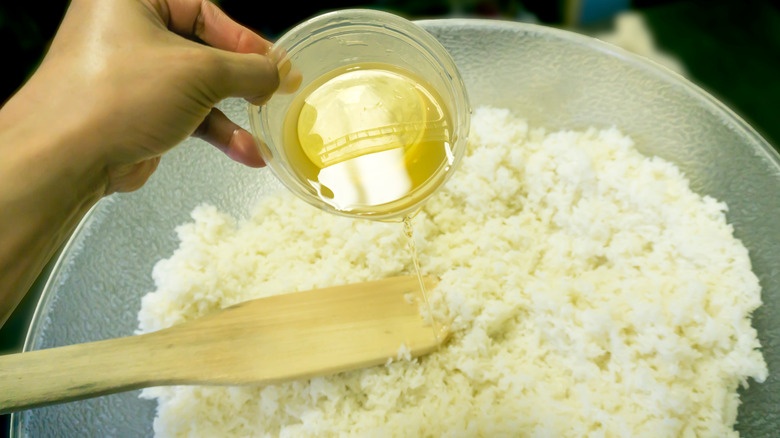
According to Breakthrough Sushi, sushi vinegar is a mixture of rice vinegar, salt, and sugar. The blend was traditionally added to sushi to slow down the process of bacteria growth in rice as sushi sat waiting for people to eat it. However, people have kept using it because it adds a balanced flavor of salty, sweet, and tangy to the rice. Many recipes call for a small amount of sushi vinegar added to the rice after cooking it.
Chef Nobuyuki Matsuhisa tells Food & Wine that soy sauce is a must, too, but you don't want to add it straight into your sushi, or you'll risk overpowering it with saltiness. Instead, add a splash on the side, which will bring just the right amount of flavor if you seasoned your rice properly.
Waiting until the last minute to make sushi
Think that sushi is only going to take a few minutes to make? Wrong. If you're looking to replicate authentic sushi-making practices, be prepared to spend some time working on your techniques.
The first step in making sushi is cooking the rice. Of course, just cooking the rice won't do. You also need to prepare the sushi rice by washing it to remove rice bran. This process entails rinsing the rice thoroughly with water using a strainer and your hands, and it can sometimes take four to five rinses to wash the rice completely (per Kikkoman). Then, you're ready to cook, which can take about 1 to 1½ hours.
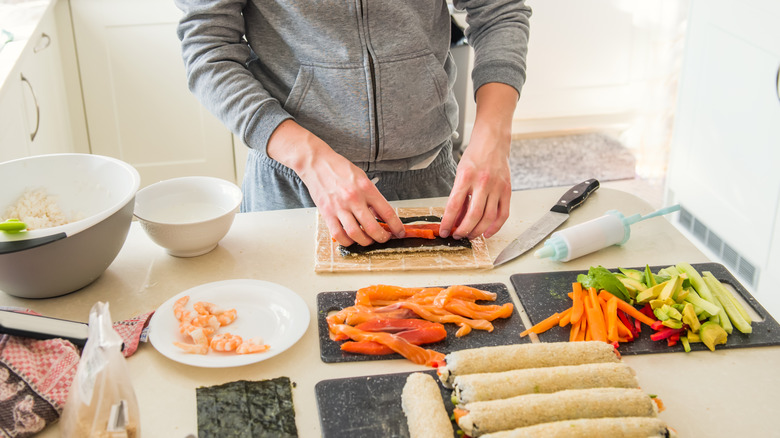
Next comes cutting up your vegetables and preparing the fish you're using. If you're using fresh fish, you'll need to set aside plenty of time to clean and filet it. Don't forget to add a few extra minutes to clean and sanitize your cutting board and utensils to prevent cross-contamination.
Finally, it's time to construct your sushi. If you're new to making sushi, you'll need extra time to get the hang of rolling it up. Overall, expect a modest amount of sushi — say, for a small family — to take between 2-3 hours from start to finish. Even head sushi chefs need as many as 10 years of training to become quick sushi makers (per Kobe Jones).
Making sushi too far in advance
You don't want to wait until you have an hour left to serve your family or guests to start making sushi, but you may also want to avoid starting it the night before. One home cook asked on Food52, "I'm considering serving sushi at an upcoming gathering. How far in advance can rolled sushi be made? Is there a better type of sushi to make for a crowd in advance?"
The answer? "Sushi is best fresh. The rice should be room temperature, the cold ingredients cold, the hot ingredients hot, and the nori sheets should not start soaking up moisture from the rice. That's why it is ideally made to order."
Aside from not tasting as fresh when it's hours old, sushi could also pose some health risks if it's left out for too long or not stored properly. This is especially true when you include raw fish in your sushi. According to the USDA, food should never stay out of the refrigerator for longer than two hours, as doing so gives bacteria a prime opportunity to multiply. Even if you store sushi in the fridge, it has a shelf life of no more than two days (via USDA).
For best results, start your sushi a few hours before you plan to serve it and store it in the refrigerator. You can even make the rice beforehand to save time later.
Not using the right techniques to prepare the rice
Sushi rice is arguably the most important part of sushi. For most pieces of sushi, it's kind of like the glue that holds everything together, especially with rolled sushi. Getting the rice right can set you on a path of success in home sushi-making.
Sanraku Japanese Restaurant suggests using a rice cooker to get the ideal cook and a wooden rice paddle to toss and season the rice with sushi vinegar. You can also experiment with your Instant Pot or stovetop if you feel more comfortable using those. Then, once you're rinsed the rise thoroughly, you'll need to soak it for about an hour to give it a little jump-start when you're ready to cook.
After cooking and seasoning, be sure to let the rice cool to room temperature. RUKA executive chef Thomas Park tells Insider, "Sushi rice, for optimal texture and taste, should be around body temperature – 85-98 degrees is the sweet spot. Rice at this temperature is not gummy and has the best texture and 'melts' with the fish." Park also suggests keeping a bowl of cold water nearby to dip your hands into as you construct your sushi, as it prevents rice from sticking to your hands.
Adding ginger and wasabi to the sushi
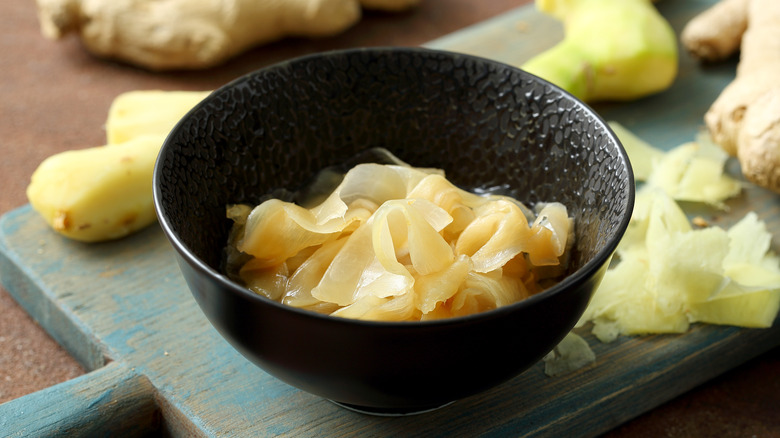
Ginger is a staple ingredient in many Asian dishes, so it's not surprising that you'll find it served with sushi at a restaurant. Sushi restaurants typically serve gari, or pickled ginger, in a bowl alongside your sushi. It's sweet and tangy while still letting the strong flavor of ginger shine through.
But why does ginger not go right into sushi instead of on the side? You might think that your bowl of ginger brings extra flavor to sushi, but you'd be incorrect. Sushi chef Naomichi Yasuda explains in a video for Munchies that you should only eat the pickled ginger after eating a piece of sushi rather than with the sushi because it cleanses your palate between bites.
You also might be tempted to add little blobs of wasabi to your sushi. This ingredient is one you'll also usually find beside sushi at a restaurant. Even if you love its taste, refrain from incorporating it in your sushi pieces to avoid unbalancing their flavors. Instead, dip a piece of sushi in the wasabi on each side before eating it (per Shogun Japanese Steakhouse).
Not factoring in its cost
There's a reason that sushi can be expensive to buy: it's expensive to prepare! There are several ingredients that go into making it, not to mention the time and precision it takes to create. You're skipping the latter by doing it yourself, but you'll still need to budget for the ingredients.
The biggest expense will likely be the fish. You can buy sushi-grade fish from a market or online from respectable websites. However, be prepared to pay more than you would for fish at the supermarket. Oishii Desu suggests buying lower-budget sushi-grade fish, like poke cubes or tuna meat, to get more for your money. Don't forget to add in the cost of all the veggies, nori, and rice you'll need, too.
And then there are sushi-making tools to consider. You'll need a rice cooker or a pot to cook the rice, a wooden paddle to stir the rice, and a mat, plastic wrap, or parchment paper to lay the sushi on to roll. To save a few bucks, think about ordering a beginner's sushi kit that includes several tools for an affordable price.
Not practicing enough or trying easier alternatives
You probably won't be a sushi-making expert after your first, second, or even fifth try. As Chef Nobuyuki Matsuhisa admits via Food & Wine, "It looks easy, but it's not easy at all. We have to go through so much training, and I didn't start immediately with sushi." Matsuhisa adds that he practiced for three years with his mentor before mastering many of the techniques to make sushi. According to Kobe Jones, many sushi chefs need years of intense training under their belts before being considered experts.
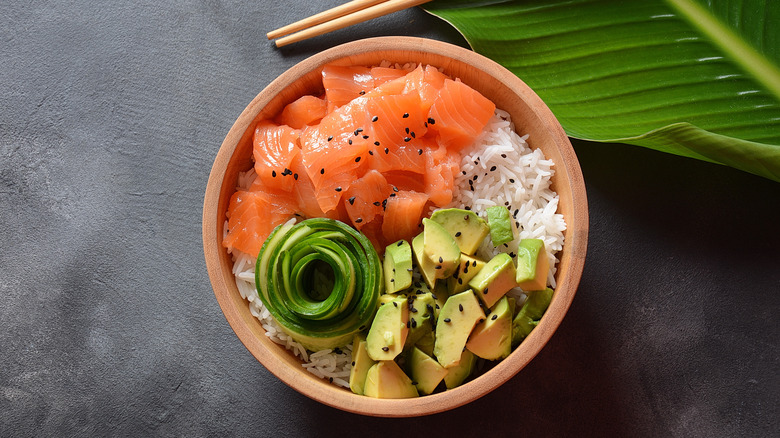
As a home sushi chef, don't feel bad about trying easier alternatives, like a deconstructed sushi bowl. This is similar to a poke bowl, a trendy new option that gives people a much easier way to enjoy sushi. Poke bowls include many of the same ingredients — fish, rice, veggies — but in a bowl form that can be completely customized to an individual's taste preferences (per People). Not to mention, there's absolutely no rolling involved!
You can even take your favorite sushi rolls and make them into sushi bowls instead. You'll still get practice with making rice, chopping vegetables, and experimenting with flavors, but without the added pressure of creating artsy sushi pieces. Prevention suggests turning spicy avocado tuna rolls, California rolls, and salmon rolls into yummy sushi bowls.
