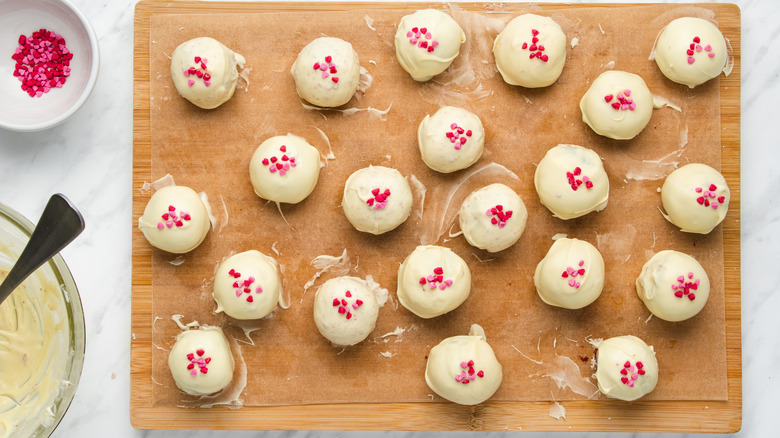
Red Velvet Truffles Recipe
Red velvet cake may be pretty trendy these days, but it's got rather an interesting story behind it. According to The New York Times, the cake in the form we know it best, with its bright red hue, may have been created in the 1930s as a marketing tool for food coloring — a pretty effective one, we dare say, since you need an awful lot of the stuff to make such a colorful cake. It also played a starring role in an urban legend alleging that the Waldorf-Astoria hotel was charging big bucks for a copy of their recipe. The only truthful part was the fact that this famous hotel did, in fact, serve red velvet cake, but they happily gave away their recipe free of charge.
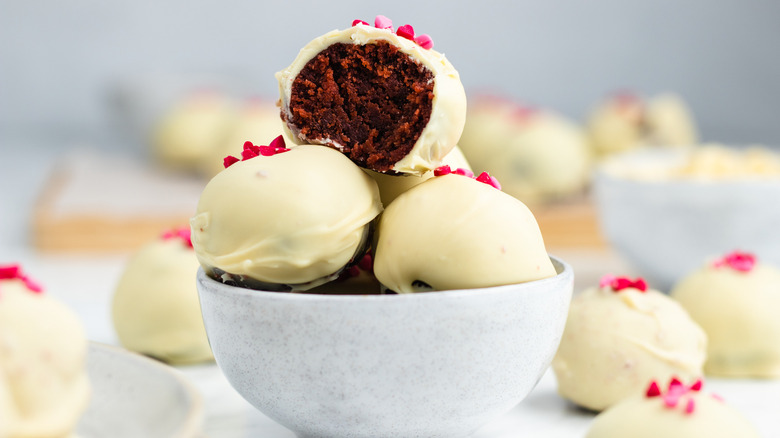
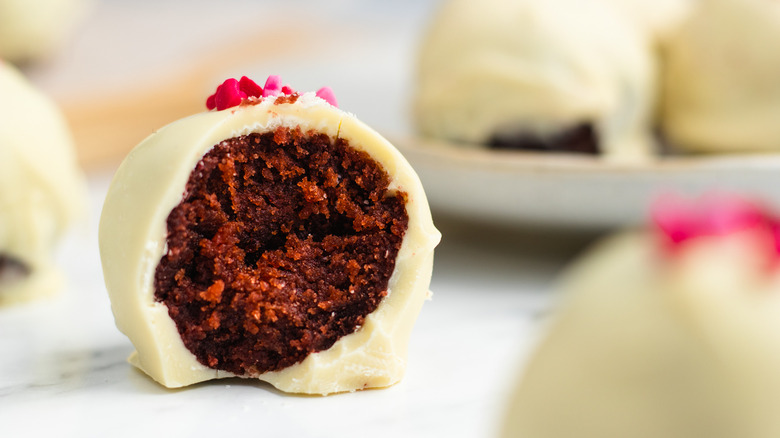
Nowadays, you can just buy red velvet cake mix in any grocery store, and this is what recipe developer Catherine Brookes uses to make her red velvet truffles, and she loves that they're "lots of fun to make!" "The combination of soft, moist red velvet cake and the hard chocolate on the outside is so tasty," she adds. Needless to say, their bright red hue makes them a natural for Valentine's Day, but you could also dress them up with some green sprinkles for Christmas or dub them "blood truffles" and trot them out for Halloween, as well.
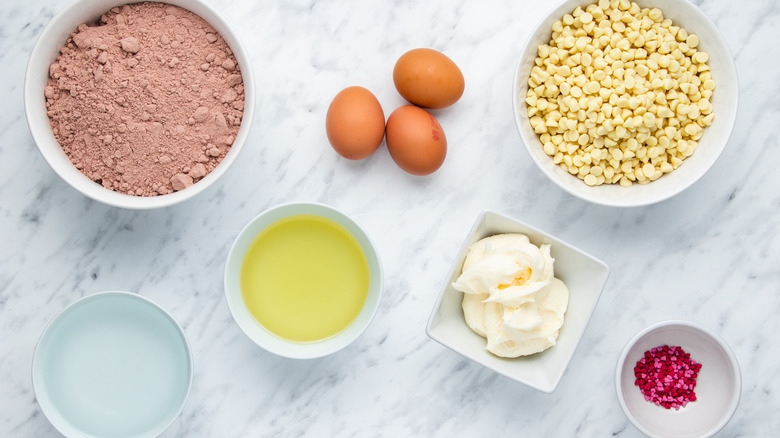
Gather the ingredients to make red velvet truffles
The main ingredient in these truffles is red velvet cake, something you'll make using the aforementioned cake mix, plus oil, eggs, and water as called for on the package. You'll also be using cream cheese frosting. Brookes says she went with store-bought frosting too, specifically the Betty Crocker brand. She does say the frosting doesn't have to be cream cheese flavored, though, telling us "chocolate or just standard vanilla would be great too."
Brookes also says it would be "no problem if you'd like to swap out the choc chips" that are used to make the candy coating — she used white chocolate, but you could use regular chocolate chips if you prefer a more chocolatey flavor. As a final touch, she decorated her truffles with heart-shaped sprinkles, although you could also use frosting or any other type of decoration you prefer.
Bake the cake
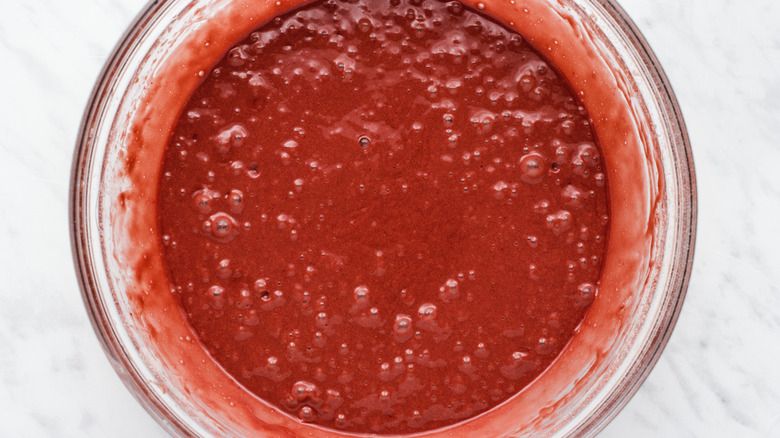
To start out the recipe, you're just going to follow the directions on the cake mix package to bake the cake. Preheat the oven, then grease and flour a 13x9-inch pan or line it with parchment paper, as Brookes did. However you usually bake cakes made from a cake mix, that's exactly what you're going to do here. Mix the eggs and oil into the cake mix, along with some water (Brookes used ¾ cup of water, as per the directions on her box), beat the batter with an electric mixer or a whisk, the pour the batter into the pan.
Bake the cake for about 25 minutes or until it is done. Test the cake by sticking a toothpick into the center of the cake. When the toothpick comes out clean, take the cake out of the oven and let it cool on a wire rack.
Form the cake balls
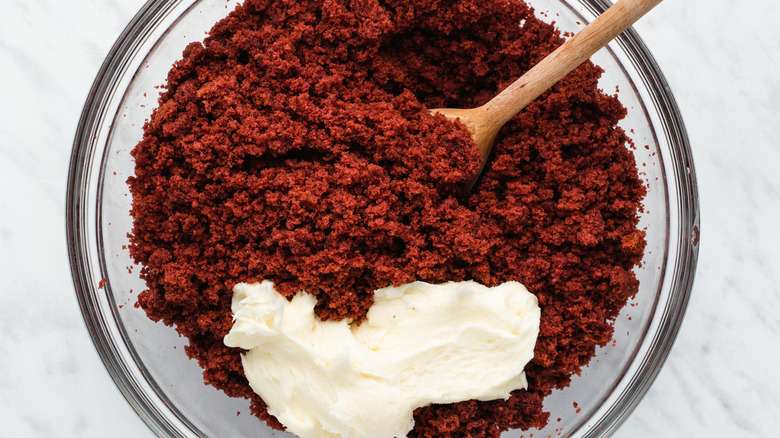
Once the cake has cooled, crumble it up and mix it with the frosting. Line a cookie sheet or similar pan with wax paper, foil, or parchment paper, then take scoops of the cake mixture about 2 tablespoons in size and roll each one into a ball. Put each cake ball on the cookie sheet as you finish rolling. Once you've used up all of the cake mix, you should have about 32 balls. Put the cake balls, cookie sheet and all, into the fridge for a few minutes.
Coat the cake balls
As the cake balls are chilling, pour the chocolate chips into a microwave-safe bowl and melt them in 30-second bursts, stirring between each burst. If you like, you can melt the chocolate in a saucepan instead. Once the chocolate is melted, take the cake balls out of the fridge. Stick a fork in one ball, dip it in the chocolate, and twirl until it's completely coated. Put it back on the cookie sheet and continue until all of the balls are coated. Decorate the cake balls with sprinkles as desired.
Once you're done making the truffles, put them back in the fridge for at least 30 minutes so the chocolate can set. After it's set, you can take them out of the fridge. Brookes says "They should keep well in an airtight container at room temp for up to 4 days," adding "I like to enjoy them with a cup of tea or coffee."
Red Velvet Truffles Recipe
These red velvet truffles come together easily and make the perfect Valentine's Day treat.
Ingredients
- 1 box red velvet cake mix
- 3 large eggs
- 1/2 cup vegetable or canola oil
- ½ can (6 ounces) cream cheese frosting
- 3 cups white chocolate chips
- 1 tablespoon heart-shaped sprinkles
Directions
- Preheat the oven to 350 F.
- Grease and flour a 13x9-inch rectangular cake pan (or line with parchment paper instead).
- Prepare cake batter according to the package directions, mixing in eggs, oil, and 3/4 cup water (or the amount called for in the directions).
- Pour cake batter into prepared pan and bake for 25 minutes, or until a toothpick poked into the center of the cake comes out clean.
- Cool the cake on a wire rack for 30 minutes.
- Crumble the cake and mix with frosting, stirring until well combined.
- Line a pan with wax, foil, or parchment paper.
- Roll 2 tablespoons of cake mixture into a ball, repeating until you've used it all up.
- Place the cake balls onto the lined pan and put the pan in the fridge.
- Melt the chocolate chips in the microwave in 30-second bursts, stirring in between each burst.
- Use a fork to dip each cake ball into the chocolate so it's completely coated.
- Top each truffle with sprinkles.
- Refrigerate the truffles for 30 minutes so the chocolate can set.
- Store the truffles at room temperature.
Nutrition
| Calories per Serving | 332 |
| Total Fat | 16.7 g |
| Saturated Fat | 6.4 g |
| Trans Fat | 0.1 g |
| Cholesterol | 33.3 mg |
| Total Carbohydrates | 43.0 g |
| Dietary Fiber | 0.4 g |
| Total Sugars | 32.4 g |
| Sodium | 240.6 mg |
| Protein | 3.4 g |
