Secrets To Taking Amazing Insta-Ready Food Photos
Food is the ideal subject for beautiful still life photography using nothing more than your phone. With a few clever tricks handily tucked into your back pocket, you can create stunning, mouthwatering shots that look like as fab on your Instagram feed as they would in the pages of a glossy magazine. That said, really good food photography requires more thought than simply snapping away with abandon come dinnertime. As you would consider a specific set of guidelines for achieving pro-level portraiture or landscape, you must consider certain guidelines when taking photos of food. Consider that the most alluring photos of food make excellent use of color, textures, shapes, and composition. Ready to tempt your followers with your stunning feed of endless stunning food photos? Read on for some helpful hints.
For goodness sake, please use natural light
Food looks best shot under natural light rather than harsh artificial lighting. Period. No weird lights. No flash. Those elements do nothing but turn your photos orange or yellow, imbuing them with unnatural colors that detract from their delicious appeal. Instead, position your masterpieces in soft natural light. Good old-fashion daylight provides gentle illumination without affecting the color of the food. Think softly diffused natural light. While it might seem proper to shoot on a bright sunny day, the brightness can cast unappealing shadows. Cloudy days are best as the clouds work as a diffuser, making the lighting naturally soft and creating far fewer shadows.
Speaking of shadows….
Shadows are usually undesirable, although they can sometimes add visual intrigue to certain food photos depending on the shapes they create on the surfaces. If you want to create strong shadows, try shooting in more direct sunlight. If you want to minimize shadows for fear that they might dominate, take photos on an overcast day or just position the food in a space that's more shaded. Don't be afraid to experiment with natural lighting! Move your food from place to place, closer or further from windows, and in and out of shade.
If you have no choice but to shoot your food photos on a super bright day, try employing the help of a reflector—otherwise, a large piece of white paper works, too. If you place your reflector where the shadows are, facing the sun, the sunlight will bounce off the reflector and hit your subject. Doing so softens the harshness of any shadows.
Keep backgrounds uncluttered
As important as the food you're shooting? The background you shoot it on! You want to focus the shot on your food without distracting from it with a backdrop that's needlessly messy or cluttered. Opt for a neutral background that lets you showcase your stunning food. While it doesn't have to be devoid of visual interest, the background should include colors and props that are complementary to the food.
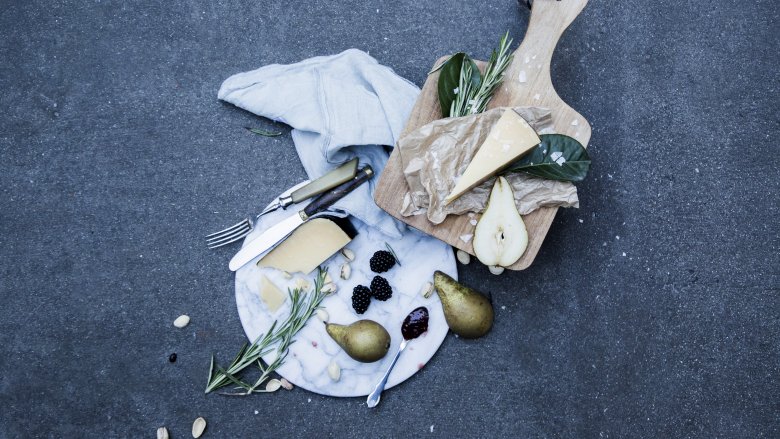
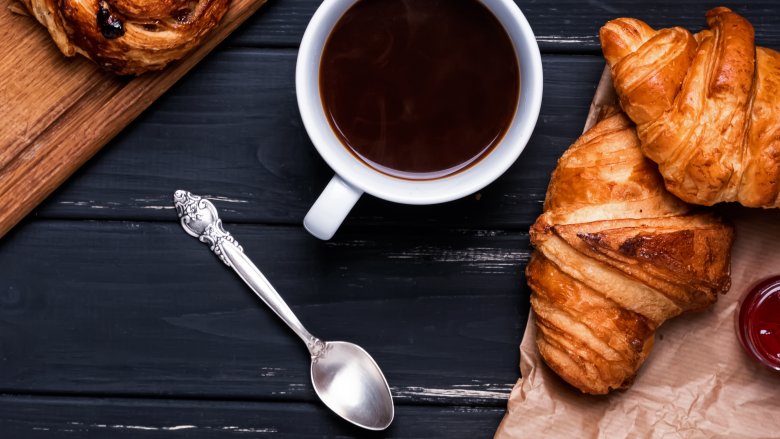
For almost every type of food shot, I find that wooden surfaces make the perfect background. They provide just enough intrigue without taking attention away from the main attraction. Moreover, the rustic look of these surfaces are ideal for pairing with food. Beyond wooden surfaces, try experimenting with various shades of marble, blackboards, and slate. My rule of thumb? Pair lighter hued foods with lighter surfaces and darker ones with darker surfaces.
Use color to your advantage
Colors can be transformative when it comes to food photography, which is why you'll rarely see them shot in black and white. I mean, what's the point? Good food photography is affecting and to make viewers feel, you need appealing colors. Moreover, color placement in a frame affects the composition of the photo. Warm colors placed together soothe while bright ones that contrast against each other lend vibrancy and life. Play around to see what works and have fun with it.
Mind your angles
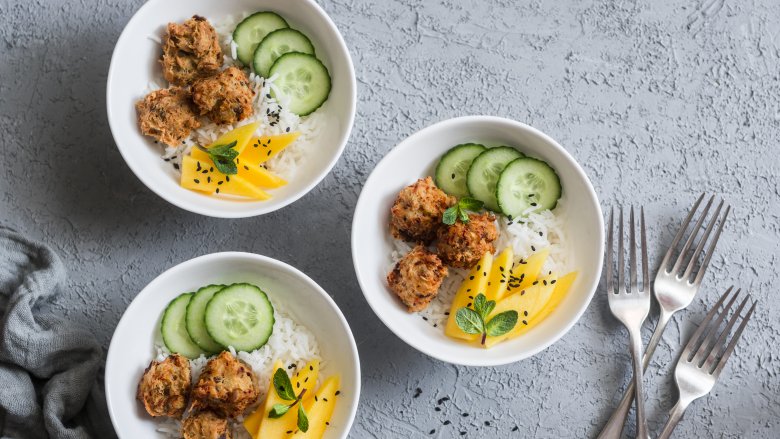
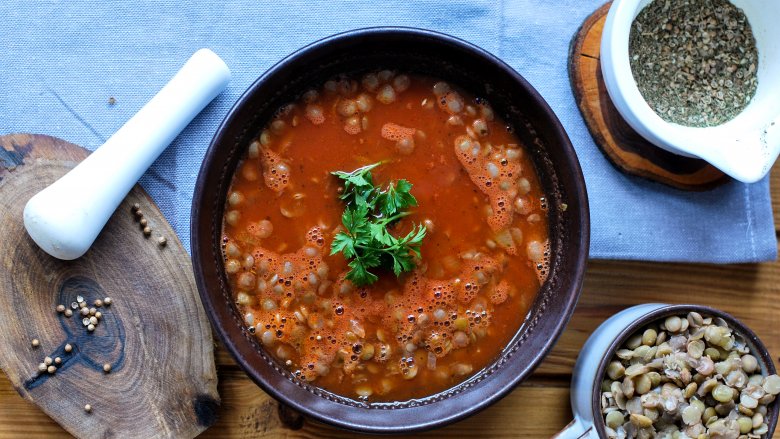
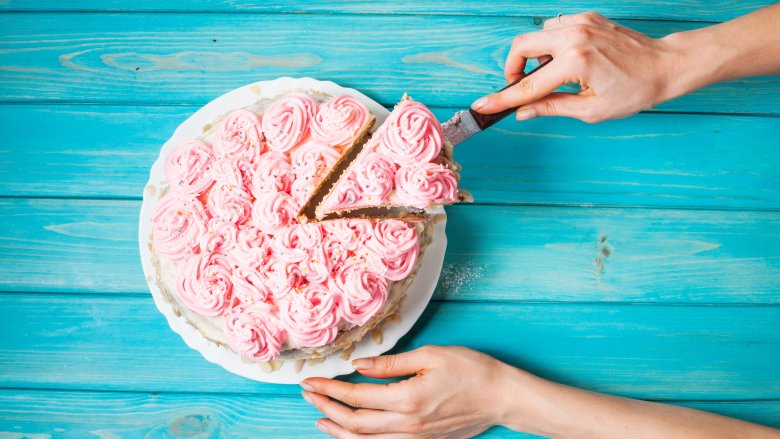
Top down food photos has become the norm, as you might have noticed from scrolling through your Insta feed. This angle works splendidly for foods placed on plates and in bowls. This angle has a lot going for it. Shooting from above allows you to include all elements of your food and background, including interesting props. That said, you might like to play around with different angles depending on what kind of food or drink you're shooting. A multi-layer parfait might fare better being photographed from the side to show off its contents. This side angle is also great if you want to highlight the interior of a cake. Be sure to shoot from the side against neutral backgrounds to avoid unnecessary noise. Your best bet is to take many photos from all angles so you can review and choose later.
Be aware of your plating
Carefully consider the way you arrange the food in your photo since every detail matters. In the same way that you wouldn't want to be served a messy plate of food at a restaurant, no one wants to look at a haphazardly thrown together dish in a photo. Think about balance and neatness when you are plating your food to be photographed. That means taking into account everything from the size of the veggies to the placement of the proteins. If you make any messes while arranging, be sure to use a wet paper towel to wipe edges of plates and such clean. For more precise cleanup, I like to employ the help of cotton swabs—yes, the kind you use for your ears!
Negative space is a positive thing
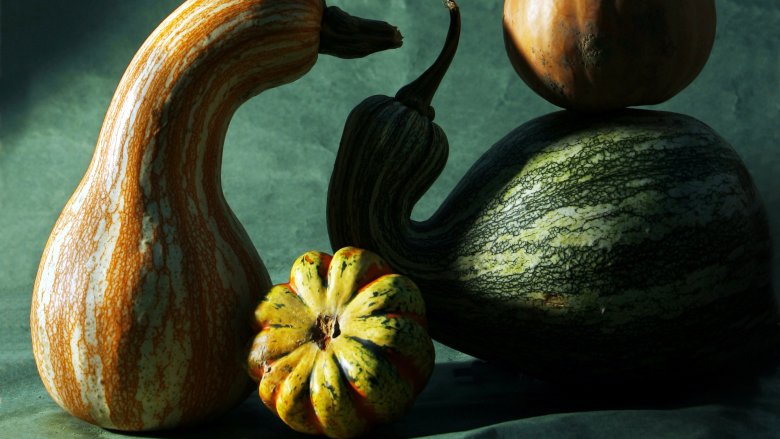
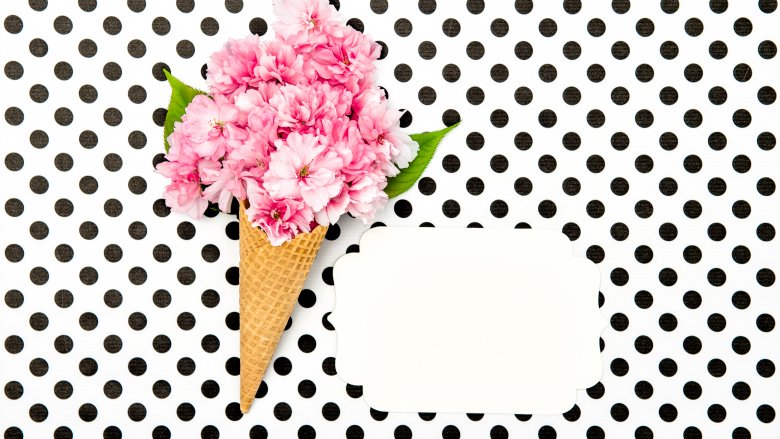
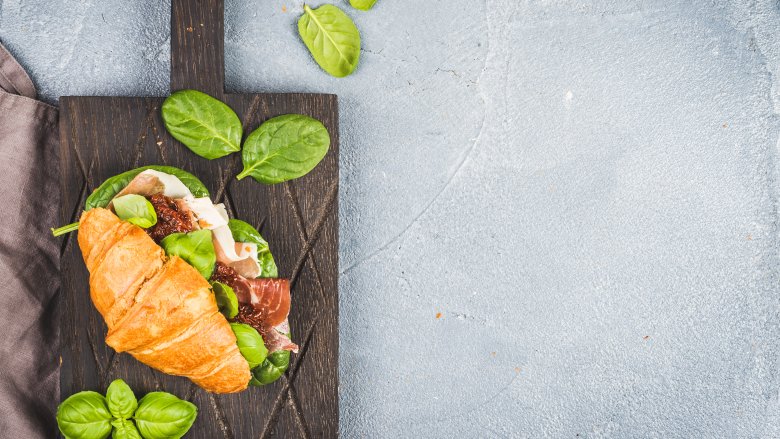
While some gooey, cheesy, or chocolatey foods are great for close-ups to showcase the decadence, other dishes need room to breathe. By leaving some uncluttered space around the main subject of the photo, the viewer can better focus on the food. Doing so also allows the composition space for highlighting interesting shapes and colors. A dark background with space around the food lets the food itself shine brightly. Move elements of the photo around to see what they might look like with space in different places. Unless you're shooting a deliberate textural close-up, try working with some negative
space.
Have fun decorating the photo
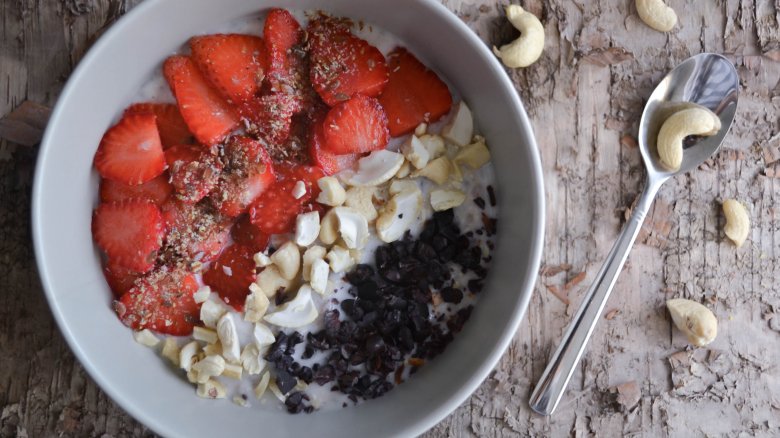
While the dish and the background you set it on are of paramount importance in a photo, so are the little details you add to the scene. Once you are ready to shoot your finished dish, consider adding some beautiful ingredients that went into it. Bright berries, vibrant spices, and roughly chopped chocolate are examples of decorative elements you might add to photos of food to set the mood. I especially like to include decorative ingredient props when I'm shooting seasonal dishes. Other decorations might include especially lovely silverware, tea towels, pretty stones, or flowers. See how these objects affect the composition and color story of your photo and go from there.
Be human
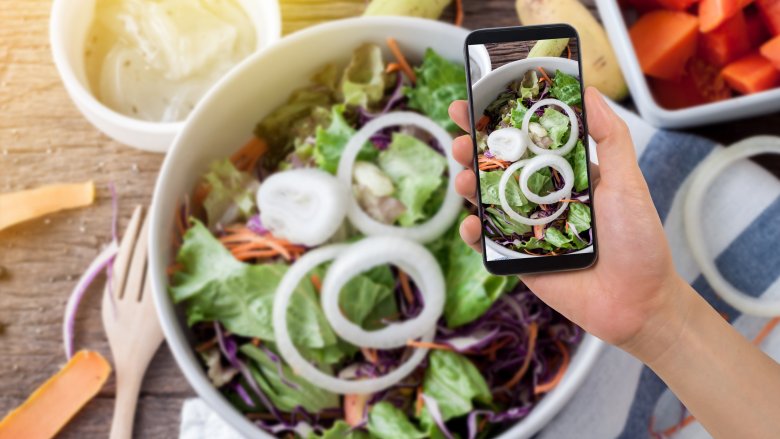
For photos that are meant to take on your point of view, try adding a human element like your hand. Whether you're holding the side of a bowl, a fork, or chopsticks, showing your hand lends softness, authenticity, and activity to the photo.
Tell us a story
Use your photos to tell a story. The objects you add to your photo help to weave together a narrative about the food. Doing so helps your viewers connect more powerfully with the picture. Grandma's banana bread might be photographed with a newspaper and a cup of tea to relay the feelings associated with cozy, tranquil afternoons. Particularly noteworthy latte art could be shown next to your pen and paper at a local coffee shop if the surface is particularly great. Try to brainstorm objects that might add feeling to your photo.
Use the edit tool to enhance photos
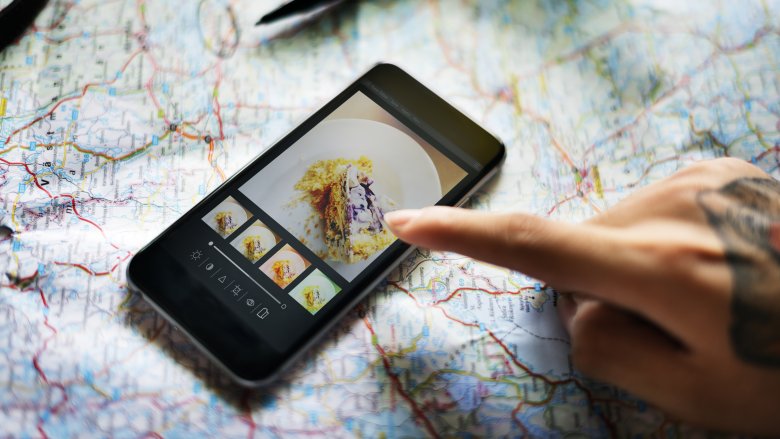
Phone cameras are pretty advanced these days when it comes to providing you with a wide range of editing tools to enhance the colors of your food photos. Whether you want more saturation, contrast, or brightness, make good use of the edit function. In addition to tools for refining exposure and vibrancy, your phone also comes with many fun filters that may improve your food's appeal. I like to start with an appealing filter, then reduce its effect slightly to my liking. After doing so, I use the other tools to adjust brightness, highlights, and the like. Experiment with these tools to get your dishes looking spectacular.
You don't need a ton of expensive equipment to take spectacular food photos. Armed with just your phone and little know-how, you can create beautiful shots that draw in the viewer in special ways. Remember to have fun with the photography because the food experience is all about engaging the senses and experiencing joy.
