Gluten-Free Beer Bread Recipe
Baking bread can sometimes seem like an intimidating prospect best left to professionals. And while some recipes do in fact require lengthy kneading times and incredibly specific conditions, there are also quite a few ways to make the process beginner-friendly. Take this gluten-free beer bread, which produces a reliably tasty loaf regardless of your baking experience. Recipe developer and food blogger Catherine Brookes created this delicious recipe and remarks, "I love how simple this recipe is to make at home."
Even better, it lacks any gluten. For people following a gluten-free diet, it can be especially tricky to find decent bread that tastes good and doesn't cost a fortune. Brookes notes, "Finding shop-bought gluten-free bread that has flavor and doesn't fall apart can be really difficult, but this ticks all the boxes!"
She uses beer as a unique way to incorporate yeast into the recipe, a shortcut you will love whether you are a beer drinker or not, given how it adds a rich flavor to the final product. No matter what kind of bread you enjoy, this gluten-free beer bread is sure to satisfy you.
Gather up the ingredients for gluten-free beer bread
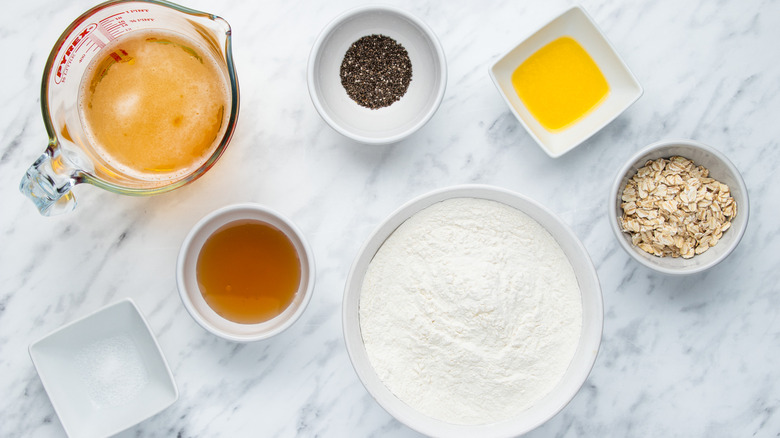
Start off by getting the ingredients needed for this bread. Brookes keeps it simple with four main elements plus a few optional ones to jazz up the loaf. First of all, you will need gluten-free self-raising flour. Brooke notes that she uses, "just a normal self-raising gluten-free flour blend, not a specific bread one."
Next, you'll need a tall can or bottle of gluten-free beer to replace the addition of yeast. Thanks to the influx of craft breweries, there are an increasing number of gluten-free beer options out there, so take a trip to your local brewery or store and see what's available. And not only does the beer let you skip yeast altogether, but it also lends a unique flavor.
You will also need salt and honey to create the loaf. Brookes chooses to top her loaf with a few optional add-ons that contribute flavor, texture, and nutritional value. A bit of butter brushed over top gives the bread a nice shine and helps the other toppings stick. As for a crunch factor, some gluten-free oats and chia seeds do the trick quite nicely. If you're feeling creative, no need to stop there, either. Brookes encourages you to "customize as you wish!" She suggests adding in some seeds, too, which will add a satisfying crunch and some additional nutrition.
Prepare the loaf pan and mix dry ingredients
Start off by setting your oven to preheat to 375 F. Next, grease a loaf pan and line it with parchment paper. Brookes recommends using a one-pound loaf pan, which is generally equivalent to 6x4x3 inches. If you are using a different size, keep in mind that your cooking time will likely vary and that you'll need to monitor your loaf to make sure it's fully cooked and doesn't burn.
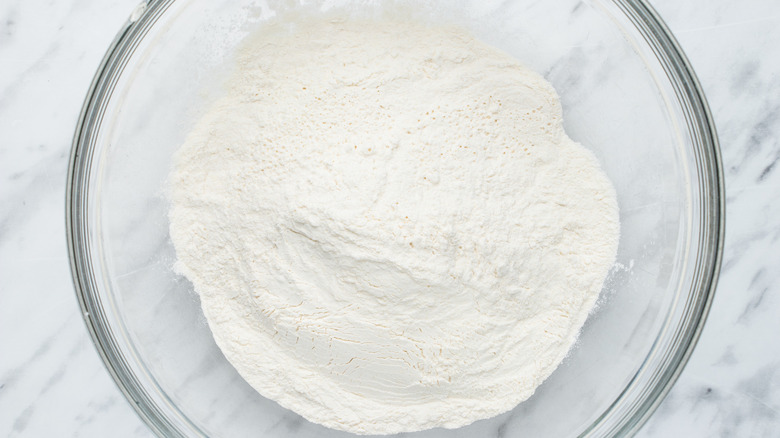
Once your equipment is set up, place a large mixing bowl on the counter. To that, add 3 cups of gluten-free self-raising flour and ½ teaspoon salt. With a whisk, give the contents a quick stir until they are combined.
Mix in the wet ingredients until smooth
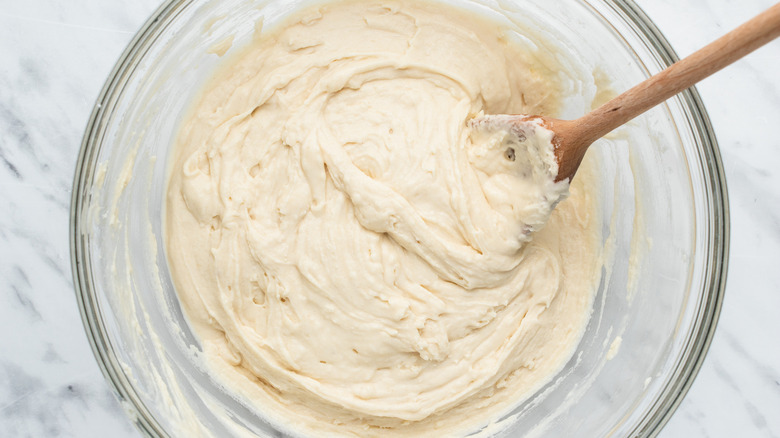
Next, it's time to crack open a beer — for the recipe, that is! Pour the beer directly into the mixing bowl with the flour. Fold it in with a wooden spoon or spatula, being careful to avoid overmixing the dough. That can lead to overly tough or chewy bread, though that's less of a concern here, given that there's no gluten involved. There should be no more streaks of flour once the beer is properly mixed in.
Now, drizzle in 2 tablespoons of honey and fold it in until the bread dough has a smooth and uniform texture.
Transfer the mixture to the loaf pan
Now, the bread dough is nearly ready to hit the oven! Transfer the mixture into the greased, lined loaf pan that you've already prepared. Hopefully, by now, your oven has already preheated. If you're skipping the toppings, you can move directly on to the next step.
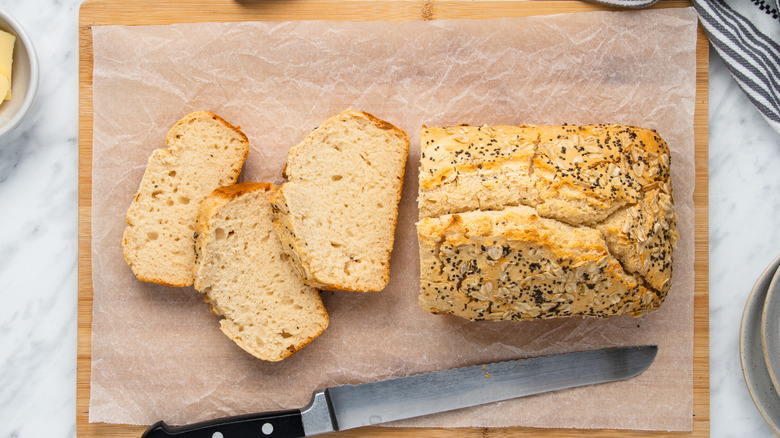
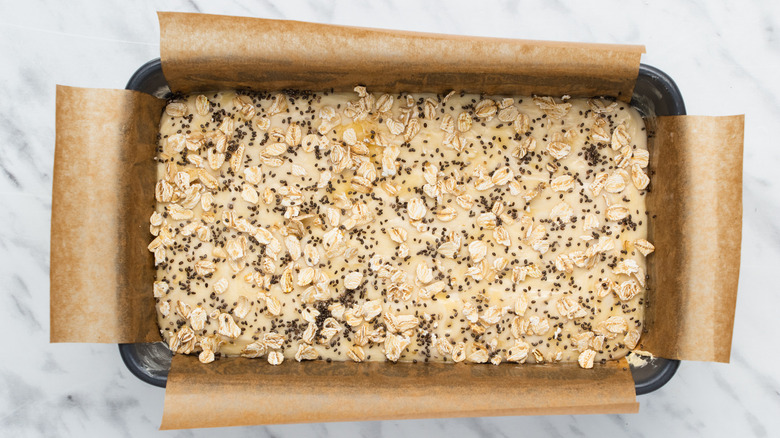
If you're planning to add the optional toppings, however, now is the time. First, use a pastry or basting brush to coat the surface with some melted butter. Then, sprinkle on 1 tablespoon of gluten-free oats and ½ teaspoon chia seeds, or whatever other toppings you so desire. Your loaf is now fully dressed and ready to bake.
Bake the bread
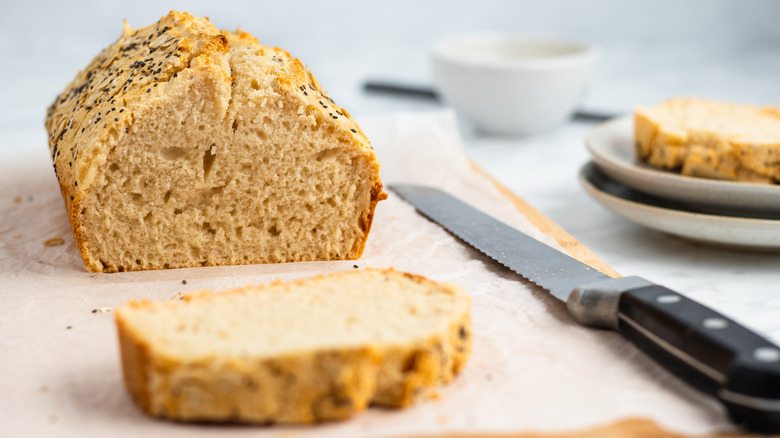
Transfer the loaf pan into the preheated oven and set a timer for 45 minutes. Depending on your oven it might need some additional bake time but you're best off checking it earlier. You'll know the bread is ready once it is risen and golden.
Brookes adds that you can rely on a pretty standard baker's trick to make sure it's done, even though we're not using a standard gluten-heavy mix: "A skewer inserted into the center of the loaf should come out clean," she says. When you've deemed it sufficiently baked, remove the loaf pan from the oven and leave your bread to rest while it cools down.
How to serve up this tasty bread
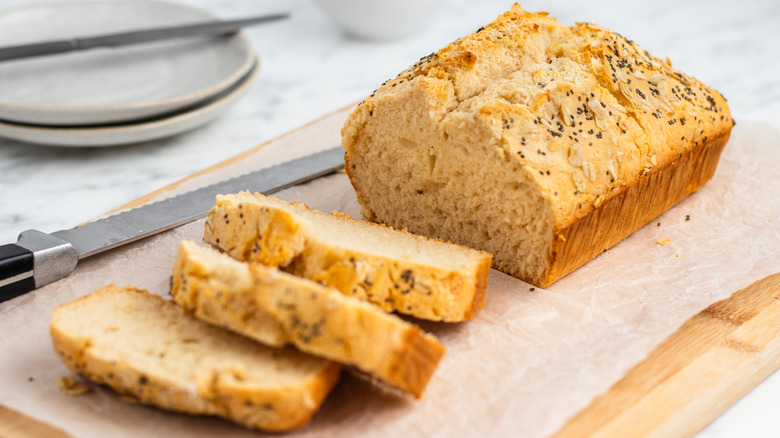
Finally, you are ready for what is arguably the best part of baking bread — eating it, of course! There are no shortages of ways to enjoy warm homemade bread, starting with eating it alone with no frills. However, if you want to include it as part of a nutritious meal, Brookes notes that "This bread is great for dunking in soups or stews."
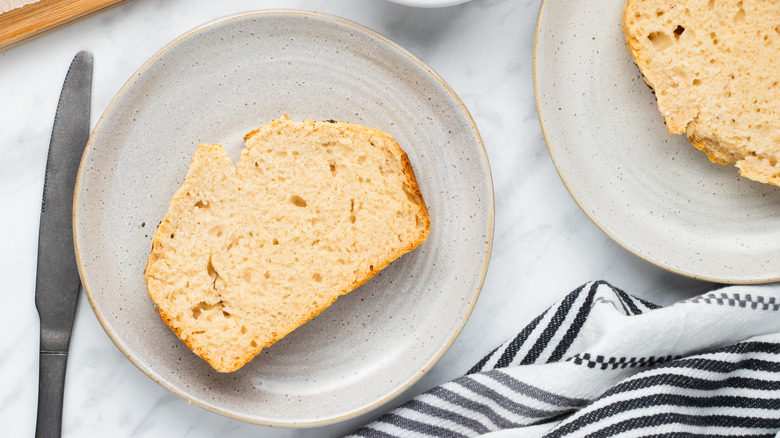
If you often enjoy bread for breakfast, she adds that it tastes delicious when sliced and toasted, then slathered with your favorite spread. "Mine is peanut butter and honey," Brookes says. You might also want to consider some homemade strawberry jam or cashew butter if you're feeling extra motivated in the kitchen.
She recommends storing the bread "at room temperature in an airtight container for up to three days." If you go through it slowly, she says that "you can slice it up and freeze it for up to three months."
Gluten-free Beer Bread Recipe
No matter what kind of bread you enjoy, this gluten-free beer bread is sure to satisfy you and produces a reliably tasty loaf regardless of baking experience.
Ingredients
- 3 cups gluten-free self-raising flour
- ½ teaspoon salt
- 14 ounces gluten-free beer
- 2 tablespoons honey
Optional Ingredients
- 1 tablespoon butter, melted
- 1 tablespoon gluten-free oats
- ½ teaspoon chia seeds
Directions
- Preheat the oven to 375 F. Grease and line a 1 pound loaf pan (6x4x3-inches) with parchment paper.
- Add the flour and salt to a large mixing bowl. Whisk together.
- Pour in the beer and fold until combined.
- Add the honey and fold until combined.
- Transfer the mixture to your prepared loaf pan.
- If desired, brush melted butter on top of the dough, then sprinkle with oats and chia seeds.
- Bake the bread for 45 to 50 minutes, until it has risen and is golden. A skewer inserted into the center of the loaf should come out clean.
Nutrition
| Calories per Serving | 139 |
| Total Fat | 0.3 g |
| Saturated Fat | 0.0 g |
| Trans Fat | 0.0 |
| Cholesterol | 0.0 mg |
| Total Carbohydrates | 27.9 g |
| Dietary Fiber | 0.9 g |
| Total Sugars | 3.0 g |
| Sodium | 99.0 mg |
| Protein | 3.4 g |
