Pina Colada Popsicles Recipe
No matter the season, there's always an occasion for something tropical. And more often than not, when we think of tropical flavors, both pineapple and coconut come to mind. Even better, some tropical treats combine both pineapple and coconut for the ultimate mixture of both tangy and creamy.
While tropical drinks with colorful umbrellas are a great use for pineapple and coconut, there are plenty of other ways to utilize this delicious flavor combo. And these popsicles definitely fit the bill.
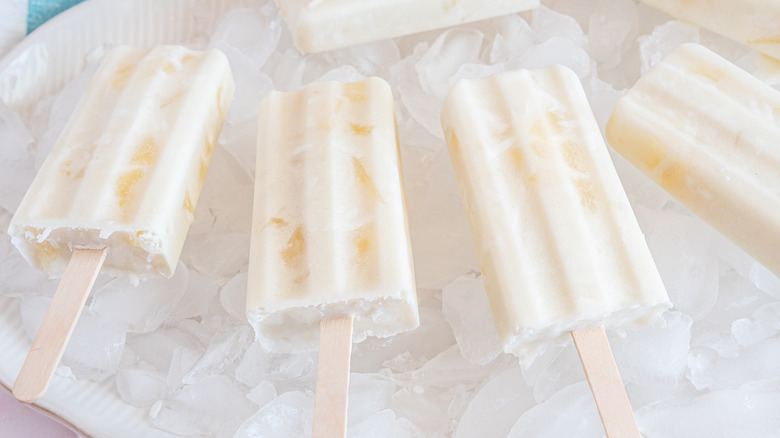
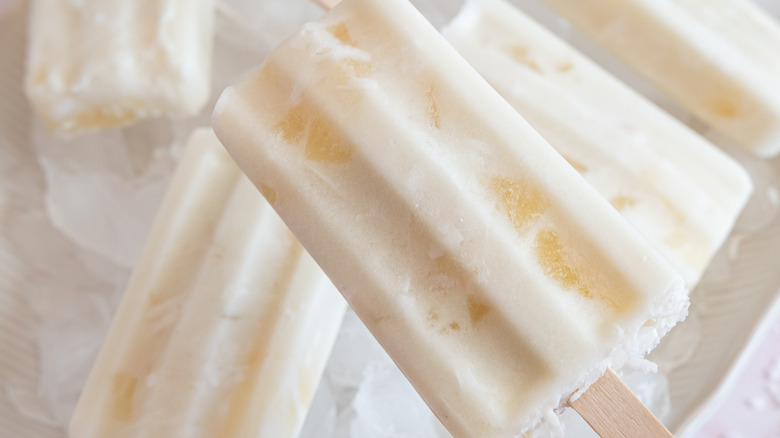
Made with just three main ingredients, these piña colada popsicles truly come together in just minutes. They do require a popsicle mold, but other than that, they're as simple as can be. After a few hours of freeze time, you'll have a deliciously creamy popsicle to bite into, with fresh fruit and shredded coconut in every bite. Talk about the perfect way to escape to the tropics any time you could ever want.
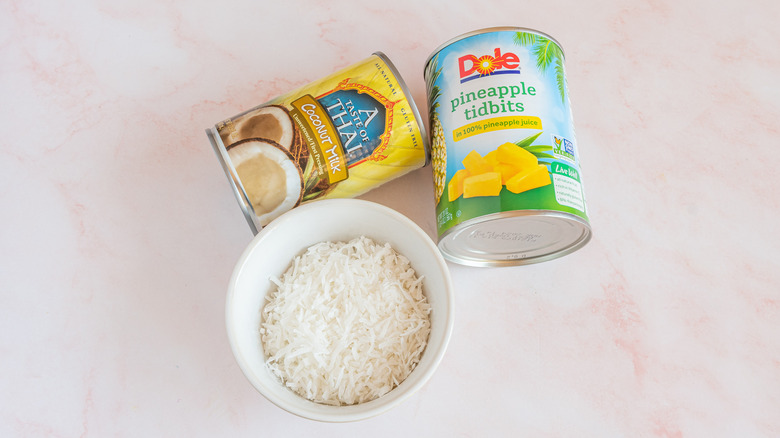
Gather the ingredients for piña colada popsicles
The best part about this recipe is that it only requires three simple ingredients. To make piña colada popsicles on your own at home, all you need is one can of pineapple tidbits in juice, one can of full-fat coconut milk, and one cup of shredded coconut. It's best to use sweetened shredded coconut to add a hint of sweetness to the popsicles. However, you could certainly opt for unsweetened shredded coconut if desired.
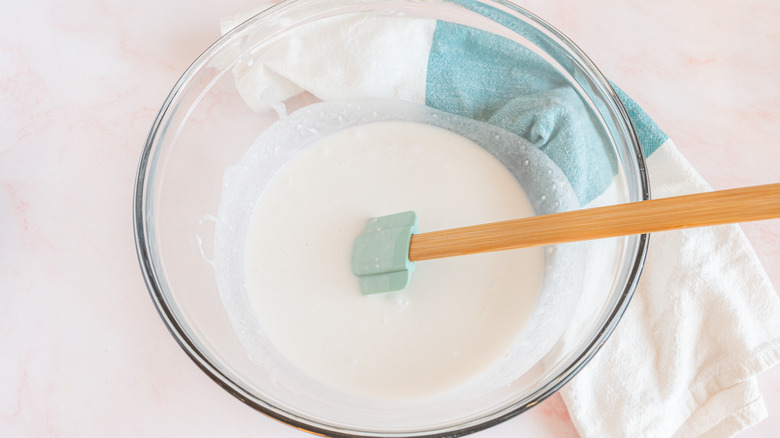
Start the mixture with coconut milk
These popsicles truly come together in just a few easy steps. The first step is to prepare the piña colada popsicle mixture. It's best to do this in a large mixing bowl.
Open the can of coconut milk, and pour the entire can into the mixing bowl. Be sure to give it a stir to free up any clumps of solids that may have formed in the can.
Add the pineapple and coconut
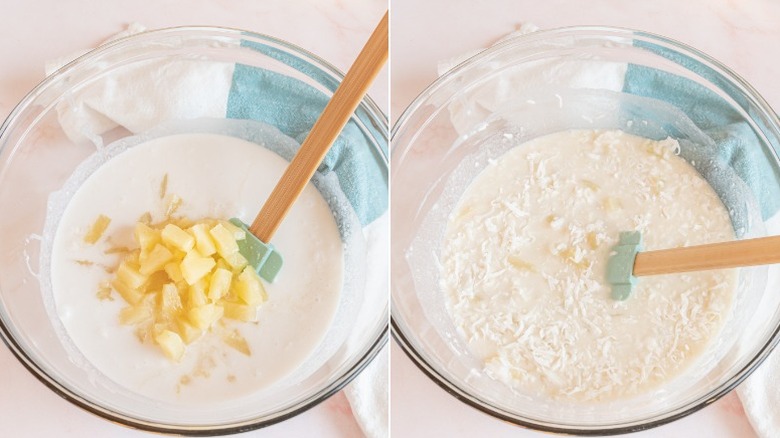
Once the coconut milk is smooth and ready, it's time to add the pineapple and shredded coconut.
Open the can of pineapple tidbits. Empty the entire can into the coconut milk with both the juice and the fruit. Next, add in the cup of shredded coconut. Stir the mixture until well combined.
If you'd prefer not to have the chunks of fruit in your popsicles, go ahead and omit the pineapple and just use the juice.
Form and freeze the popsicles
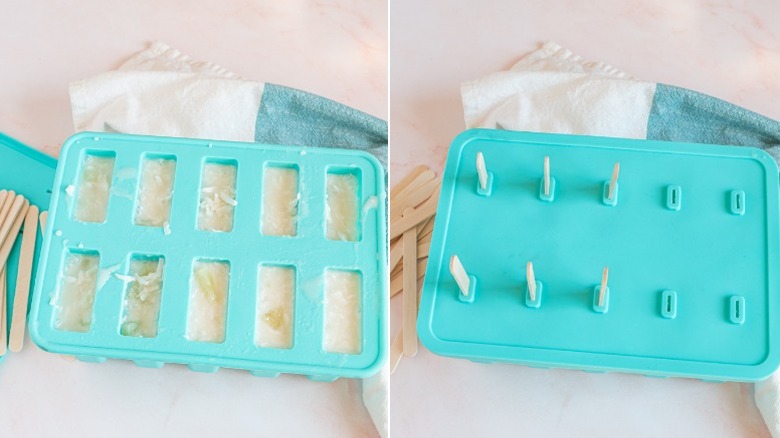
Once the piña colada mixture is mixed and ready, it's time to pour it into a popsicle mold. Use a scoop or pour the liquid directly from the bowl. Fill each popsicle mold well with the piña colada mixture. Add the cover on top, and then insert popsicle sticks for each well.
Freeze the pina colada popsicles for at least four hours before enjoying them. When you're ready to serve the popsicles, remove them from the freezer, and run the base of the popsicle mold under warm water to help release them.
Piña Colada Popsicles Recipe Directions
Made with just three main ingredients, these piña colada popsicles truly come together in just minutes. Give them a try today.
Ingredients
- 1 (20-ounce) can pineapple tidbits in juice
- 1 (13.5-ounce) can full-fat coconut milk
- 1 cup shredded sweetened coconut
- Sugar, to taste
Directions
- In a large bowl, add the entire can of pineapple and juice.
- Add in the coconut milk and stir. Mix in the shredded coconut. Add sugar to sweeten the mixture more, if desired.
- Fill a 10-well popsicle mold with the prepared mixture. Add in popsicle sticks.
- Place the popsicle mold in the freezer and let freeze for at least 4 hours.
- Once ready to serve, remove from the freezer and run the base of the popsicle mold under warm water to help release the popsicles.
Nutrition
| Calories per Serving | 171 |
| Total Fat | 11.5 g |
| Saturated Fat | 10.2 g |
| Trans Fat | 0.0 |
| Cholesterol | 0.0 mg |
| Total Carbohydrates | 18.2 g |
| Dietary Fiber | 0.9 g |
| Total Sugars | 14.8 g |
| Sodium | 29.9 mg |
| Protein | 1.2 g |
