Hawaiian Spicy Garlic Shrimp Recipe
If you've ever been to Hawaii, there's a good chance you know (and love) Hawaiian spicy garlic shrimp. It's not a traditional dish in Hawaiian culture, but the "Hawaiian" portion of the name took hold when folks from the mainland fell in love with the "local" garlic shrimp dishes in Hawaii, and thus it became Hawaiian garlic shrimp. It's a dish that's pretty popular on the islands and is predominantly served at food trucks. What's more fun than having something yummy from a food truck by the ocean?
Despite having "Hawaiian" in its name, it's actually a pretty simple dish made up of a few readily available ingredients everywhere. This means you can make it right at home at any time you'd like, no matter where you live. Follow along as recipe developer and chef Tara Rylie of RylieCakes walks you through the five easy steps to make this delicious dish in the comfort of your own home.
Gather the ingredients to prepare Hawaiian spicy garlic shrimp
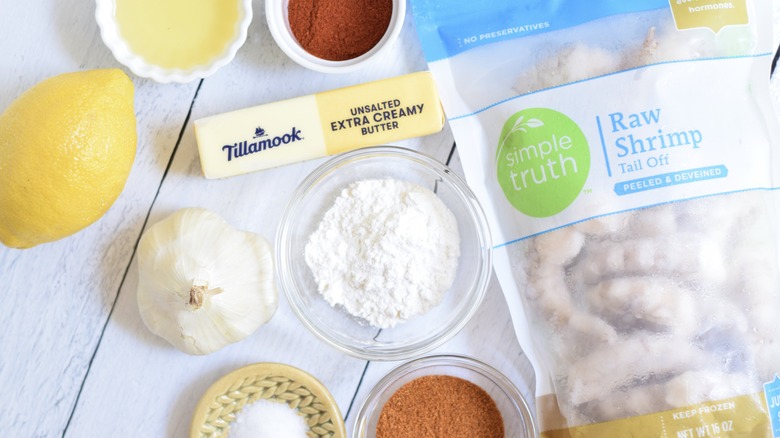
Before you begin any recipe, it is always smart to gather your ingredients first. For this recipe, you'll need fresh or frozen shrimp, all-purpose flour, paprika, cayenne pepper, salt, garlic (lots of it), butter, and olive oil. Because this dish has pretty specific ingredients, there aren't many substitutes that can be made without changing the heart and soul of the dish. We recommend making sure you have all the exact ingredients at home before starting to whip this up. There is one exception here, and we'll cover that in just two slides!
After you've gathered and prepped your ingredients, it's a good idea to read over the recipe before starting.
Prepare the shrimp
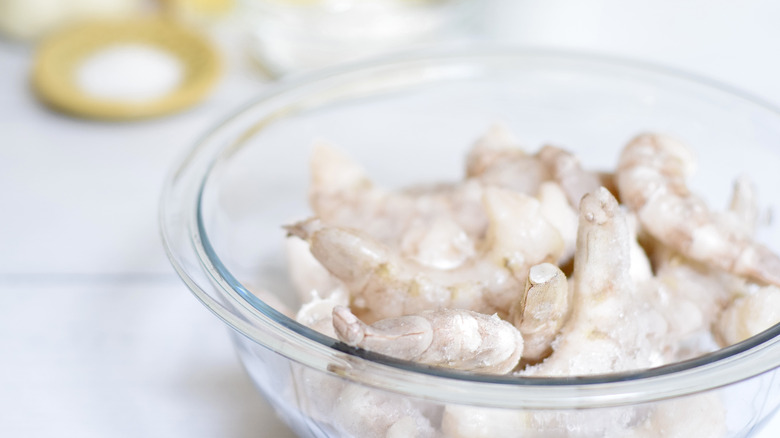
The first part to this recipe is definitely the easiest. All you need to do here is prepare your shrimp. That might mean defrosting the shrimp a few hours (or overnight) before cooking, or if you're using fresh shrimp, you'll want to devein the shrimp. As far as the shell goes, it's chef's choice here. If you don't mind eating the shell, leave it on, as it will help make the shrimp extra crispy. We used raw, frozen, peeled shrimp when creating this recipe and had great success getting the shrimp nice and crispy without the shell. Fresh and frozen both work — just be sure to pat your shrimp as dry as possible with a clean kitchen towel before moving on to the next step.
Create an easy dredge
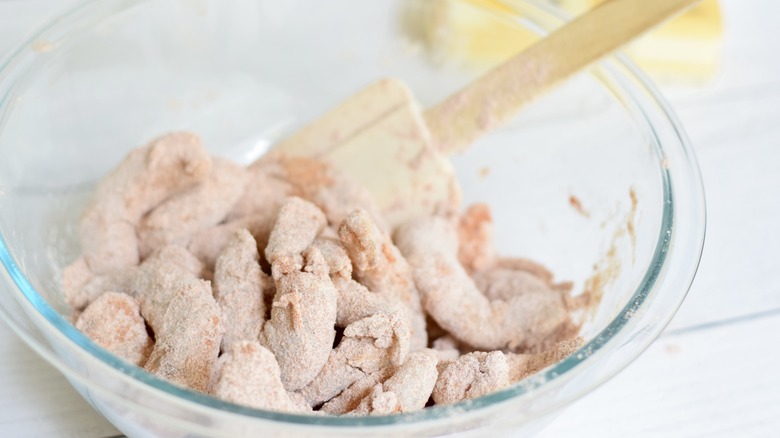
Next, in a medium bowl, combine your all-purpose flour, paprika, cayenne pepper, and salt. Whisk until the mixture is thoroughly combined, and then add your shrimp. Toss to evenly coat each piece, and then set the bowl aside.
The one exception for substitutions can be found in the dredging mixture. To make this dish just like the locals do in Hawaii, you'll want to use mochiko flour in place of all-purpose flour. Mochiko flour is simply sweet rice flour and can be found at most grocery stores. Using mochiko (sweet rice flour) most closely resembles the local Hawaiian way, and it is also a great option for gluten-free friends and family members.
How to make crispy garlic
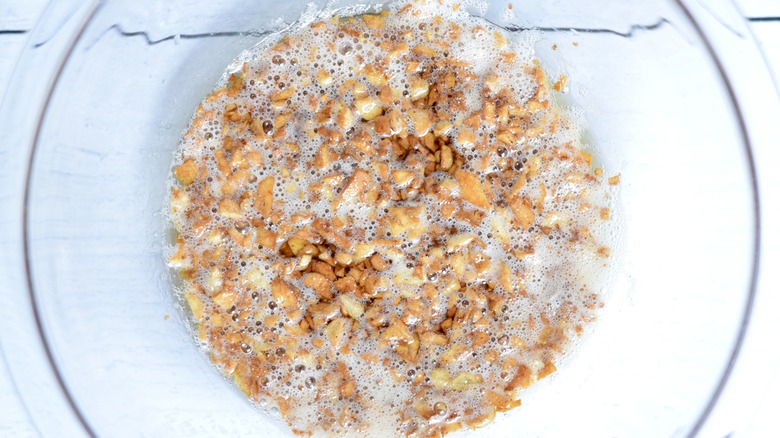
Once your shrimp are prepared, melt your butter in a large frying pan over low heat. Then, add all the roughly minced garlic, and cook until it's golden brown and fragrant. We suggest keeping the temperature low here and cooking the garlic low and slow. It takes a few extra minutes, but it will ensure the garlic bits will get evenly crispy.
The other trick to this step is that you must use fresh garlic. Pre-minced garlic is minced quite fine, which makes it easy to burn. Plus, the flavor isn't as strong. Roughly minced fresh garlic allows for some bigger pieces, adding great taste and texture to the shrimp.
When the garlic is golden brown, pour the garlic and butter into a small bowl. Place the pan back over heat to cook the shrimp.
The finishing step
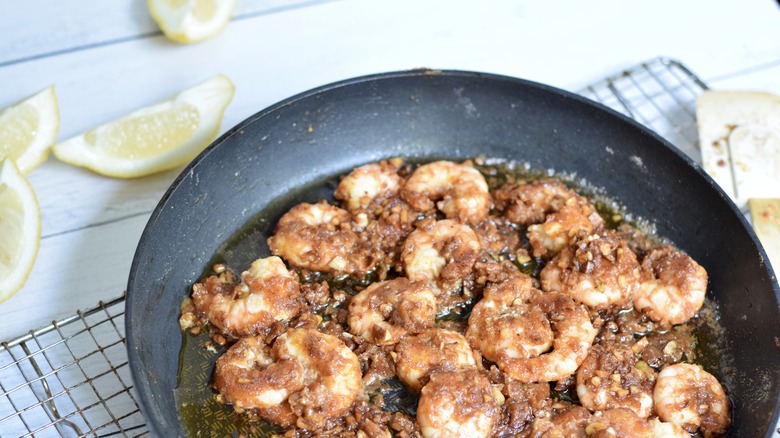
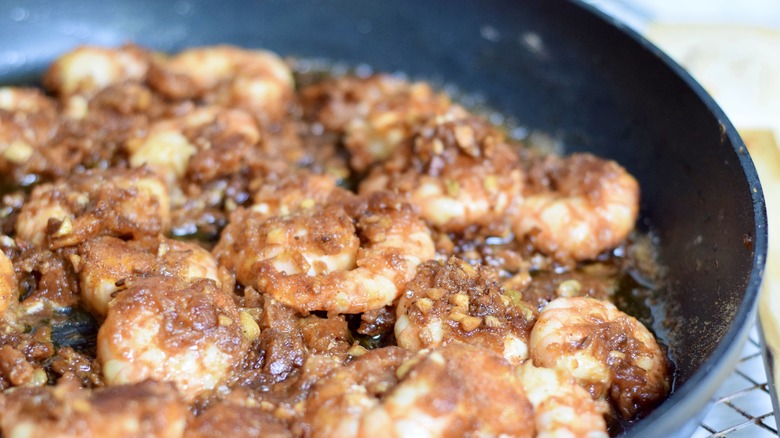
To finish this recipe off, add the olive oil to the frying pan, adjust your heat to medium-low, and let the oil warm up. Then, add the shrimp in a single layer, and cook for two minutes on each side. Shrimp coating will be crispy and browned when done. Finally, add the garlic butter back to the frying pan, coating all the shrimp. Cook for an additional minute, gently stirring the shrimp with the garlic butter.
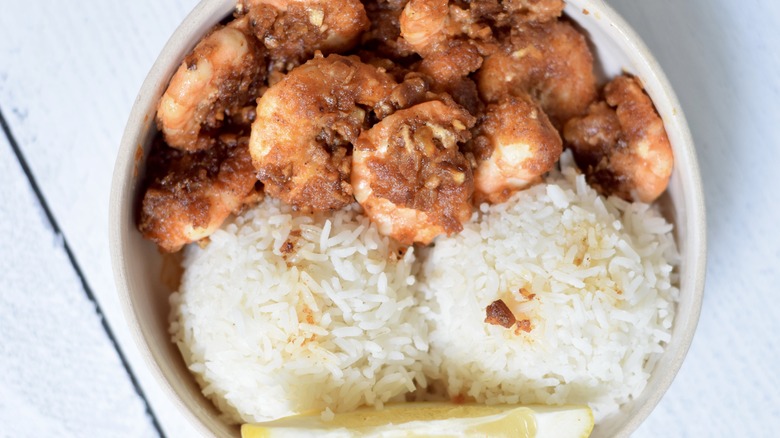
Be ready to serve up this dish hot as it's best fresh out of the pan. Hawaiian spicy garlic shrimp is traditionally served with white rice and lemon wedges. Keep in mind that the shrimp itself is so flavorful, you won't need anything else.
Hawaiian Spicy Garlic Shrimp Recipe
Despite having "Hawaiian" in its name, this Hawaiian spicy garlic shrimp is actually a simple dish made up of a few readily available ingredients everywhere.
Ingredients
- 16 ounces shrimp, peeled and deveined
- 3 tablespoons all-purpose flour
- 1 tablespoon + 1 teaspoon paprika
- 2 teaspoons cayenne pepper
- 1 1/4 teaspoons salt
- 8 tablespoons butter
- 1 head garlic, roughly minced (13 cloves or 3.50 ounces)
- 2 tablespoons olive oil
Optional Ingredients
- 1 lemon, for serving
Directions
- Defrost the shrimp, if necessary. Then, pat the shrimp dry with a clean kitchen towel, and set aside.
- In medium bowl, combine the all-purpose flour, paprika, cayenne pepper, and salt. Add the shrimp, and toss to coat. Set aside.
- In large frying pan over low heat, melt the butter. Add the minced garlic, and cook until golden brown and fragrant. Pour garlic butter into small bowl when ready, and place pan back over heat.
- Add the olive oil to a frying pan, adjust heat to medium-low, and let it warm up. Add the shrimp in a single layer, and cook for 2 minutes on each side.
- Add the garlic butter back to the frying pan, and toss with shrimp. Cook for an additional minute.
- Serve hot with rice and fresh lemon, if desired.
Nutrition
| Calories per Serving | 393 |
| Total Fat | 31.5 g |
| Saturated Fat | 15.9 g |
| Trans Fat | 1.0 g |
| Cholesterol | 203.9 mg |
| Total Carbohydrates | 11.4 g |
| Dietary Fiber | 1.5 g |
| Total Sugars | 0.5 g |
| Sodium | 649.2 mg |
| Protein | 17.5 g |
