Old Fashioned Icebox Cookies Recipe
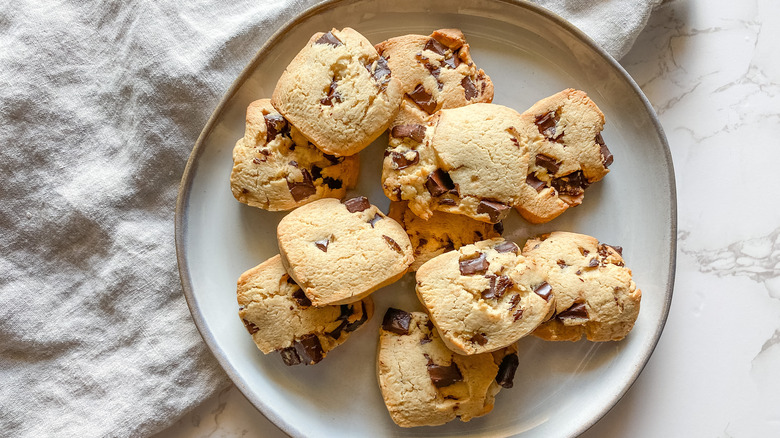
Let's be honest: There's nothing quite like enjoying a homemade cookie — especially one that's jam-packed with melty chunks of chocolate. Whether you're an avid cookie baker or it's been quite some time since you've whipped out your mixer, recipe developer and private practice registered dietician Kristen Carli has an amazing recipe for old fashioned icebox cookies that anyone would fall in love with. Just one bite, and you'll be transported back to your childhood.
According to Taste, icebox cookies have been around since the 1930s, and are still celebrated today for their convenience, simplicity, and sweet flavors. There's a reason why these yummy snacks are called icebox cookies. The dough has to sit in the fridge for a bit before baking (via Taste), which might sound like an agonizing wait for someone craving cookies, but the end result will be worth the time and patience. But on the bright side, this process makes it so you don't have to bake all the cookies at once if you don't want to. After you've made the dough, you can keep it in the fridge or the freezer, and you'll always be one step away from delicious cookies. What could be better than that?
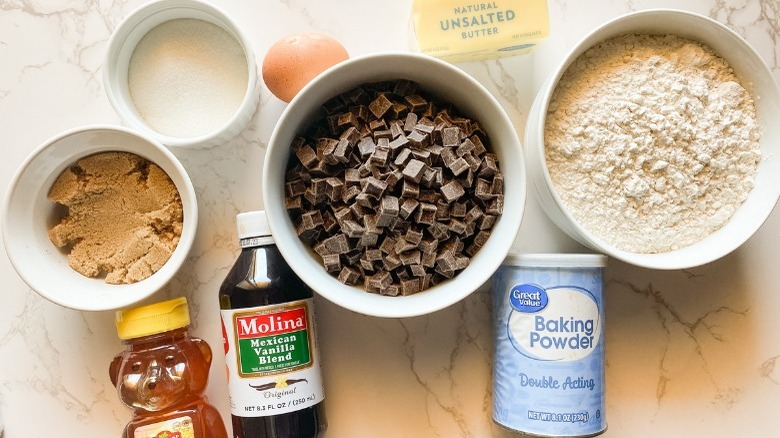
Assemble the ingredients to whip up a batch of old fashioned icebox cookies
Baking is a very precise form of cooking, so it's especially important to make sure you have the right ingredients measured out in the correct amounts before you get started. For these old fashioned icebox cookies, you probably already have most of the ingredients in your pantry and fridge, which is always a plus. You'll need to pull together ½ cup of both brown sugar and white sugar, 1 stick of softened unsalted butter, 1 egg, 1 teaspoon of vanilla extract, 2 tablespoons of honey, 2 cups of flour, 3 teaspoons of baking powder, 1 ½ cups of bittersweet chocolate chunks, and ½ teaspoon of salt.
If you don't have chocolate chunks or can't find them, recipe developer Kristen Carli says you can use chocolate chips instead. You can add other ingredients like nuts or dried fruit if you wish, but don't overload the dough. "I'd recommend using 1 ½ cups of add-ins, whether that is nuts, fruit, or chocolate chips," Carli says. Once your ingredients are all set, you're ready to get started preparing the cookie dough.
Prepare your wet and dry ingredients
If you've baked before, you know that the wet and dry ingredients usually start separately. These cookies are no different. You'll need to start by adding both types of sugar and the softened butter to the bowl of your stand mixer. Beat everything til it's combined and uniform.
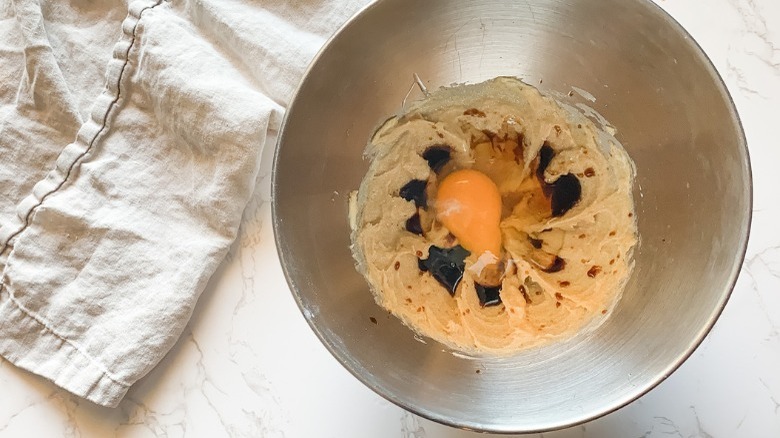
If you don't have a stand mixer, that's totally okay! Carli says you can use a hand mixer, no problem. Then, add the egg, vanilla, and honey to that same bowl, and beat it again. In another big bowl, you will whisk together your baking powder, flour, and salt. Then, you're ready to move on to the next step.
Combine everything, and add the chocolate
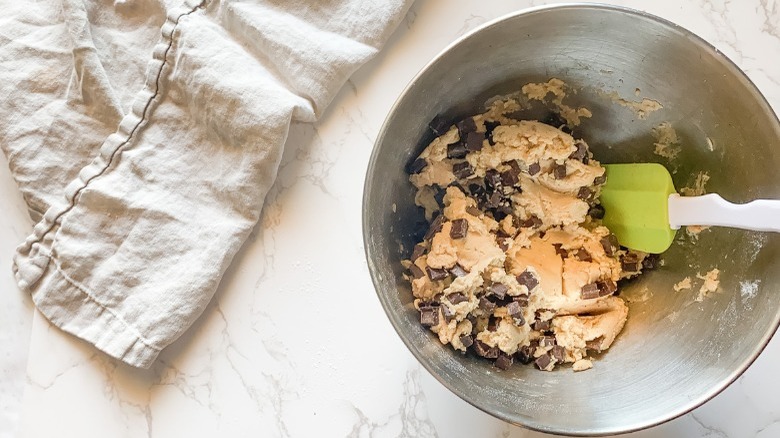
Now, combine everything by putting the flour mixture into the stand mixer bowl with the wet ingredients. Using your stand mixer or hand mixer, beat the ingredients together once more until everything is nicely mixed together. Once you've done that, add in the chocolate chunks (or chocolate chips, or your desired add-in of choice). Use a spatula to mix them in, making sure that the chunks are evenly distributed throughout the dough.
Roll and chill the dough
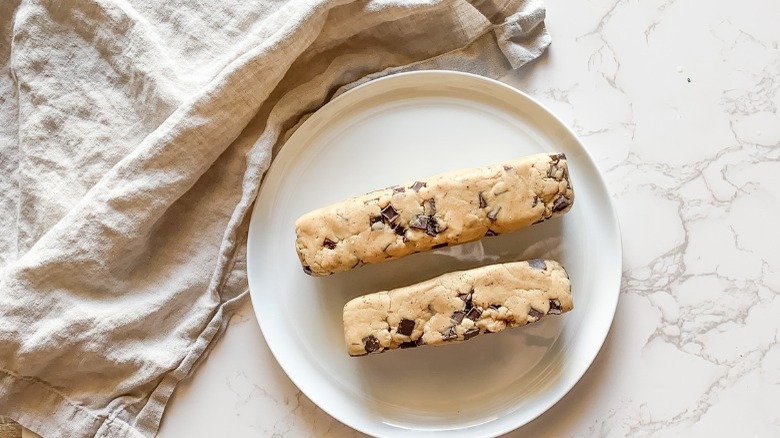
Divide your cookie dough into two equally-sized portions. Then, use your hands to form the dough into two log-shaped rolls, as demonstrated by the above photo. Wrap each roll in wax paper or plastic wrap.
Now it's time to wait a bit. You're going to let the dough chill overnight. Yes, it might seem like a long time to hold out for cookies, but trust us — it will be worth it. Plus, if you put together the dough in the evening, all you need to do is go to bed. When you wake up, it'll be time for cookies.
Bake, and enjoy
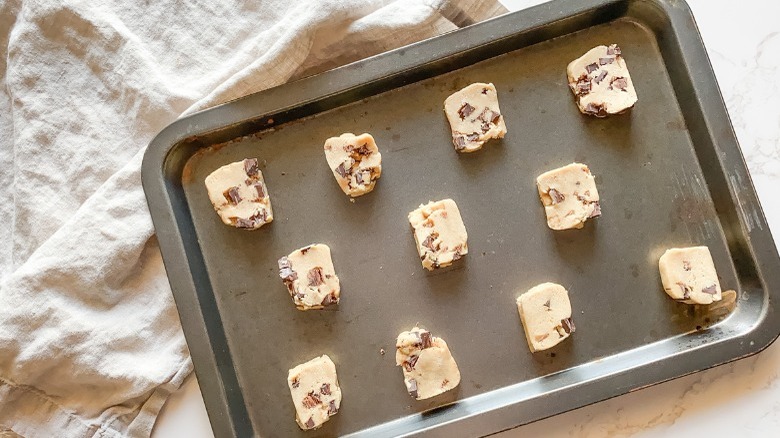
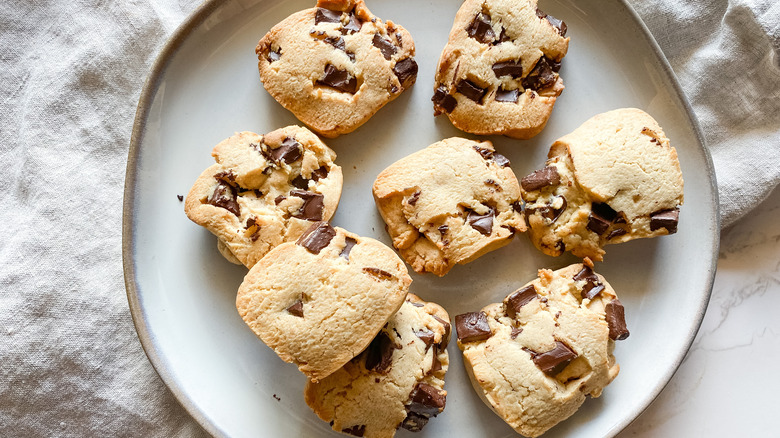
After your dough has chilled overnight, you're good to go. First, you'll want to preheat your oven to 375 F. Then, simply slice the logs of chilled dough into small, evenly-sized pieces, and put them on a baking sheet. When the oven is hot and ready, bake your cookies for 10 minutes, and enjoy!
If you don't want to bake the cookies straight away or are only baking a few cookies at a time, Carli says, "Freezing the dough is ideal. It will last three months in an airtight plastic bag. It will last five days in the fridge." And if you do end up baking the whole batch (which yields 36 servings), Carli notes, "Baked cookies store best at room temperature in an airtight container for up to 10 days." These treats are so delicious, you may not have many left over though.
After you've made these cookies with chocolate chunks, try experimenting with other mix-ins. The possibilities are endless — and delicious. It's a recipe that you will want to make time and time again.
Old Fashioned Icebox Cookies Recipe
After you've made the old fashioned icebox cookie dough, you can keep it in the fridge or the freezer, and you'll be one step away from delicious cookies.
Ingredients
- 1/2 cup sugar
- 1/2 cup brown sugar
- 1 stick unsalted butter, softened
- 1 egg
- 1 teaspoon vanilla extract
- 2 tablespoons honey
- 2 cups flour
- 3 teaspoons baking powder
- 1/2 teaspoon salt
- 1 1/2 cups bittersweet chocolate chunks
Directions
- In a bowl of a stand mixer, add the sugar, brown sugar, and softened unsalted butter. Beat until combined.
- Add in the egg, vanilla extract, and honey. Beat until combined.
- In a large bowl, add the flour, baking powder, and salt. Whisk to combine.
- Add the flour mixture into stand mixer with the wet ingredients. Beat until combined. Then, add the chocolate chunks, and stir to combine with a spatula.
- Divide the cookie dough in half, make into rolls, wrap in wax paper or plastic wrap. Chill overnight.
- When ready to bake, preheat oven to 375 F, and bake for 10 minutes.
Nutrition
| Calories per Serving | 107 |
| Total Fat | 4.9 g |
| Saturated Fat | 2.9 g |
| Trans Fat | 0.1 g |
| Cholesterol | 11.2 mg |
| Total Carbohydrates | 15.7 g |
| Dietary Fiber | 0.6 g |
| Total Sugars | 9.7 g |
| Sodium | 58.0 mg |
| Protein | 1.2 g |
