Easy Strawberry Punch Bowl Cake Recipe
It doesn't get much easier than this strawberry punch bowl cake! If you have a fun gathering with family and friends coming up, bring this dish along to really wow them — they'll never know how simple it was to put together. And not only is it incredibly easy and delicious — it also looks incredible. With the bright red strawberries and delicate angel food cake, this recipe is sure to be a hit.
Recipe developer Melissa Olivieri of The Olive Blogger made this recipe practically foolproof. It's a light, bright dessert that's perfect for summer picnics and backyard barbecues, but you can eat it any old time you want. It's also a recipe that's easy enough to double or triple if you have a lot of mouths to feed (you just might need a bigger punch bowl).
Ahead, we're giving you the step-by-step instructions for whipping up this easy strawberry punch bowl cake, and you'll be amazed at how quickly it comes together.
Gather your ingredients
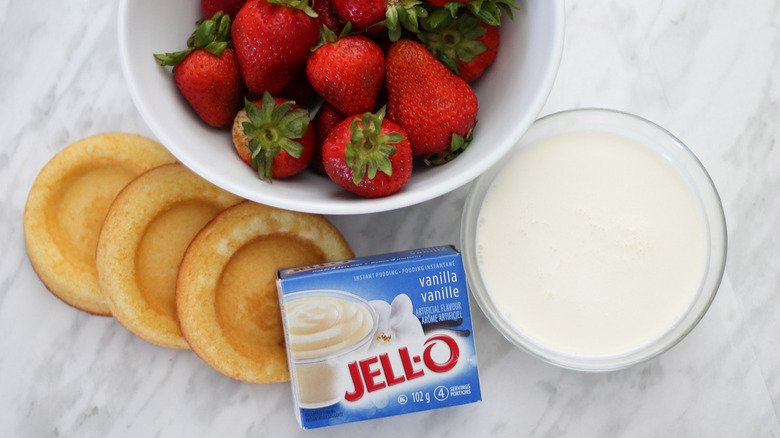
The first step in making this strawberry punch bowl recipe is getting all your ingredients ready. For this simple recipe, you need fresh strawberries, instant vanilla pudding, milk, whipping cream, and angel food cake. There are a few swaps you can make with this recipe, though we like it as is.
While you could use a dairy-free alternative for the pudding, keep in mind that the whipping cream is also dairy. Replacing that ingredient is a little trickier, though you could opt for a coconut milk-based whipped cream and skip the whipping step. But we'll get into this more as we go along.
Make the pudding
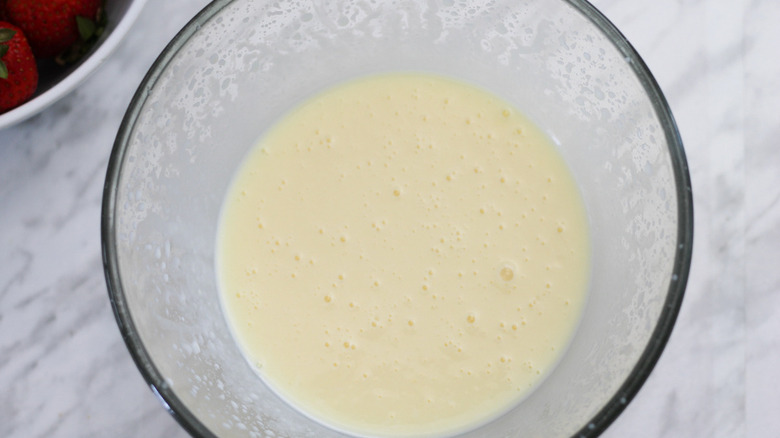
After you have all your ingredients, you can start by making the pudding. Pour the milk into a medium-sized bowl, and then add the packet of instant vanilla pudding. Instant vanilla pudding can come in a few different sizes depending on what brand you buy, so look for one that's between three and four ounces for this.
Once the milk and pudding mix are in the bowl, use a whisk or hand mixer to mix it together. It should take about two minutes to thicken up. Once done, place the bowl in the fridge.
You can use a dairy-free alternative here, like coconut milk or almond milk, but it might slightly affect the taste and texture.
Make the whipped cream
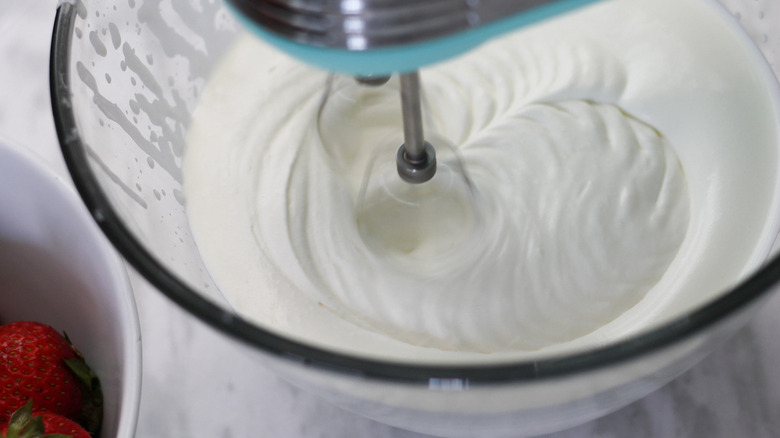
In another bowl, pour in the heavy whipping cream. Use a hand mixer to whip it until it starts to thicken, about two minutes. Increase the speed and continue whipping for about three minutes until a stiff whipped cream is formed. Put the bowl into the fridge until you're ready to build the cake.
This step will be tricky without a hand mixer or stand mixer, though if you have strong arms, you can use a whisk and do it by hand. However, if you don't have a mixer, your best bet might be using a ready-made whipped cream.
For a dairy-free alternative, you can make coconut milk-based whipped cream from canned coconut milk. Refrigerate the coconut milk, and when you're ready to make the whipped cream, separate the cream from the water in the can, and only whip the cream. You could also use a store-bought dairy-free whipped cream as well.
Get the cake and strawberries ready
Wash all your strawberries and then cut the stems off. Chop them into slices that are about a quarter of an inch thick. Set those aside.
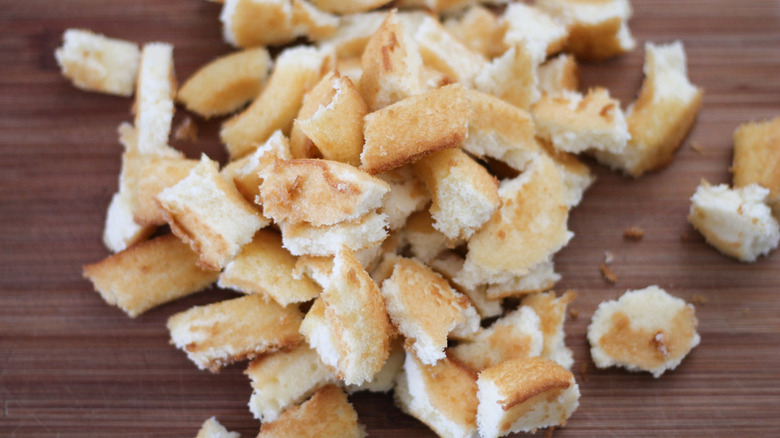
For the angel food cake, you can either use mini cakes from the store or a full-size cake. Not all stores will have the mini ones that we used, but a standard cake will work just as well. Use your fingers to rip up the cake into bite-size pieces. No need to use a knife here — just dig right in!
Layer your cake and enjoy!
It's time to build your punch bowl cake. Take the pudding and whipped cream out of the fridge. Take out a heaping dollop of whipped cream and set it aside. Pour the rest of the whipped cream into the pudding bowl, and using a rubber spatula, fold the whipped cream in until just combined.
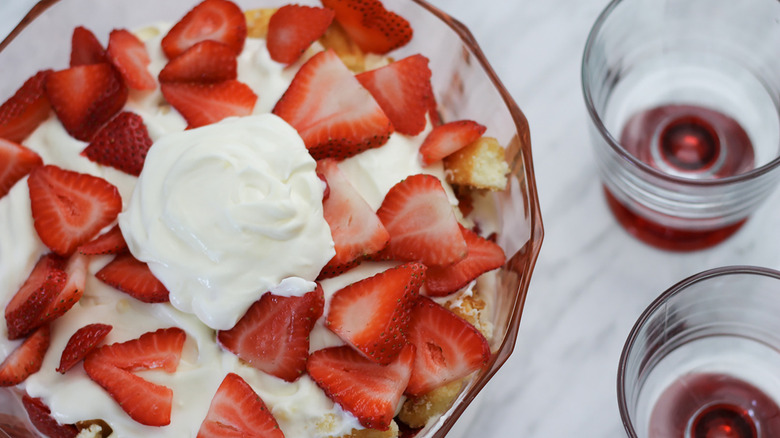
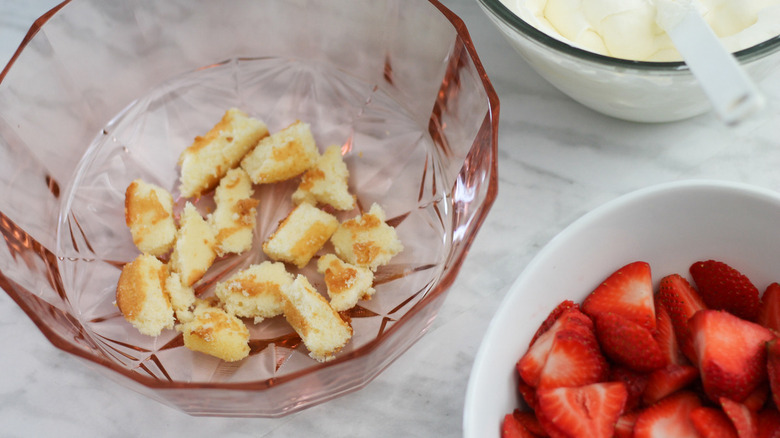
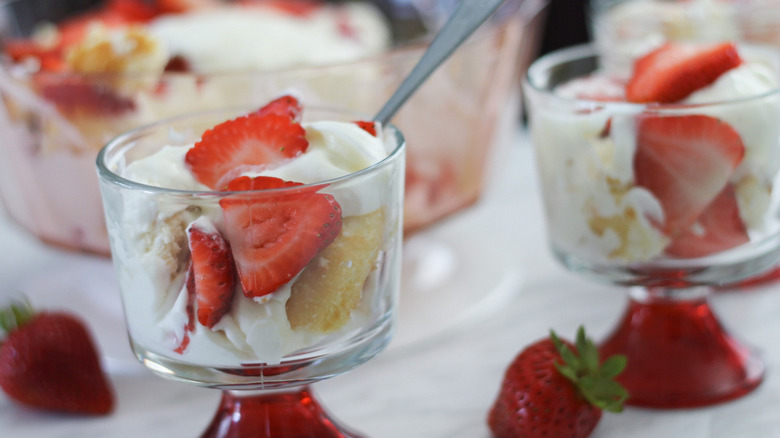
Take your punch bowl and start layering. First, do a layer of angel food cake. Sprinkle the chunks in the bottom until you have a solid layer. Next, spoon in some of the cream mixture. After that, layer in the strawberries. Repeat this trio of layers two more times so that you have three sets of three layers. Make sure the layers are spread to the edge of the bowl so you can see them through the sides.
Add your leftover dollop of whipped cream to the top layer when you finish. Serve and enjoy this dessert immediately, or keep it in the fridge for up to one day.
Easy Strawberry Punch Bowl Cake Recipe Directions
It doesn't get much easier than this strawberry punch bowl cake! If you have a fun gathering coming up, bring this dish along to really wow the guests.
Ingredients
- 2 cups milk
- 1 (3- or 4-ounce) package instant vanilla pudding
- 1 pint heavy whipping cream
- 1 (16-ounce) package fresh strawberries, washed
- 1 package mini angel food cakes or 1 standard cake
Directions
- Pour 2 cups of milk into a medium bowl and add entire package of vanilla pudding. Using a hand mixer (or whisk), mix the pudding on low speed for 2 minutes. Place in the fridge.
- In another medium bowl, using your hand mixer, whip the whipping cream on medium speed for 2 minutes until it just starts to thicken. Increase speed and continue whipping for approximately 3 minutes until a stiff whipped cream is formed. Place in the fridge.
- Remove stems from strawberries and slice into 1/4-inch slices.
- Using your hands, gently rip apart the angel food cake into bite-size chunks.
- Take both your pudding and whipped cream out of the fridge, and using a silicone spatula, gently fold the whipped cream into the pudding until incorporated.
- Using a punch bowl, begin to assemble in the following layers: angel food cake, cream mixture, strawberries. Repeat for a total of 3 layers (making sure you have strawberries and cake near the edges so you can see them through the bowl).
- Finish your final layer by placing a dollop of the cream mixture in the center.
- Serve immediately or keep in the fridge for up to a day.
Nutrition
| Calories per Serving | 317 |
| Total Fat | 24.3 g |
| Saturated Fat | 14.9 g |
| Trans Fat | 0.0 |
| Cholesterol | 87.8 mg |
| Total Carbohydrates | 22.5 g |
| Dietary Fiber | 1.2 g |
| Total Sugars | 19.0 g |
| Sodium | 254.0 mg |
| Protein | 3.7 g |
