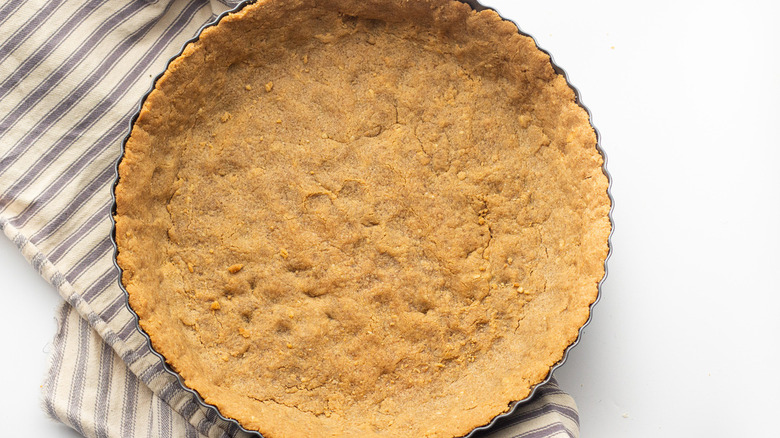
Easy Nilla Wafer Crust Recipe
When it comes to pie crusts, there is no shortage of recipes. If you like making your own crusts from scratch, you may have tried a graham cracker crust once or twice. If you're looking for something that is just as easy as a graham cracker crust but with a little twist, you should try our Nilla Wafer crust. These well-loved vanilla-flavored snacks have been around since the 19th century, and they are synonymous with banana pudding dessert recipes. If these wafers taste good with banana pudding, it should come as no surprise that they would taste good with other fillings as well.
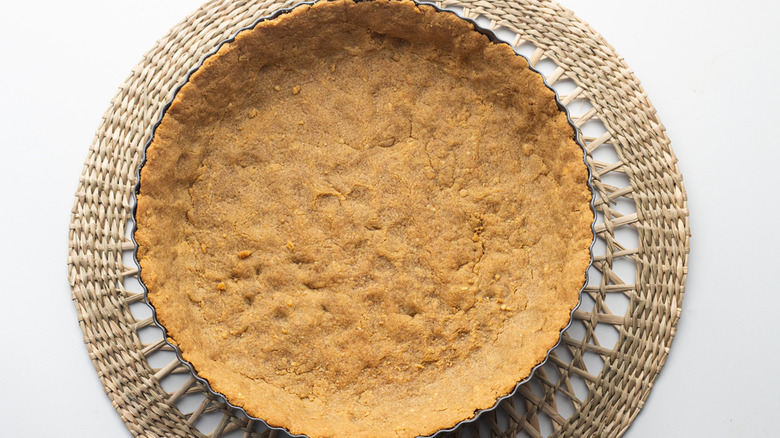
Recipe developer Susan Olayinka says she likes the idea of making a pie crust out of the tasty treats, adding that this recipe is easy to make. "I would definitely say that a beginner would succeed in this type of recipe," she tells us. The finished product has the familiar Nilla Wafer taste with a firm texture that holds itself well.
Gather the ingredients
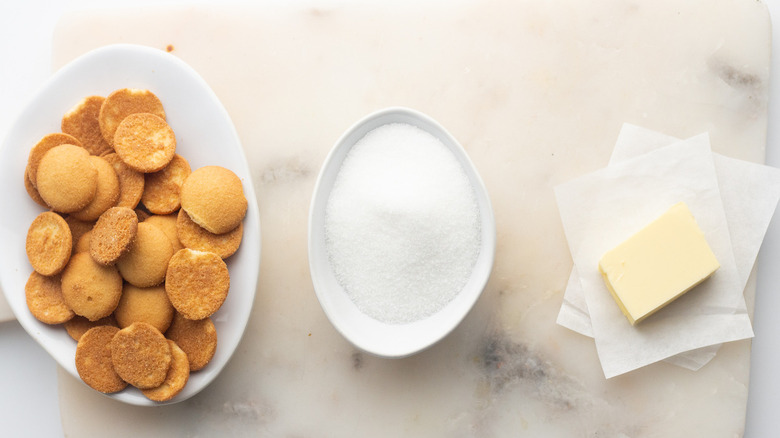
For many cooks, making a pie crust from scratch is a daunting experience. Getting the right combination of water and flour is essential for a flaky crust, but you also need to let the dough rest and chill after you mix it. Too much or too little water can make your crust dry or tough. If these problems concern you, you'll be glad to know that you don't need to worry about any of that with this crust. Moreover, you only need a few ingredients for this recipe, which calls for just 10 cups of the wafers, ¼ cup of sugar, and ⅝ cup of margarine.
Olayinka notes that if you prefer to use butter instead of margarine, you can go right ahead. "Equal measurements for both can be used," she explains. So feel free to use ⅝ cup butter if that's what you have on hand.
Preheat the oven, melt the margarine, and prepare the Nilla Wafers
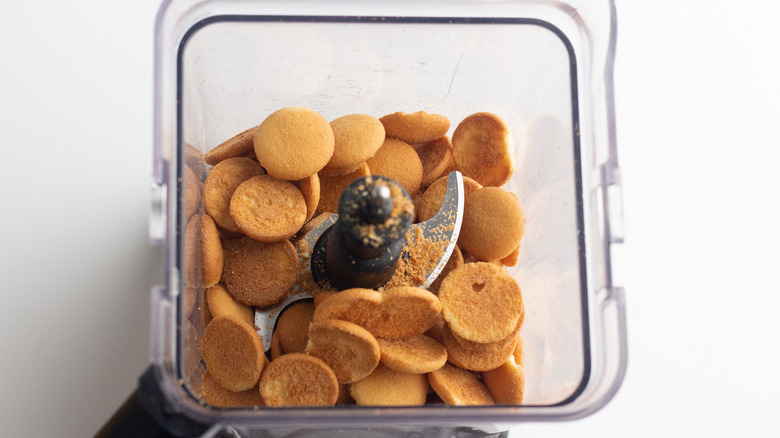
To get things started, preheat the oven to 325 degrees Fahrenheit. While you are waiting on the oven to heat up, melt the margarine in the microwave for 10 to 15 seconds, or until it is fully melted. Now it's time to crush the wafers, and the best way to do that is in a blender. All you need to do is blend them at a high speed until they turn into a fine, sand-like powder. There is no need to crush them before blending because they are small to begin with and will fit into most blenders without any problems. Once the wafers are blended, pour them into a large mixing bowl.
Mix the margarine and sugar, then add to the pie pan
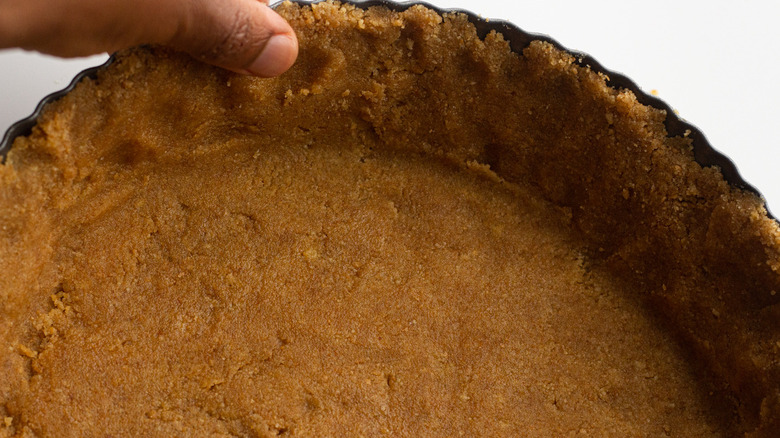
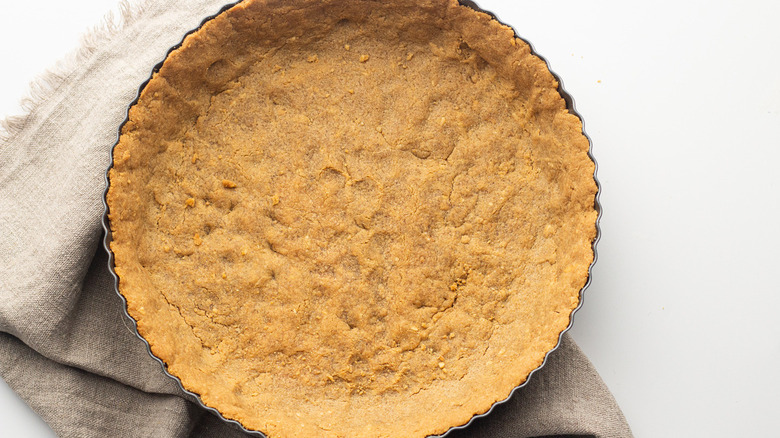
The next step is to add the sugar and margarine to the wafers. Mix all of the ingredients well until everything looks combined. From there, you'll want to spread the mixture into a pie pan (Olayinka used a 12-inch pie pan). Press the crust into place using the back of a cup or small glass, making sure to press some of the crust on the side of the pan. Once the crust is flat on the bottom, use your fingers to press it onto the sides of the pan, keeping the edges as even as possible. The next step is baking the crust for 9 minutes.
Allow to cool and enjoy
When the 9 minutes is up, remove the crust from the oven and allow it to cool for 20 minutes. Once the crust is ready, it's time to work on a filling, and at this point your options are endless. This crust should keep well for 2 to 3 days before becoming stale, so you can make it ahead of time if you like. Olayinka says that this crust would pair well with "berry fillings, banoffee pie [and] apple pie fillings." Of course, you could go with a yummy cheesecake filling with a blueberry or cherry topping, or if you're feeling nostalgic, you could make a banana cream pie and top it with some whipped cream!
Easy Nilla Wafer Crust
If you like graham cracker pie crusts, you'll love this super easy twist that uses Nilla Wafers as the base -- perfect for banana cream pie!
Ingredients
- 10 cups Nilla Wafers
- 1/4 cup sugar
- 5/8 cup margarine (1/2 cup + 1/8 cup)
Directions
- Preheat the oven to 325 degrees Fahrenheit.
- Melt the margarine in the microwave for 10 to 15 seconds, or until it is fully melted.
- Blend the Nilla Wafers in a high-speed blender until fine, and then pour the fine crumbs into a large mixing bowl.
- Pour the melted butter and sugar into the mixing bowl with the blended Nilla Wafers and mix until well incorporated.
- Pour the mixture into a 12-inch pie pan and press down in using a cup or glass.
- Use your fingers to press the crust to side of the pan.
- Bake the pie crust for 9 minutes.
- Remove the crust from the oven immediately and allow it to sit for 20 minutes.
- Fill the crust with the pie filling of your choosing!
Nutrition
| Calories per Serving | 1,178 |
| Total Fat | 66.6 g |
| Saturated Fat | 18.9 g |
| Trans Fat | 4.0 g |
| Cholesterol | 0.0 mg |
| Total Carbohydrates | 133.9 g |
| Dietary Fiber | 2.6 g |
| Total Sugars | 49.5 g |
| Sodium | 820.5 mg |
| Protein | 10.8 g |
