Vanilla Custard Recipe
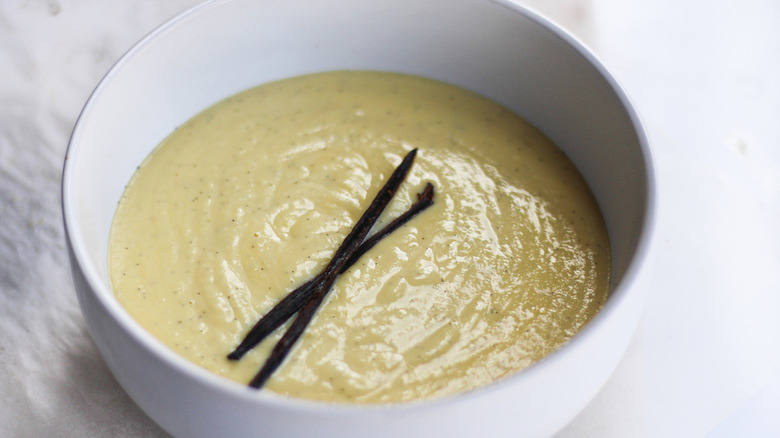
A good, simple custard recipe is always useful for home cooks to have on hand. This is especially true for bakers and dessert lovers, but even people who typically fall on the savory side of life will find that a proper homemade custard consistently gets taken out of the fridge when hunger strikes. Maybe it's a dollop on pie, or a little scoop over some fruit in the morning. Regardless of what your favorite addition is, an easy vanilla custard can be made ahead and enjoyed time and time again.
This recipe from Susan Olayinka, the recipe developer behind the family recipes blog The Flexible Fridge, only takes about 40 minutes to prepare. Though it's far from complicated, it's full of flavor thanks to a couple premium ingredients and an exacting technique that involves lots of whisking.
Here's how to make a quick and delicious vanilla custard from scratch that doesn't skimp in flavor.
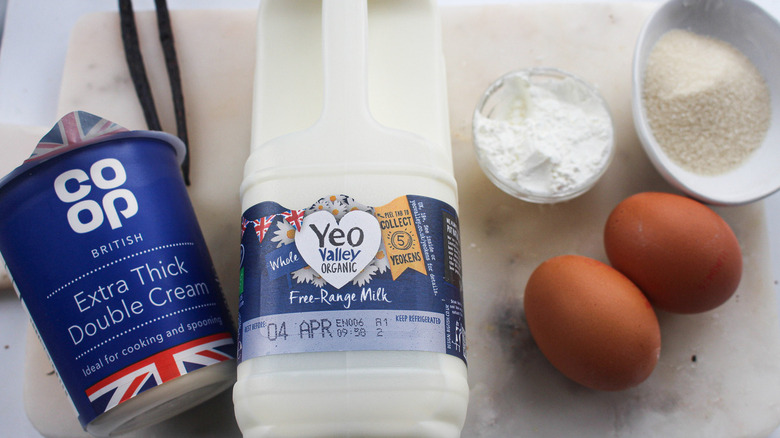
Gather your ingredients to prepare this delicious custard recipe
You'll need two cups of whole milk, a cup of heavy cream, eight egg yolks, 10 tablespoons of sugar, and 3 teaspoons of cornflour to thicken the mixture.
One ingredient that really sets this recipe apart is the use of whole vanilla pods rather than extract. Many home cooks have some vanilla extract, which is made from soaking vanilla beans in an alcohol solution to draw out the flavor. The whole pods can be a little harder to source and you may have to go to a spice store rather than your corner grocery. Still, using the whole pods (which is a bit of a process, but more on that later) is worth it.
"I used vanilla pods because it adds an intense aroma and taste to the vanilla custard, more so than extract or essence," Olayinka says. "It also leaves the small vanilla specs, which a traditional custard is known for."
Warm the milk, and separate the eggs
Take your 2 cups of whole milk and 1 cup of heavy cream, and pour it into a pot. Heat the combination over low heat. The goal isn't to bring the milk and cream to a boil or anything close, only to gently bring the temperature up. "The benefits of using whole milk and cream is that the cream is there to thicken the custard and make it more richer," Olayinka says.
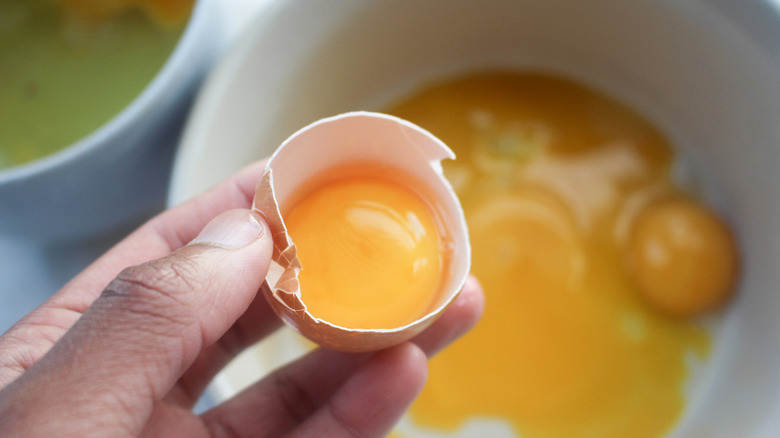
While it's heating, tend to your eggs. This recipe uses eight egg yolks. Separate the yolks into a mixing bowl, and do as you please with the egg whites. While the whites aren't used in this recipe, they can be repurposed for an omelette or other recipe at another time. One of the easiest ways to separate the yolks is to crack the egg and gently let the contents pour over your fingers while letting the egg white fall through and retaining the yolk in your hand. Another way is to pass the yolk back and forth between two halves of the shell after cracking it open while letting the whites drip down.
Remove the paste from the vanilla pods and add it to the egg yolk mixture
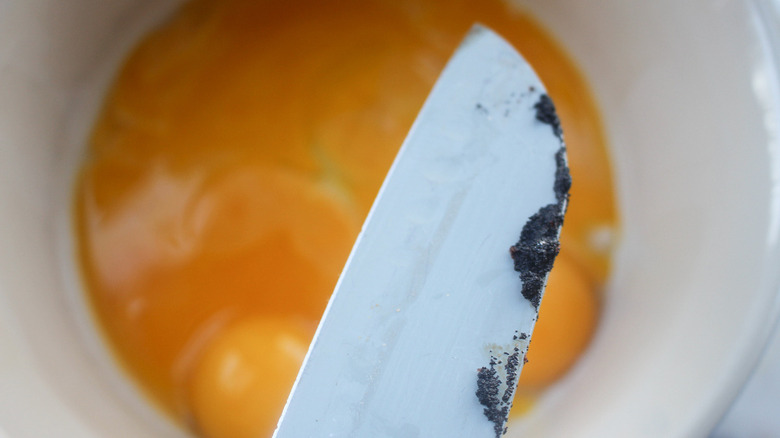
You'll eventually end up using the entire vanilla bean pod in this recipe, but you're first going to need to separate out the fresh vanilla paste. First, lay the bean down on a cutting board and find the end that slightly curls. Take your knife and, starting from the curled end, split the pod hotdog style. Butterfly it open and scrape out the inside using the back of a knife and add the flecks to the eggs.
This scraped out bit is sometimes called the vanilla bean caviar, according to the vanilla company Beanilla. While it's possible to buy this already prepared, it's less common and can be expensive (especially when compared to vanilla extract). This simple step is worth the effort for the fresh vanilla flavor, however, because vanilla is the central flavoring ingredient in this basic custard.
Once you've scraped the pods, toss them into the milk and cream mixture and let it steep for 10 minutes.
Mix the egg yolks with the other ingredients
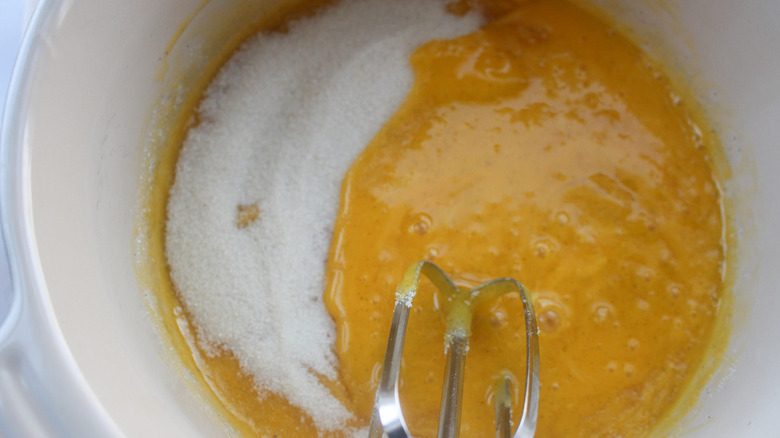
With your egg yolks separated from the egg whites and the vanilla ready, it's time to mix in the remaining ingredients. Add the previously prepared vanilla paste, 10 tablespoons of sugar, and 3 teaspoons of cornflour to the egg yolks. Whisk everything until all of the ingredients are fully and evenly incorporated. It will get a little foamy, and that is perfectly normal.
Mixing these ingredients together separately from the milk and cream mixture helps to ensure that there aren't parts with more sugar than others. It also helps to keep the final custard from getting lumpy, making this a basic but important step, because no one likes lumpy custard.
Mix and stir until the custard thickens
From here on out, you'll need to pay close attention to your custard to make sure it's the right consistency. Measure out a cup of the now-warm milk and cream mixture, and slowly pour it into the mixing bowl with the egg yolks and other ingredients. Starting with a cup helps bring the temperature of the eggs up at the right speed. Be sure to whisk it, and whisk it fast, the entire time. Whisking keeps the egg yolks from cooking too much from the addition of the heated dairy and turning into milky scrambled eggs.
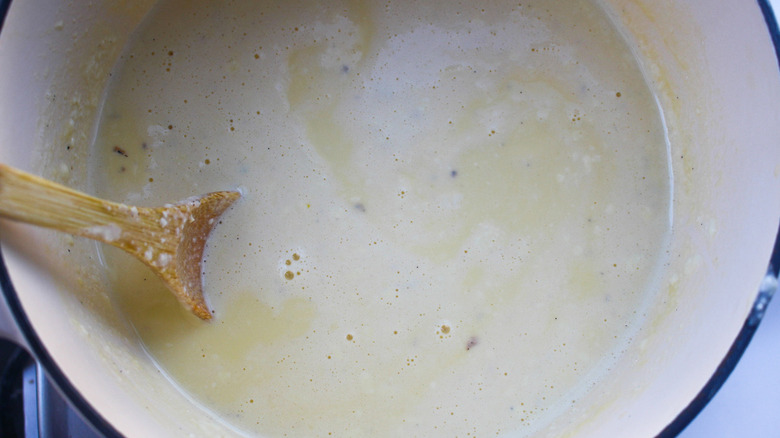
After the first cup is fully whisked in with the egg mixture, take the mixing bowl and pour the contents into the pot with the rest of the milk and cream mixture. Turn your burner to low-medium heat, and continue to stir the entire time. Stir for six to seven minutes until the mixture thickens.
Serve how you prefer, and keep the leftovers for later
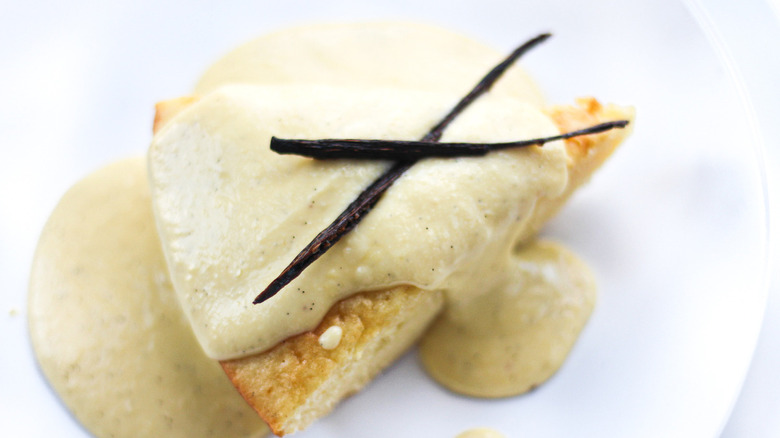
After the custard has thickened, you have a homemade custard that's ready to eat. You can serve the custard while it's still warm by pouring it over various cakes that can use a little moisture. Stick the custard in the fridge to bring the temperature down, and serve it cold with freshly cut fruit or on top of cold desserts like a trifle. That's the true beauty of custard: Once it's ready, you can add it to just about anything.
To store your leftovers, put the remaining custard in an airtight container and keep it in the fridge. It will stay good for three to four days. If you'd like to serve it warm on the second go around, warm the desired amount slowly in a pot over low heat while stirring frequently. Note that it may thicken a little, but you can add a touch of milk to the pot to bring the reheated custard to the desired consistency.
Vanilla Custard Recipe
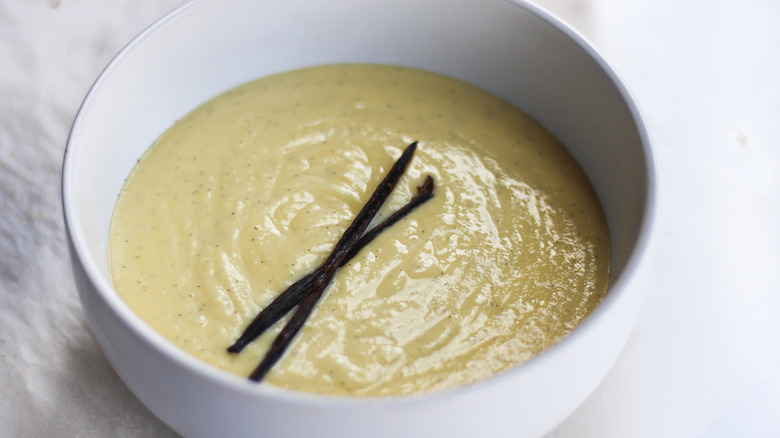
Whether you enjoy a dollop of custard on pie or a little scoop over fruit, an easy vanilla custard can be made ahead and enjoyed time and time again.
Ingredients
- 2 cups whole milk
- 1 cup heavy cream
- 8 egg yolks
- 2 vanilla pods
- 10 tablespoons sugar
- 3 teaspoons cornflour
Directions
- Pour the whole milk and heavy cream into a pot, and place on low heat.
- Separate the egg yolks from the egg whites, and put the yolks into a large mixing bowl. The egg whites can be used for another recipe like an omelette.
- Remove the paste from the vanilla bean pods, and put the vanilla pod cases into the milk and cream to steep for 10 minutes.
- Add the sugar, cornflour, and vanilla paste to the egg yolks, and whisk together until incorporated.
- Get your whisk ready, and slowly add 1 cup of the milk and cream to the yolk mixture. Be sure to whisk your egg yolks very fast while doing this so the eggs don't scramble.
- After the first cup of the milk and cream mixture is poured into the egg yolk mixture, pour the ingredients in the mixing bowl into the milk and cream pot, and set the stove to low-medium heat. Stir.
- Continue mixing for about 6 or 7 minutes, and it will start to thicken.
- Once it's thickened, it's ready to serve. It serves very well chocolate cake, vanilla cake, or apple pie.
Nutrition
| Calories per Serving | 501 |
| Total Fat | 33.2 g |
| Saturated Fat | 18.6 g |
| Trans Fat | 0.0 |
| Cholesterol | 385.9 mg |
| Total Carbohydrates | 41.4 g |
| Dietary Fiber | 0.1 g |
| Total Sugars | 39.5 g |
| Sodium | 88.6 mg |
| Protein | 9.5 g |
