Easter Bunny Cake Recipe
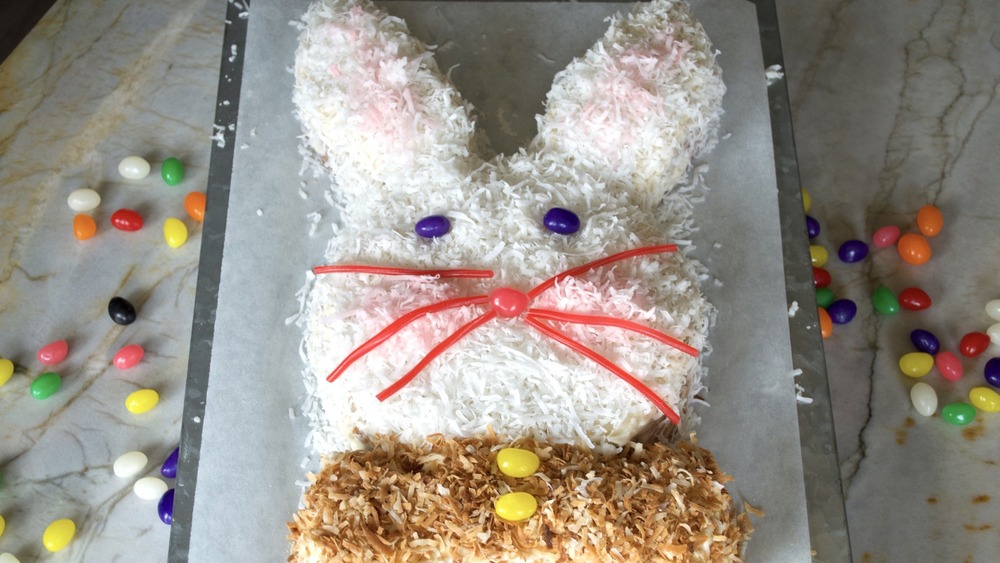
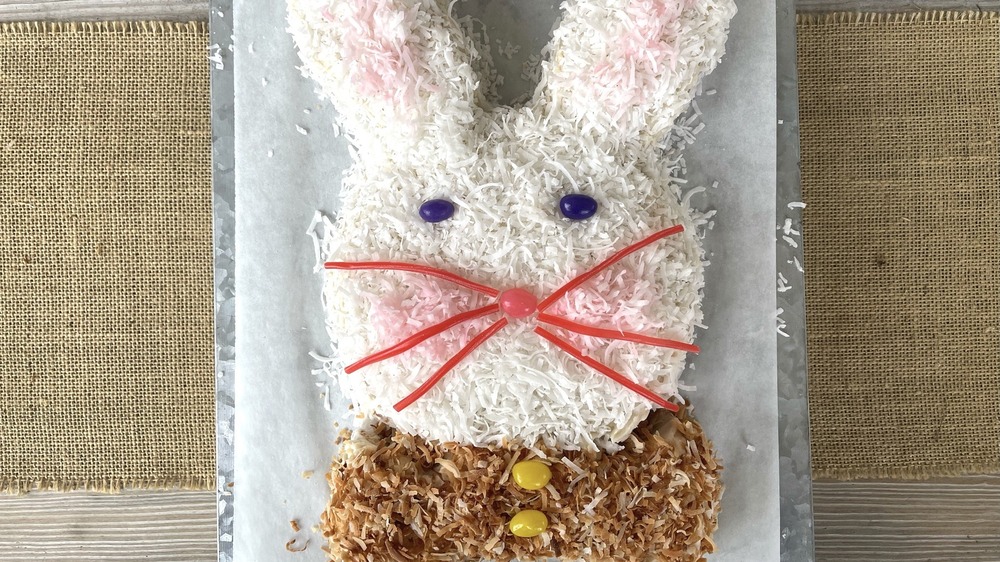
If you're looking for a fun dessert for Easter, look no further than this adorable Easter bunny cake. This dapper bun boasts licorice whiskers and a bow tie covered with coconut and jelly beans. And best of all, he's a cinch to make!
"This is a straightforward and easy cake to make and decorate — the coconut covers all flaws," explains Tricia Wheeler of Peaceful Dinners, whose mother started making this cake for her family every Easter in the early '80s. "The decorations are candy and tinted coconut (so no skills needed)!"
Wheeler remembers posing with the cake every Easter for a photo, and the tradition has now been passed on to the next generation. "My 14-year-old daughter now makes this cake Easter week with her friends, and they do a beautiful job with it with no help from me," she says. If a 14-year-old can do it, so can you — so let's get started.
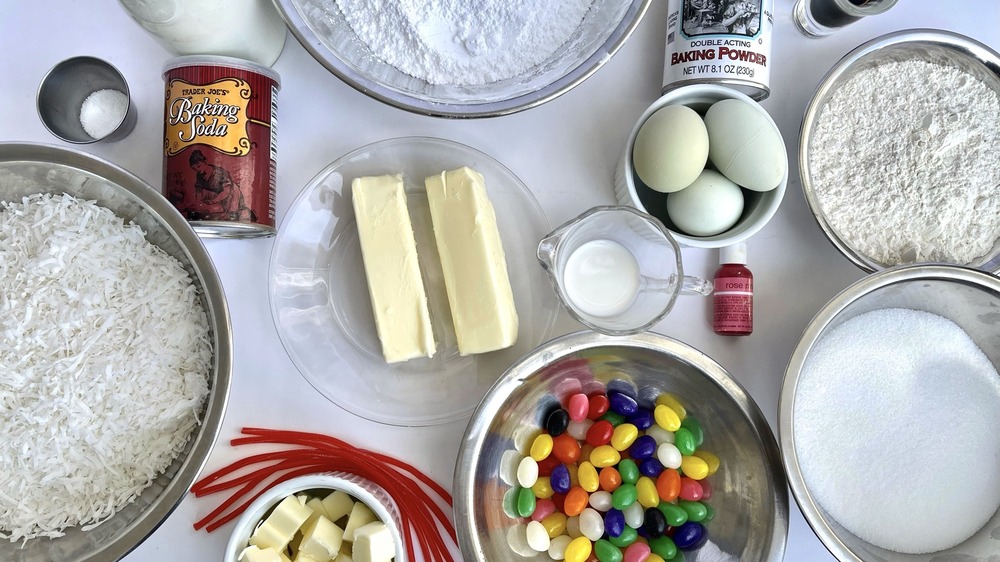
Gather the ingredients for your Easter bunny cake
To make this Easter bunny cake, a basic buttermilk cake is topped with buttercream frosting, flaked coconut, jelly beans, and licorice laces. The cake itself is made with egg whites, baking soda, and baking powder to become light and fluffy. Buttermilk adds a delightful tang to the cake's tender crumb.
Red food coloring helps create the pink inner ears and rosy cheeks of the bunny, and you can choose whatever candies you'd like to help give his face its endearing expression, although licorice laces and jelly beans are Wheeler's preference.
Prepare the buttermilk cake
The first step in making this Easter bunny cake a reality is baking the cake itself. Begin by preheating the oven to 350 degrees Fahrenheit, and then grease and flour two 8-inch round cake pans. One will make the bunny's face, while the other will be cut out to form his ears and bow tie.
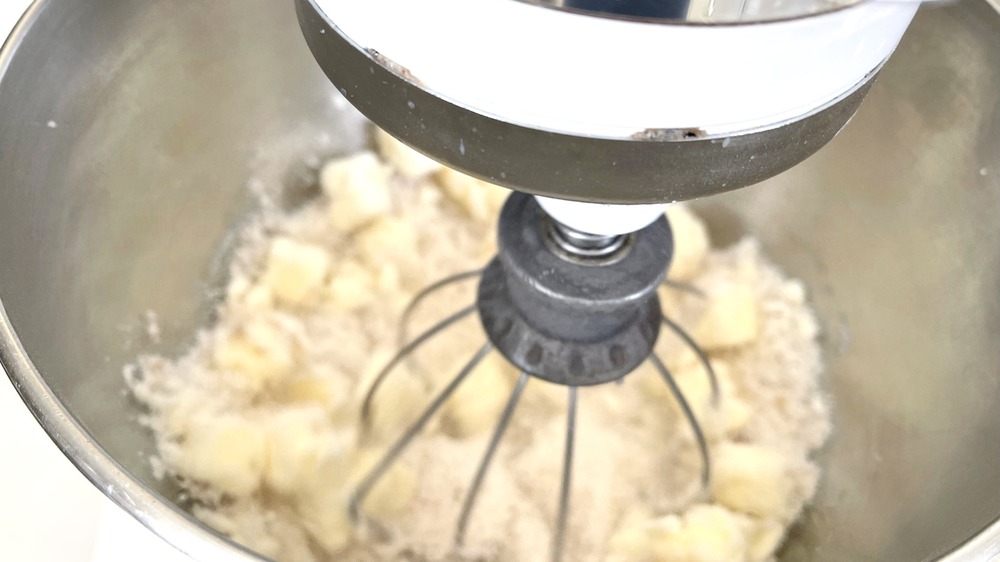
For the batter, combine the dry ingredients in a medium bowl, and then beat the butter, sugar, and vanilla together in a stand mixer until light and fluffy. Add the egg whites one at a time, beating well after each addition. Then, on low speed, alternate adding the flour and buttermilk, beginning and ending with the flour. Be careful not to over-beat! Beating flour causes the formation of gluten, which can make your cake tough.
Bake the cakes for your Easter bunny cake
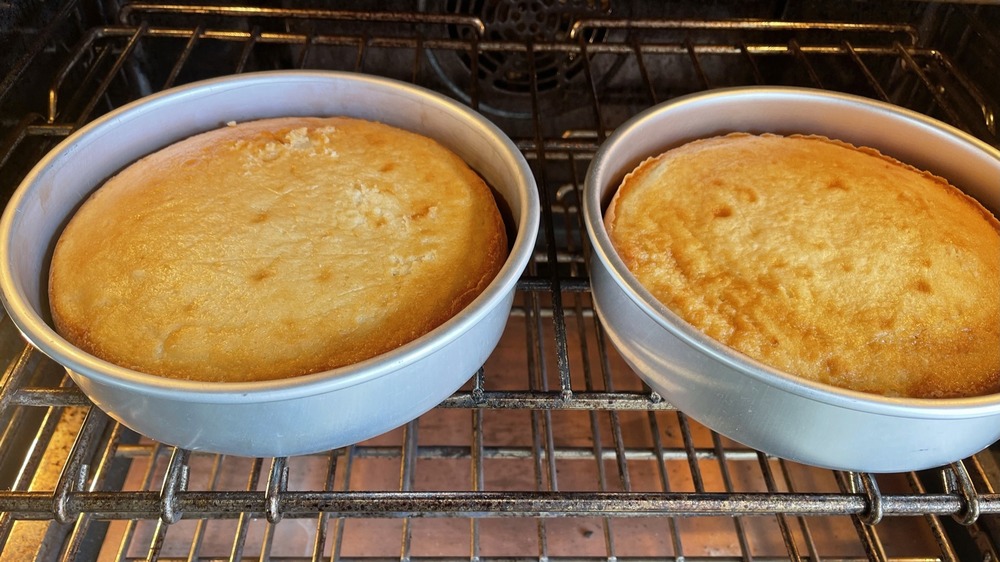
Once the batter is made, divide it evenly between the prepared pans, and bake for 30 to 35 minutes. You'll know the cakes are done when they're golden brown and a wooden toothpick inserted near center comes out clean. Be careful not to over-bake them — you want them to retain all that lovely moisture from the buttermilk.
Once they're fully baked, set the cakes in their pans on wire racks for 10 minutes. Then, turn them out on the racks, and cool them completely before icing and decorating.
Make the buttercream icing
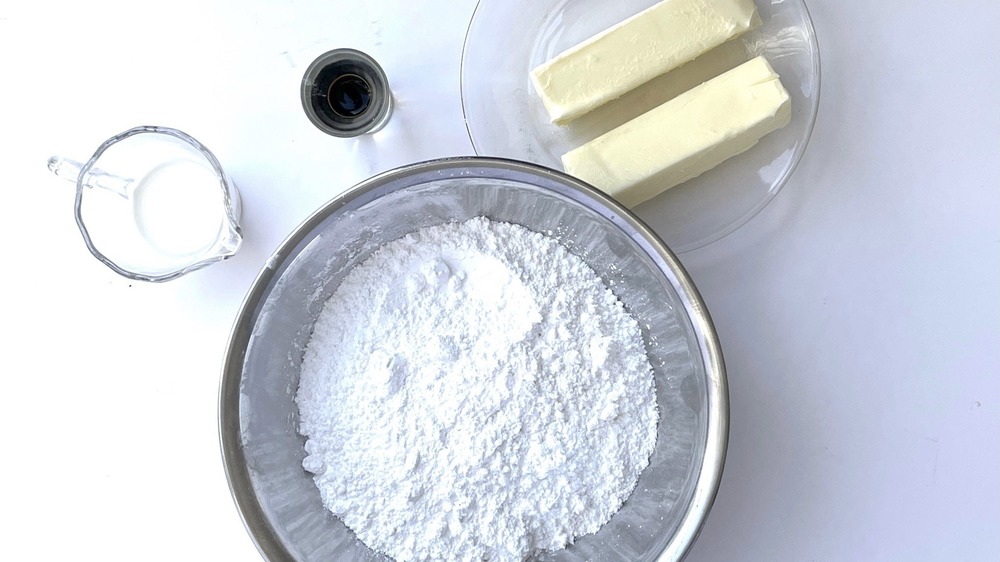
While the cakes are cooling, whip up the buttercream icing by combining 1 cup of softened butter and the vanilla in a mixing bowl, beating until light and fluffy. Add half of the powdered sugar, beating on low until incorporated. Then, add the rest of the sugar, increasing the speed to medium and beating about four minutes. Be sure to stop from time to time to scrape down the bottom and sides of the bowl where traces of unmixed sugar or butter can hide. When the icing is nice and smooth, drizzle in milk by the teaspoonful until it is thin enough to spread.
Cut the pattern for your Easter bunny cake
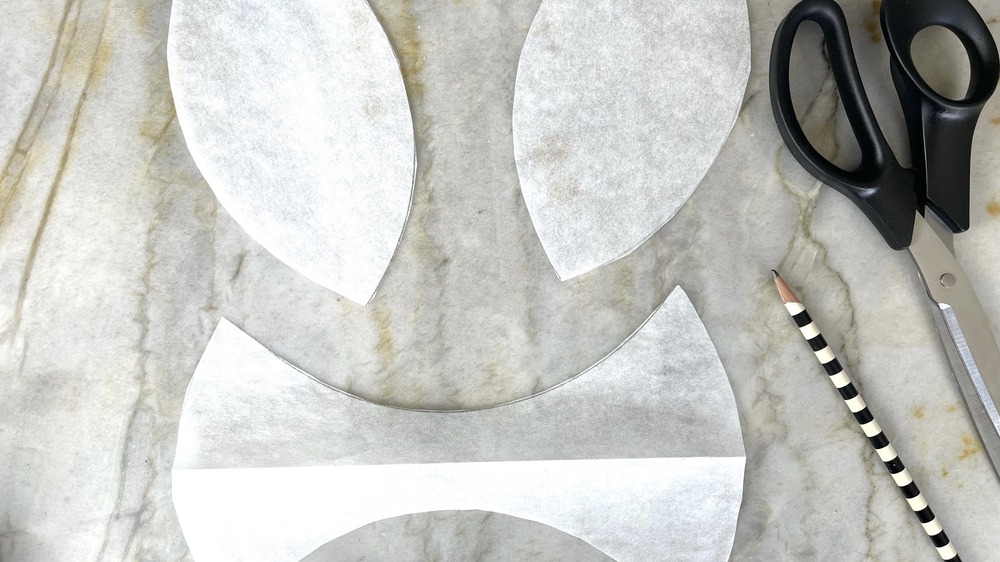
When the cakes are cool, they're ready to be sliced and assembled, and to help you in this endeavor, you'll be cutting a quick pattern from parchment paper. To do so, first trace a circle using your cake pan on a piece of parchment. Cut out the circle, and fold it in half. Once more using the cake pan, trace an arc opposite the curved side of the circle to make the bunny ear — it'll measure about 6 inches long and about 3 inches across the middle. With the paper still folded, cut away the oval. The result should be two equal ovals for the ears and, when unfolded, a bow tie.
Cut out the ears and bow tie
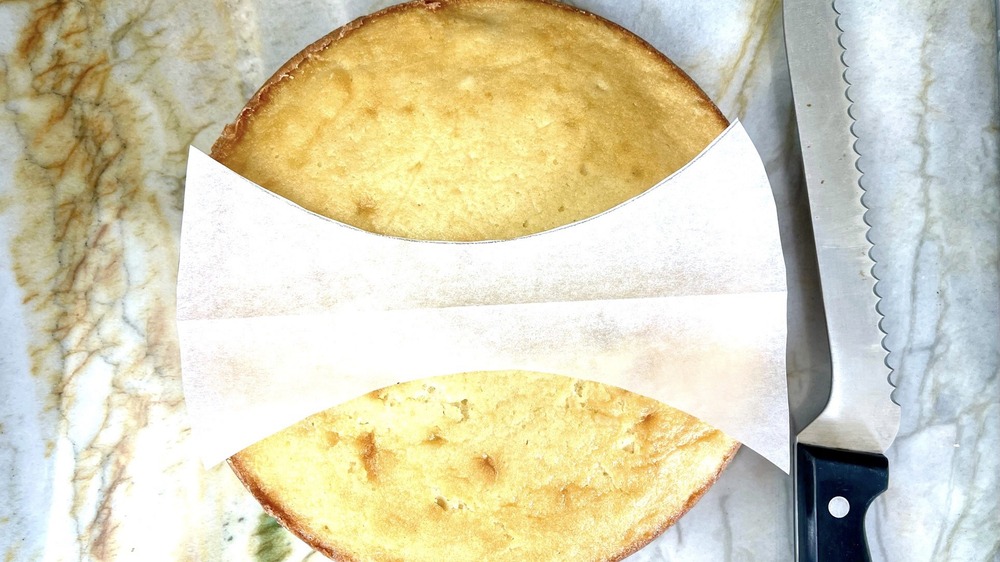
One of the cakes will remain whole and become the bunny face, while the other will be carved into the bunny ears and bow tie using the pattern you've made. To do it, simply place the bow tie pattern in the middle of one of the completely cooled cakes, and, using a serrated knife, cut carefully along the pattern. You should end up with three pieces: two nearly identical ears at the edges and a bow tie in the middle.
Assemble your Easter bunny cake
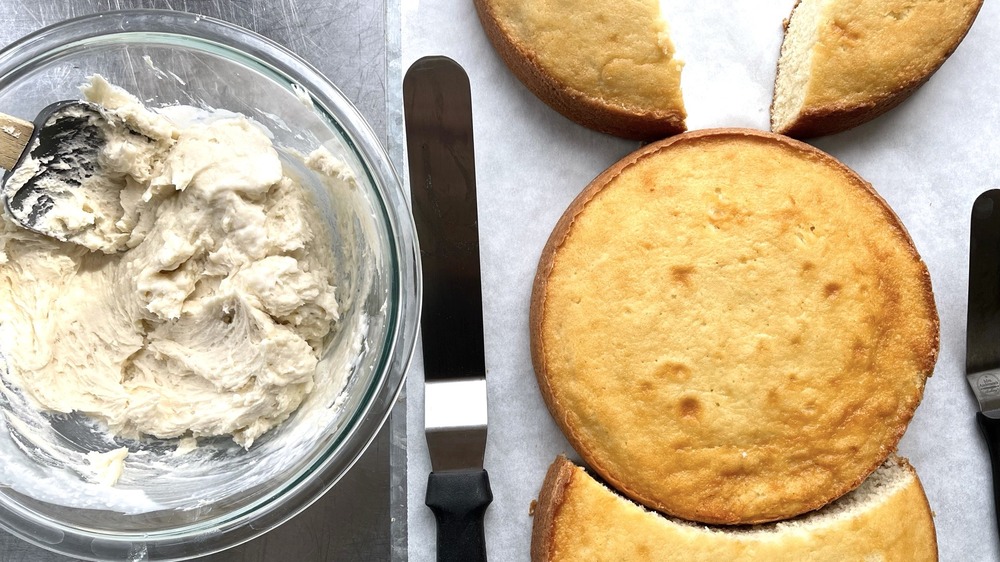
To assemble the cake, first place the still-whole cake about two-thirds of the way down your cake board or serving platter. Next, position the ears on the board, touching the top of the cake. Using a little icing as glue, attach the ears to the face. (You can remove a bit of the tip of the ear to help it fit better onto the head.) Attach the bow tie at the bottom with a little more icing, and the cake will now be ready to decorate!
Ice your Easter bunny cake
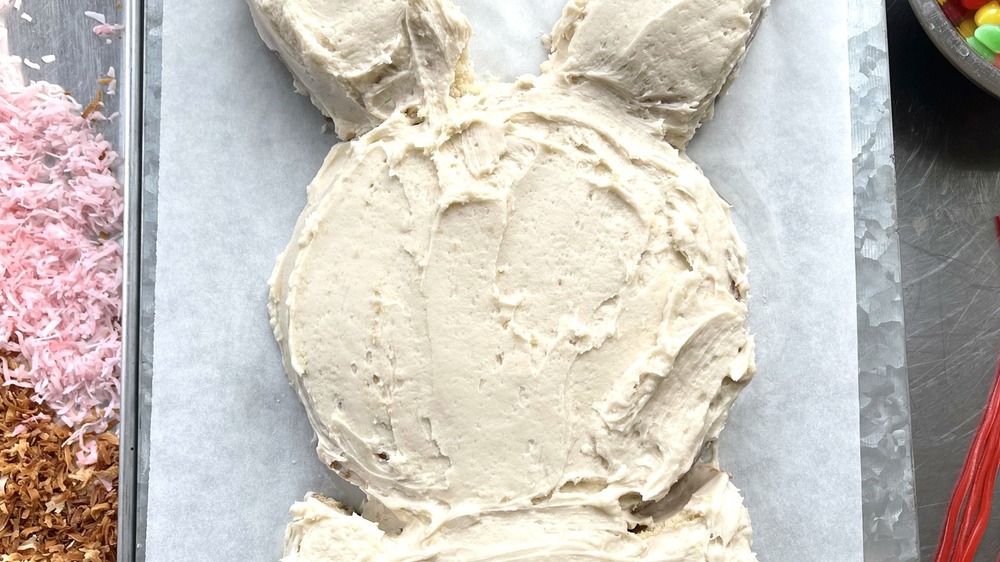
Cover the cake completely on all sides with buttercream, making sure to get the edges and all of the nooks and crannies. Next, completely cover the face, including the sides, with coconut, pressing gently so the coconut adheres. Cover the edges of the ears with coconut as well, but leave the middle of the ears and bow tie uncovered — we've got something special planned for them!
Toast and dye the coconut
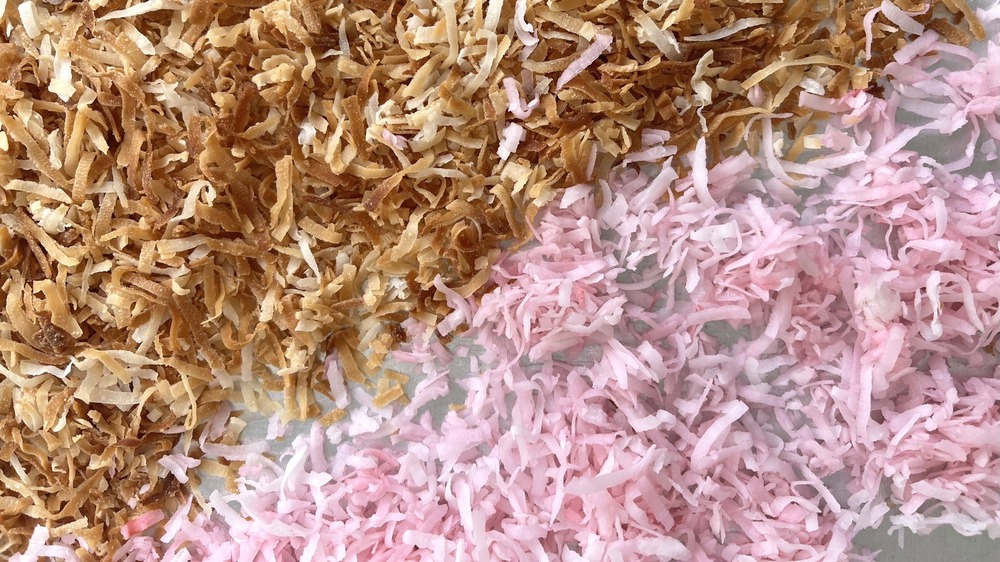
We're going to be giving our bunny pretty pink ears and a dapper brown bow tie. To do so, first put ⅓ cup of coconut in a container with a lid. Add a drop of pink food coloring to a bit of water, then drizzle it into the container. Now it's time to shake — this is a fun way for little ones to help out! Shake the container vigorously until the coconut is pretty and pink, and use it to fill in the middle of each ear.
Meanwhile, in a 350 degree oven, toast another 1 cup of coconut for seven to ten minutes, or until lightly browned. Use this toasted coconut to cover the bunny's bow tie.
Finish decorating your Easter bunny cake
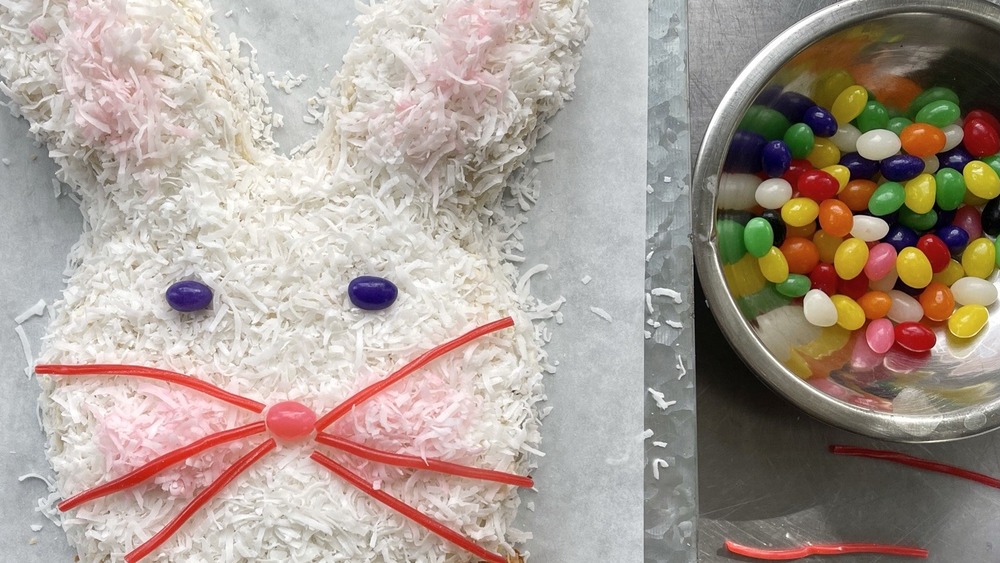
There are only a few details left to finish up this Easter bunny cake. First, use candy such as jelly beans to add eyes, a nose, and maybe some festive polka dots to the bunny's bow tie. Next, use licorice to make whiskers, and the bunny is ready for the holiday.
When it comes to slicing up this cake, Wheeler recommends beginning with the ears and bow tie. Then, move on to the whole cake section that makes up the bunny's face. "The cake is excellent served on its own without needing any ice cream or whipped cream," she says. "I like to serve it with hot tea!
Easter bunny cake everyone will love
This dapper bunny cake boasts licorice whiskers and a bow tie covered with coconut and jelly beans. It's the ultimate dessert for Easter Sunday.
Ingredients
- 4 egg whites, room temperature
- 2 cups all-purpose flour
- 1 teaspoon baking powder
- ½ teaspoon baking soda
- ½ teaspoon salt
- 1 ½ cups butter, room temperature, divided
- 1 ¾ cups sugar
- 3 teaspoons vanilla, divided
- 1 ⅓ cups buttermilk, room temperature
- 4 cups powdered sugar
- 1-2 tablespoons milk
- 14-ounce bag sweetened, flaked coconut
- jelly beans
- black or red licorice laces
- red food coloring
Directions
- Preheat the oven to 350 degrees Fahrenheit. Grease and lightly flour two 8-inch round cake pans.
- In a medium bowl, stir together the flour, baking powder, baking soda, and salt.
- In a mixer bowl, beat ½ cup of butter on medium-high speed for 30 seconds. Add the sugar and 1 teaspoon of vanilla. Beat until light and fluffy.
- Add the egg whites, one at a time, beating well after each addition and scraping the bowl as needed.
- Alternately add the flour mixture (⅓ each time) and buttermilk (½ each time) to the batter, beating on low speed after each addition just until combined, being careful not to over-beat.
- Divide the batter evenly into the prepared pans. Bake 30 to 35 minutes, or until a wooden toothpick inserted near the center comes out clean. Be careful not to over-bake.
- Cool the cake layers in pans on a wire rack for ten minutes. Remove the cake layers from the pans, and cool thoroughly on a rack before decorating.
- To make the icing, combine 1 cup of softened butter and 2 teaspoons of vanilla in a mixer bowl. Beat on low speed until light and fluffy.
- Add ½ of the powdered sugar and beat on low speed until incorporated. Add the remaining sugar and beat on low until all sugar is incorporated.
- Increase the speed to medium and continue beating about four minutes, scraping the sides and bottom of bowl often.
- When finished beating, drizzle in 1 teaspoon of milk at a time and continue beating until icing reaches a good consistency for spreading on the cake.
- Trace a circle on a piece of parchment paper, using your cake pan as a template. Cut out the circle and fold it in half. Again, using the cake pan as a template, trace an arc on the curved side of the circle that results in a long oval that looks like a bunny ear -- the oval will be about 6 inches long and about 3 inches across the middle. With the paper still folded, cut away the oval. When the circle is opened, the middle should now look like a bow tie.
- Place the "bow tie" pattern in the middle of one of the completely cooled cakes, and using a serrated knife, cut the cake carefully along the pattern. When done, the cake will be in three pieces: two ears and one bow tie.
- Place the whole cake about ⅔ the way down your cake board or serving platter. Position the ears on the board, touching the top of the cake, and using a little icing as glue, attach the ears to the cake. (Cut a little cake off the ear tip for better positioning.)
- Again, using icing as glue, attach the third cut-out to the bottom of the cake so that all of the cake pieces together form a bunny head with a bow tie.
- Completely cover the cake with the buttercream. Then, cover the bunny face — including sides — lightly with coconut, pressing gently so the coconut adheres. Leaving the middle of the ears open, cover the rest of the ears with coconut.
- Place ⅓ cup of coconut in a container with a lid. Add a drop of pink food coloring to a little water and add to the container. Shake vigorously until the coconut is pink. Cover the middle of the ears with the pink coconut, and add a sprinkle to the bunny cheeks.
- Lightly toast 1 cup of coconut in a 350-degree oven for seven to ten minutes until lightly colored. Cover the bow tie with the toasted coconut, and press jelly beans into the tie.
- Use jelly beans for the eyes and a nose. Cut lengths of licorice to form whiskers. Slice and serve.
