The Biggest Mistake You're Making With Easter Lamb Cake
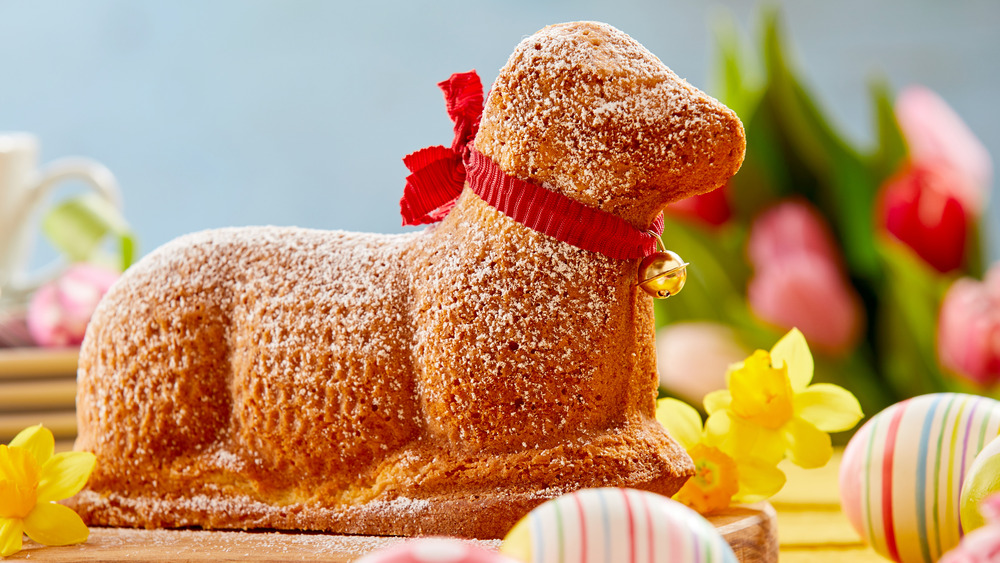
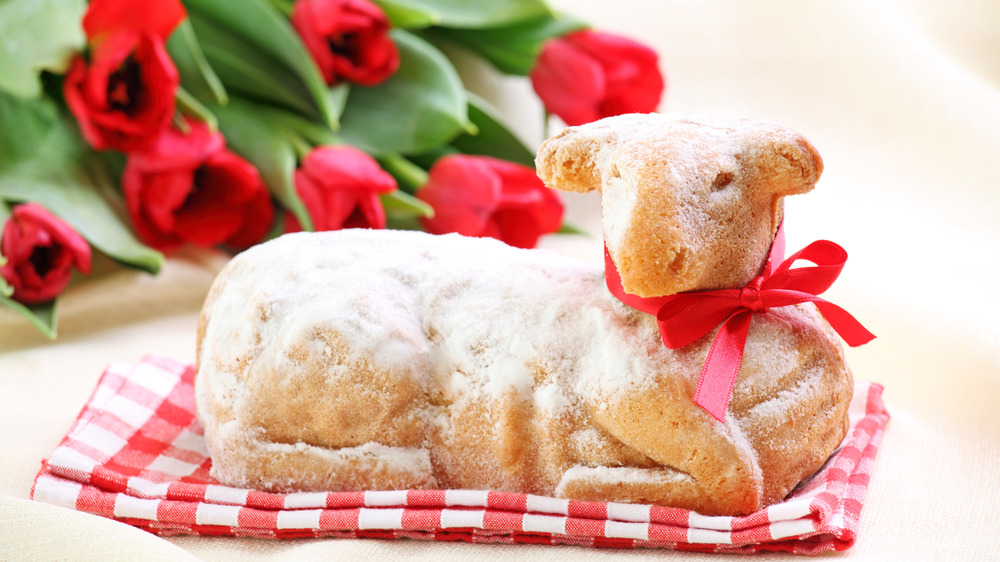
One of America's most under-the-radar Easter dinner traditions is that of the Easter lamb cake. Brought to the U.S. primarily by German immigrants (via Northeast News) and, to some extent, immigrants from Eastern Europe (via the National Czech & Slovak Museum and Library (NCSML), Easter lamb cake is made with a sweet cake batter that gets baked into the shape of a three-dimensional lamb using a two-piece cake mold. It's said to "hold a place of honor on the table during the holiday meal," and to represent "Christ as the sacrificial Lamb of God."
As interpreted by Americans, Easter lamb cake is often covered in swirls of white frosting and possibly a generous coating of sweet, flaked coconut, according to Northeast News. However, the classic Easter lamb cake of Europe puts most of the focus on the cake itself, leaving it unfrosted except for a light dusting of powdered sugar and a red ribbon around the lamb's neck. To pull that off, however, you're going to have to avoid making what may well be the biggest mistake you can make with Easter lamb cake.
Avoid this common mistake
The biggest mistake you can make with an Easter lamb cake is not preparing the pan properly before baking so that the cake releases smoothly and easily, with all the adorable three-dimensional lamb details intact. This is especially true if you plan on serving your lamb cake the traditional way, which eschews thick globs of frosting in favor of a light dusting of powdered sugar. As bakeware manufacturer Wilton pointed out in a blog post devoted to teaching the finer points of Easter lamb cake baking, "the most important step is preparing the pan. Your cake will unmold easily without sticking if you prepare the pan properly."
Specifically, if you want to make sure you're doing it right, you'll want to use solid vegetable shortening. None of these common shortening substitutions will do, especially butter, margarine, liquid vegetable oil, or PAM spray. The Wilton blog also recommends using a pastry brush to make sure you get every little indentation adequately greased up.
Once you've greased the pan, it's time to flour it. And by flouring the pan, we don't mean tossing a little flour at it. We mean generously sprinkle flour into the pan and then shake it to spread it everywhere evenly. If any shiny spots remain, add more flour. Finally, before pouring in your cake batter, be sure to turn the pan upside down and tap lightly to remove any excess flour.

