How To Proof Yeast
The world of baking is wildly vast, from mixing up cakes and cookies to breads and pastries. And for many recipes, they wouldn't even be possible to pull off if it weren't for the addition of yeast.
Yeast is ultimately what gives a bread or pastry its fluffy, incredible texture. And without it, baked goods will simply fall flat. But before you dive into a bread or pastry recipe, it's important to understand how to proof yeast to be sure your end result is top-notch.
Most recipes call for active dry yeast. And while yeast is a living organism, the yeast found in packets on grocery store shelves is dried so that it can be shelf-stable until a baker buys it for baking. Because of that manufacturing process, waking up the yeast from its sleep and confirming it's still alive is an important step in the baking process. But have no fear. With just a few steps and helpful tips and tricks, you'll have perfectly proofed yeast in no time.
What ingredients do you need to proof yeast?
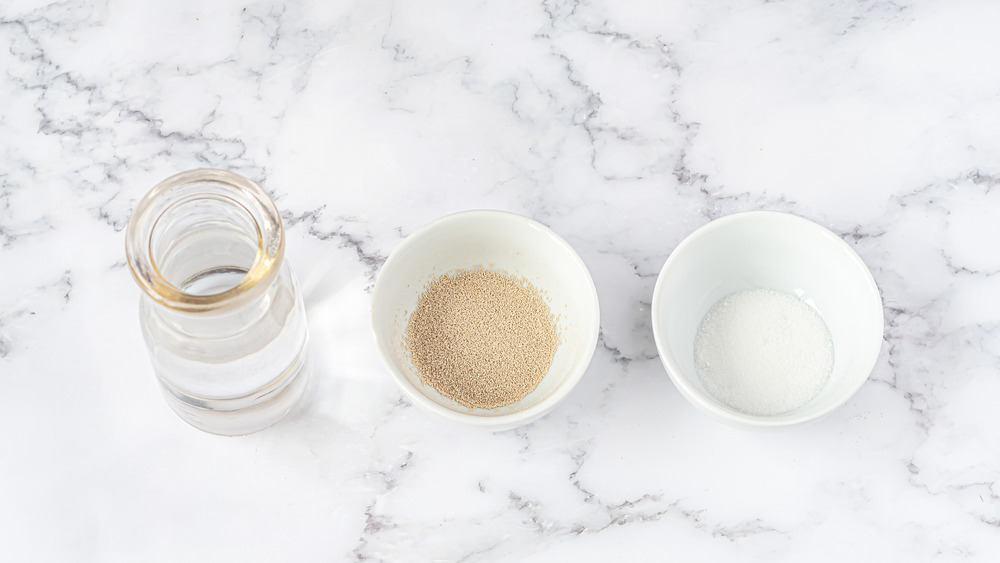
While it's self-explanatory that you'll need either a packet or a jar of yeast to achieve proofed yeast for a recipe, that's not all you'll need. In addition to yeast, you'll also need warm water along with a bit of sugar. Depending on the recipe you're proofing your yeast for, it may require more or less water or even warm milk as a substitute. The amount of sugar will vary as well.
You can rely on being able to proof yeast successfully with a cup of warm water along with one teaspoon of sugar for one (quarter-ounce) packet of yeast, equal to two and a quarter teaspoons.
Add water and sugar to a bowl
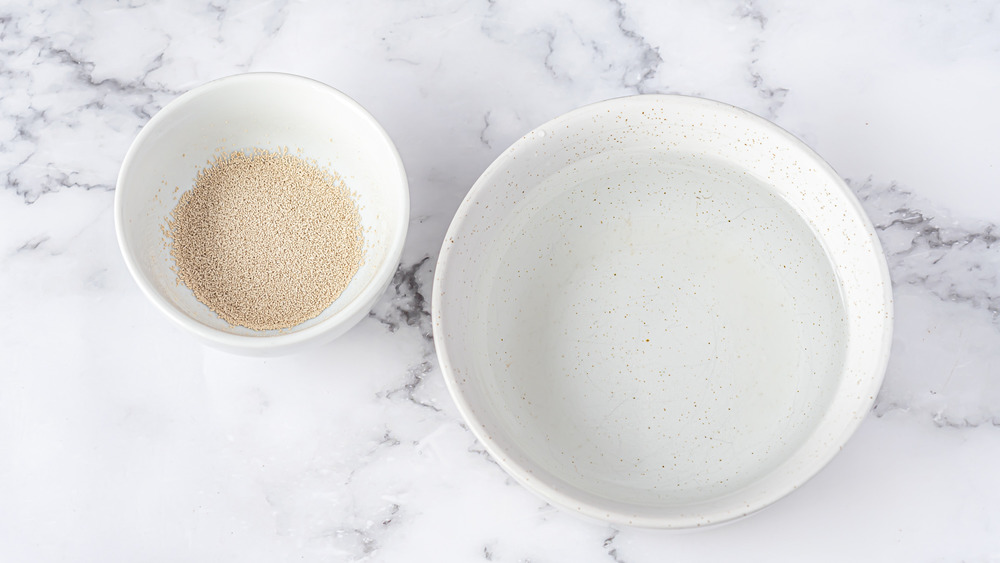
To get started on proofing yeast, you'll need a bowl large enough for the amount of water you're using. Pour the warm water into the bowl, and then add the sugar. Be sure the water isn't too hot, or it can kill the yeast. For best results, you'll want water that's warm to the touch without being piping hot.
Sprinkle the yeast on top
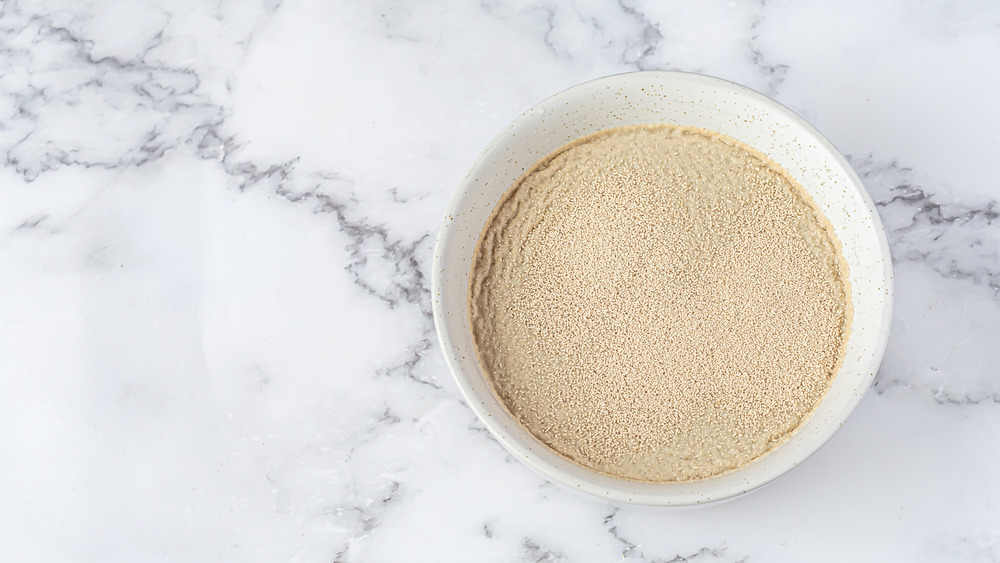
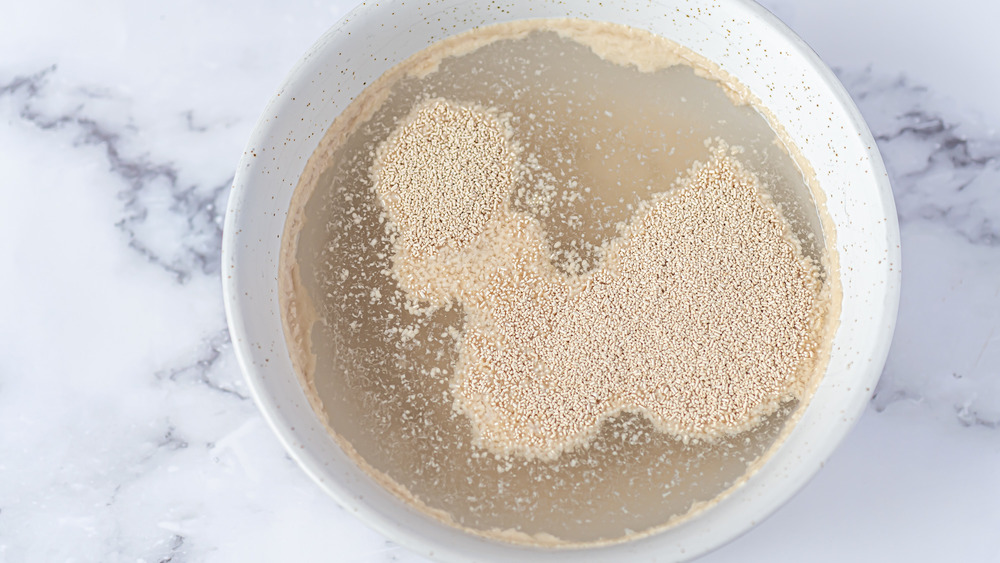
Once you've added the sugar into the water, it's time to sprinkle the yeast on top. Cut an opening in the packet and sprinkle to spread the yeast over of the water. There's no need to stir at this step.
Give time for your yeast to proof
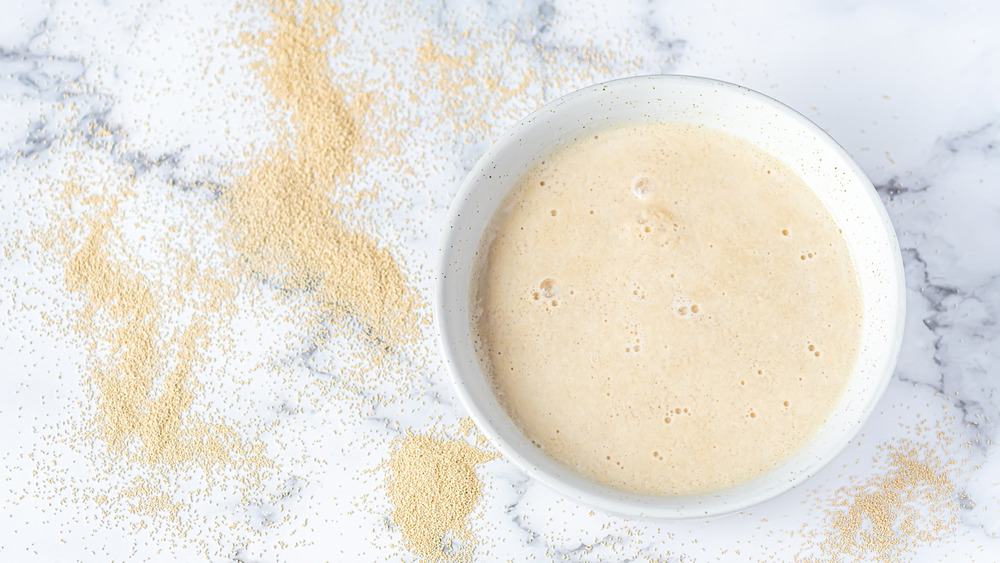
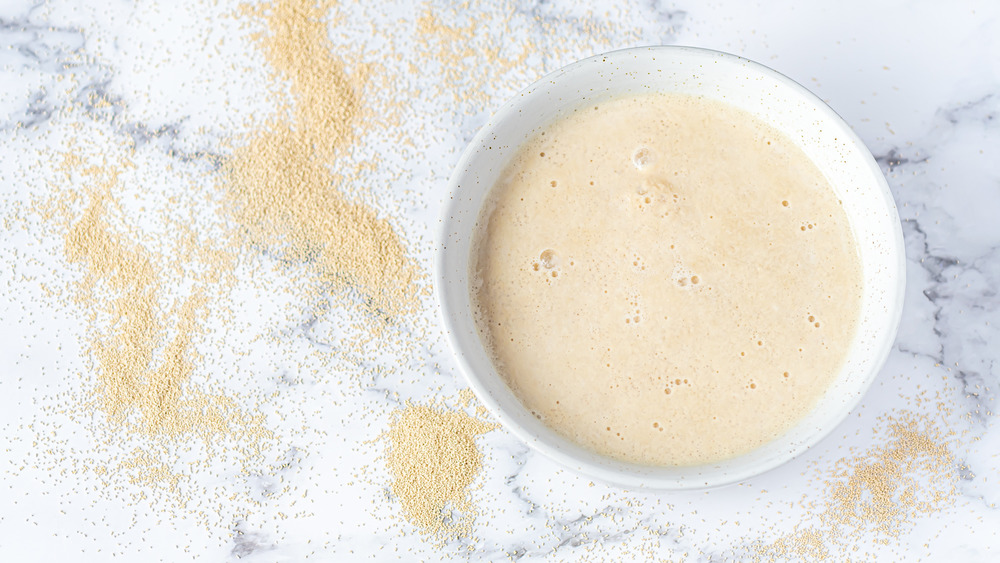
Once the warm water, sugar, and yeast are in the bowl together, give it time to do its thing. The warm water wakes up the yeast, while the sugars provides fuel for the yeast to feed on. As the yeast feeds on the sugar, it starts to release carbon dioxide, which is what creates the foam and bubbles in the bowl. Plus, it gives off that incredible almost-freshly-baked-bread smell.
Allow the yeast to proof for five to ten minutes until it's bubbly to confirm that it's alive and well. If it doesn't bubble or foam, chances are, your yeast is dead. Simply start over with another packet to confirm the yeast is alive and ready to do its job before moving onto the next step in your baking recipe.
What's the difference between active dry yeast and instant yeast?
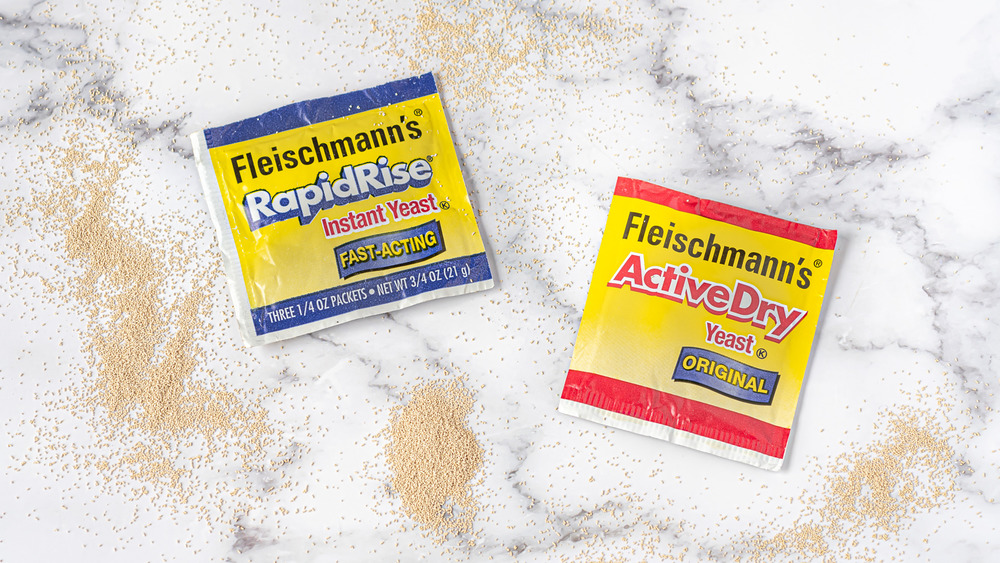
Instant yeast and active dry yeast are the two most common types of yeast you'll see on grocery store shelves. But only active dry yeast needs a bit of encouragement to wake up before it's ready for baking.
Instant yeast was introduced in the 1970s as a novel option. You can pour and mix instant yeast straight into the dough without any need for activation ahead of time.
Active dry yeast is the variety that needs a bit of help. Although yeast is a living organism, when it's packaged, it becomes dormant. Sprinkling the active dry yeast over warm water and allowing it to munch on sugars is what wakes it up from its latent state. Once awake, it's ready to rock and roll and do its thing in any bread or pastry recipe.
Is proofing the same as rising?
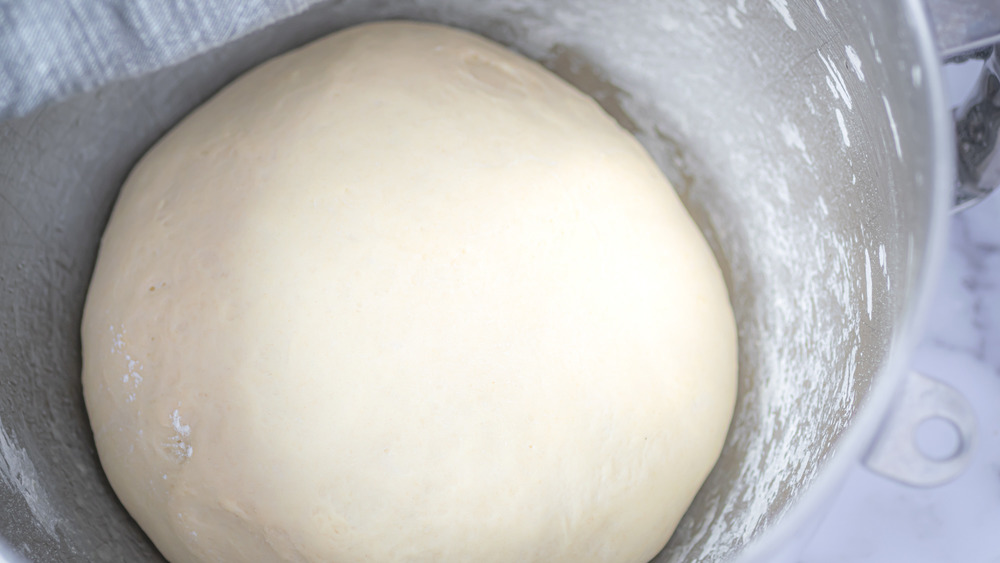
When you proof yeast, waking it up from its slumber, you're only activating it in the first stage of the process. Essentially, you're getting it wide awake and ready to go to work. Once the yeast is then mixed into a dough with flour and sometimes additional liquid, oil or melted butter, and seasoning, it'll then be ready for rising.
Rising is the stage of making bread or pastry that encourages the yeast to continue munching on the dough's mixture. The flour added to the dough gives it additional fuel by way of starch, allowing it to continue releasing carbon dioxide and grow in size. Typically, once the dough is done rising, it's time to form it into the bread or pastry shape desired. From there, the dough is then left to rise once more before you're ready to bake the final product.
How to proof yeast directions
Time: 5 to 10 minutes
Serves: 1
Ingredients:
1 cup warm water
1 teaspoon white sugar
1 (1/4-ounce) packet of yeast, equal to 2 1/4 teaspoons
Directions:
1. Pour the warm water into a small bowl. Add in the sugar.
2. Sprinkle the packet of yeast on top.
3. Allow the yeast to sit for five to then minutes until bubbly and foamy.
