The One Thing You Should Do Before Baking Desserts
So you've decided to put your baking hat and try your hand at dessert? Whether you're planning an all-sweets buffet party (great idea!) or just want to bake up a treat to serve the family after dinner (always a nice touch!), making dessert, whether it's fancy or completely basic, implies you have gone the extra mile — unless, or course, it turns into a total dessert disaster. There's a way to avoid that, though. Make sure you get off on the right foot before you start the baking process by planning ahead, carefully choosing the right ingredients, and knowing which techniques will work best for your baking project. If you follow those steps, you'll look like a true baking master — even if you're really not. But before you even get that far, there is one big step you should take care of first — and it might just be something you've never even thought of.
Take your oven's temperature
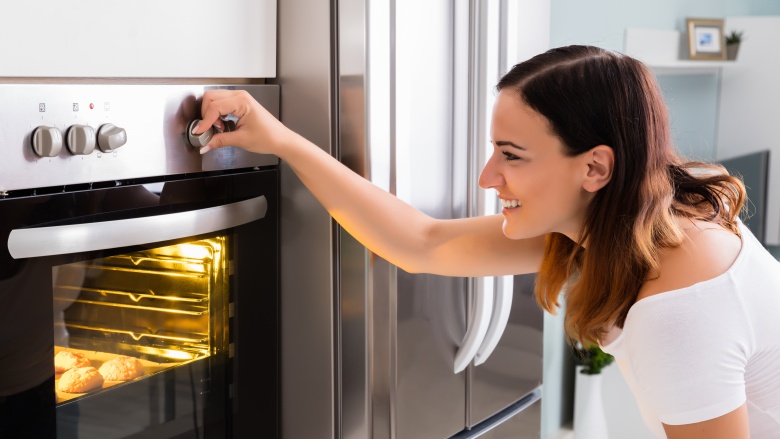
The one thing you should always do before baking a dessert is double-check your oven's thermostat. After all, an incorrect oven temperature will result in a dessert that cooks all wrong, undoing all your hard work.
Use an oven thermometer to double-check the thermostat is accurate. Allow enough time for the oven to thoroughly preheat, and then test the temperature in a few places to identify hot and cold spots in the oven — and to check if the actual temperature matches with what your thermostat is reading. If the oven is off by as little as 10-15 degrees, adjust your temperature setting to make up the difference. If the discrepancy is a big one, seek a professional to recalibrate your oven's thermostat.
Once you've taken care of this, there are some other things you can do to make sure all your baking ventures are a success.
Get organized
Before you get started, it's important to check that you've got all the ingredients and tools needed to complete your dessert. Getting caught in the middle of an important step could end in a dessert disaster, so read the recipe once or twice to familiarize yourself with the steps.
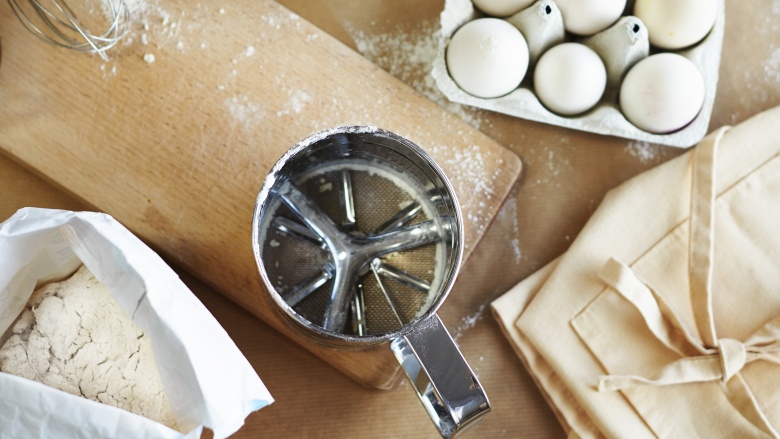
Prep ahead like professional chefs do. Chop and measure anything that needs it, toast nuts, sift and measure flour — essentially do anything you can to make the process of making the recipe as smooth as possible. That goes for equipment too.
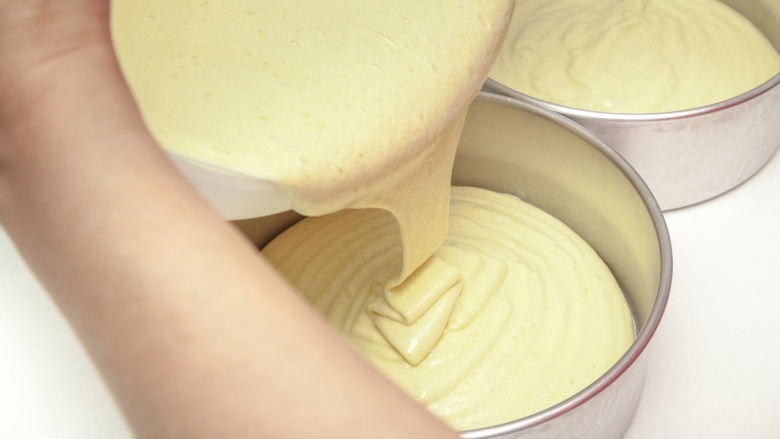
If you need to have pans buttered and floured for a cake, do so before you get started so you can pour in the batter rather than have it sit and deflate while you prepare the pans. Or, you might need to cool down a vanilla custard quickly to prevent the eggs in it from overcooking after it comes off the stove. So set up the ice bath before you start, so you can stop the cooking immediately. Taking steps like this can mean the difference between creating a dessert that will wow everyone, and one that just didn't work out.
Measure using the right tools and techniques
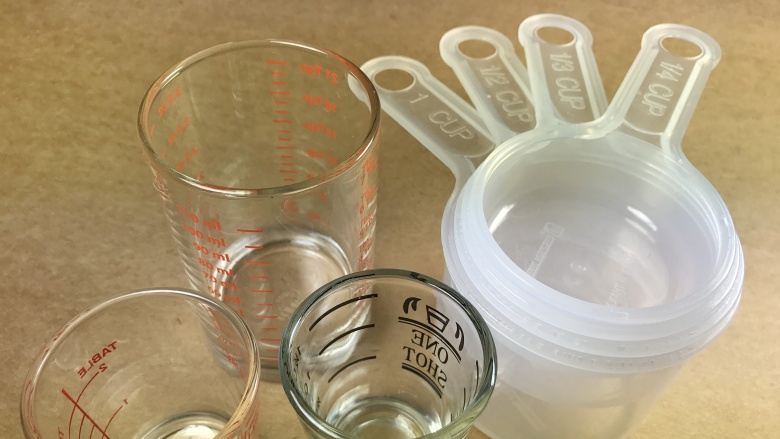
It might seem like a good idea to make things faster (and dirty fewer dishes) by using the same measuring tools for both wet and dry ingredients. Unfortunately, that won't work in your favor. Liquids are measured differently than dry ingredients, and with different tools. Liquids should be measured in vessels with calibrated marks to measure volume. Read a liquid measure at eye level and place it on a stable, level surface for the best accuracy.
Dry ingredients and other ingredients that you wouldn't pour, like peanut butter, sour cream, yogurt, and ricotta cheese, should be measured in dry measuring cups. Measure dry ingredients by spooning the ingredient into the cup and scraping across the top using a table knife to evenly remove any excess. Use a scale for the best accuracy if a recipe also provides weight measures for ingredients.
Give pie dough a rest before rolling
Your pie looked great going into the oven, but when you pulled it out the crust looked slumped and shriveled. What happened? You probably didn't give the dough a rest before you began rolling it out.
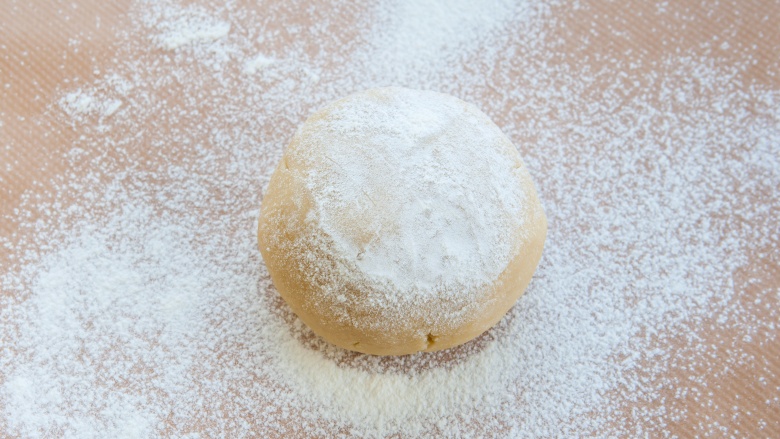
Flour, the main component in pie dough, develops long, sticky strands of gluten when it mixes with the water in the recipe. It's important to use only as much water as is necessary to moisten the dough. Using too much liquid encourages more gluten to develop and overworking the dough makes gluten stronger. You can see this at work if you attempt to roll out pie dough too soon — it will have an elastic behavior, snapping back as you roll it out.
Rest pie dough by wrapping it in plastic wrap and chilling it for at least 30 to 60 minutes — enough time to allow those elastic gluten strands to relax before you start rolling. And then, after you've rolled out the dough and fit it into the pan — which also reactivates the gluten — return the crust to the refrigerator and give it another 15 to 20 minute rest. As an added measure of protection against shrinking, you can also add a little baking powder to the recipe. The baking powder helps the dough to expand rather than shrink as it bakes.
Weigh down your pie shell
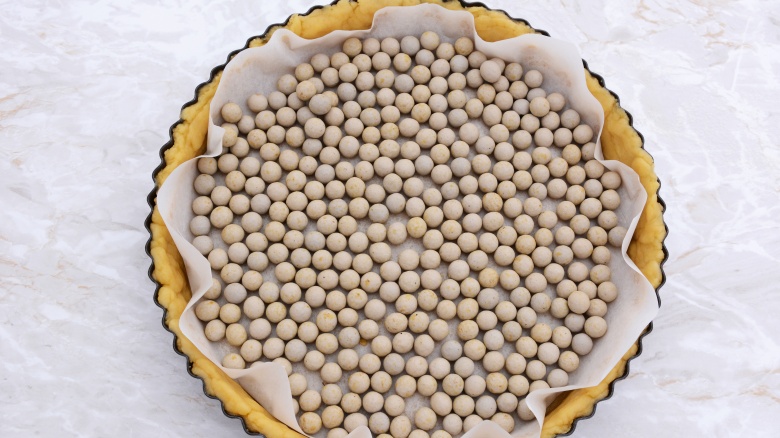
Blind baking, which means to partially cook a unfilled pie crust, is another scenario where pie dough can shrink. In this case the dough slumps down the sides of the pie plate because there is no filling inside the pan to hold the dough in place. You should still chill the dough before and after rolling it out, but there are a few more steps to take to keep the dough in place.
Folding the dough under the lip of the pie pan rather than simply crimping it along the rim is one measure against shrinkage, but most importantly, use pie weights. You can purchase ceramic beads especially made for blind baking, but a simpler (and cheaper) hack is to use dried beans or rice as weights. After fitting the dough into the pan and chilling it, line the pie with parchment paper and fill it about 2/3 full with the weights. Bake until the crust is golden in color and feels firm to the touch. Lift the parchment and the weights from the pan, then fill the pie as your recipe directs — or you can return the pan to the oven and fully cook the crust so it's ready to use for a cold dessert like chocolate cream pie or a fruit tart.
Pick the best pie pan
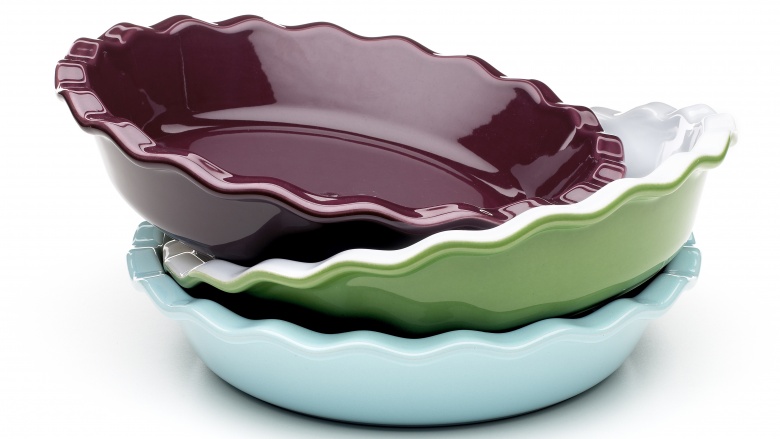
You've got three primary choices when it comes to pie pans: metal, ceramic, and tempered glass. In the metal category, there are a range of possibilities from aluminum disposable to heavy-duty stainless steel. Metal pans heat up and cool quickly, which makes them ideal for short-termed blind baking jobs and for small tartlets and mini-pies. In most other cases, you run the risk of over-cooking the crust before the pie is fully cooked. Metal pie pans also are not knife friendly — a problem because pie is usually an oven-to-table dessert.
For fully baked pies, go with ceramic or tempered glass pie plates. Either will evenly and slowly conduct heat, which results in a uniformly-browned and well-cooked crust. Glass pie plates are inexpensive, and the see-through material allows you to monitor progress on the sides and bottom as the pie bakes. Ceramic pie plates are usually pricier than glass, but their attractive colors and finishes make a great statement on the table.
Using the wrong angel food pan
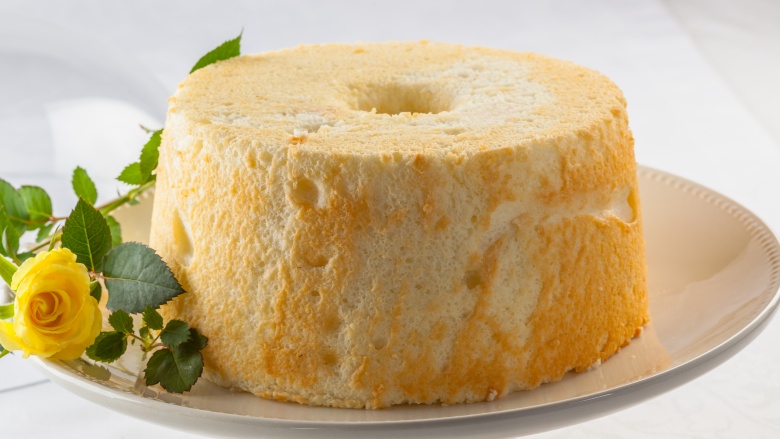
It might go against everything you ever thought about baking a cake, but you should never grease an angel food cake pan, nor should you use a pan that's nonstick or a bundt pan as a substitute. These tall, light-as air-tube cakes get their lift from beaten egg whites. The egg whites expand and rise as the cake bakes, and together with the flour and sugar in the cake "grabs" onto the sides of the pan to climb it as it rises.
If you use a pan with slippery sides, the batter won't adhere and rise properly. A good angel food cake pan will also have little tabs at the top edge of the pan, called feet, that let you easily invert the pan while the cake cools. Cooling an angel food cake upside down helps to prevent the delicate cake from collapsing after it emerges from the oven. If your pan doesn't have feet, invert the cake over the neck of a funnel or wine bottle. Another great feature on many angel food pan is a removable bottom. The sticky cake can be a little difficult to release, and a removable bottom makes that task easier. If your pan bottom isn't removable, fit a piece of parchment into the bottom of the pan for easy release.
Line cake pans with parchment
The last thing you want to happen after baking a cake is to struggle to release it from the pan. You may have followed the recipe instructions and buttered and floured the pan before pouring in the batter, but it may still be stuck to the bottom and sides. You can usually work the cake away from the sides by running a thin knife around the edges, but getting it to let go of the bottom is a lot trickier,unless you first line the bottom of the pan with parchment paper. The cake will come right out of the pan without any resistance whatsoever.
If you didn't line you cake with parchment, don't panic. You can probably get the cake out without ruining it. Loosen the sides as mentioned above using a thin knife. Gently heat the bottom of the pan over the heat of a burner on the stove top. This should warm the butters and sugars in the cake and help get the cake out without much damage.
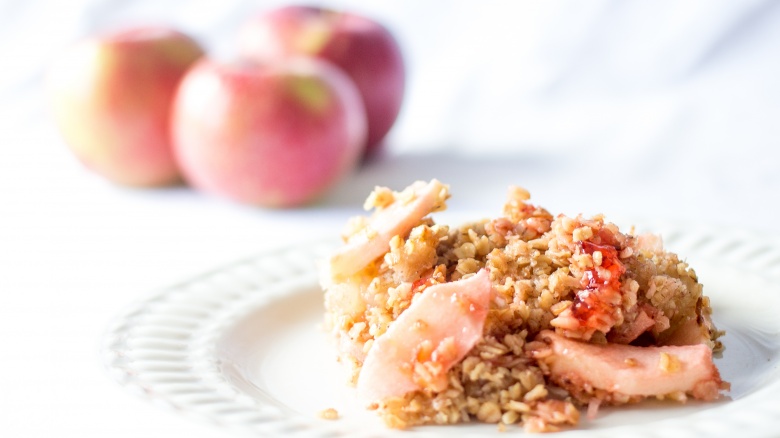
Choose the right apples
Like the name implies, an apple crisp needs to have a bit of bite to it. The topping should be slightly crunchy, sweet, and buttery. The apples should be fragrant and fruity and, rather than becoming soft and mushy, should remain intact after baking, but then practically dissolve as you chew.
Some apples are better for cooking, some best eaten raw and others shine when baked. Apple options seem almost endless, but to narrow down the choices go for apples that are crisp and firm when raw and have tart, tangy flavors that can stand up to the sugars in the recipe. Examples of this type of apple include Jonagold, Granny Smith, Cortland, and Braeburn. Whether you go for a traditional, old-fashioned apple crisp, or want to jazz yours up, the apple is key.
Cook meringue to prevent a soggy pie
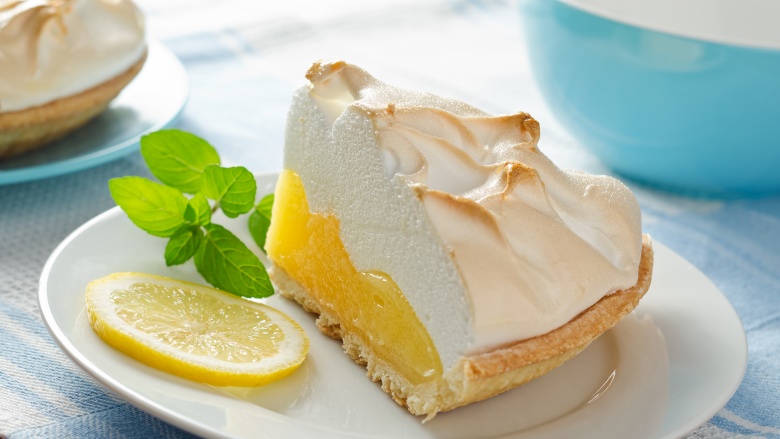
With its mile-high mountain of fluff over the bright yellow filling, lemon meringue pie is a show-stopping dessert. The classic method for lemon meringue pie is to fill a partially-baked pie crust with homemade lemon curd and top it with beaten French meringue, Then the whole thing goes into the oven and bakes until the meringue is thoroughly-cooked. After baking, the pie must cool, and then it's refrigerated before serving.
The problem is that prepared this way, the meringue can shrink while it bakes and later weep (loose it liquid) when it's cooled and chilled. The work-around to this problem? Fully cook a meringue on the stove and limit oven time to only as long as it takes to brown the top. Shortly before you're ready to serve the the pie, make the meringue (which isn't difficult) and spread it over the chilled, filled pie shell. Toast the meringue for a few minutes under the broiler, or use a cooking torch to brown the top.
Chill cookie dough the right way
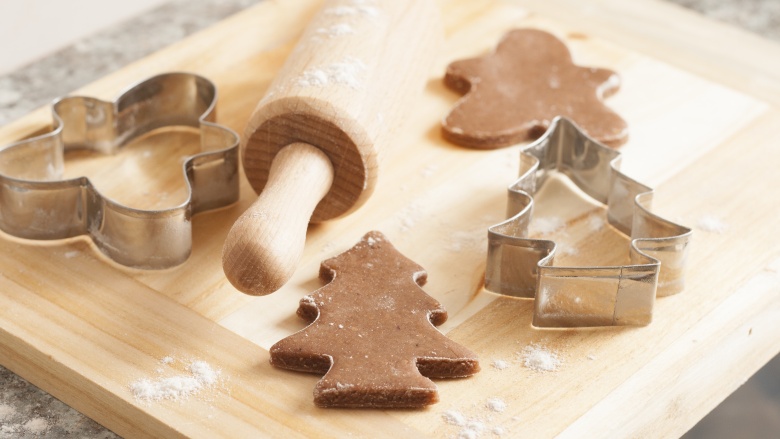
Often, recipes for rolled-out cookies instruct you to pat the dough into a ball or a disk and chill it. Then, when you remove the dough from the fridge, you have to kind of beat it back into submission so that it is pliable enough to roll into the thin slabs needed for the cookies. Dough is chilled to firm it up enough so shapes can be cut out, allow the sugar to absorb liquid and dissolve, and to help prevent the cookies from spreading once they're baked.
You shouldn't skip the chilling step, but you can shorten it and use a lot less muscle to roll out the dough. Instead of patting dough into a ball or disk like many recipe will instruct, press dough into a large, flat rectangle (about 1-inch thick) while it's still malleable and then chill it. The dough will become firm faster and better yet, it will be easier to work with when you roll it out.
Don't sub chocolate for cocoa
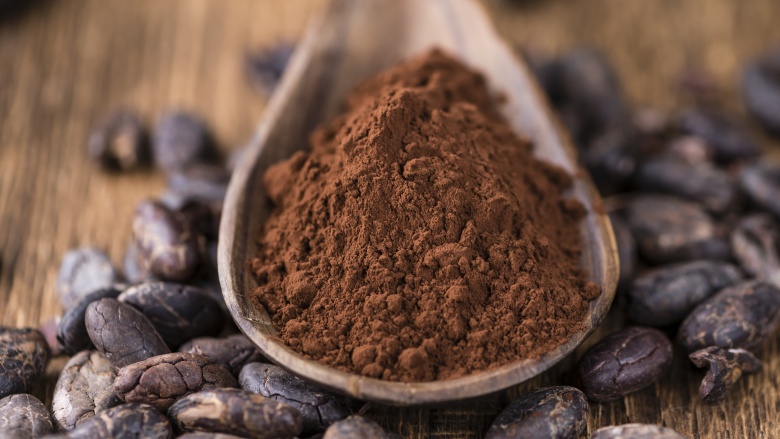
If you want to boost the chocolate flavor in your brownies use cocoa, not chocolate. What's the difference? Cocoa is made by finely grinding fermented, dried, and then roasted cacao beans. The process removes almost all of the fat (cocoa butter) in the beans and no sugar is added for a pure, deep chocolate taste. Chocolate is also made from cacao beans after they are further refined. Chocolate includes about 50 percent more fat than cocoa powder and sugar, which gives it a mellower flavor than cocoa — meaning your brownies will also have a more mellow flavor.
Soften butter before creaming with sugar
Before you start anything else for homemade chocolate chip cookies, take the butter from the fridge and let it soften at room temperature for about 30 minutes. You really can't rush the process too much, except to place the butter near (but not on top of) the stove while the oven is preheating. You can also gently pound the butter between two pieces of parchment paper to help soften it.
Without properly softened butter, it's impossible to cream butter and sugar together to its desired fluffy state—a critical step in cookie making. Creaming turns the butter and sugar mixture a pale yellow color and aerates it to give the cookies a light texture. Don't attempt to microwave butter — it will heat unevenly and melt in places, meaning it can't be used to cream butter and sugar.
Use room-temperature ingredients to make a cake
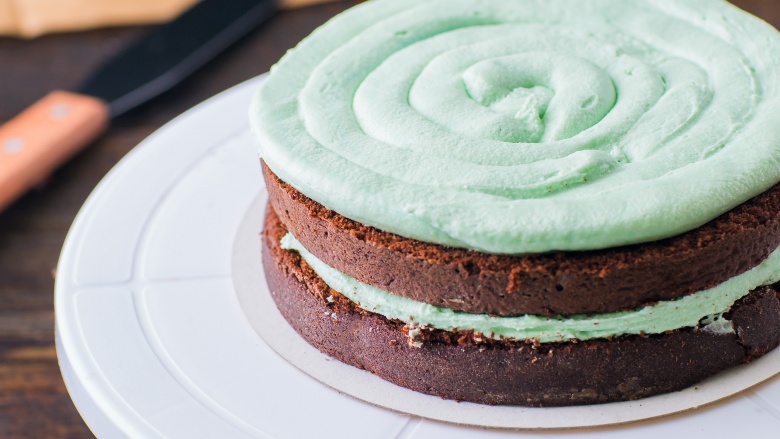
Like with cookies, butter and sugar is creamed together to make many types of cakes. The same desired outcomes, aeration and dissolved sugar, are what's at stake. What's more, if the remaining ingredients aren't also at room temperature as they're incorporated to make the batter, they'll undo all the good that creaming the butter and sugar created, and ultimately have a negative effect on the texture of the cake.
Thankfully, there are a couple of shortcuts for warming ingredients you've pulled from the fridge. To warm eggs, submerge them in a bowl of warm tap water for a few minutes. Microwave milk for a few seconds to take the chill off.

