Meringue Recipe
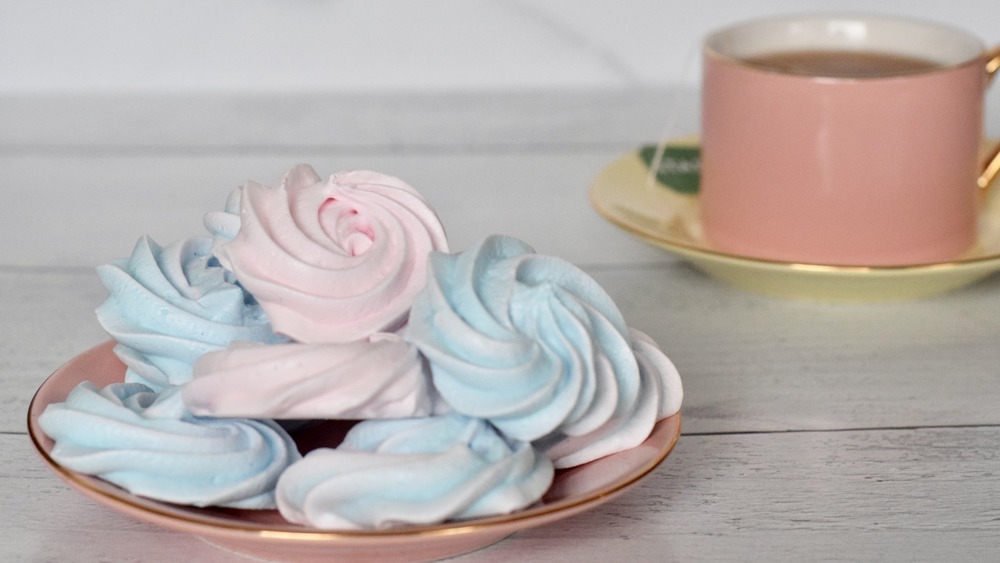
Little pieces of meringue are one sure way to catch the eye of any sweets lover. At its most basic, meringue is whipped egg whites and sugar that can be served soft on top of pies and other desserts, or it can be baked at a low temperature for a light crunch. Meringue adds an extra layer of fancy to any spread of food, and if you follow the right recipe, home cooks will find it's a more-than-doable treat.
For proof of how feasible good meringue is, this hard meringue recipe from Tara Rylie of Rylie Cakes, and it's one that bakers should keep in their back pocket.
"A meringue recipe is great for home chefs to master because they have so many uses," Rylie says. "Other than making tasty little cookies, you can use meringue to top off pies or even as frosting on cakes and cupcakes. Additionally, these darling little crisp cookies are great for decorating cakes or putting a few in a small baggie as a gift for guests at weddings or parties."
Here's how to make an easy, delicious meringue.
Gather your meringue ingredients
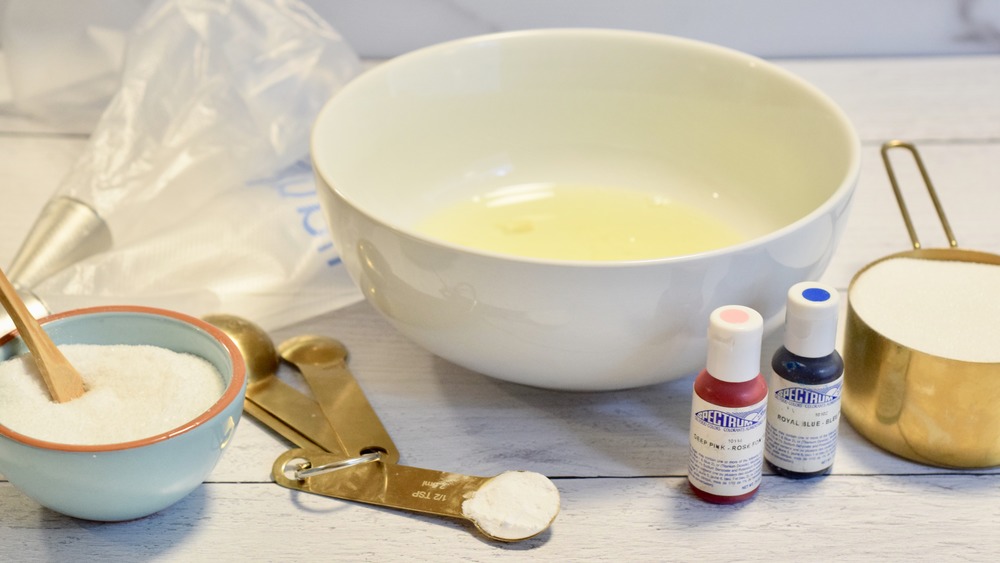
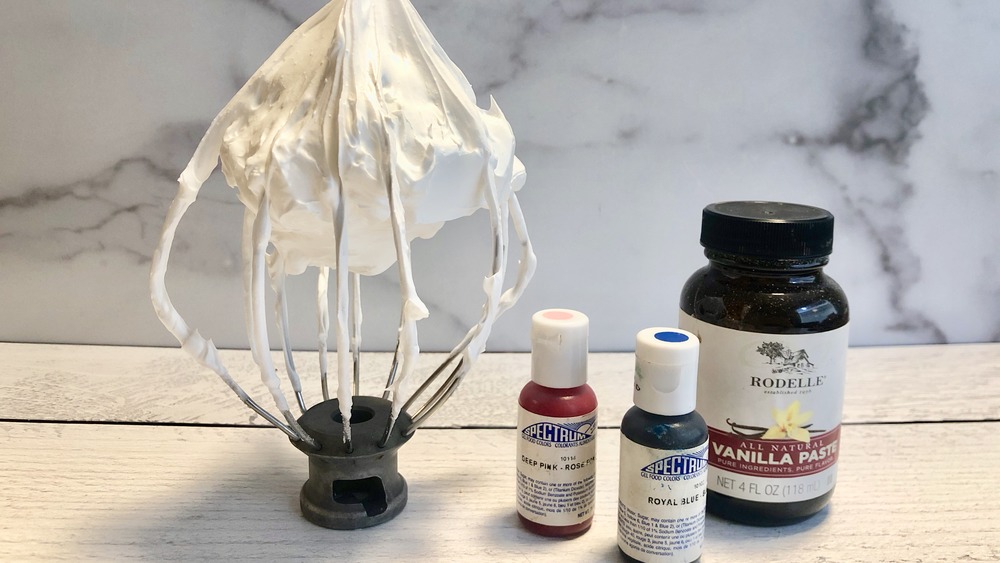
It doesn't take many ingredients to make a good meringue, but baking is a science, Rylie says, and it's important to follow a recipe exactly from start to finish. For this recipe, you'll need four large egg whites at room temperature, cream of tartar, salt, sugar, vanilla bean paste, and, if you plan on changing the color of your meringue, a food coloring that's not oil-based.
If you keep your eggs in the fridge like so many of us do, be sure to take them out early enough to give them time to reach room temperature. "Room-temperature egg whites whip up faster and with greater volume," Rylie says.
Prepare your mixer and preheat your oven for your meringue
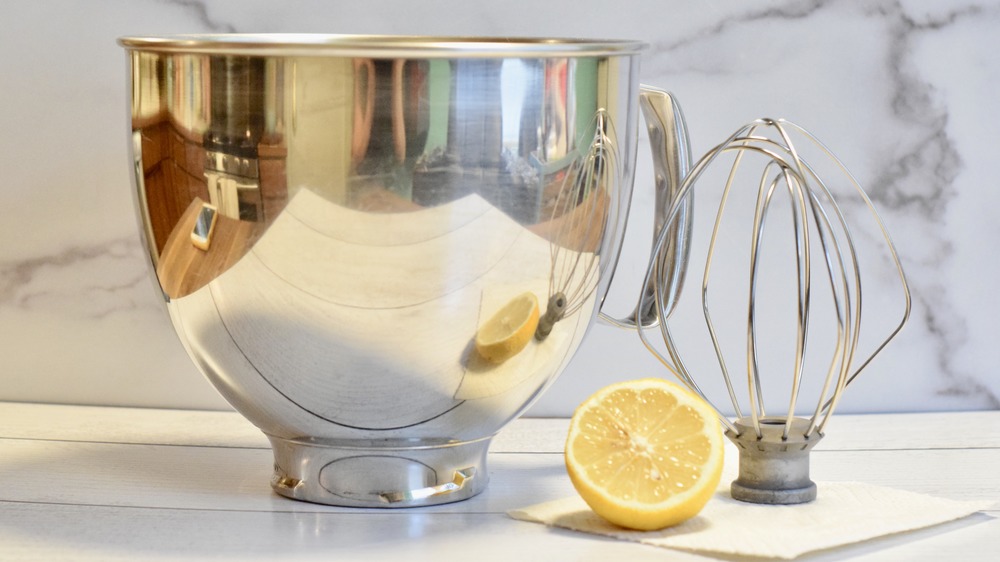
Once you're ready to start baking, preheat your oven to 200 F (meringue baking is low and slow), and use parchment paper to line three half sheet pans. Then, you will need to wipe down both the whisk attachment and the bowl of your stand mixer with lemon juice.
"Whites won't whip in the presence of protein," Rylie says. "Wiping the bowl with lemon juice removes any remaining residue in the bowl and will ensure your whites whip up properly. On this note, always whip in glass or metal bowls, never plastic, as they're harder to clean thoroughly."
A simple lemon juice cleansing will ensure you don't run into any problems with the egg whites down the line. Don't miss this part of the preparation process, as no one wants to make it part way through a recipe only to have to start over because of a simple missed step! Once it's been wiped down, let the bowl air dry before moving forward.
Separate your egg whites, then whip them up for your meringue
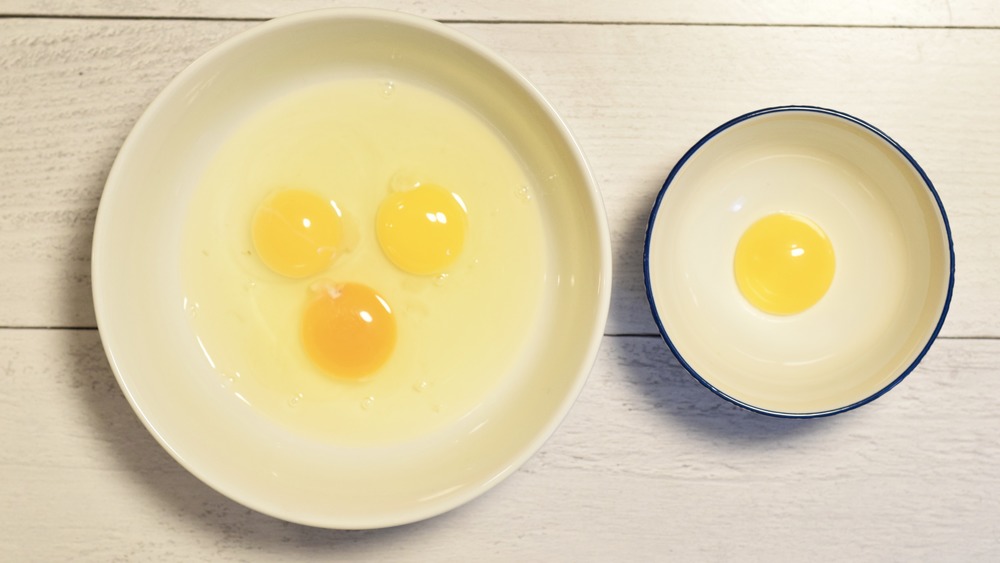
Once the cooking utensils are prepared and ready to go for your meringue, separate your egg whites — and make sure those eggs are room temperature. It is especially important to properly separate the whites from the yolk because egg whites won't whip correctly if there's even a hint of yolk. Rylie suggests home cooks crack all of the eggs that they are going to use into a large bowl, and then gently take the egg yolks out by hand. Another sure-fire way to separate egg yolks is to crack the egg over a bowl and pour the egg over your fingers while letting the whites drip through into the bowl.
Then add the egg whites to your lemon-washed stand mixer fitted with a whisk attachment. Run the stand mixer on medium speed until the egg whites are nice and foamy. Note that this first round of mixing solely includes the egg whites, and the rest of the ingredients come into play later.
Whisk the other meringue ingredients into the egg whites
Rather than dump the rest of the ingredients into the mixer, you need to add them in at specific intervals. First, add the cream of tartar and a pinch of salt and increase the stand mixer speed to medium-high. Leave it going until you see that soft peaks have formed. Soft peaks are when the peaks of the mix just start to hold if you stop the mixer, take out the whisk, and turn it upside down. It'll come to a point but droop down, as compared to firm or stiff peaks that stick straight up.
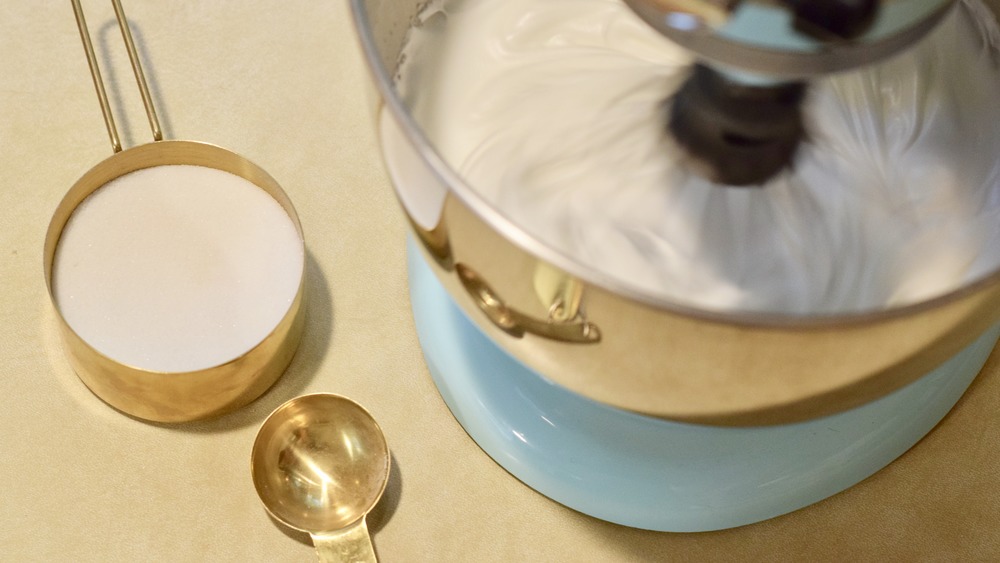
Once you've achieved those soft peaks, add the sugar one tablespoon at a time with about 20 seconds in between each tablespoon. As tempted as you might be to speed up the process, keep the mixer at medium-high speed. Anything higher will lead to too much air and can cause cracks when the meringue is baked. Plus, the sugar needs time to dissolve into the mix so it's fully incorporated into the rest of the ingredients.
By the last bit of sugar, your mixture should have firm peaks and look thick and shiny. Test it by removing the whisk and holding it upside down — if the peaks stick almost straight up, then it's ready for the next step.
Add the vanilla bean paste and food coloring to your meringue
The next addition is the vanilla bean paste. Turn the mixer down to medium speed, and whisk the vanilla bean paste briefly until it's combined with the rest of the ingredients.
This next bit is optional unless you want some fun colors for your meringue. If you're going to stick with one color, add the food coloring in with the vanilla bean paste. Things are a little more complicated if you want to do more than one color, however. After mixing the vanilla bean paste, separate the mixture into different bowls and gently fold the colors in by hand with a spatula.
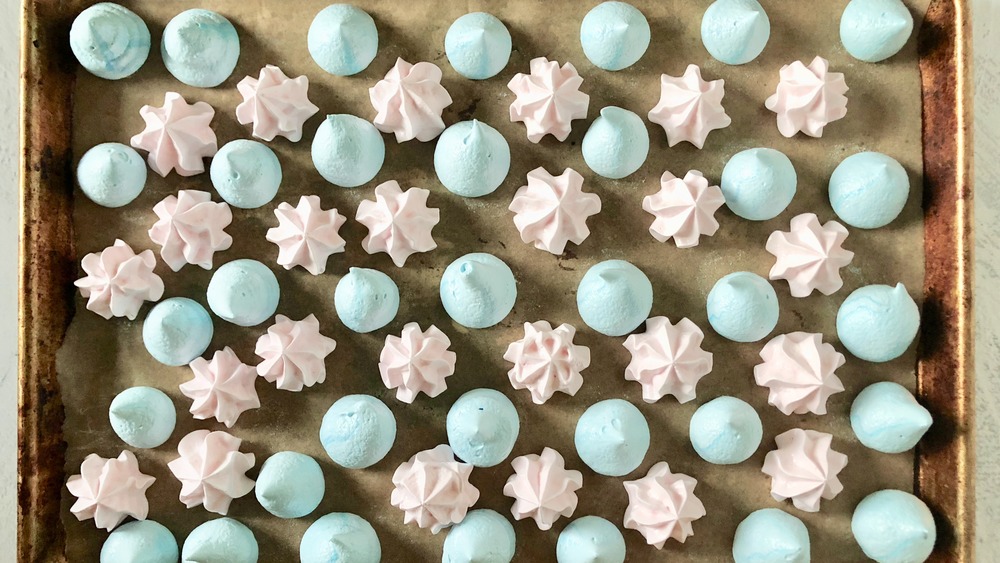
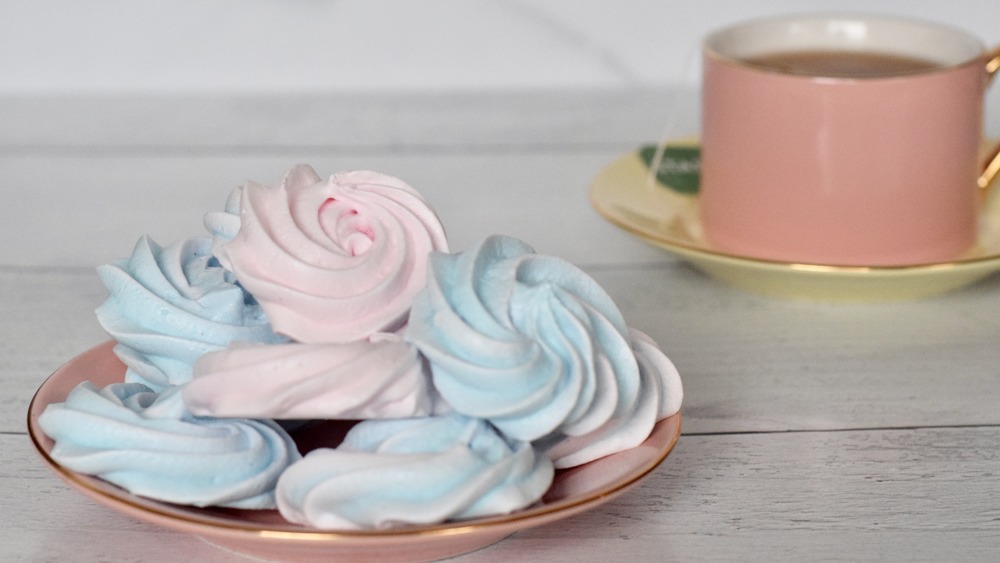
"I went for pretty in pastels for two reasons," Rylie says. "One: Who doesn't love pastels?! I know I'm currently obsessed! And secondly, the more color you add, the more you need to fold your meringue, and this can deflate your whites, creating less crispy cookies (making pastels a great option!)."
Portion out your meringue
To make sure your meringue comes out in just the right shape and there's consistency across the board, put a round or star-shaped tip onto a piping bag and pipe out bits onto the pans with the parchment paper. Don't fret if you don't have a proper piping bag.
"A gallon-size Ziploc does the trick," Rylie says. "And assuming there is no tip available, just cut a small hole at the corner of the bag. You will be able to make kiss-shaped meringues this way."
There's also the option to get a little fancier here (though it's probably best to wait until you've mastered the base recipe first). For meringues that have multiple colors in each individual meringue, you can do one of two things. The first option is to add a stripe of food coloring to the inside of the piping bag before putting the meringue in. The other is to make a batch of each color you want, and then add half of one color and half of another to the piping bag.
Cook the meringue and let them cool
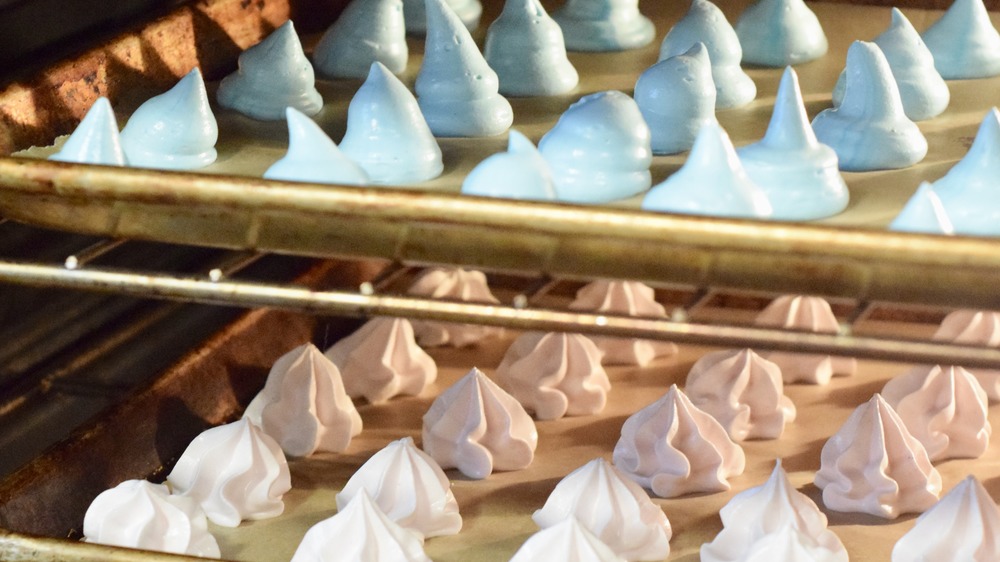
Immediately after piping, pop your sheet pans of meringue into the oven and bake for one hour. Turn off the oven at the one hour mark, but don't take the meringue out just yet, and open the oven door as little as possible. Instead of cooling at room temperature, let the meringue cool for an hour or two in the oven.
"Meringues need to come back to room temperature slowly," Rylie says. "By allowing them to cool in the oven, they will slowly cool down. This will do two things: prevent cracking and ensure your cookies are crispy instead of chewy."
Once that's done, your meringue is ready to enjoy. Each should easily come off of the parchment paper, and you can set them out to eat immediately or store them for later. If you're going to store them, put them in an airtight container and a cool and dry place. As long as the meringue isn't stored somewhere hot or damp, it should last up to two weeks, Rylie says.
Meringue directions
Little pieces of meringue are one sure way to catch the eye of any sweets lover. At its most basic, meringue is whipped egg whites and sugar. Try making it!
Ingredients
- 4 large egg whites, room temp
- ½ teaspoon cream of tartar
- pinch of salt
- 1 cup sugar
- 1 teaspoon vanilla bean paste
Optional Ingredients
- Food coloring (preferably not oil-based)
Directions
- Preheat oven to 200 F. Line three half sheet pans (18x13 inches) with parchment paper.
- Wipe down whisk attachment and stand mixer bowl with lemon juice. Let bowl air dry before continuing to next step.
- In a stand mixer fitted with whisk attachment, whisk egg whites on medium speed until foamy.
- Add cream of tartar and pinch of salt. Increase speed to medium-high and whisk until soft peaks form.
- Keeping your mixer on medium-high (not higher), gradually add sugar 1 tablespoon at a time, waiting around 20 seconds between each addition.
- Once all sugar is added, whites should have reached firm peaks. To test, remove whisk and turn upside down. Peaks should hold, nearly sticking straight up. Mixture will appear thick and shiny — this is exactly what you want.
- Add vanilla bean paste and whisk on medium until combined.
- If only using one color, add food coloring in with vanilla bean paste. You want to whisk your whites as little as possible at this point. If creating multiple meringue colors, separate your whites into different bowls and gently fold in food coloring by hand with a spatula.
- Fit large piping bag with medium round or star tip and pipe cookies onto prepared pans.
- Bake 1 hour immediately after piping. Turn off oven when 1 hour has passed but leave meringues in the oven. Try not to open the door here either. Let cookies cool down in oven for 1 to 2 hours before removing.
- Cookies should be crisp at this point and should remove easily from the parchment. Store in airtight container in cool, dry place.
