Homemade Eggnog Recipe
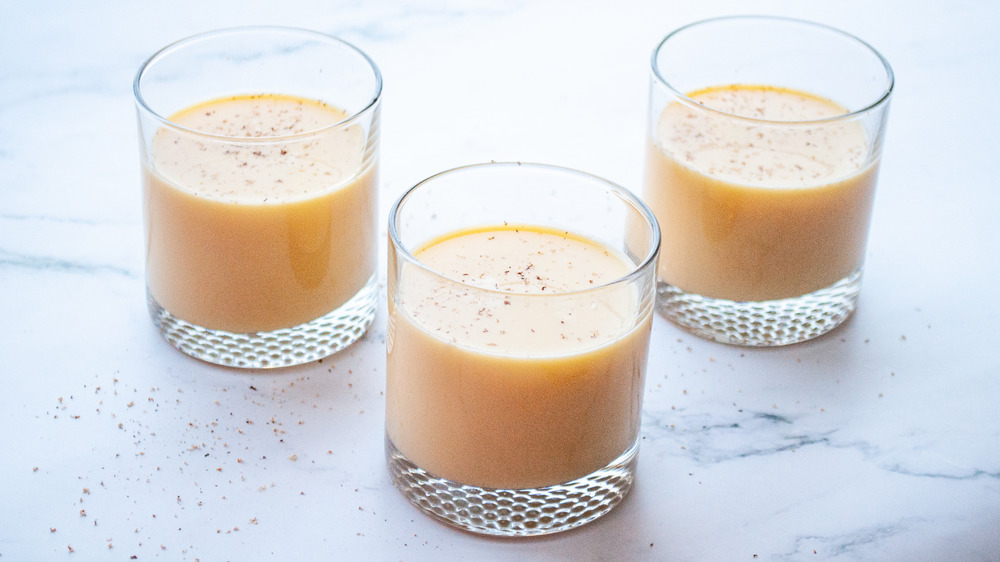
Few drinks are as associated with the holiday season in the United States as eggnog is. The rich, creamy, and downright decadent drink lines grocery shelves as soon as colder weather starts to settle in. And for good reason: Eggnog is not only the perfect treat to sip while snuggled into a blanket with a fire going in the background, but it's also great for parties (especially if a little whiskey or rum is thrown into the mix).
The main downside is that many commercial store-bought eggnogs are simply too sweet. You can find the right balance, however, if you make your own.
"We like to make our own nog because it's not too sweet," Laura Sampson, the chef and writer behind the blog Little House Big Alaska, says. Plus, Sampson says, homemade "just tastes better."
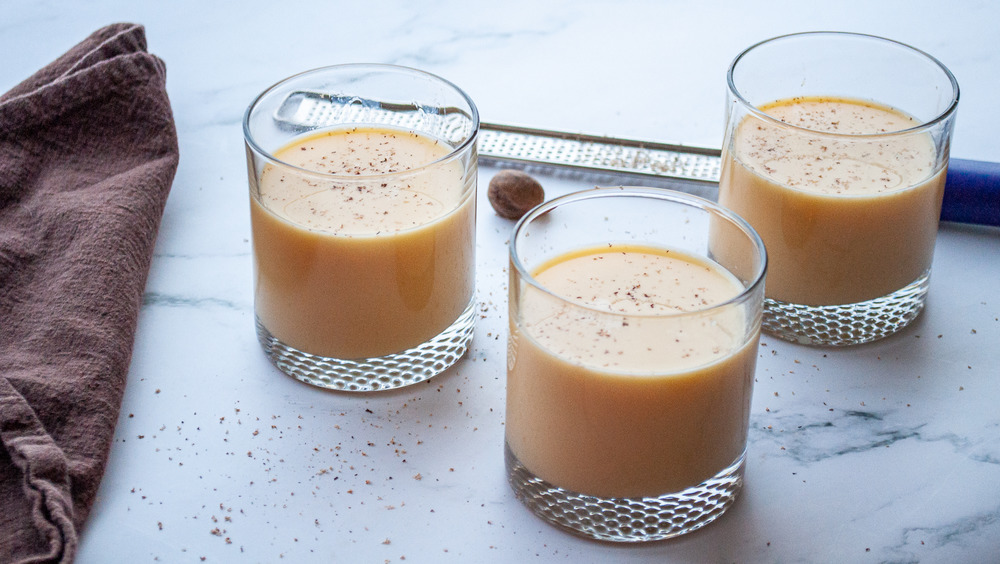
The next time you're in the mood for a festive winter drink, bypass all of the grocery store options and turn to this recipe for the perfect homemade eggnog.
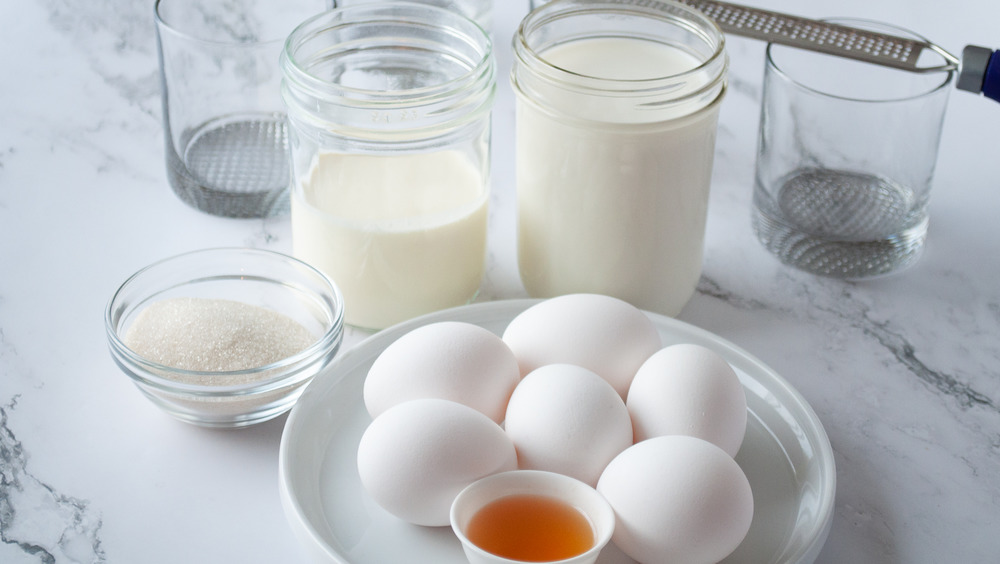
Gather the ingredients for your eggnog
This shouldn't be any surprise, but the key ingredient to a good eggnog is good eggs. You'll need 6 egg yolks for this recipe. Don't worry if you've never made an egg-based drink, either, as the eggs are cooked in this eggnog version, which makes it "like a thin custard," Sampson says.
The other ingredients you'll need are 2 cups whole milk, a cup of heavy whipping cream, nutmeg, and vanilla extract. You'll also need ⅓ cup sugar. Sampson uses organic sugar, but white sugar works perfectly fine as well.
For the eggs, note that this recipe only calls for the egg yolks, so keep your leftover egg whites for another recipe or toss them out.
"You could use whole eggs, but in my experience, the whites have a tendency to cook and become scrambled," Sampson says. "Which means you have to strain it every time. Separating them means less lumps and less straining."
If you a plan to eventually make your eggnog alcoholic, take a peek at the last step to swap ½ cup milk for a liquor of your choice.
Beat the ingredients until smooth
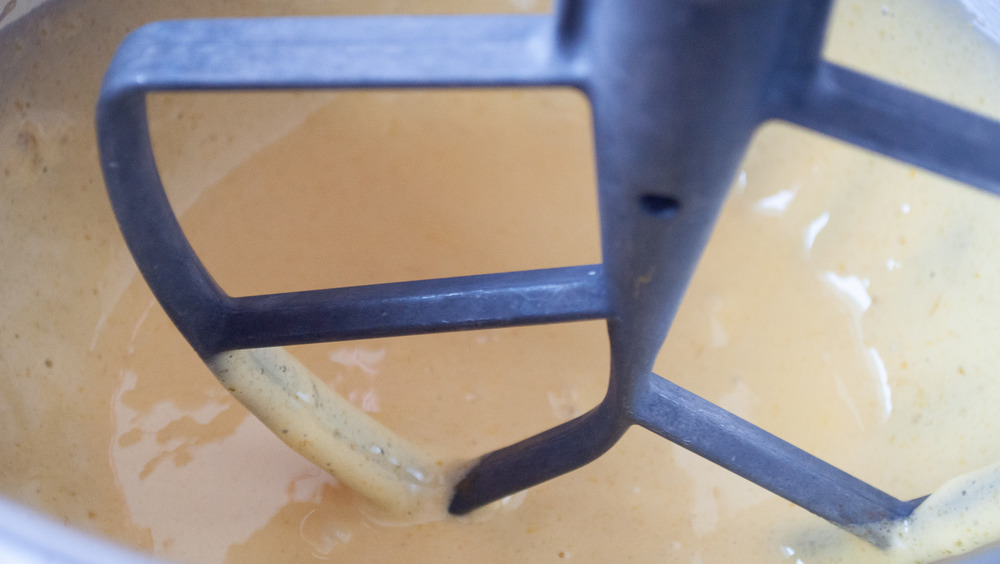
Once you've gathered your ingredients and separated the egg yolks, add them into a big bowl with the sugar to mix them together. The easiest way to do this is with a stand mixer or hand mixer. Either one will speed this process up and keep you from wearing your arm out before the second mixing step in the recipe (more on that later), though heavy kitchen equipment is not entirely necessary.
"A whisk and a mixing bowl will work fine," Sampson says. "An immersion blender works well too! Just put the eggs in a quart jar along with the sugar and blend until pale and creamy."
Once you've properly mixed the egg yolks and sugar, pour the mixture into a heavy bottom saucepan. Add the cream and whole milk, and whisk it all together until the whole mixture is evenly incorporated in the saucepan. Remember that bit about not wearing your arm out when beating the egg yolks and sugar together? This is one step where a fresh arm comes in handy.
Slowly cook the eggnog mixture
You'll notice that this recipe calls for a heavy bottom saucepan. It's a helpful kitchen tool that makes the whole eggnog making process much smoother (and your eggnog smoother, too).
"A heavy bottom pan means you're getting an even heat, so no hot spots from a thin pan," Sampson says. "I used a cast iron pan my first go around and honestly it was too much for the job, when I took it off the heat, it kept cooking and turned to pudding."
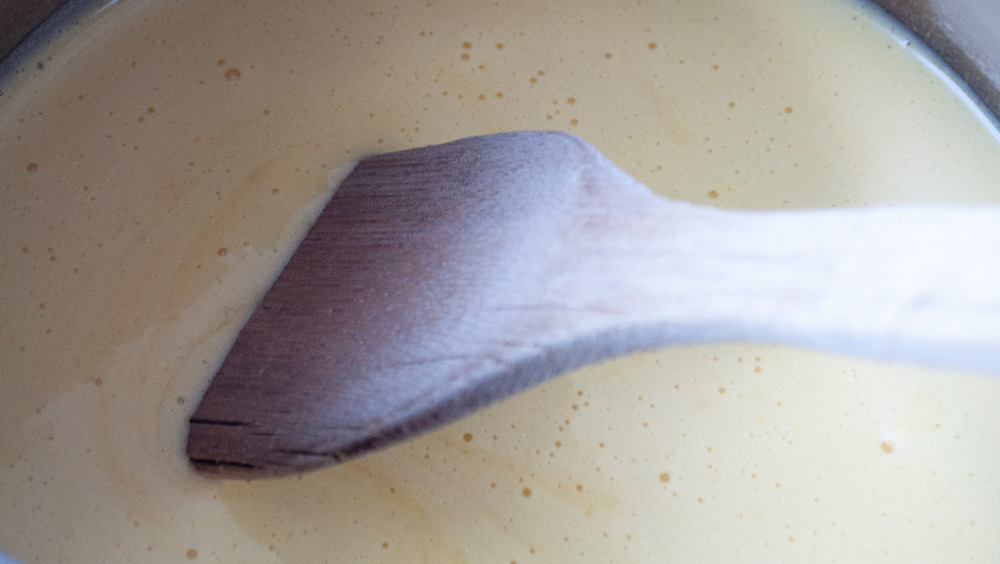
Pudding, it should go without saying, is not the end goal for this eggnog recipe. As soon as you've whisked the ingredients to the right consistency, switch over to a wooden spoon and prepare for more stirring as you cook the recipe over a medium-low heat. Don't get impatient and increase the heat or else "you'll have scrambled eggs," Sampson says. They will be sweet scrambled eggs, but scrambled eggs nonetheless.
Scrape the bottom often and cook for around 10 to 15 minutes at a temperature that's just low enough for the eggnog to thicken.
Add the vanilla and nutmeg
Keep a careful eye on the consistency of your eggnog as it's cooking. Again, you don't want the mixture to turn to pudding on you after all the whisking and stirring you've done.
"You'll know you're done when the mixture is just starting to thicken up," Sampson says. "I like to get a fresh spoon and try a little sip. If it's thicker than milk, it's probably done."
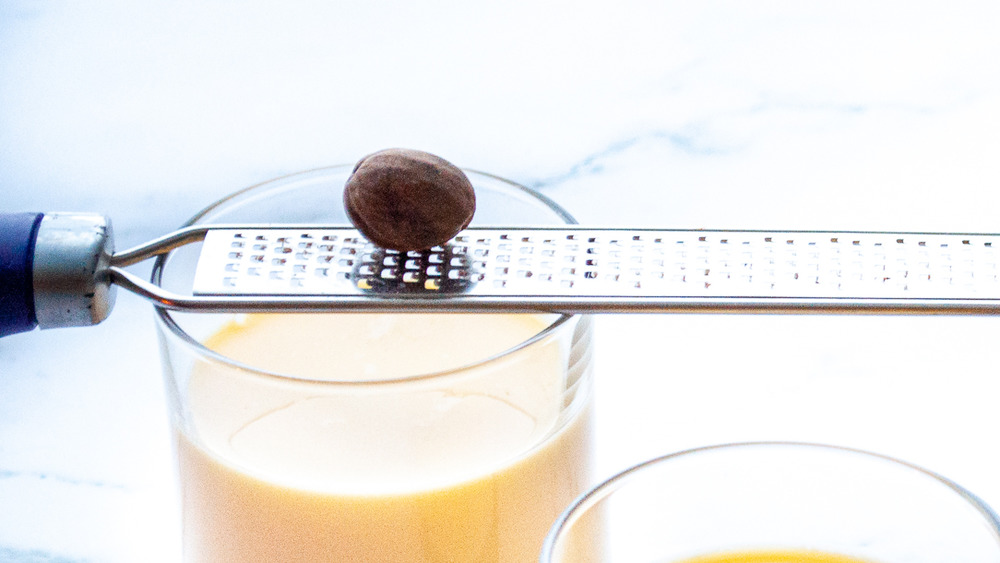
As soon as it reaches that point, remove the mixture from the heat and whisk in the nutmeg and vanilla. Sampson recommends half of a teaspoon of freshly grated nutmeg and one to two teaspoons of vanilla extract, but take this more as a guideline than a hard and fast rule. Simply add the nutmeg until it tastes right to your palate, and then do the same with the vanilla. Just remember to start low and slow if you're adding to taste — you can always add more but you can't take the nutmeg or vanilla out once it's been added.
If you notice any lumps, pour the mixture through a sieve and toss out the lumps.
Refrigerate and store your eggnog
"Almost any food benefits from being refrigerated overnight," Sampson says. "It allows the flavors to blend."
For this recipe, you will want to refrigerate the eggnog after cooking it for a full 24 hours before serving it. Not only does this allow all of the flavors to come together, but it also gets the eggnog to the perfect temperature before you pull the drink out for yourself and your guests.
When it comes to storing the eggnog after that initial 24-hour flavor marrying period, time is of the essence. Keep the eggnog in a sealable bottle or jar, and put whatever you don't finish back into the fridge.
"I've never kept it for more than two days in the fridge, with or without alcohol," Sampson says. "To me, it's something you make because you're going to serve it. I've never frozen but in my experience, frozen milk tends to separate and look curdled."
Optional: Make your eggnog boozy
As any eggnog fan knows full well, there are two types of eggnog in this world: those that are kid-friendly and alcohol-free, and those that are loaded with booze. While there's always the option to buy a commercial version of alcoholic eggnog from the liquor store, why not add it yourself since you're making the full recipe already?
To add booze, you'll need to adjust the initial ingredients slightly. Reduce the amount of milk by half a cup to 1 ½ cups. Then you can replace that ½ cup liquid with a liquor of your choice — Sampson suggests brandy, rum, or Scotch whisky.
Just don't make the mistake of adding the liquor too early unless you want it to burn off before the eggnog makes it to your glass.
"Definitely add booze after the cooking process is done if you want it to be alcoholic," Sampson says. "If you just want a little rum flavor you can add a splash while you're stirring it."
Eggnog recipe
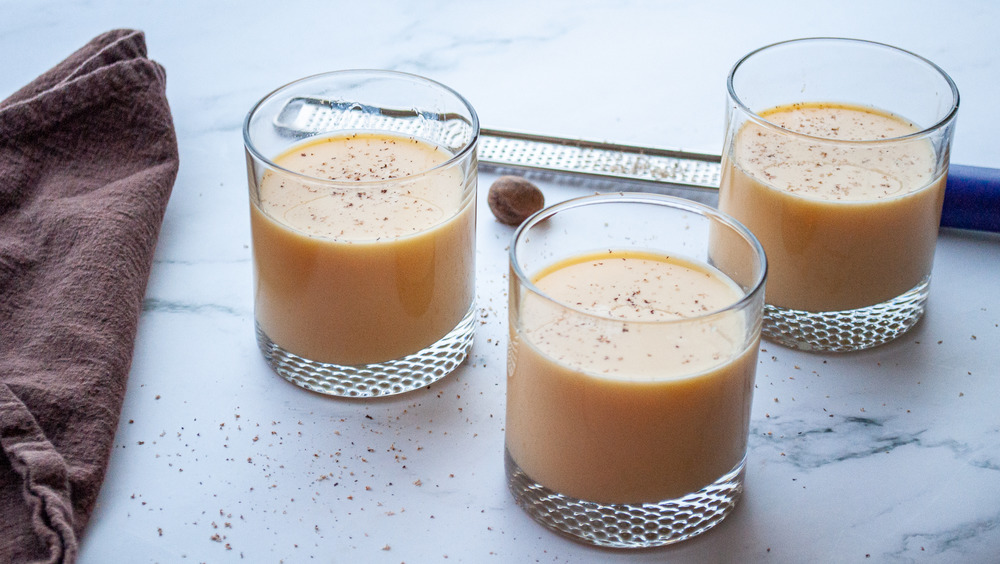
The next time you're in the mood for a festive winter drink, bypass all of the grocery store options and turn to this recipe for the ideal homemade eggnog.
Ingredients
- 6 egg yolks
- 1/3 cup sugar
- 1 cup heavy whipping cream
- 2 cups whole milk
- 1/2 teaspoon fresh nutmeg OR to taste
- 1-2 teaspoons vanilla extract, to taste
Directions
- Use a stand mixer or hand mixer to beat the egg yolks and sugar until pale and creamy.
- Put the egg yolk in a heavy bottom saucepan.
- Whisk the cream and milk into the eggs.
- Cook slowly over med/low stirring constantly with a wooden spoon, scraping the bottom often.
- Cook for 10-15 minutes, never letting it boil, until the eggnog thickens.
- When it starts to thicken, remove it from the heat and whisk in the nutmeg, and vanilla to taste.
- If you notice it's thick and lumpy, sieve the mixture and toss the lumps.
- Refrigerate 24 hours before serving.
- If you want to add booze to this recipe, simply reduce the milk by 1/2 cup and add 1/2 cup of brandy, rum, or Scotch whisky.
