Simple Corn Casserole Recipe
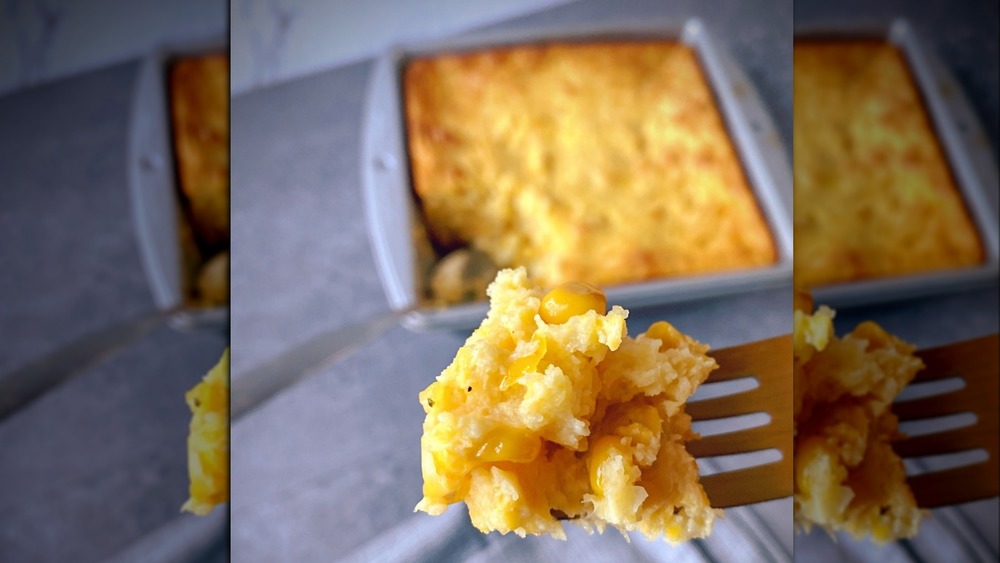
If you've ever been to a potluck-style dinner or party, chances are good that you've had corn casserole. But have you ever had good corn casserole? Probably not. Lucky for you, we're about to change that.
This delicious, moist, and filling corn casserole is a cross between creamed corn and cornbread, and the recipe comes to us in collaboration with Ashley Schuering, who blogs on Confessions of a Grocery Addict and specializes in restaurant-quality recipes that are quick and easy for the home cook. Schuering has worked in the restaurant industry for most of her life — since she was 15 years old — until COVID-19 interrupted. She launched her blog in June, 2020 and told us that it "seemed like a way I could still serve and help people have a restaurant experience in their homes when all of this chaos is going on."
Most of Schuering's recipes are made with common ingredients you'd find in a pantry, and they usually take less than 30 minutes to prepare and 30 minutes (or less) to cook. This tasty corn casserole takes only 15 minutes to mix together, and then you just slide it into the oven, and you're done. In less than an hour, the corn casserole is ready to serve as a side dish for any holiday meal or any wintry day when you need something warm and comforting.
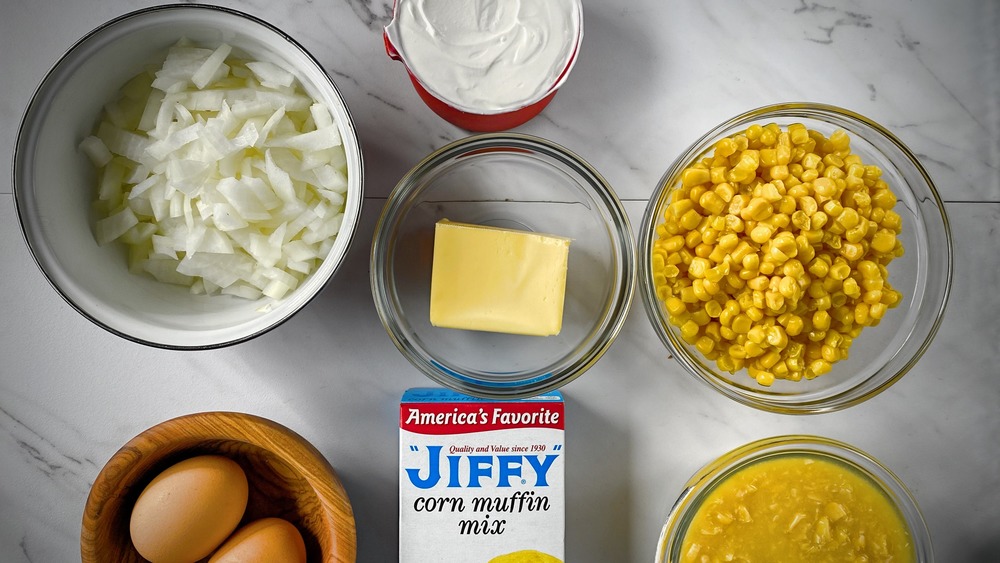
Gather together the ingredients for the corn casserole
Ever since Schuering moved out of her family home in Sacramento when she was 18, she's kept her pantry well-stocked. "My near constant state of anxiety is mitigated," she writes on her blog, "if I know that I have things on hand to make whatever I'm craving that night." She and her husband now live in Nashville, and she creates recipes from what she has in her pantry. Most of us probably have a box of Jiffy Corn Muffin Mix on our kitchen shelves, and it binds all of the other ingredients together in this corn casserole.
The most effort you'll need to take in this recipe is chopping the onion, and if you don't feel like chopping by hand, toss the peeled and quartered onion into a food processor, and give it a few pulses. Schuering puts both canned kernel corn and creamed corn, which adds heartiness and richness. Also adding to the moistness of this casserole is butter and a full cup of sour cream, but, if you prefer, you can replace it with a cup of Greek-style yogurt. Now that you've got the ingredients ready, let's get started on this easy corn casserole.
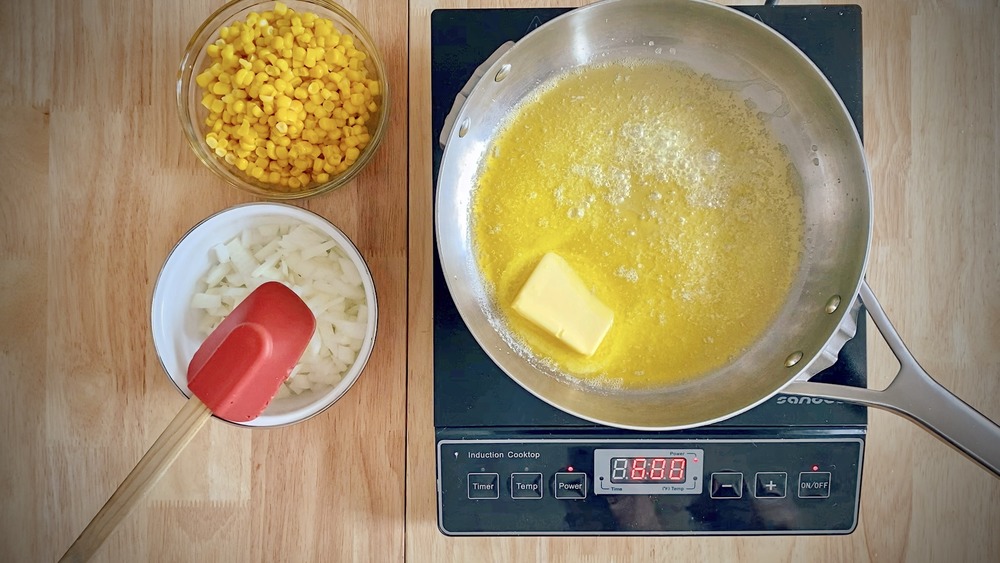
Melt the butter for this corn casserole
With 20 years of service in the restaurant business, professional tips and techniques are second nature to Schuering. "I have had the privilege of working in professional kitchens learning from trained chefs working the line," she told us. Like all restaurant chefs, Schuering sets up her mise en place — basically, a work station in the kitchen where you have your ingredients apportioned out and your pan ready — before she starts to cook.
The first step is heating your sauté pan over medium heat and then melting the butter. This should be done slowly to prevent the butter from burning. One little restaurant tip is to add a dash of olive oil or vegetable oil, which slows down the butter's browning. Wait for the stick of butter to be fully melted, before moving on to the next step.
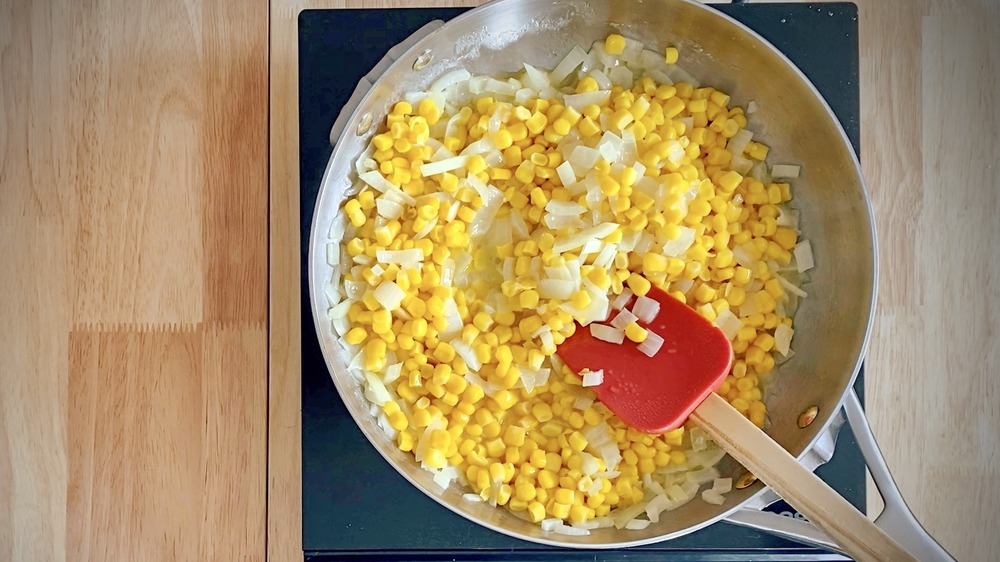
Sauté the onions and kernel corn for this easy corn casserole
Once the butter has stopped foaming, add the chopped onion and sauté them until they're just starting to soften and turn translucent, which takes about five minutes. Drain the canned kernel corn in a colander, and stir it into the onions. If you're feeling ambitious, and if you can still get fresh corn, you could also cut the kernels off the cob instead. Canned corn, though, is picked and packed when it's at its freshest and crunchiest, and often tastes much better than out-of-season fresh corn.
It's usually canned in water, and you want the corn to be dry for any kind of a sauté, so definitely drain it. It's also sometimes canned with added salt or sugar — so if you're watching your sodium or sugar intake, read the label and consider rinsing it first. You really just need the corn heated through since it will continue to cook in the oven, so keep stirring the corn and onion for only three or four minutes.
You could blitz the corn in a food processor
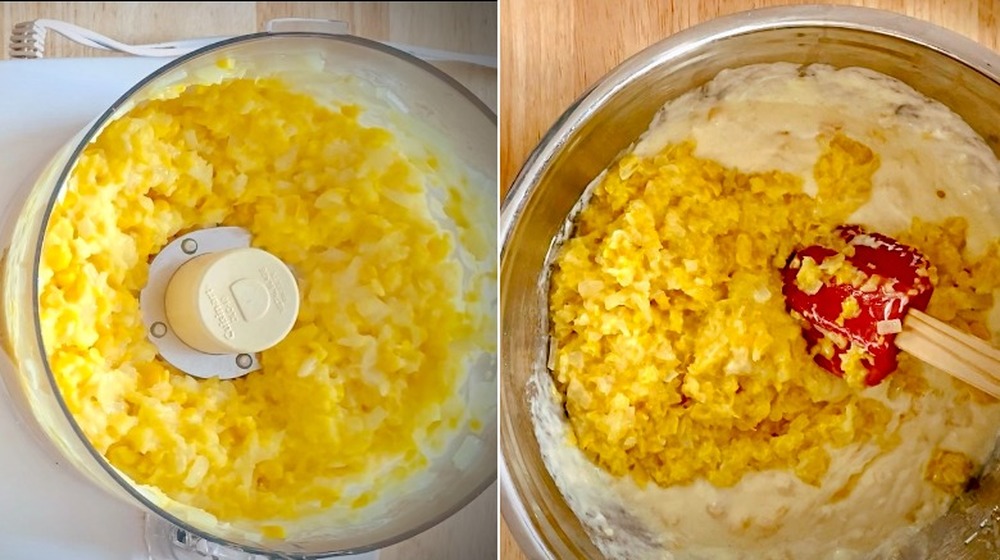
Before mixing together the remaining ingredients, Schuering adds an optional step to give the casserole a smoother consistency. Transfer the cooked corn and onions to a plate, and let them cool for five minutes. Then scrape it all into the bowl of a food processor, and blitz the corn and onions a few times. Don't overdo it, though, because you've still got a can of creamed corn to add, and you may want to have a bit of crunchy texture to the casserole. So pulse the corn and onions a few times to break them up into smaller pieces, and then transfer everything to your mixing bowl.
Next, beat a couple of eggs together in a small bowl, and add them with the rest of the ingredients into the mixing bowl. If you want, you could also toss in some shredded sharp cheddar or Monterey Jack with jalapeño for a nice kick of heat. Blend everything together with a rubber spatula or sturdy wooden spoon until smooth.
Pour the mixture into a baking dish and bake the corn casserole
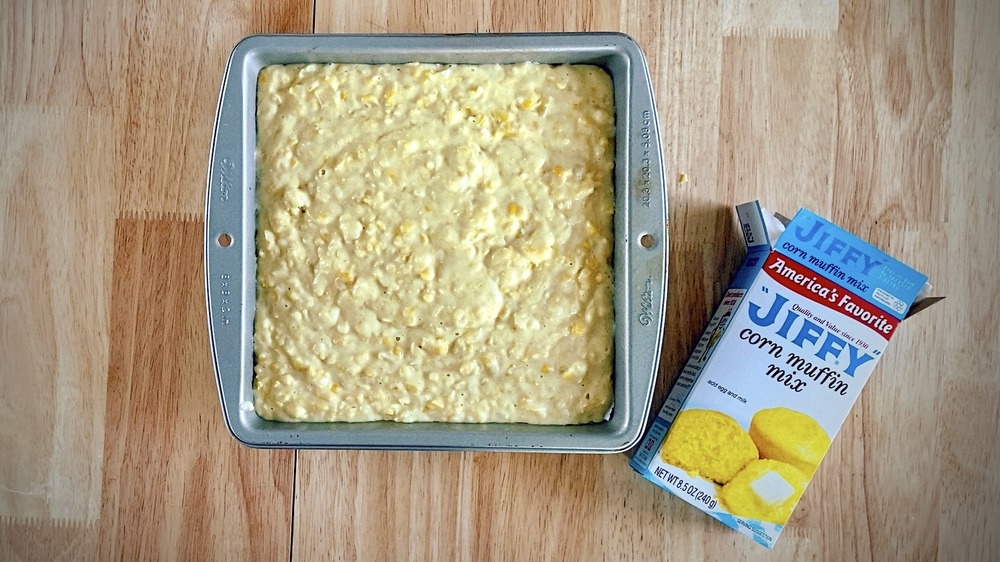
Schuering grew up watching her mother cook everything from scratch, which she certainly prefers over processed foods. So you might be wondering why Schuering uses Jiffy Corn Muffin Mix rather than make the cornbread mixture from scratch. "When I've spent all day thinking about and writing about food," she told us, "there comes a point when I don't want to do it anymore. I love using store-bought cheats... anything that gets food on the table faster." We're all for that too, and using Jiffy Corn Muffin Mix, gets this recipe ready to bake, well, in a jiffy!
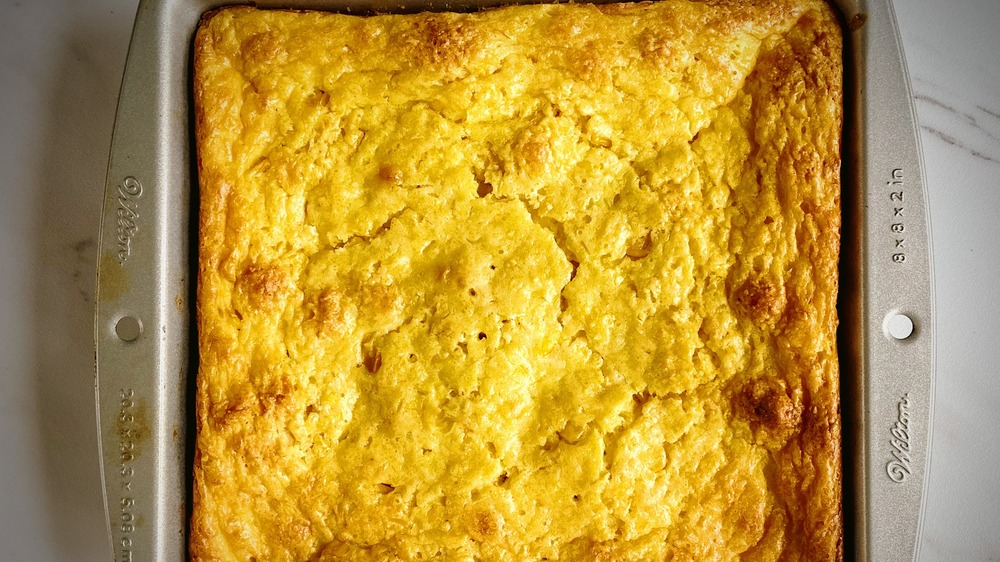
Schuering uses a 9x9 baking pan, but you could also double the recipe and bake it in a 9x13 baking pan instead. She says, "baking time may need to be adjusted up a bit," if you take that Before pouring in the mixture, spray the pan with nonstick cooking spray. If you'd prefer to serve it out of the baking pan, then line the bottom first with parchment paper, which will make it a lot easier to remove and slice individual, evenly cut portions. Bake the casserole in a preheated 350 degrees Fahrenheit oven for 45 to 60 minutes, until an inserted toothpick comes out clean. Slice the casserole either directly from the pan or unmold it, slice, and serve warm.
Corn casserole directions
If you've ever been to a potluck, you've probably7 had corn casserole. But have you ever had good corn casserole? Lucky for you, we're about to change that.
Ingredients
- 1 8-ounce stick butter
- 1 yellow onion, diced
- 1 can kernel corn, drained
- 2 eggs
- 1 cup sour cream or Greek yogurt
- 1 can creamed corn
- 1 box Jiffy Corn Muffin mix
Directions
- Melt butter in heavy-bottomed sauté pan until bubbling.
- Add onion, and sauté until it's just beginning to soften and turn translucent (about 5 minutes).
- Add drained corn kernels, and sauté another 3 to 4 minutes. If you prefer smaller pieces, pulse several times in a food processor (optional).
- In a large mixing bowl, whisk together eggs, sour cream (or yogurt, if using), creamed corn, sautéed corn and onion, and the Jiffy Corn Muffin mix.
- Preheat oven to 350.
- Prepare 9x9 baking pan with nonstick cooking spray. (Optional: If you're not serving the cornbread directly from the baking pan, line the baking pan first with parchment paper for easy removal when the cornbread is baked.
- Pour all mixed ingredients into the prepared pan. Bake for 45 - 60 minutes until a toothpick comes out mostly clean.
- Serve warm and enjoy!
Nutrition
| Calories per Serving | 444 |
| Total Fat | 34.1 g |
| Saturated Fat | 19.2 g |
| Trans Fat | 0.9 g |
| Cholesterol | 116.5 mg |
| Total Carbohydrates | 31.3 g |
| Dietary Fiber | 3.4 g |
| Total Sugars | 2.8 g |
| Sodium | 464.8 mg |
| Protein | 5.7 g |
