Copycat Starbucks Pumpkin Scone Recipe
Starbucks has become one of our favorite one-stop shops. Hit the drive-thru in the morning to grab a coffee and a hot breakfast, get an afternoon pick-me-up and a sandwich, or hang out all day on their WiFi and snack on pastries galore. We love a slice of Starbucks' lemon loaf, but we get super excited when fall comes around. That means pumpkin spiced lattes and pumpkin scones!
These scones are really one of a kind. They're light and sweet, with a perfectly spiced, rich pumpkin flavor. It doesn't hurt that their double-glazed appearance makes them pop: They're so gorgeous, it's almost impossible not to order one when you reach the counter. Those extra purchases can really add up over the season, and we wondered if we could make a pumpkin scone that tasted as good as the original. So we did a little research and whipped together a test batch of copycat Starbucks pumpkin scones. Did we pull it off? Read on to find out.
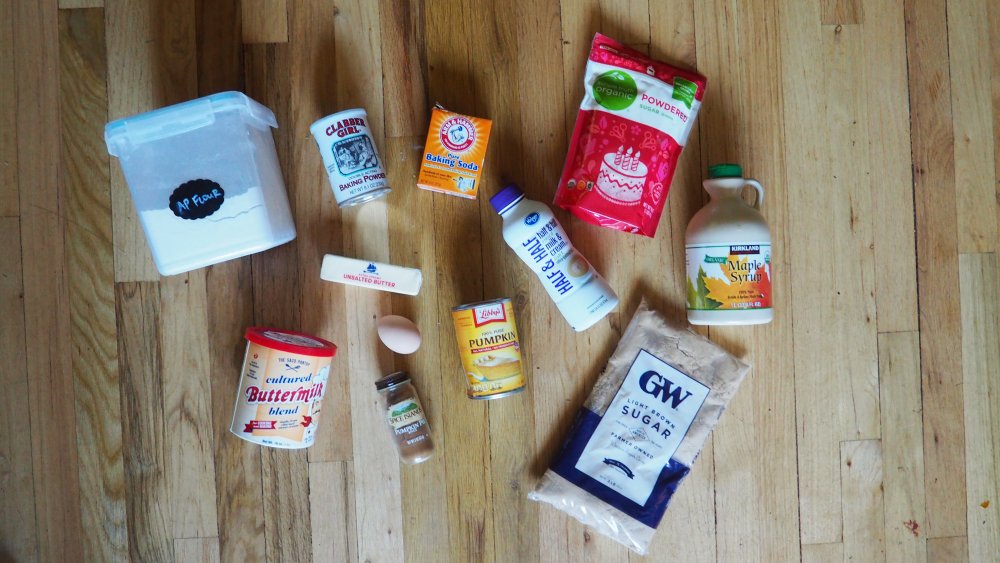
Gather the ingredients to make copycat Starbucks pumpkin scones
Our first stop in developing copycat recipes is always at the source, so we visited Starbucks' website for more information. They list every ingredient used in their pumpkin scone — and there are a lot — but no ingredient quantities. They also don't separate out which ingredients go into the scone and which are used for the sweet icing on top, but we were able to use our culinary background to figure it out.
For these copycat Starbucks pumpkin scone, we picked up all-purpose flour, brown sugar, salt, butter, eggs, vanilla extract, maple syrup, and buttermilk. You can use powdered buttermilk (like we did) to keep from having to figure out what to do with the rest of the container. To make the scones rise, we used two leavening agents: baking powder and baking soda. Of course, they wouldn't be pumpkin scones without pumpkin, so we added pumpkin puree and pumpkin pie spice to the list. For the glaze and pumpkin drizzle, we used a little pumpkin puree for color along with powdered sugar, pumpkin pie spice, and half and half.
You'll find the ingredient quantities and step-by-step instructions in the directions section below.
What's the difference between scones, biscuits, and muffins?
A scone is not a biscuit, and it's not a muffin, either. That doesn't mean they don't have several similarities: Each contains many of the same ingredients (like butter and flour), and they're all in the quick bread category, which describes bread made with a leavening agent like baking powder or baking soda instead of yeast (via Merriam Webster). But, from there, the quantities of the ingredients and level of sweetness differ.
Scones are sweet like muffins, but they're heavier with a breadier texture. The textures are different because of the amount of liquid in the recipe. Epicurious explains that muffins have a wetter batter that's thin enough to pour into the pan. On the other hand, scone batter contains less liquid, and it's dense enough to form into a dough ball before it's shaped and baked.
That makes it more similar to biscuits, which are also made with a tighter dough. The two have very similar ingredients lists, but biscuits turn out lighter and flakier because they don't contain eggs. According to Bon Appétit, a good scone recipe will have a finer, more well-defined crumb that keeps it from flaking. This characteristic also allows you to add ingredients like dried fruit or chocolate chips to scones.
Grate the butter to make the perfect copycat Starbucks pumpkin scones
Many scone recipes use a food processor to cut in the butter. The process is simple: Add the dry ingredients to the bowl along with one-inch cubes of butter. Pulse the food processor several times until the butter is well incorporated and the mixture looks like wet sand. If you don't have a food processor, you can use a special tool called a pastry cutter, but you don't want to use your hands because that would heat up the butter. Using cold butter is important because it releases more steam as the scones bake, creating layers inside the quick bread.
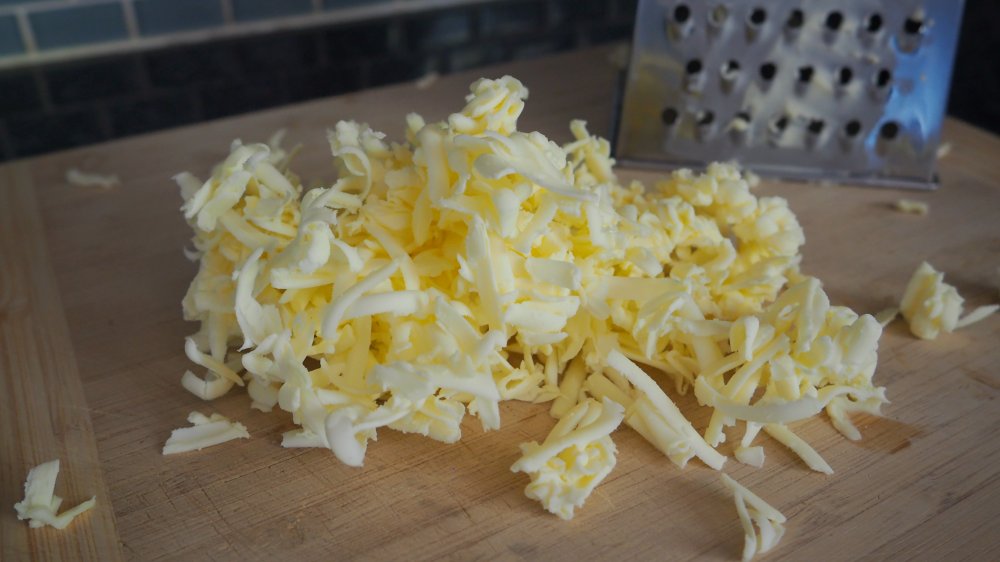
We have a simpler way of doing things, and we think these copycat Starbucks pumpkin scones turn out better using this method. It starts with frozen unsalted butter, which we grate on a box grater or the grating attachment of a food processor. When the entire stick is grated, place the butter back in the freezer to keep it cold. This ensures that it won't heat up as we mix, creating the perfect scone without using any specialty equipment to mix the batter.
Mix the wet and dry ingredients separately to make the best copycat Starbucks pumpkin scones
We'll want to mix the wet and dry ingredients separately for this copycat Starbucks pumpkin scones recipe. That ensures we don't accidentally overmix the dough, creating a dense, chewy scone instead of a light and crispy one. Start by whisking the pumpkin puree, buttermilk, egg, maple syrup, and vanilla extract together in a medium bowl. If it's going to be a while before you finish making the scones or it's very hot in your kitchen, place the mixture in the refrigerator to keep it cold.
Meanwhile, sift the flour through a fine-mesh strainer to remove any clumps. Add the baking powder, pumpkin pie spice, salt, and baking powder to the bowl, along with the grated butter. It's okay to use your hands here to mix in the butter. They're the best way to ensure the butter is evenly distributed. Since the butter is frozen, the heat from your hands won't accidentally cause it to melt. When you're finished, there should be large, pea-sized clumps of butter in the bowl.
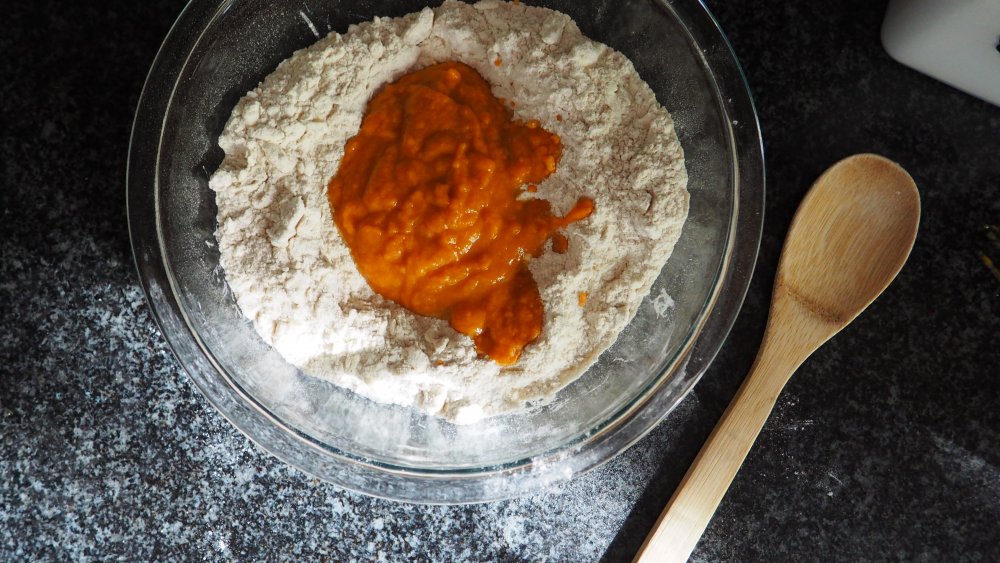
Pour the pumpkin mixture into the flour mixture, and use a wooden spoon to mix until the dough starts to come together. Knead the ball briefly with your hands to create a large dough ball.
Form and cut the scones to make this copycat Starbucks pumpkin scone recipe
Starbucks scones are rectangular, but it's so much easier to make a triangle scone. If you want to be truly authentic, you can shape the dough into a square before cutting the scones. But the method described here is really best for beginners.
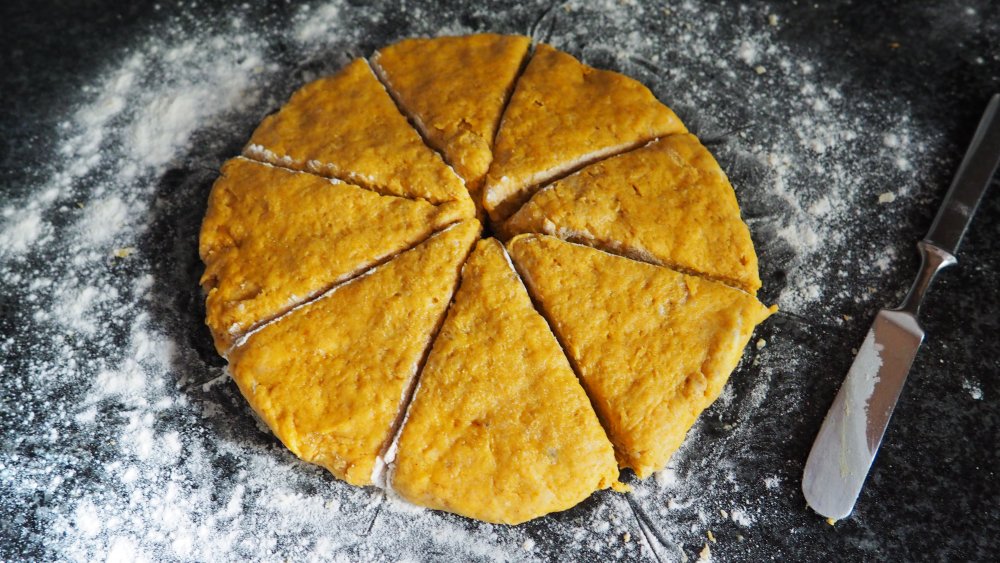
Dust a work surface lightly with flour and turn out the dough. Shape it into an eight-inch round, patting down the center and sides so the circle is even. Dip a butter knife into flour and use it to cut the round into eight equal wedges. Anytime the knife sticks, dip it back into the flour. Carefully separate the scones and transfer them to a baking sheet lined with parchment paper. Brush the tops with half and half, which will promote browning and create a gorgeous golden-brown hue on the scones.
Bake the copycat Starbucks pumpkin scones for 15 minutes at 450 degrees Fahrenheit until the tops are golden. You can test for doneness using a toothpick (looking to see if it comes out clean), but we prefer the preciseness of a digital thermometer. When the temperature registers 200 degrees, the scones are done. Let them cool completely on a wire rack before icing.
Make the glaze and pumpkin drizzle to finish these copycat Starbucks pumpkin scones
This copycat Starbucks pumpkin scones recipe doesn't contain a ton of sugar, so it won't turn out as sweet as other scones. Don't worry: We'll be topping them with not one but two glazes made with powdered sugar, so they'll turn out plenty sweet.
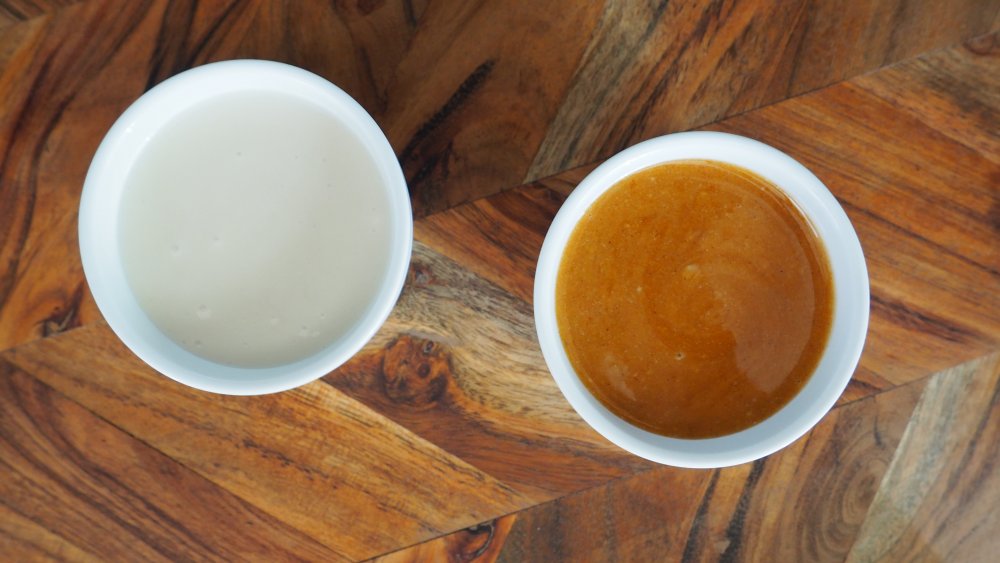
The first glaze is pure white and is simple to make. Combine a cup of powdered sugar with two tablespoons half and half. You should have leftover half and half from brushing the tops of the scones. If you skipped that ingredient and used milk or heavy cream instead, you can do the same for the icing. (You could also use water.) The second glaze is our pumpkin drizzle. It's also made with powdered sugar and half and half, but we add pumpkin puree and pumpkin pie spice to the mix. That gives it a delightful flavor and a brilliant color.
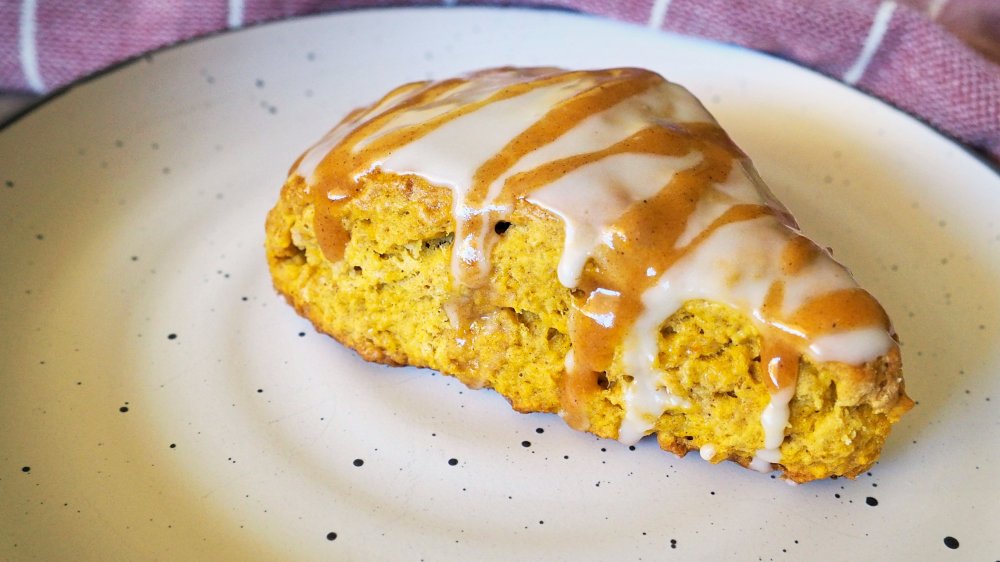
You'll need to wait until the scones are fully cooled before icing. Otherwise, the glaze will melt and drip off onto the plate. Spoon the white glaze onto the scones and spread them evenly over the top using the back of the spoon or a butter knife. You'll want to let this glaze set for 30 minutes before adding the pumpkin topping. Then, place the pumpkin drizzle in a sandwich bag and snip off a piece of the corner. Use your makeshift piping bag to zig-zag the pumpkin icing onto the scones.
How close did we get to the original Starbucks pumpkin scone?
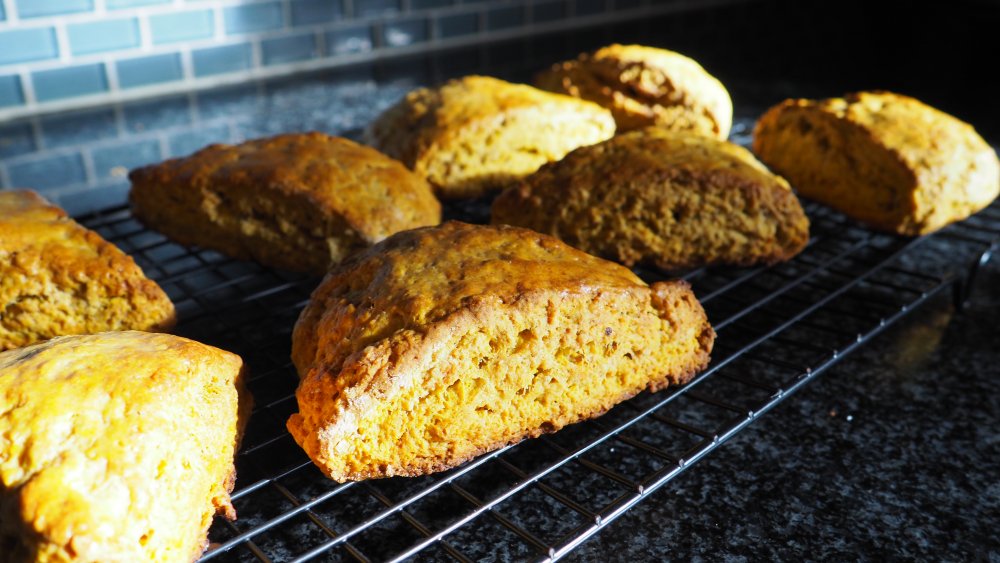
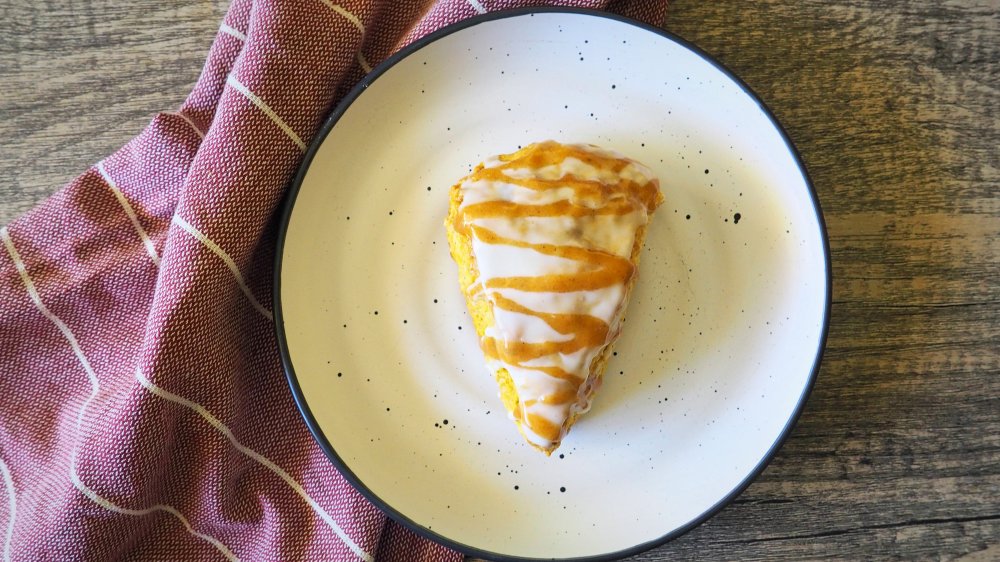
When it comes to appearances, it would be pretty obvious which version was the real Starbucks scone. Starbucks' scones are rectangular, and they have a much thicker icing topping than ours. That said, when it came to taste, we had absolutely no complaints! Our copycat Starbucks pumpkin scones had a lightly crispy exterior and a soft interior. They were perfectly sweet with the icing, and the texture was crumbly without being too flaky. We would absolutely make this recipe again. It might help us save a ton of money at Starbucks this fall.
The scones really taste best the day they're made. They become hard and crispy on the outside when stored on the counter, so use an airtight container. Unfortunately, that type of container also traps in moisture, softening the scones and making them taste a little different the next day. Texture aside, these scones will last two days on the counter or up to a week in the refrigerator. Let them come to room temperature before enjoying them for the best flavor.
Copycat Starbucks pumpkin scone directions
We love Starbucks' pumpkin scones in the autumn, and we wondered if we could make a pumpkin scone that tasted as good as the original. Spoiler alert: We did.
Ingredients
- 1/2 cup unsalted butter, frozen
- 1/3 cup packed light-brown sugar
- 1/2 cup and 1 tablespoon canned pumpkin puree, chilled
- 3 tablespoons buttermilk
- 1 large egg
- 1 tablespoon maple syrup
- 1 teaspoon vanilla extract
- 2 cups all-purpose flour
- 2 teaspoons baking powder
- 2 1/2 teaspoons pumpkin pie spice
- 1/2 teaspoon kosher salt
- 1/4 teaspoon baking soda
- 4 tablespoons half and half
- 1 3/4 cup powdered sugar
Directions
- To make the scones, preheat the oven to 425 degrees Fahrenheit. Line a baking sheet with parchment paper and set aside.
- Grate the butter using a box grater or the grating attachment of a food processor. Place the grated butter back in the freezer.
- In a medium bowl, combine 1/2 cup of the chilled pumpkin puree (set aside 1 tablespoon for later), brown sugar, buttermilk, egg, maple syrup, and vanilla extract. Whisk until well combined and set aside. Place the mixture in the refrigerator to keep it cold, if needed.
- In a large bowl, sift the flour to remove any clumps. Add the baking powder, 2 teaspoons pumpkin pie spice (set aside 1/2 teaspoon for later), salt, and **baking soda.
- Add the grated butter to the flour mixture. Using your hands, mix the butter in until it's distributed throughout the flour. There will be large pea-sized clumps of butter in the flour mixture.
- Pour the pumpkin mixture into the flour mixture. Using a wooden spoon, mix until the dough starts to come together. Knead the ball briefly to bring the mixture together into a large dough ball.
- Turn the dough out onto a lightly floured surface and shape it into an 8-inch round. Pat down the center and sides to create an even circle.
- Using a butter knife, cut the round into 8 equal wedges. Dust the knife with flour as needed to keep it from sticking as it cuts.
- Transfer the scones to the prepared baking sheet and brush the tops with 1 tablespoon of half and half. Bake for 15 minutes until the tops are golden brown and the internal temperature registers 200 degrees.
- Allow the scones to cool completely on a wire rack before icing.
- To make the glaze, combine 1 cup of powdered sugar (set aside 3/4 cup for later) and 2 tablespoons of half and half (set aside remaining 1 tablespoon) in a small bowl with a whisk.
- To make the pumpkin drizzle, combine 3/4 cup of the powdered sugar, 1 tablespoon of pumpkin puree, 1/2 teaspoon of pumpkin pie spice, and 1 tablespoon of half and half in a small bowl with a whisk. Transfer the mixture to a sandwich bag.
- When the scones are completely cooled, spoon the glaze over the top of each scone, using the back of the spoon or a butter knife to spread it evenly. Let the glaze set for 30 minutes to harden.
- Cut a small piece off the corner of the sandwich bag containing the pumpkin drizzle. Squeeze the drizzle into the corner of the bag to zig-zag it onto the scones. Let the drizzle set for 5 minutes before serving.
- Store the scones in a single layer in an airtight container. They're best the day they're made, as they'll soften during storage. They'll last two days on the counter or up to a week in the refrigerator.
Nutrition
| Calories per Serving | 390 |
| Total Fat | 13.4 g |
| Saturated Fat | 8.2 g |
| Trans Fat | 0.5 g |
| Cholesterol | 56.8 mg |
| Total Carbohydrates | 63.5 g |
| Dietary Fiber | 1.4 g |
| Total Sugars | 37.5 g |
| Sodium | 277.3 mg |
| Protein | 4.8 g |
