Baker Reveals The Secret To Making Perfect Banana Bread
In the morning, with a hot cup of coffee, it's breakfast. At night, especially after a light meal that didn't quite satisfy you, it's dessert. And any time of day — especially a long, bad day — it's the food equivalent of hiding yourself under the covers with a silky Labrador puppy to cuddle. We're talking about banana bread, of course — the ultimate comfort food. When baked correctly, banana bread is about all of the good feelings: sweetness, warmth, softness, familiarity.
So how do you make sure your banana bread is absolutely perfect? In an exclusive interview with Mashed, Sarah Wais, culinary expert at Wilton, the global leader in the baking and cake decorating space for over 90 years, shared the details you have to get just right to create banana bread that truly delights — from which bananas to choose to how to avoid banana bread missteps that could lead to rubbery bread (or that dreaded gooey, unbaked spot in the middle we've all had the misfortune of encountering at some point in our banana bread eating experiences).
Preparing yourself to make the best banana bread of your life
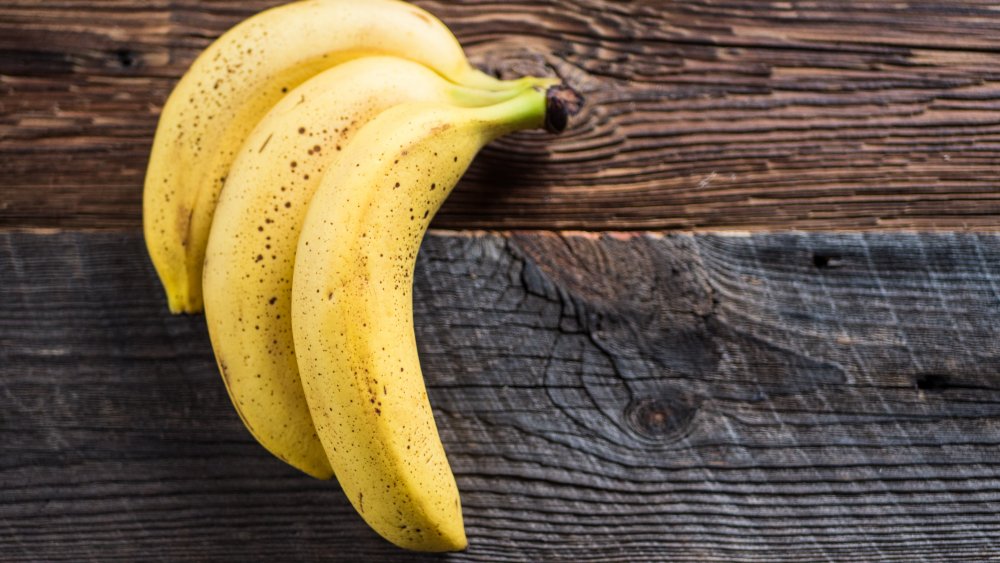
According to Wais, starting with baking-friendly bananas is absolutely critical. "When it comes to baking with bananas, you will want to look for brown and slightly over-ripe bananas," she explained. "Brown bananas are sweeter and have a more pronounced flavor than green or yellow bananas. They are also easier to mash and incorporate into your batter."
But what if your bananas are still kind of yellow-green, and you just need banana bread today? Don't despair, Wais said. "If your bananas are not quite ripe and the urge to bake is too strong, here is a handy hack you can try to ripen them almost instantly. Place your unpeeled bananas on a baking sheet, then place in a 300℉ oven for 10 to 15 minutes," she said. "The bananas will turn dark brown on the outside, but the inside will be perfectly soft for working into your batter."
So now you've got the bananas of exactly the right sweetness and consistency — congratulations! But your work is not done yet; the other ingredients matter, too. "Measure your ingredients accurately. If you accidentally add too much flour, your loaf may end up dry," Wais advised, adding, "Don't forget to properly prepare your loaf pan. Use vegetable pan spray to make sure your bread doesn't stick to the pan."
How you mix the banana bread ingredients really matters
Now that you have all of the ingredients ready, the fun begins. First, the bananas need to be transformed from ordinary fruit to oven-ready goo. This part is easy. "You can mash your bananas with a fork, an electric mixer, a potato masher, or you can just do what I do and get in there with your hands!" Wais said.
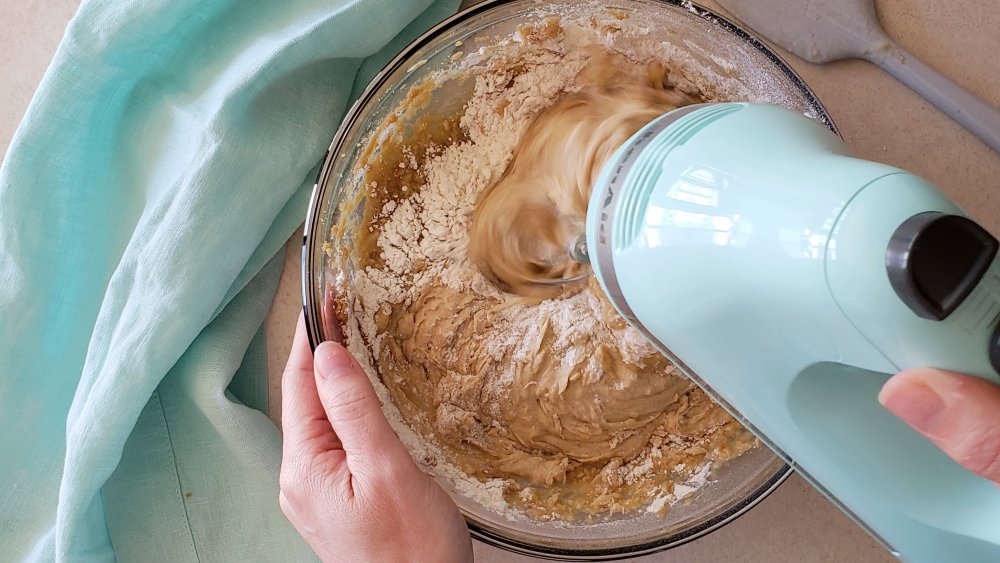
Meanwhile, let's get creaming. "For a finer crumb and lighter texture, make sure to cream the butter and sugar until it's light and fluffy," Wais said, noting this could take as long as two or three minutes. Next, you want to combine the wet and dry ingredients. "For perfect banana bread, add the flour mixture to the butter mixture and mix just until incorporated. Your batter won't be perfectly smooth, but that's okay," Wais said. In fact, you want to take great pains to avoid overmixing. "Quick bread batter does not like to be overmixed," Wais warned. "If you overmix the wet and dry ingredients, the gluten in the flour will begin to over-develop," which, she said, creates a "tough and rubbery banana bread."
Finally, go ahead and add in nuts, chocolate chips, or even coconut. "If you're more of a banana bread purist, you can skip this step entirely and have the bananas the star of the show!" Wais noted.
Now for the tricky part: baking the bread
Follow your banana bread recipe instructions for baking — and if you don't have a great recipe handy, Wais swears by this Homemade Banana Bread Recipe from the Wilton blog — and be especially careful about not over-baking or underbaking. "It's crucial to know when to pull the bread out of the oven," Wais warned. "If your loaf is under-baked, your bread will have a gooey and gummy texture. If your loaf is overbaked, it will be dry."
Wais offered a few tips for taking out the bread, not a moment too soon or too late. The first is to be very patient: "Banana bread is a thick and dense treat, so don't panic when it needs to bake for an hour or so," she explained. Some people will just take the bread out of the oven because they figure it's been a long time, and they end up eating raw batter by mistake!
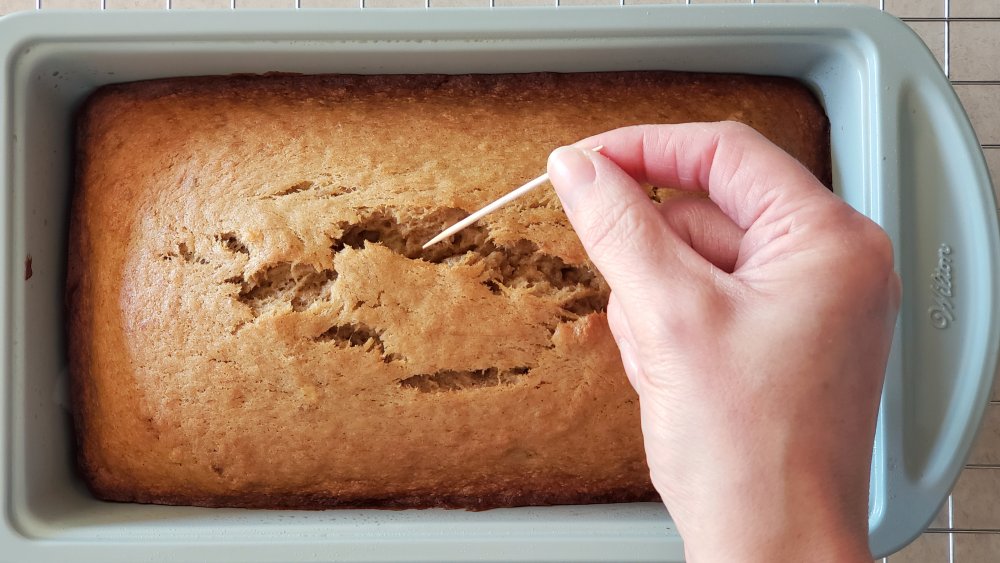
"You will know it's done when a toothpick inserted in the center comes out clean. I like to test in a few spots just to be super sure it's done," Wais said. "You can also judge doneness by lightly pressing the top of the loaf. If it leaves a slight indentation, bake it for a few more minutes and then try again. The loaf will be done when it springs back when lightly touched."
Tips for enjoying your perfect banana bread
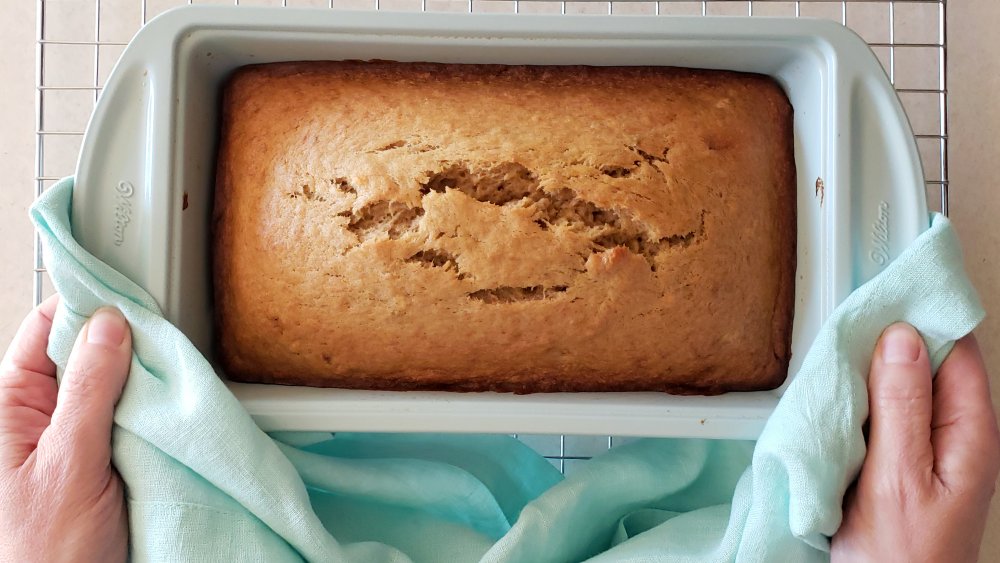
So your banana bread is finally done, and this has been an odyssey — beginning with waiting for the bananas to be brown enough to bake, and then you swear you've aged a few years during the lengthy baking time required to avoid that uncooked wet spot in the middle of the bread. We have some bad news: you need to do a little more waiting before you can eat this treat, Wais said. "When the loaf is finished baking, remove it from the oven, but do not cut into it just yet," she explained. "Resist the temptation and allow the bread to cool in the pan on a cooling grid for 15 minutes. Then remove it from the pan to cool completely. It is much easier to cut into neat slices when it's cooled."
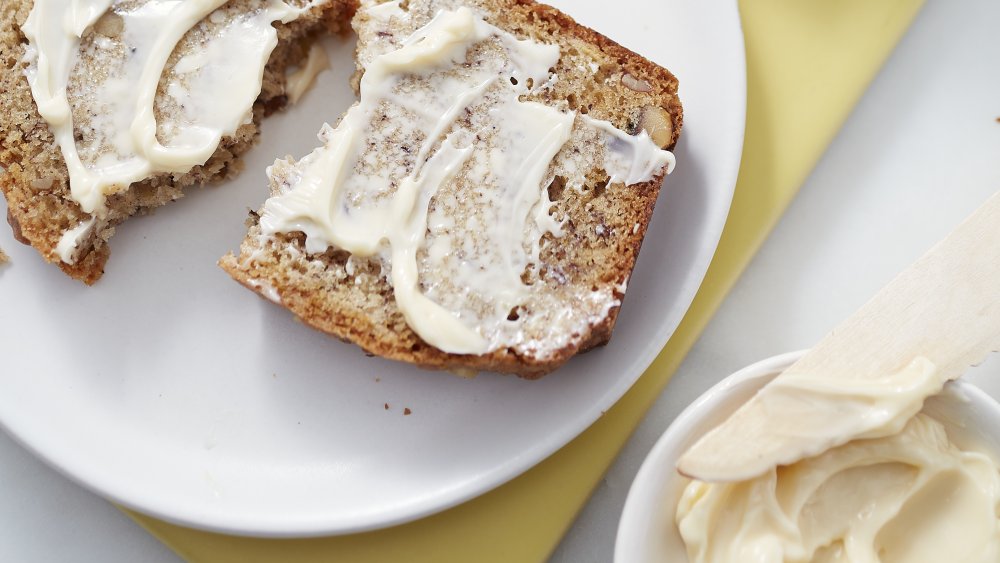
Now, finally, the banana bread is yours to enjoy. See, wasn't that worth the wait? You can upgrade your banana grade further by getting creative with toppings, Wais said. "You can add butter, cream cheese, honey, fresh fruit, and a dollop of whipped cream, or even some simple jam," she said. And if you're feeling really ambitious, Wais said, grab some eggs and a skillet, because "banana bread slices also make a delectable French toast!"
