How To Make Your Own Yeast Using Raisins
If that perfect storm strikes where you feel like baking, but you don't have any yeast, you've got a couple of options. Either you can use a yeast substitute or you can make your own yeast from a commonplace pantry ingredient — raisins. But be warned, this process takes eight days, so it's better if you anticipate your baking mood about a week before it happens.
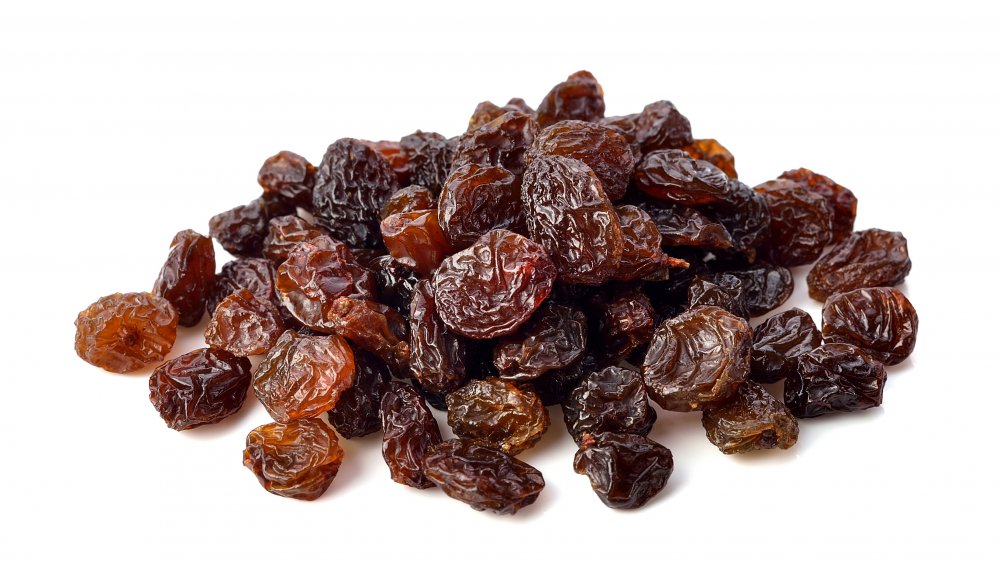
This trick to make your own raisin starter comes from a former culinary school student, so it's quite the tool of the trade (via Rachael). To start, put 1 1/4 cups of spring or filtered water, a tablespoon of sugar, and just over 1/2 cup of either chopped or whole raisins in a jar. It's important to use bottled or filtered water in this project, because even small amounts of chlorine (a common additive in tap water) can kill the bacteria needed to create the yeast. Seal the jar with a paper coffee filter and a rubber band or with plastic wrap and leave it out at room temperature for seven days without mixing it.
Make sure to keep your raisin starter fed
On the seventh day, you should see small bubbles beginning to form, and if you've used a paper filter, the jar should be emitting a fruity and boozy aroma. The next day, the bubbles will be bigger and the smell should be stronger. At this point, you can strain the water and throw away the raisins.
Add a cup of flour and 1 1/4 teaspoons of sugar to the water and put it in a warm place for it to rise. Then, move it to the refrigerator. The work's not over — to keep a starter viable, you have to "feed" it. To do so, remove it from the fridge and let it warm to room temperature. Remove 1/4 cup from the starter and add 2/3 cups of lukewarm water, 2/3 cups of flour, and mix. Keep it at room temperature until it bubbles and then move it back to the refrigerator. You can now use the starter in bread recipes where you can use it the same way you would yeast (via The Kitchn).

