Spooky Graveyard Chocolate Pudding Cups Recipe
We may receive a commission on purchases made from links.
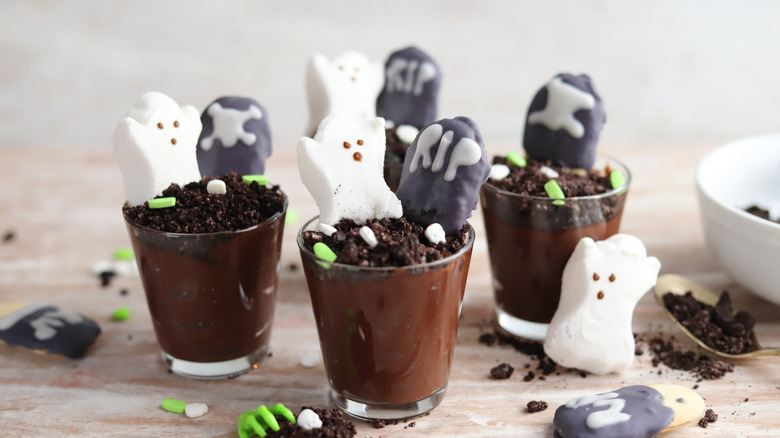
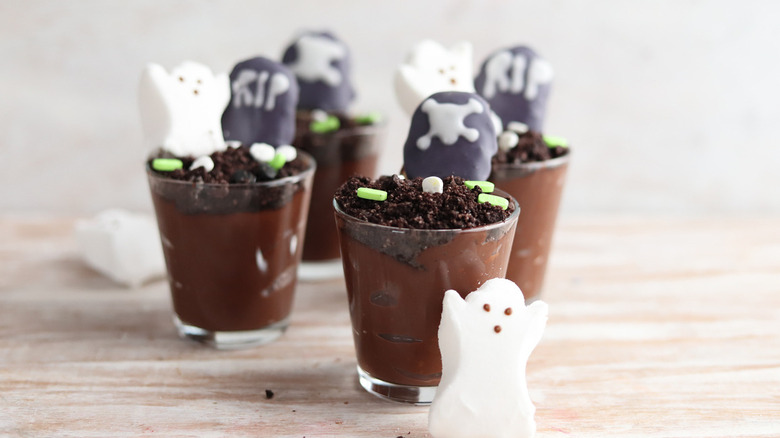
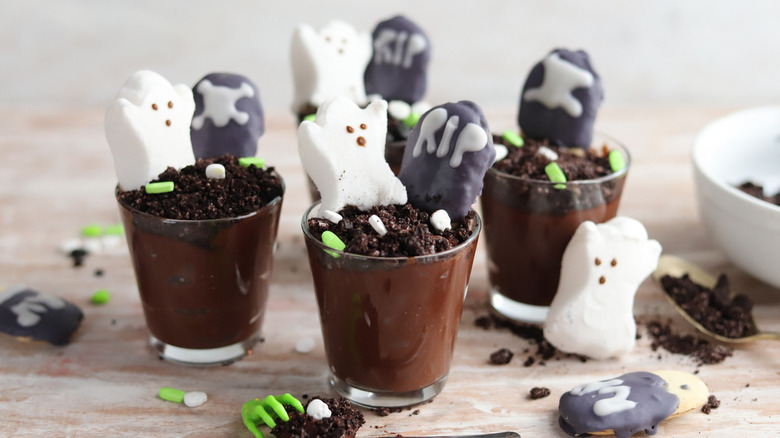
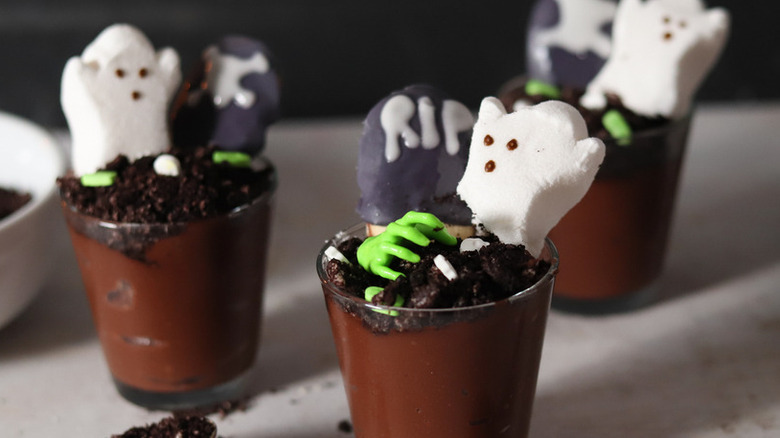
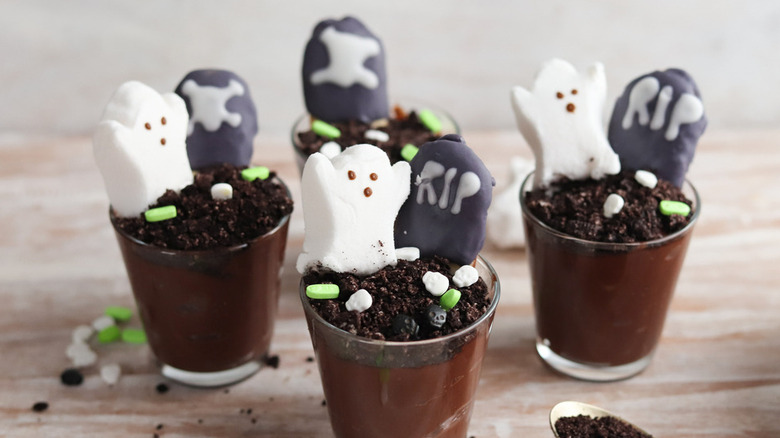
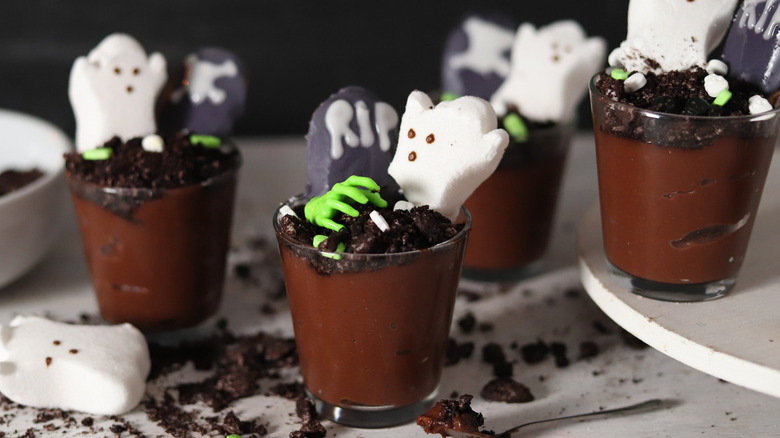
Perfectly combining creepy and cute elements, these spooky graveyard chocolate pudding cups from recipe developer Leah Maroney are a must-have at any good Halloween party. You've likely heard of classic dirt pudding before — the kind laden with crumbled Oreos and creepy crawling gummy worms — and this recipe transforms such a treat into a graveyard setting, aptly decked-out with crumbled cookie "dirt," a cookie tombstone, skull-shaped sprinkles, and a marshmallow candy ghost.
While these adorably scary little pudding cups would surely be a hit at a children's Halloween party, don't overlook their potential for an adult-centric bash, too. A quick glance at the ingredients for the pudding shows that isn't your average dirt pudding cup, which usually features nothing more than Jell-O brand pudding mix; this pudding is made from scratch, featuring ingredients like hazelnut spread and Dutch process cocoa for optimal elegance. Plus, the Milano cookies that make up the backbone of the "RIP" tombstones are suitable for palates of all ages. So though there is an undeniable whimsy to these cups, it's a whimsy that will get both kids and adults alike into the Halloween spirit.
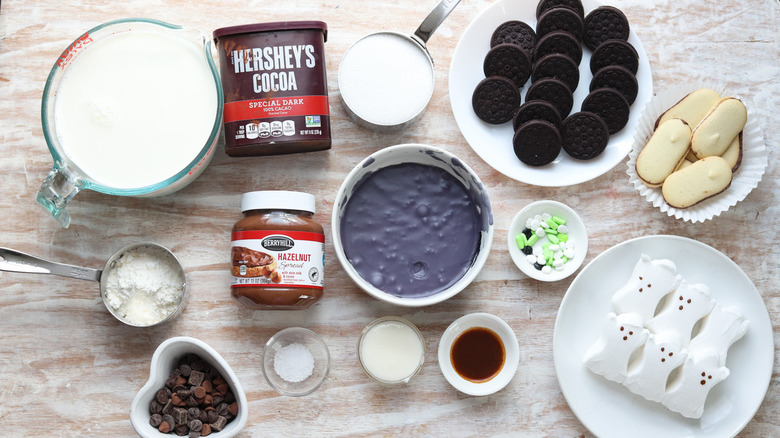
Gather the ingredients for spooky graveyard chocolate pudding cups
The chocolate pudding itself is made up of granulated sugar, hazelnut spread, Dutch process cocoa powder, cornstarch, chocolate chips, milk, vanilla extract, and salt. To adorn the pudding once it's in cups, you'll need chocolate sandwich cookies (like Oreos), which you'll crush up to a dirt-like consistency, along with Milano cookies and both black and white cookie icing to transform said cookies into tombstones. Skull and bones sprinkles serve as extra spooky decor, and marshmallow Peep ghosts really tie everything together, capturing the essence of a (chocolate pudding) graveyard.
Step 1: Begin making the pudding
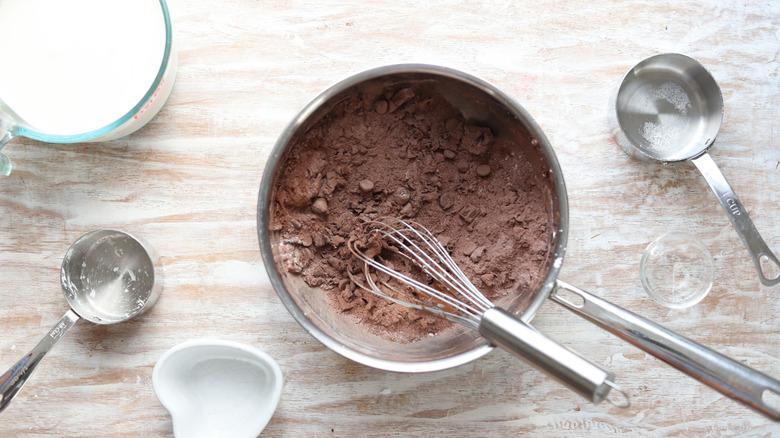
Combine the granulated sugar, hazelnut spread, cocoa powder, cornstarch, and chocolate chips in a medium saucepan until incorporated.
Step 2: Add the milk and heat
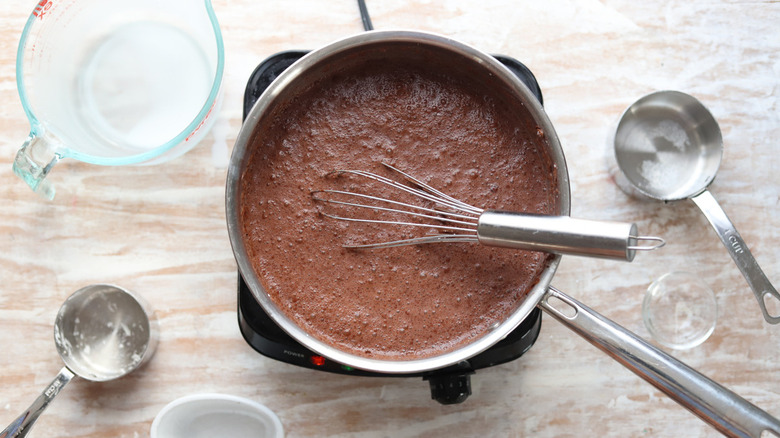
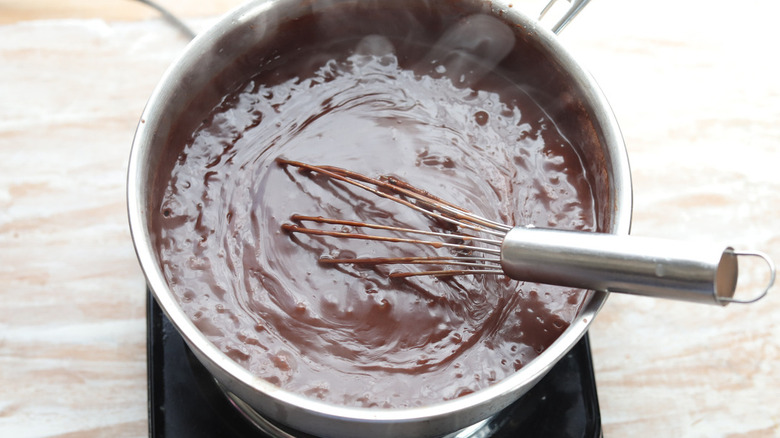
Put the pan over low heat and slowly pour in the milk while whisking.
Step 3: Heat until thickened
Continue heating on low heat for 3-5 minutes and whisking until the pudding thickens. Remove the pan from the heat and add the vanilla and salt.
Step 4: Remove any lumps
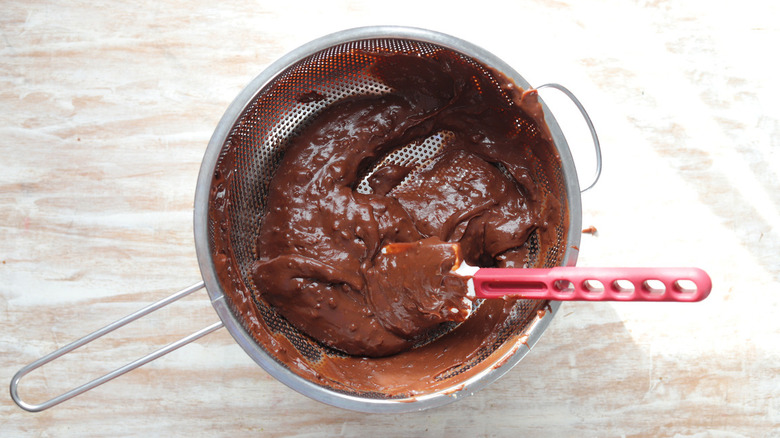
Press the pudding through a fine sieve to remove any lumps.
Step 5: Chill the pudding
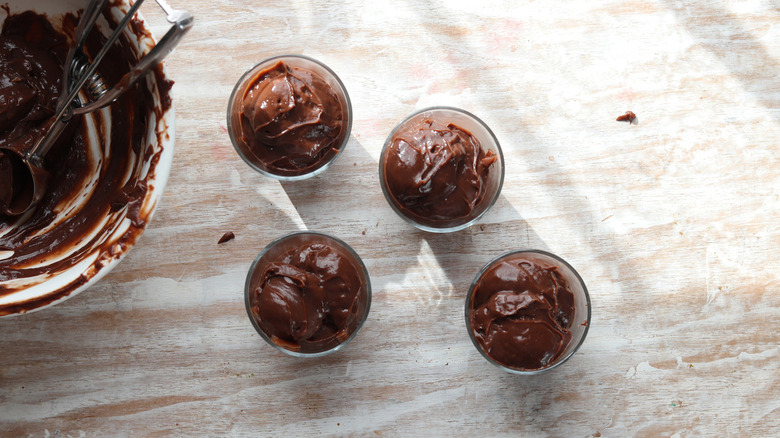
Add the pudding to pudding cups and place in the refrigerator for 2 hours to chill.
Step 6: Crush cookies to make dirt
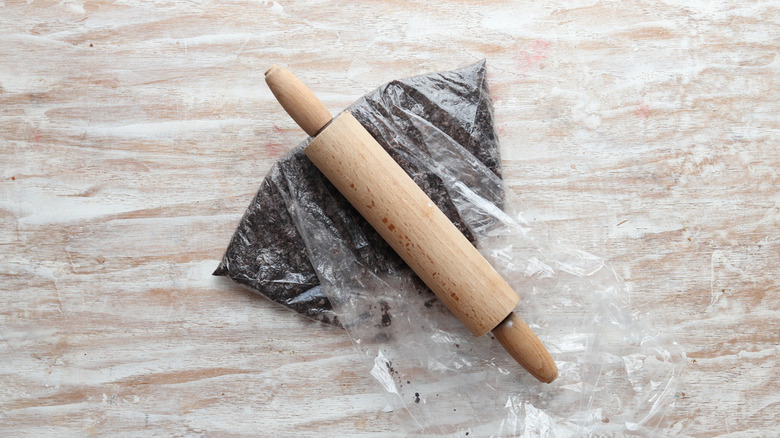
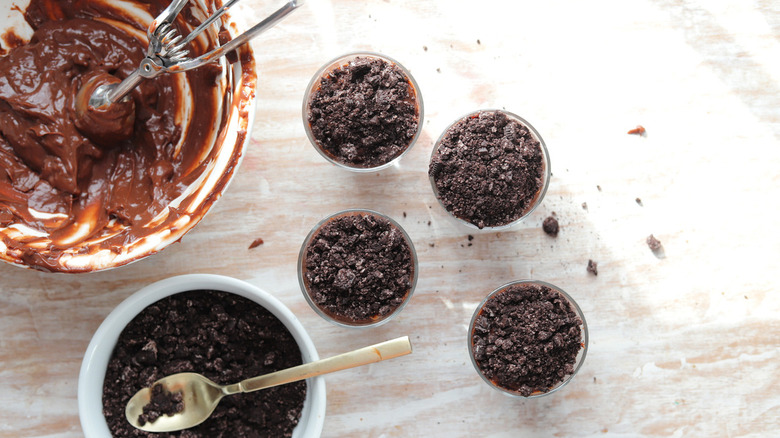
Crush the chocolate cookies in a bag with a mallet or rolling pin until a fine crumb forms.
Step 7: Begin making the cookie tombstones
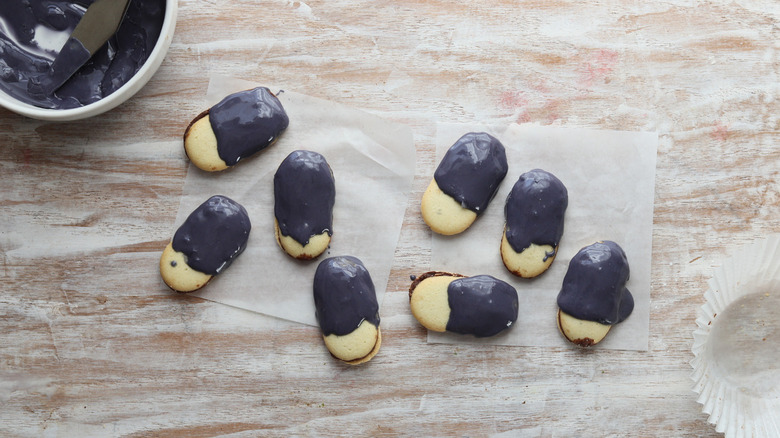
Frost the Milano cookies with the black icing, to about halfway on one side, and allow the frosting to harden.
Step 8: Draw designs on cookie tombstones
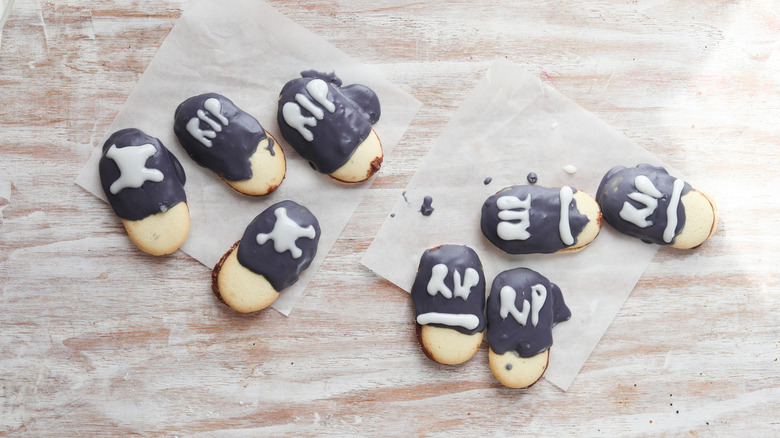
Place the white icing in a small bag and cut off a small corner. Then pipe "RIP" or skulls onto the cookies to make the headstones.
Step 9: Begin assembling the graveyards
Sprinkle the crushed cookies over the top of each pudding.
Step 10: Add the spooky finishing touches
Press the cookies into the pudding cups and decorate with sprinkles and ghosts.
Step 11: Serve the pudding cups
Serve and enjoy!
Spooky Graveyard Chocolate Pudding Cups Recipe
Spooky graveyard pudding cups are perfect for a kid's Halloween party, but with homemade pudding with hazelnut spread, they're elegant enough for adults, too.
Ingredients
- 1 cup granulated sugar
- 1 cup hazelnut spread
- ½ cup Dutch process cocoa powder
- ⅓ cup cornstarch
- ¼ cup chocolate chips
- 4 cups whole milk
- 1 teaspoon vanilla extract
- ¼ teaspoon salt
- 12 chocolate sandwich cookies
- 8 Milano cookies
- 4 ounces black cookie icing
- 2 ounces white cookie icing
- 2 ounces skull and bones sprinkles
- 6 Marshmallow peeps ghosts
Directions
- Combine the granulated sugar, hazelnut spread, cocoa powder, cornstarch, and chocolate chips in a medium saucepan until incorporated.
- Put the pan over low heat and slowly pour in the milk while whisking.
- Continue heating on low heat for 3-5 minutes and whisking until the pudding thickens. Remove the pan from the heat and add the vanilla and salt.
- Press the pudding through a fine sieve to remove any lumps.
- Add the pudding to pudding cups and place in the refrigerator for 2 hours to chill.
- Crush the chocolate cookies in a bag with a mallet or rolling pin until a fine crumb forms.
- Frost the Milano cookies with the black icing, to about halfway on one side, and allow the frosting to harden.
- Place the white icing in a small bag and cut off a small corner. Then pipe "RIP" or skulls onto the cookies to make the headstones.
- Sprinkle the crushed cookies over the top of each pudding.
- Press the cookies into the pudding cups and decorate with sprinkles and ghosts.
- Serve and enjoy!
Nutrition
| Calories per Serving | 683 |
| Total Fat | 25.1 g |
| Saturated Fat | 16.1 g |
| Trans Fat | 0.0 g |
| Cholesterol | 13.4 mg |
| Total Carbohydrates | 109.8 g |
| Dietary Fiber | 5.0 g |
| Total Sugars | 88.8 g |
| Sodium | 295.2 mg |
| Protein | 8.7 g |
What are some other toppings that can be used?
While this recipe hones in on the idea of a graveyard thanks to three core elements — cookie dirt, a cookie tombstone, and a candy ghost — that doesn't mean that you can't get creative with your interpretation. For a more classic dirt pudding approach, you can incorporate creepy crawlers into the crushed cookie dirt by adding some gummy worms to the top of the dirt pile (or submerging them in the pudding for a scary surprise). Not a fan of Oreos? You can switch up the dirt topping by using any type of chocolate cookie, including homemade ones, chocolate wafers, or even brownies, and crushing or crumbling them up to get a similar textural effect.
There's also plenty of room for creepy creativity when it comes to the tombstone, marshmallow candy ghost, and skull sprinkles. If you don't want sprinkles that are quite so chunky, opt for black, orange, and white nonpareils, AKA tiny sprinkle balls, for a more general Halloween look. Halloween-colored sanding sugar would also add a similarly on-theme result. The ghost can be switched out for any type of Halloween-themed Peep, including pumpkins or monsters. Finally, your Milano cookie tombstones can be customized to say whatever you'd like, or you can skip the Milanos and use homemade sugar cookies to cut out the gravestone shape instead.
How can you serve these pudding cups?
Seeing as these graveyard-themed pudding cups are spooktacular in every way possible, it only makes sense that you'd serve them in a Halloween setting. Though candy may be the star of Halloween, there's plenty of room for other sweet treats, so these pudding cups will make a welcome addition to your of sinister sweets spread. Something like Halloween caramel apples or Halloween Oreo spiders make for great options to pair alongside the pudding cups, as both are delicious kid-friendly options. Looking for something savory to go alongside the chocolate? These Halloween mummy hot dogs will be right at home amongst your array of festive food options.
If you were to serve these spooky pudding cups at an adult Halloween party, you'd still be wise to include them amongst other dessert options, though you might also be inclined to enjoy the chocolatey treat with something a little stiffer, like a Halloween margarita.
Of course, no party is required to enjoy these pudding cups. Making these little treats is a great activity to get the kids involved in, and each kiddo can personally design their own tombstone and graveyard. Perfectly suited for festive functions and low-key October afternoons, there's really no limit to how (or when) one might enjoy chocolate pudding.
