Experts Tell Us The Common Mistakes To Avoid When Making Homemade Fish Sticks
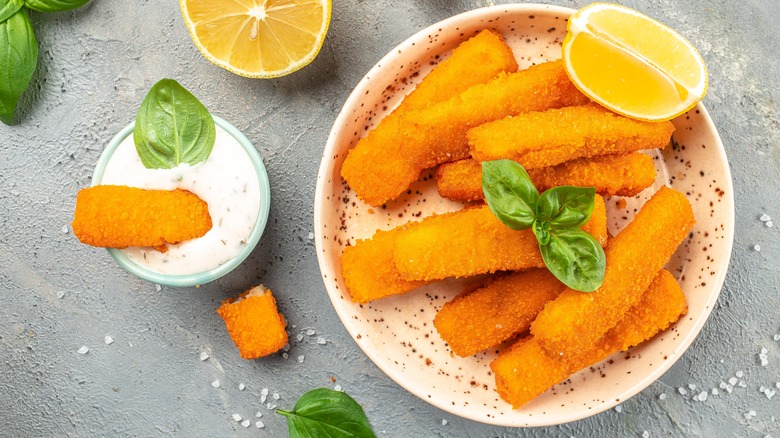
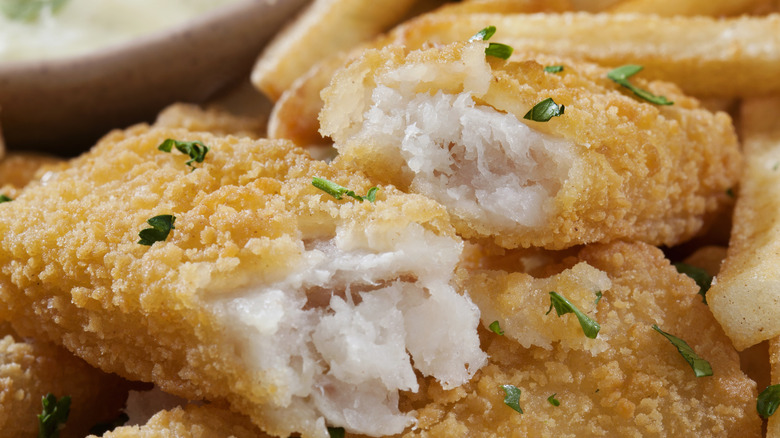
Fish sticks are the heroes of dinnertime when you're looking for a quick meal. Known for being popular with most kiddos, these crunchy bites are a versatile way to make fish an approachable finger food. But we're not knocking on fish sticks as a basic food for kids — they are for adults, too! They can easily be elevated to serve as a tasty appetizer or enjoyed solo with your favorite side dishes.
Whether fish sticks are the finger food of choice for kids or the kids-at-heart, you may want to bypass the store-bought sticks to make your own. While it is totally possible to make a delicious fish stick to rival the best boxed brands, there are some mistakes to avoid making in order to ensure your recipe is a crowd-pleaser. From your fish selection to the breading process, we spoke with seafood experts and chefs to get the lowdown on making fish sticks.
Picking the wrong kind of fish
Your first task when making your own fish sticks is a big one: sourcing seafood. "As my mom used to say, 'Put good things into a recipe and you will usually get good things out.' What she meant by that is that good ingredients really matter. Use good quality fish and awesome fresh bread crumbs like panko," shares Jim Foster, owner of Pelican Seafood Market and Grill in Ottawa, Canada.
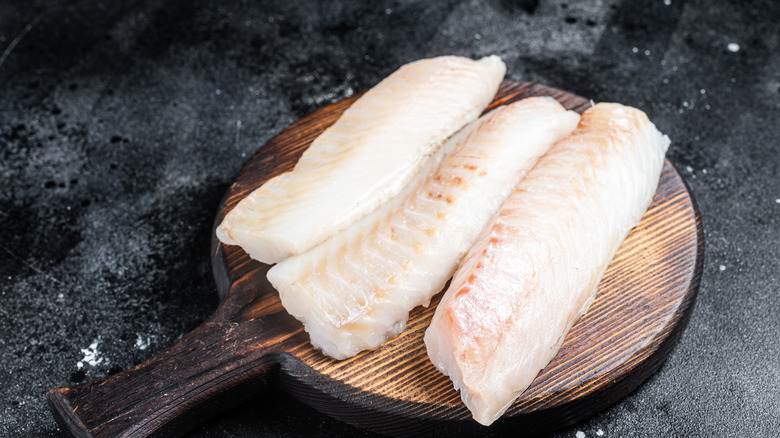
Your choice can make or break your dish, as not all types of fish can hold up to the frying process. This is why you should use a firmer white fish, according to food blogger Corrie Duffy of Corrie Cooks. "Avoid fish with high water content, as they can become mushy when cooked," he recommends. Our experts all mention cod as a popular choice, and some declare it to be their favorite. Other suitable fish options include halibut or sea bass. "Pollock and cod are the most common types of fish used in frozen fish sticks, but any white, flaky fish can work," says Jessica Formicola, Founder and Chef at Savory Experiments.
Your budget may also be a big driver for your selection. Foster suggests basa as a budget-friendly option, whereas he recommends halibut or cod "if you are feeling decadent." Once you select your fish, you will want to cut your filets into slices or pieces about the size of a finger. "Cutting against the grain will make them easier to eat," Formicola notes.
Not following breading steps
Another key step in making crispy fish sticks is the breading. Failing to follow the appropriate dredging process can lead to a lackluster crust. To avoid a soggy coating, our experts advise taking the extra step to pat your fish dry with a paper towel before breading it. "A dry surface ensures the coating sticks better and stays crispy," Corrie Duffy says.
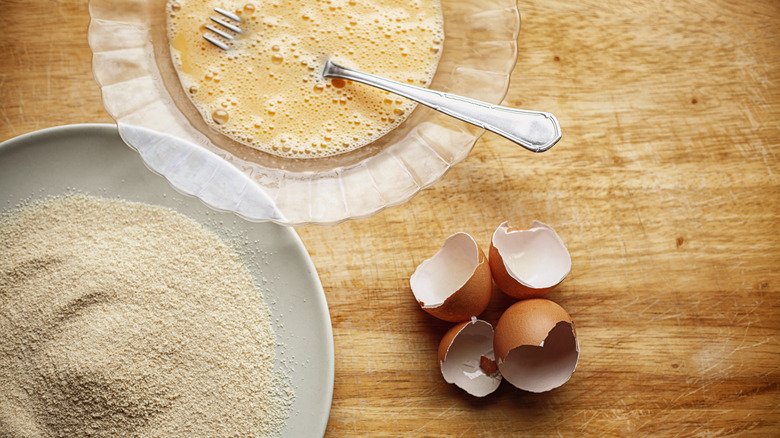
"Using a 3-step dredging process ensures the bread crumbs will stick. Roll in flour (or seasoned flour), beat egg, and then the bread crumbs," Jessica Formicola instructs. As for the breading itself, our experts seem to prefer panko breadcrumbs over regular or seasoned options. "Panko breading is my personal preference, it is a larger crumb and stays crunchier," Formicola says, adding that regular or seasoned breadcrumbs will also work.
If you are seeking a super crunchy fish stick, a tempura batter may be a good fit. Pano Karatassos, President and Executive Chef at Buckhead Life Restaurant Group and Kyma Restaurant says that fish sticks should be fried in a tempura batter. "My favorite way to do fish sticks is to cure the sides of fish with salt, garlic, and olive oil for 30 minutes, washing them off and patting them dry," he said. "When dry, cut into perfect logs. Afterward, I like to fry them in tempura. This technique is very common in Greece."
Not getting your seasoning right
There is nothing more disappointing than going through all the effort and ending up with bland fish sticks. Our experts say that seasoning before and after cooking is an invaluable step to getting your fish sticks to be flavorful. If you opt for a tempura batter, Pano Karatassos recommends home chefs "lightly dust them with any spices of your choosing, such as; smoked paprika, madras curry, or simply good old salt & pepper."
Even if you seasoned your fish before the frying process, you don't want to miss out on one last dash of flavor. Jim Foster recommends salting your fish sticks after they cool as a final seasoning step. Salting after cooking is a common practice when cooking fish, as salt draws moisture to the surface. You'll also replace any seasoning that was lost in the pan during the frying process.
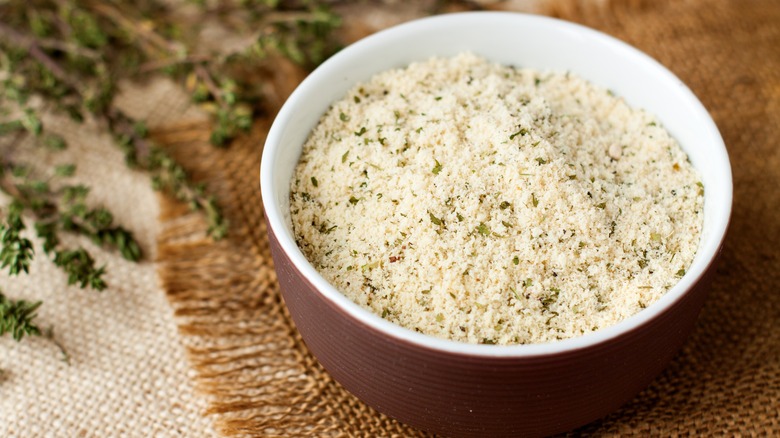
However, it is possible to be too heavy-handed with your seasoning. Being mindful of your seasoning is especially important if you use pre-seasoned breadcrumbs. "Seasoned just means it has dried Italian seasoning in the mix which can easily be added to panko or plain," says Jessica Formicola, describing the versatility of selecting your own seasoning to add to plain breadcrumbs. "Switch it up with other types of seasoning such as Old Bay, or another seafood seasoning, Thai, or Cajun."
Using oil at the wrong temperature
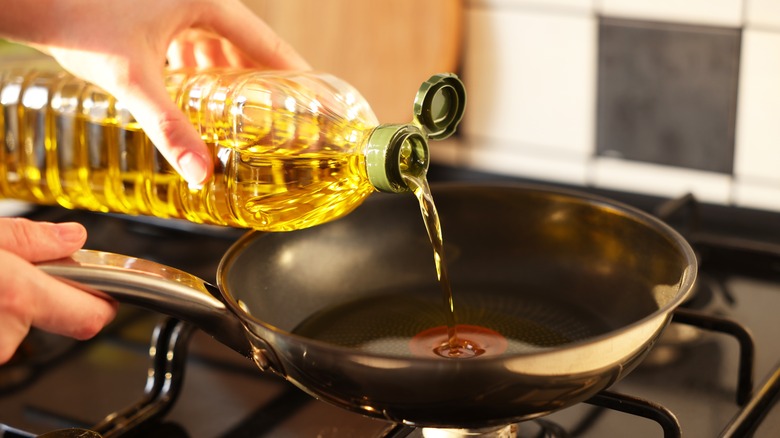
Oil temperature is also an important factor, specifically if you are frying your fish. If the temperature is too high, your fish sticks can burn. This is why our experts recommend selecting an oil with a high smoke point. "You want to use an oil that can reach 350 degrees without smoking, so I recommend using canola oil or grape-seed oil," says Pano Karatassos. A deep-fry thermometer will come in handy to keep track of your temperature.
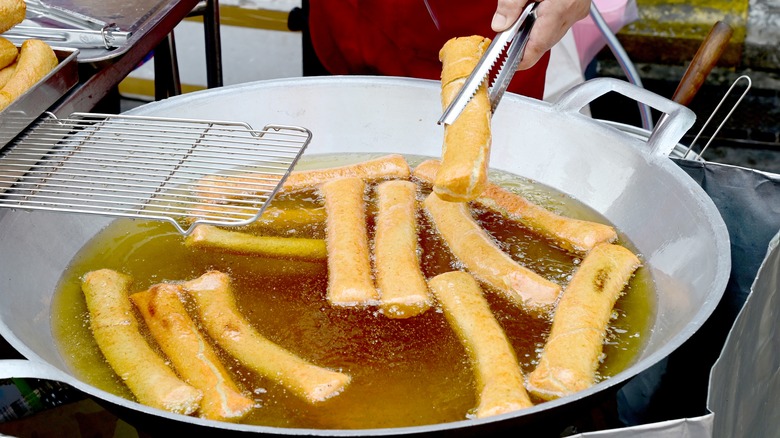
Karatassos instructs: "The process is to use a 5-inch sided pot that is about 12 to 14 inches wide, next you want to put at least 2 inches of oil and gradually bring it up to 350 degrees, testing it with a thermometer." With the correct oil temperature, fish sticks should only take three to four minutes to cook, according to Jessica Formicola.
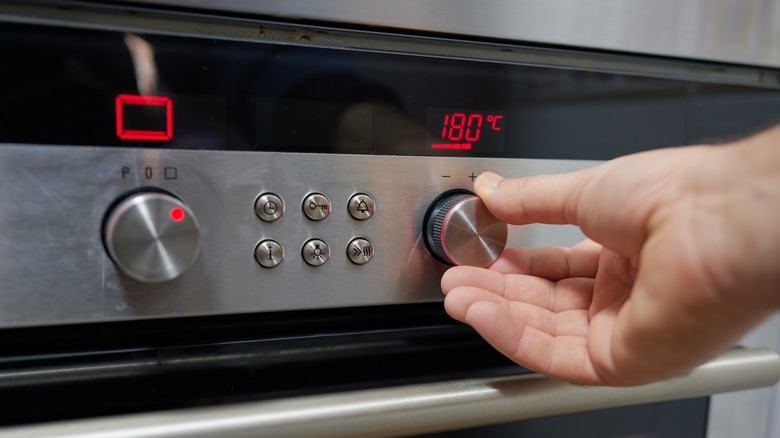
But you can forego frying entirely for baking. "If baking fish sticks, lightly brush them with a solution of water and Dijon mustard before rolling them into breadcrumbs," Karatassos recommends. "Place them in an oven at 375 degrees for color and use a cake tester to make sure it is warm." An air fryer is another option to consider. "Fish sticks can be fried or baked, but my personal preference is to use the air fryer getting the best of both worlds," Formicola comments. "Giving them a spritz of avocado oil before cooking crisps them up perfectly."
Overcrowding the pan
The Maillard reaction is a chemical process responsible for giving fried food its golden color and crisp, protective crust that traps the moisture in to keep it from drying out. For successful results, overcrowding your pan is a big no-no. Doing so impacts the cooking process because you are lowering the overall temperature of the oil as you add more food. As it cools down, the likelihood of food sticking increases, as it releases moisture back into the oil instead of developing a seared exterior.
That temperature decrease makes a big difference in the cooking process. Food that is fried at lower temperatures absorbs more oil, producing an unpleasant greasy consistency. Overcrowding your pan may also result in soggy unevenly cooked fish sticks, according to Corrie Duffy. If you are concerned about oil temperature, err on the side of caution and fry your fish sticks in small batches to increase your chances of a crisp crust.
And be warned, it's not just the fryer that can experience issues from overcrowding. Putting too many sticks on a baking sheet can also impact the baking process. "Do not cook them too close together on a tray," says Jessica Formicola. "They need space for hot air to circulate, otherwise, they steam and won't crisp up."
Overcooking your fish sticks
Jessica Formicola asserts, "The most obvious mistake in making fish [sticks] is overcooking them." This can be a tricky feat, as you want your fish sticks to have a golden brown, crisp exterior while still having a fully cooked, moist, and flaky interior. To achieve this result, bake or fry them at a high temperature, typically around 400 F, according to Corrie Duffy. Meanwhile, the internal temperature should reach 165 F.
So how do you know that your fish is done before it's too late? Pano Karatassos offers an expert tip to test the temperature without being too invasive. "A trick that I give to home cooks is to learn how to use a cake tester. After cooking, slide the cake tester into the middle of the fish stick & make sure that it is warm to the touch on your chin," he says.
Don't forget to flip the sticks while they are baking for even cooking, according to Jessica Formicola. "Make sure to turn them mid-way through cooking to get a nice crunch on all sides," she says. Another tip to obtain that crisp coating is to firmly press the breadcrumbs onto the fish, then spritz oil on the breaded sticks so they develop a nice brown color and don't fall off while baking. Some chefs also suggest toasting your breadcrumbs ahead of time to get that crispy exterior without overcooking the fish.
Not resting and draining the fish sticks after frying
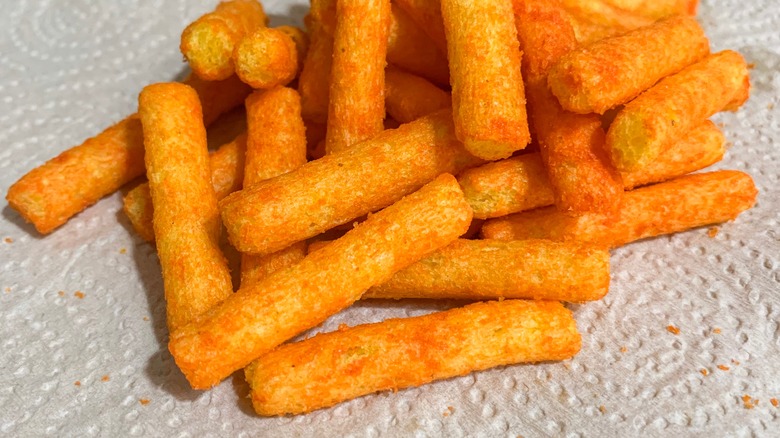
We know the excitement will start to build as you batch fry or bake your fish sticks. But it's best to stop yourself from immediately enjoying the crunchy spears. An important resting step will ensure optimal crispness; place them either on a cooling rack or a paper towel-lined plate after they're done cooking. "If you bake them, use a cooling rack on a cookie sheet so they are crispier," says Jim Foster. "Let them cool three to four minutes on a cooling rack after frying but eat them hot."
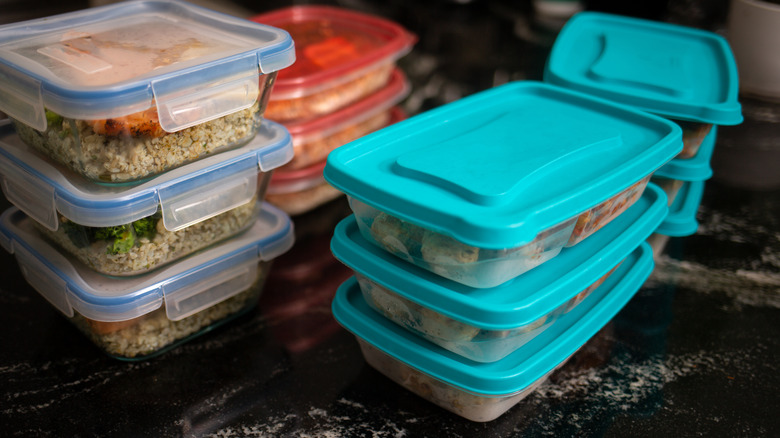
The draining process allows the paper towel to absorb excess oil from the fried fish. According to Pano Karatassos, the best way to store fish sticks after cooking is on a paper towel before transferring them to a sealed container in the refrigerator for leftovers. Or, if you're frying the fish in batches and want to keep it warm to enjoy right away, pop the sticks in the oven at a low temperature. Just be sure the temperature is low, or else your fish will continue to cook, potentially drying out.
Not using the correct pan for cooking
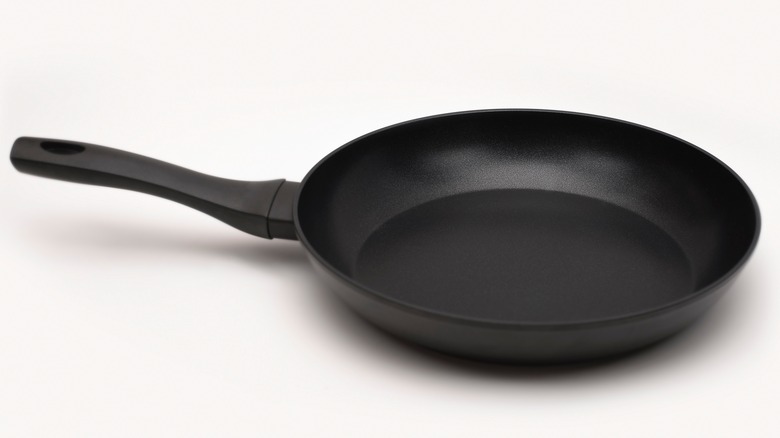
Proper cookware is the key to perfect fish sticks. While there are some slight differences when it comes to baking or frying your fish sticks, our experts warn that your pan choice can be the difference between a soggy or crispy texture. For baking, Jessica Formicola recommends, "Use a baking sheet with low or no rims — high-sided baking dishes also create steam, preventing them from getting crispy," she says. The pan choice differs if you decide to fry. "If pan frying, use a shallow, high-sided skillet."
If you don't have a skillet or baking sheet that will work, Pano Karatassos recommends a pot with 5-inch sides that is at least 12 to 14 inches wide. This allows enough room for 2 inches of oil for frying as you gradually bring the oil temperature up to 350 F.
And if you're worried about your fish sticks sticking to a baking sheet, try cooking them on a wire rack instead of directly on parchment paper. If an oven-safe wire rack is not an option for you, you will want to be sure to flip your sticks during cooking to prevent sticking and ensure even cooking.
Not storing leftovers correctly
If you have made it to this point and have successfully prepared delicious, homemade fish sticks, congratulations! If they were so good you have no leftovers, then this doesn't apply to you. But if you do have some left, be sure to store them properly for the best reheating results. "Of course, fish sticks are best enjoyed freshly cooked," says Jessica Formicola. However, they can stay fresh in the fridge for up to three days in a sealed container.
If you're planning to store the fish sticks for any longer timeframe, you will want to freeze them. Let them cool completely, then freeze them individually on a baking sheet to prevent sticking. At that point, transfer them to a freezer-safe plastic bag or container for up to three months. Beyond that duration, the USDA notes the flavor or texture of seafood will change over time. It may still be safe to eat by USDA standards, but you may notice the quality of your frozen fish starts to deteriorate. Officials recommend going by sight and smell no matter what the timeframe is — any odors or odd textures mean it's probably time to toss your fish out.
Not reheating leftovers in the oven
Even if you have properly stored the leftover fish sticks, you could still make a big mistake by trying to reheat them quickly and not taking the time to get the coating to crisp up. The microwave will lead to soggy sticks, which can be a big disappointment after enjoying them crisp the first time. Jessica Formicola suggests either reheating them in the oven, giving them a quick pan-fry, or busting out the air fryer.
A general rule of thumb for reheating is to follow the same steps you used to cook your fish sticks in the first place — such as baking them in the oven at 375 F until the center is warm, according to Pano Karatassos. However, Jim Foster says your fish sticks should be so good that leftovers won't be a problem. "Are you kidding? There won't be any left," he jokes and adds, "Besides reheating fish is like underpants at a vintage shop — nobody wants that!"
If you do opt for leftovers, let your fish sticks star in another meal with a fun twist. "One of our favorites is using frozen fish sticks to make fabulous tacos," Jessica Formicola shares. A fish sandwich, po' boy, or wrap are other quick and tasty options to easily repurpose your fish sticks.
Forgetting your dipping sauces
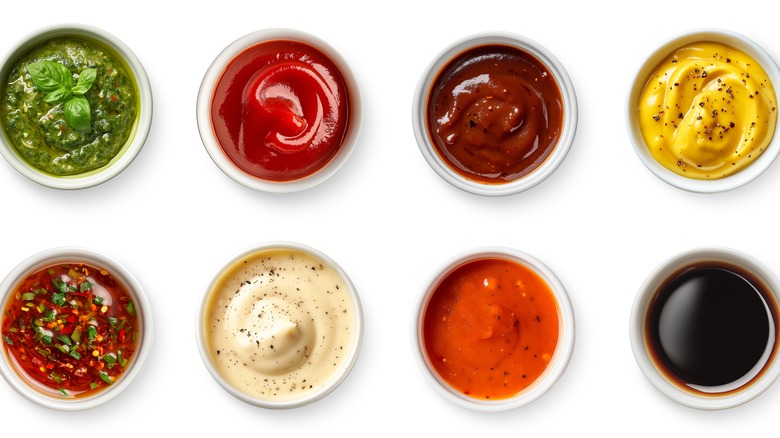
Finally, you can't forget the dipping sauces for your fish sticks. While picky eaters may prefer to enjoy their fish sticks plain (no judgment here), you are missing out on an opportunity to get creative with the dipping sauce. Jim Foster opts to serve fish sticks with a classic combination of homemade tartar sauce and lemon, whereas Jessica Formicola says cocktail sauce or an avocado green goddess dressing are her favorites to accompany the creation.
Some fish aficionados even try homemade buffalo sauce to introduce new flavor profiles, or malt vinegar for a fish and chips style meal. The U.K. is also known for pairing traditional fish and chips with curry sauce. And if you like a little heat, remoulade is a popular option for seafood. You don't even have to pick just one option — try out a few and let your dining guests pick their own.
