10 Tips For Cooking A Burger In A Cast Iron Skillet, According To Chefs
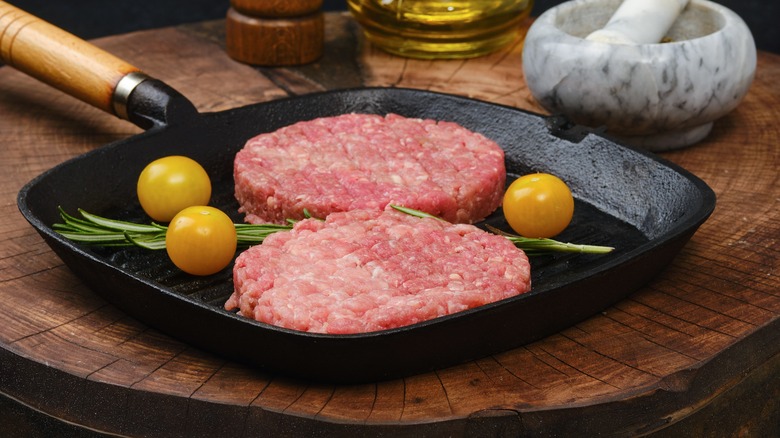
Burgers may seem synonymous with outdoor grilling, but even once the weather cools, you can get great results by relying on a trusty cast-iron skillet. "Cooking a burger on a skillet gives the user the ability to achieve a great sear and a delicious crust on both sides of the burger," says Stephen Parker, the corporate executive chef of Black Tap. "It is a great option whether you're making a smash burger or just cooking a classic burger."
If cast iron is so good at bringing you the perfect burger, it's in large part thanks to its ability to get ripping hot – up to 800 degrees Fahrenheit before the skillet's seasoning burns off. For executive chef Michael Clark of Flanker Kitchen + Sports Bar in Las Vegas, this propensity for holding heat makes a well-seasoned cast-iron pan the go-to for even cooking and a great sear. If you've never worked with cast iron before, the seasoning Clark is referring to involves regularly coating it with fat. Over time, the cast iron essentially becomes nonstick, for perfectly seared burgers that release easily.
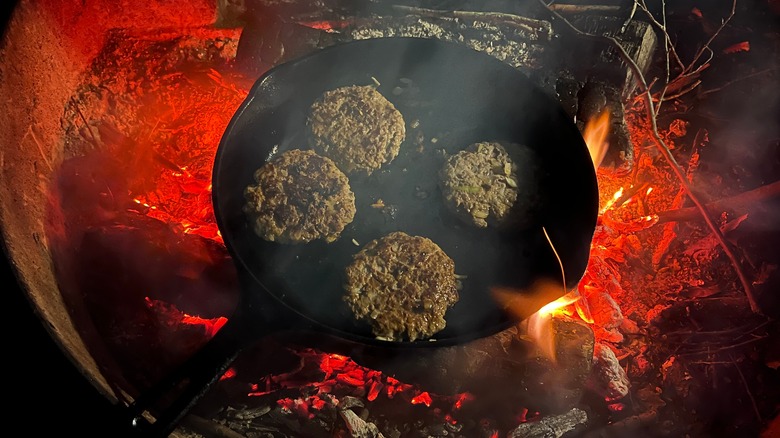
Once you've tried cast iron, you may never go back — even outdoors. "Personally, I prefer cooking with a skillet on an open flame — like camping," says chef John Warr, executive chef at Radisson Blu Mall of America. "It's a great way to combine the flame and iron for intense flavors!" Here are 10 other chef tips to take your cast-iron skillet cooked burgers to the next-level.
Be aware of the meat temperature
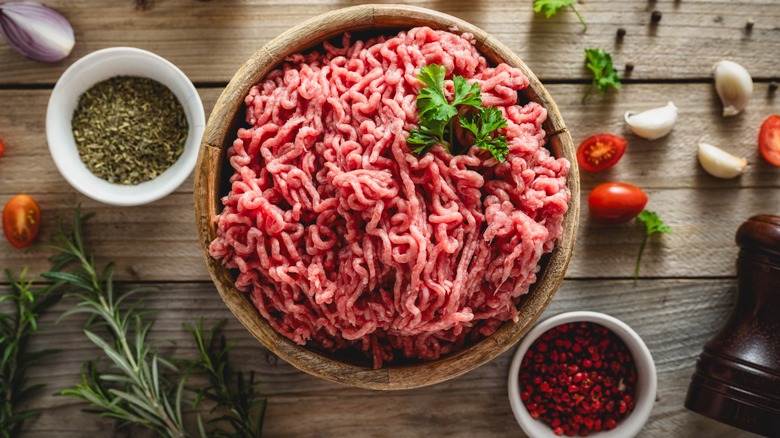
Step one of any burger recipe should always be the same: take the meat out of the fridge. Cooking cold burger meat — or any red meat, for that matter — can cause the fibers in the meat to contract, increasing the likelihood the meat will burn and leading to a burger that's tough rather than juicy and tender. Indeed, for chef and owner Andrew Lim of Perilla Korean American Steakhouse, burgers are always best when cooked from room temperature mince.
In addition to ensuring your meat is at the right temperature, Kory Foltz, executive chef at Sunseeker Resorts in Charlotte Harbor, Florida, says it's essential to pat it dry before putting it in the cast-iron skillet. "Remember getting a good crust is key to a great burger," he says. Added moisture on the surface of the meat will keep that precious Maillard reaction from doing its job, leaving you with a burger that's more grey than brown.
Use the right fat
If you're cooking burgers over very high heat — as well you should, if you're hoping for a nice, even char — it's essential to choose the right cooking fat. Different fats have different smoke points – the temperature at which an oil begins to burn and emit smoke. Modern science is beginning to contend long-time claims that oil heated at a very high heat could be carcinogenic. At the temperatures most home cooks are using, overheating a low-smoke-point fat at a high heat may cause the fats in them to oxidize, conveying burned flavors to your food — and no one wants that.
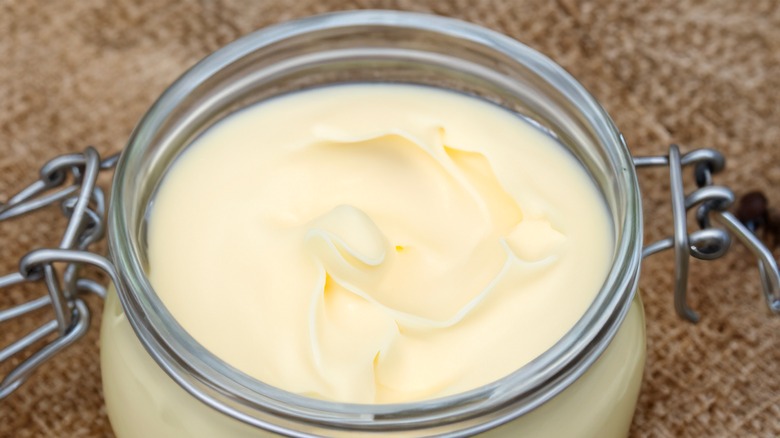
Instead, when cooking burgers in a cast-iron skillet, rely on high-smoke-point fats like safflower oil, peanut oil, or clarified butter to ensure you get the perfect char with no burnt flavors. Beef tallow is another great option to bulk up the beefy flavor of your burger.
Preheat the skillet properly
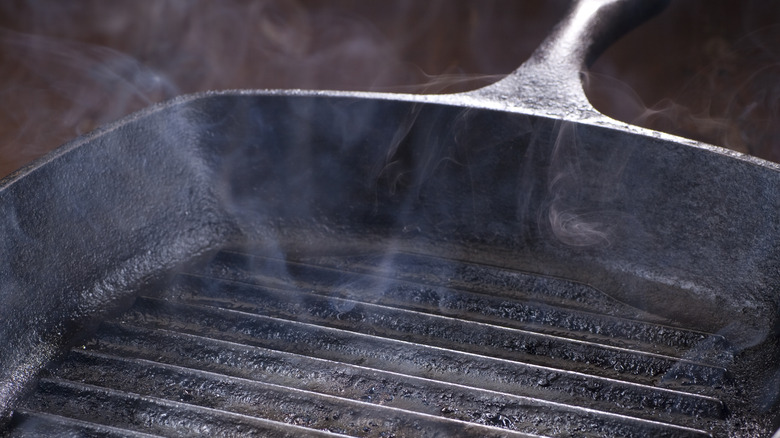
Your meat has come to room temperature, and you've decided what fat to use. It's time to let things heat up. And when we say heat, we mean hot. Your cast-iron skillet should be "smoking hot" before you even add the patties, according to Andrew Lim. "Not aggressively smoking, just a nice, light smoke starting to surface." Michael Clark echoes this, noting "you should start to see small wisps of smoke emanating from it" before you even think of putting in the burgers.
But rather than cranking up the heat, Kory Foltz recommends a more patient method of getting your skillet up to temp. "I would start over medium high heat," he recommends, "giving the pan enough time to come up to temperature." For those who prefer a more exact indication of how hot is hot, take Stephen Parker's advice: Grab your thermometer gun and ensure the skillet is at 375 degrees Fahrenheit before adding the meat.
Consider your seasoning

While you're waiting for the skillet to heat up, you'll want to give some thought to how you intend to season the burger patties — and for John Warr, generosity is key. "Don't be afraid of seasoning," he says. And this doesn't just mean being generous with the salt. "There is so much depth that you can bring to a burger beyond salt and pepper," he adds. "Up your seasoning game by adding cumin or even rosemary." You could even opt for a seasoning blend, like his go-to, which involves combining five different kinds of Lawry's.
Just as important as how you season your meat is when you season it. Adding salt to meat too early before cooking it can draw moisture to the surface, making it harder to get that perfect char. Warr recommends seasoning "right before the meat hits the pan," as does Andrew Lim. "I like to season it after the meat is tempered and the cast iron is smoking hot," he says. And when it comes to thin burgers, like smashburgers, Michael Clark waits even longer. "I season the side of the burger that will be seared first, then after smashing the burger into the pan, season the other side," he says.
To smash or not to smash?
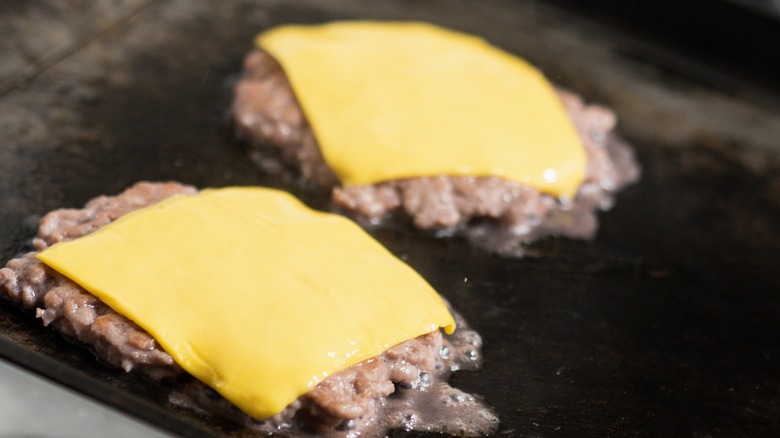
Smashburgers have skyrocketed in popularity of late, and for good reason: With a crispy exterior imparting loads of flavor, these dark brown burgers are all umami, all the time. And for Michael Clark, using cast iron for smashburgers is a no-brainer. "Smashburgers are best cooked in a cast-iron pan because of the great crispy crust you can develop on your burger patty which is what a smashburger is all about," he says. John Warr agrees, "Smashburgers are more about the flavor from the char, so cast-iron skillets are great because they can transfer a lot of heat and take on the seasoning from the cast-iron," he says. And given the intense, ripping hot heat they can reach, cast iron means that your smashburgers cook fast, for all the char you need without a dried out middle.
But that doesn't mean classic burgers with a juicy, medium center aren't just as tasty cooked in a skillet. For Andrew Lim, either one is at its best with the "nice, crusty exterior" cast iron so easily provides. Stephen Parker even goes so far to assert that classic burgers are even better in a skillet than on the grill, seeing as "it assists in keeping all the juices sealed in."
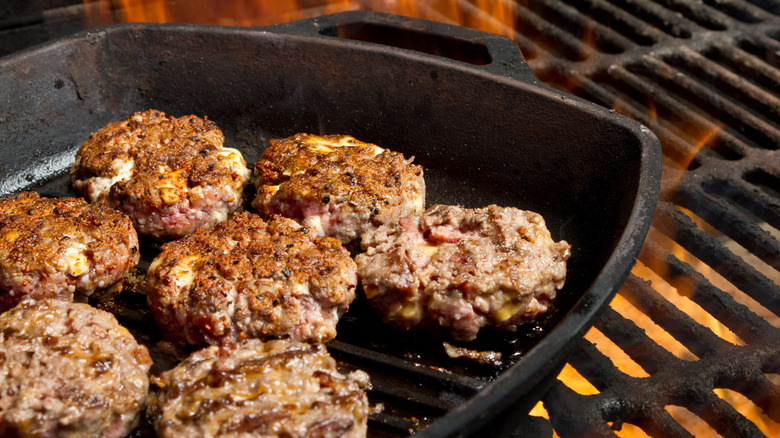
Don't touch it
The burgers are in the pan, they're sizzling and smelling great — it's tempting to peek underneath. Resist the urge: it'll be worth the wait. "Only attempt a flip or any movement once," advises Kory Foltz. "It will naturally release from the pan when it is ready." Peeking could not just cause your burger to come apart; it may also keep it from getting that sought-after char. Foltz adds, "Moving it or flipping it ... will cause overcooking and a dry burger."
John Warr agrees: "You shouldn't be flipping your patty a lot," he says. "When it releases from the pan, flip it but don't be tossing it around. The more beat up the meat is, the less juicy it can be." And to those who fear overdoing it, Warr offers reassurance. "A great sear on both sides will lock in the juices," he says. "Even a well done burger can be juicy!"
But there's no need to fear the spatula, according to Andrew Lim. "Try to get a nice sear on it," he says, "but moving it will not ruin the burger." And Michael Clark agrees, noting that if you've cooked your burger on the first side for "at least a minute," it's safe to "lift it up and take a peek ... If you see a crispy golden-brown crust has formed you are ready to flip," he says. "If not, let cook another 30 ... seconds until you develop a crust and then flip."
Cook the burger for the right amount of time
One thing that might help you resist peeking beneath your burger patty is having a general idea of how long it should cook for. But as with most things, the short answer, according to Andrew Lim is, "it depends." There are multiple factors at play, here; he cites not just the thickness of the burger but the quality of the meat. And John Warr notes that your preferred temperature also plays a role. "I prefer medium rare — a good amount of pink," he says.
That said, as a rule of thumb, for an 8-ounce patty of about 1 ¼ inches in thickness, Lim says three minutes per side should get you to "a perfect medium." Thinner, 3-ounce patties — including the beloved smash burger — need just a minute per side. And if ever you notice moisture pooling on top of the patty after flipping, take note: "Remove it from the heat," Kory Foltz recommends. "It is cooking too much."
Don't forget to rest
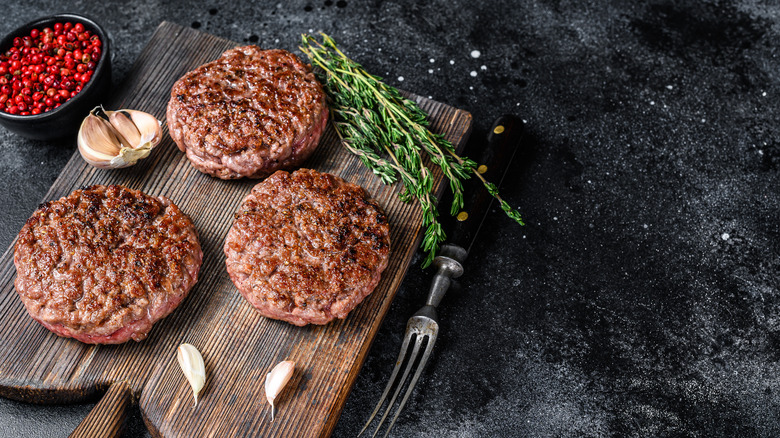
Not you — the burgers. While burgers certainly look tempting right out of the skillet, resist the urge to dig in right away. Just like a good steak or beef roast, burgers benefit from a bit of resting time, according to Andrew Lim. "It is always important to rest your meat," he says. "It allows the juices to settle and the inside of the meat to get happy."
John Warr recommends resting a burger "for at least five minutes." This step is essential, he says, for "locking in the juices." And Kory Foltz agrees, "With all red meat, always let the meat rest so the juices redistribute and settle," he says. "I've found the perfect amount of resting time is exactly the same amount of time it takes to prepare a flavorful adult beverage."
That said, there is one exception, according to Michael Clark: While resting is definitely recommended for thicker patties, with smashburgers, he contends, it's not necessary — though "never a bad idea."
Don't waste the fat
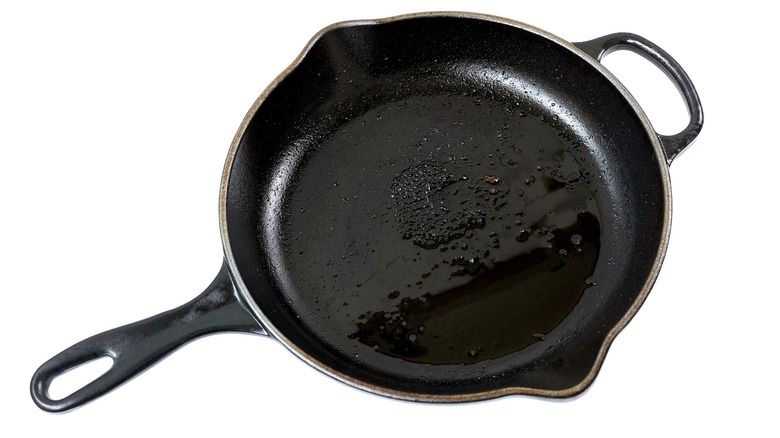
Cooking burgers in a cast-iron skillet can result in a lot of fat and juices left behind. They're culinary gold, which can be upcycled in a number of ways. "As long as it doesn't look or taste burnt, you can turn it into a pan sauce of sorts," says Andrew Lim. While John Warr suggests using it as cooking fat for burger toppings while the meat rests. "I love to caramelize some onions or sauté mushrooms — or let's be honest — both," he says. He advises that you can let your own creativity be your guide, charring tomatoes, green onions, and more. "Adding cumin to the burger and charring bell peppers is a fun take on a fajita burger," he says. "Your options are really endless." And even if you keep the toppings simple, Lim says you can drizzle this flavorful cooking fat over the burgers while they're resting.
But the fat doesn't need to be used right away. Much like bacon grease, it can be strained and reserved for another use, according to Kory Foltz. He suggests using it to make a roux to thicken soups or sauces, while Michael Clark likes using it next time he's grilling. "Brush your meats with the saved fat for an excellent flavor boost," he suggests. But perhaps the best way of using this fat is to care for the pan itself. "The residual fat can be saved and used to season your pan," says Clark.
Keep your cast-iron pan clean and seasoned for next time
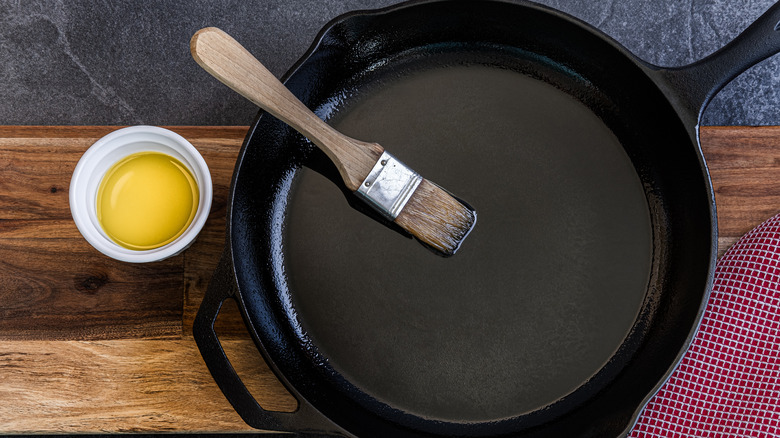
A well-cared-for cast-iron pan can last generations, but only if it's cared for properly, which starts with the proper method of cleaning it. "After each use I like to clean out my cast iron pans with kosher salt and a metal scrape like a putty knife," says Michael Clark. "The salt is both absorbent and abrasive so it will soak up the left-over grease and assist with scraping the pan clean." While some say soap and water should never touch cast iron, even when you're cleaning it, for John Warr, "there is nothing wrong with cleaning your cast iron with hot water," confirming, nevertheless, the preclusion against soap. He uses a store-bought scrubber like Scrub Daddy, throwing the washed skillet on a hot stove or grill to evaporate the water afterwards, which will keep the skillet from rusting.
Once the skillet is clean, it's time to move on to the final step — and it's one you definitely won't want to skip. "The most important thing with cooking in a cast-iron pan is making sure it is seasoned properly," says Clark, who notes that after cleaning the pan, it can be brushed with the leftover fats — or Warr's choice of avocado oil. Place it in the oven at 400 degrees Fahrenheit for 45 minutes to an hour, and it'll be good as new.