This Is How You're Ruining Your Frying Pans
Whether we're trying to perfect an at-home version of Popeye's Fried Chicken Sandwich or making a side dish of farmer's market fresh mushrooms sauteed in butter and herbs, chances are we're reaching for our trusty frying pan. But even if it's the most commonly used cooking vessel in your house, you might be surprised at some of the ways you're ruining your frying pans.
Not all pans are created equal. A heavy cast iron skillet needs different care than a nonstick grill pan. A brand new cast iron frying pan won't need as much TLC as one you might find at a thrift store or inherit from a relative. The way you cook with, clean, and store your frying pans can have a lot to do with how long they last. Whether you get lazy and put them in the dishwasher or use the wrong utensils for the job, luckily most of the ways that you might be ruining your frying pans are pretty simple to fix.
If you're tired of having nonstick pans with seemingly adhesive surfaces or warped stainless steel skillets that turn making dinner into a dangerous hot oil juggling act, these are the tips you need to make sure that your frying pans stay as nice as they were the day you got them. With the money you save on replacing your pans, maybe you can take a few cooking classes!
You put your frying pans in the sink when they're still hot
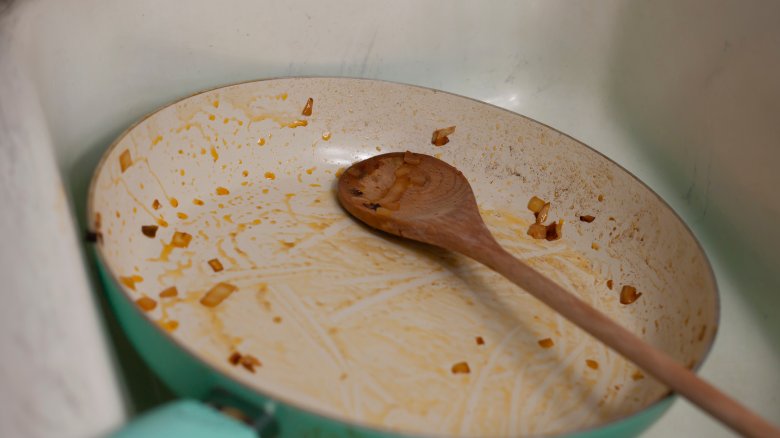
There's something strangely satisfying about the way a hot pan will sizzle when you put it in the sink after cooking, but it turns out that that very sound could be indicating that something bad is happening to your pan.
When you heat a pan slowly on a stove top burner, the layers of metal making up the pan gradually expand together. When you cool it down slowly, those layers contract gradually too. The problem comes when you introduce a screaming hot pan to cool water. The water can cause the outer layers of metal to cool down and shrink rapidly, while the interior layers stay hot and expanded, a phenomenon known as thermal shock.
When one part of your pan cools down faster than the rest, it can cause the pan to warp, chip, crack, or even shatter, something you need to be especially careful of if you're using a glass, ceramic, or a thin nonstick pan.
Instead of filling your pans with water to soak or placing them in a wet sink right after cooking, let them cool for a little bit on another burner or on a trivet. Once they've cooled down, you can use warm water to soak your pans (as long as they're not cast iron).
You use high heat with nonstick frying pans
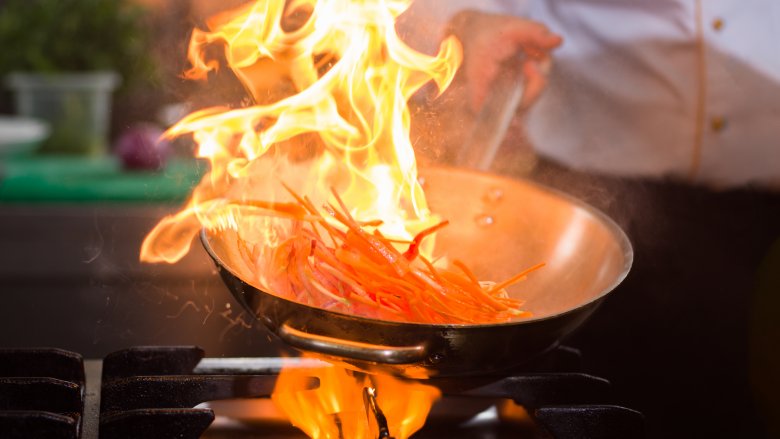
If you're cooking meat or veggies for your meal and want to get a good sear on them to help develop more flavor, it makes sense that you'd want to crank up the heat until your pan is screaming hot before you add your food. Knowing how foods can stick when you're trying to sear them, you might also decide to use a nonstick pan for this type of culinary endeavor. But using high heat with nonstick frying pans is actually one of the quickest ways to destroy them.
Nonstick pans are usually made up of layered metals that are then covered in a nonstick coating. When you use high heat (when the pan gets above 500 degrees), the chemical PTFE in the nonstick coating becomes unstable and the surface of your pan starts to deteriorate. At such high temperatures, your nonstick cookware can even release toxic fumes into the air in some cases.
That means that searing steaks and veggies can take a big toll on your favorite frying pan. Once the coating starts to deteriorate, the pan loses its non-stick magic. Instead of using your nonstick pan for every cooking venture, consider saving it for things like pancakes, eggs, and other foods that you cook gently over low or medium heat. This will help maintain the integrity of the nonstick surface, so your pan lasts longer.
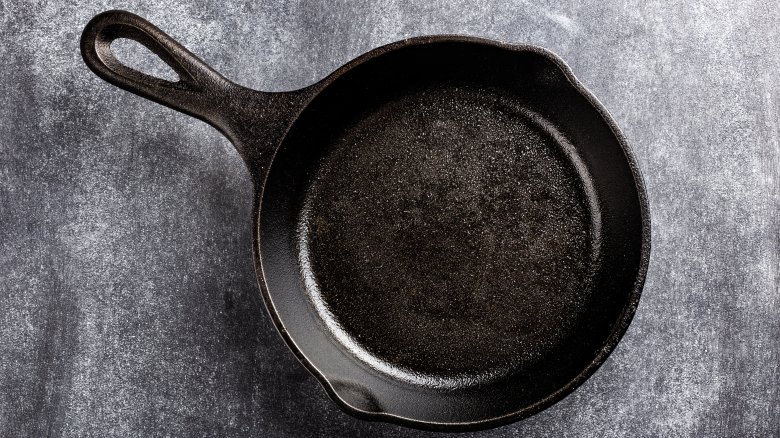
You soak your cast iron skillet
There are a lot of myths, legends, and untruths about caring for cast iron skillets. Some people say you can't clean them with soap (you can!) or that you shouldn't scrub them clean in case it chips the seasoning (hard to do with just a scrub brush), so it makes sense that, terrified of the alternatives, the next best thing would seem to be soaking cast iron. But it turns out soaking is one of the things you really can't do to your cast iron at all.
Soaking your cast iron pan can cause it to rust. Once your pan rusts, it's not ruined, but you do need to sand off the rust with steel wool and re-season the pan entirely, which is more work than most of us want to have to deal with after cooking dinner.
Instead of soaking your cast iron pan, fill it with hot water when you're done cooking (make sure the water is hot, so it doesn't damage your pan) and use a scrub brush to remove any stuck-on debris. If there are any stubborn bits remaining, use coarse salt as an abrasive to scrub the pan, or try simmering water in the cast iron pan until the stuck on bits soften and can be scraped out.
You use metal utensils with nonstick frying pans
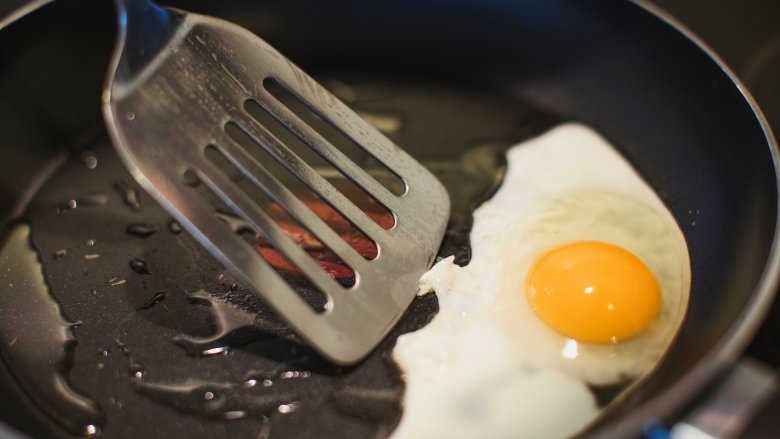
Nonstick frying pans are fragile. While they do cook things like crepes, eggs, and fish flawlessly without sticking, keeping that nonstick surface intact is harder than you might think. One false move, and the next thing you know your favorite nonstick frying pan is covered in scratches and no longer lets pancakes and the like effortlessly slide off its surface. So, how can you make nonstick cookware last longer?
One of the things you can do to ensure the surface of your nonstick pan stays smooth is to use wooden, plastic, bamboo, or silicone utensils when you cook.
Metal utensils can scratch and scrape the surface of your nonstick pan, eroding the coating. Likewise, you shouldn't use steel wool or other metal scrubbers when you're washing your nonstick pans, either. Instead, opt for a soft sponge or a scrubber that states that it's nonstick-safe on the packaging.
You should also keep in mind that, unlike heirloom cast iron pieces, nonstick pans only last for about five years. If you've been avoiding metal utensils and scrubbers and still notice scratches starting to appear, it might be time for you to replace your nonstick pan.
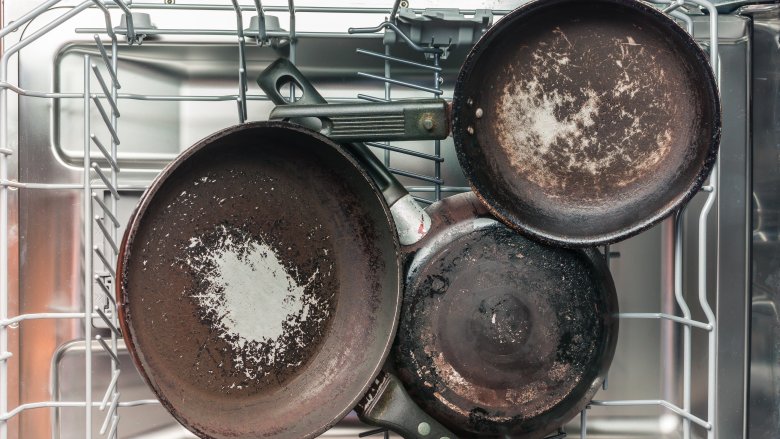
You put your frying pans in the dishwasher
At the end of a long night, when you've made a dinner that somehow used almost every dish you own, it's tempting to want to put your pans right into the dishwasher instead of getting up to your elbows in grease and soap bubbles. But if you succumb to the temptation of doing things the easy way, you could wind up ruining your pans altogether.
Stainless steel pans might be okay in the dishwasher, but copper pans can change color, nonstick frying pans can lose their nonstick abilities, cast iron can get damaged, and carbon steel, enameled cast iron, and aluminum frying pans can also all be damaged in the dishwasher.
There are a few reasons for this. The high heat of the wash water and steaming hot air dry can damage pans; the humid, damp environment can make your pans rust; and when the washer jostles everything around, it can cause stuff to scrape against or slam into your pans, denting or scratching them.
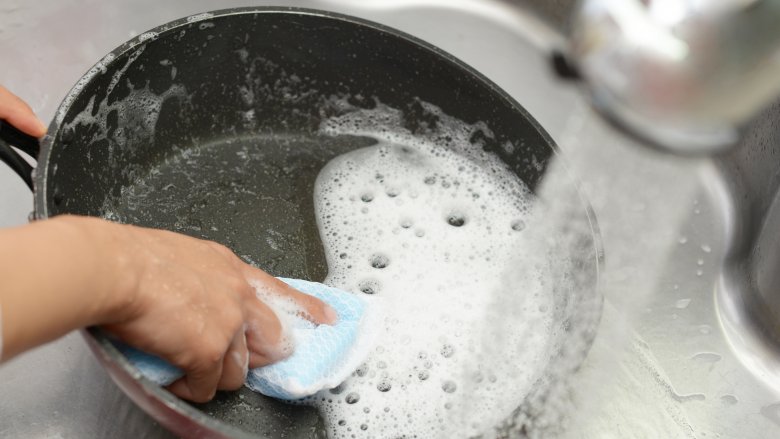
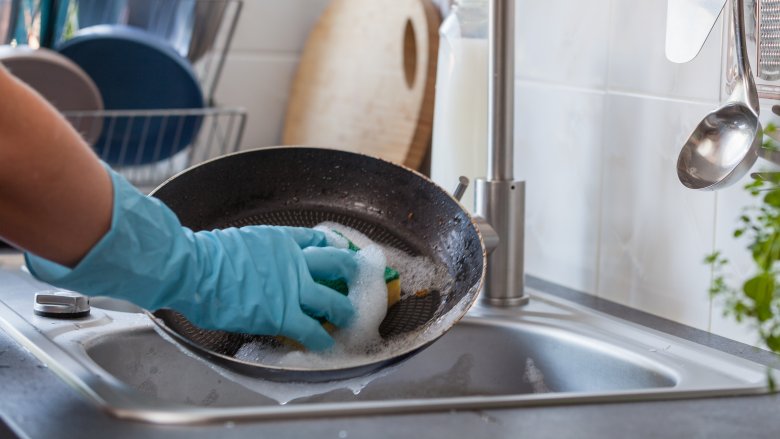
For best results, stick to washing your frying pans by hand, and drying them thoroughly when done. At least now you have an excuse to buy a fancy new set of dishwashing gloves!
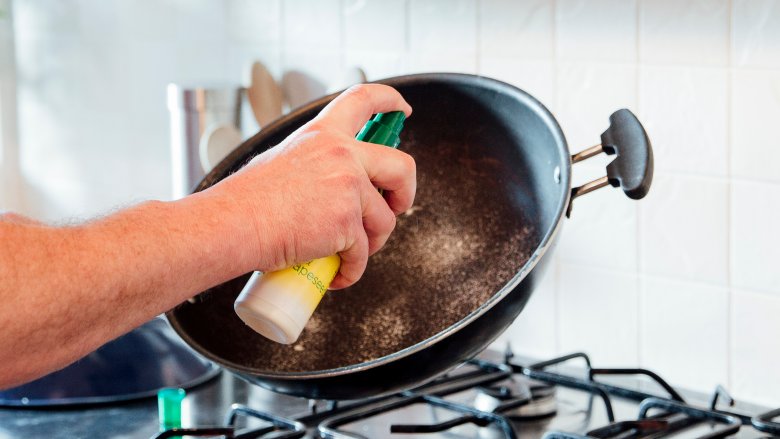
You use cooking spray with nonstick frying pans
A quick spurt of PAM or another cooking spray is the first thing a lot of us put in our frying pans before we start in on our recipe du jour. It's second nature. But using cooking sprays can actually make your nonstick pans stickier. What gives?
It's not the oil itself that's the problem. Cooking sprays are usually made with oil, but it's the other ingredients, like lecithin (an emulsifier), dimethyl silicone (an anti-foaming agent), and propane or butane (propellants that are what makes the oil spray from the can) that can start to ruin your nonstick frying pans. These ingredients build up over time, and when the lecithin is heated it can actually end up getting cooked into your pan, leaving a sticky residue that can make the surface of your pan tacky and, well, not nonstick.
Instead of using an aerosol cooking spray, try looking for a manual squirt bottle instead. That way you can use a thin layer of oil on your nonstick pans without having to worry about those sticky byproducts building up. If you don't feel like buying any special equipment, you can also just dip a paper towel in some oil and use that to coat your pan before you start cooking.
You aren't re-seasoning your cast iron skillet... or your nonstick frying pan
Most cast iron pans you buy these days are pre seasoned and ready to cook with, and nonstick frying pans can be used without any special treatment, too. But with both cast iron and nonstick frying pans, it's important to reseason the cooking surface to keep it just like it was when you bought it.
On cast iron, the seasoning is really a layer of fat that has polymerized, or fused with the surface of the pan, to create a plastic-like surface that's nonstick. When the surface begins to erode, it can be harder and harder to get things off of your pan.
To reseason cast iron, scrub it with a mild soap solution to remove any food particles and residue, and use steel wool to remove any rust spots. Dry the pan thoroughly, then coat it with a thin layer of oil, both inside and out. Bake in a 450 degree oven for about an hour, then let it cool in the oven, or repeat a few times to build up the polymerized coating.
You need to season your nonstick pans too, and luckily it's easy. Coat the inside of your nonstick frying pan with a thin layer of oil, then bake at 300 degrees for an hour. Wipe off the excess oil once your pan is cool, and repeat the process once every six months or so, or when you notice your pan is starting to stick.
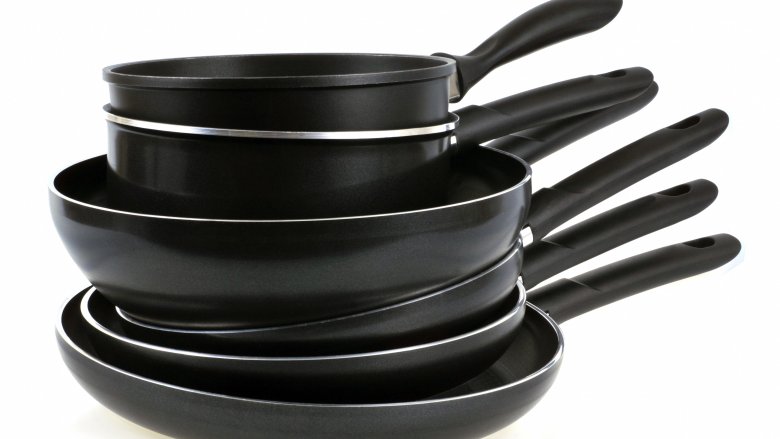
You stack nonstick and cast iron frying pans inside each other
If you have limited space in your home or have an apartment where you're not allowed to install pot and pan racks, chances are you usually stack your frying pans when they're being stored. It makes sense from a space saver perspective, but doing so can actually decrease the life of your cookware.
This is especially true with cast iron and nonstick frying pans. Stacking cast iron can scrape or chip the surface of your pans, especially because the material is so heavy. Nonstick pans can get scratched up when they're stacked, too, which can start to deteriorate the nonstick coating on the surface of the pan, leaving you with a skillet that your scrambled eggs stick to like glue, something no one wants.
Ideally, you'd hang your frying pans to store them, or set them in a cupboard in a single layer, but if you don't have the space (if you do, we're moving in), there's a way to make stacking your pans a little safer.
Before you stack a pan inside of another, put a double layer of paper towels, a piece of cardboard, or a potholder in the base pan. The second pan will nestle on top of the paper towel or pot holder, and the protective layer that will keep the surface from getting scratched. It will also help absorb any lingering moisture or oils that could degrade your pans or cause them to rust over time.
You aren't removing stuck-on food from your frying pans properly
When one of your favorite frying pans gets a gnarly spot of burned-on food, it's tempting to go after it with everything from steel wool to Comet, whipping out a butter knife for maximum scrapage if need be. Thankfully, it turns out that this amount of elbow grease often isn't necessary, a good thing considering the fact that such harsh measures can end up damaging your pans.
To remove stuck on food from pans other than nonstick, keep your frying pan on the stove. After you've removed your cooked food from the pan turn the heat up to high, and when the frying pan gets really hot add some warm water. You're basically de-glazing your pan, but this time for cleanliness' sake instead of flavor. When the water goes into the pan it should start to bubble, and that's when you should go to town with a wooden spatula, scraping up all of the blackened bits which should now be softened. Wash your pan as usual after you've scraped it, and it should be free of any grime.
Nonstick pans that are still functioning well shouldn't really get any food stuck on them, but if they do, hot soapy water and a nonstick-safe scrubbing pad are the way to go. Usually, though, a well-maintained nonstick pan should be able to be simply wiped clean with a paper towel.
You're putting the wrong frying pans in the oven
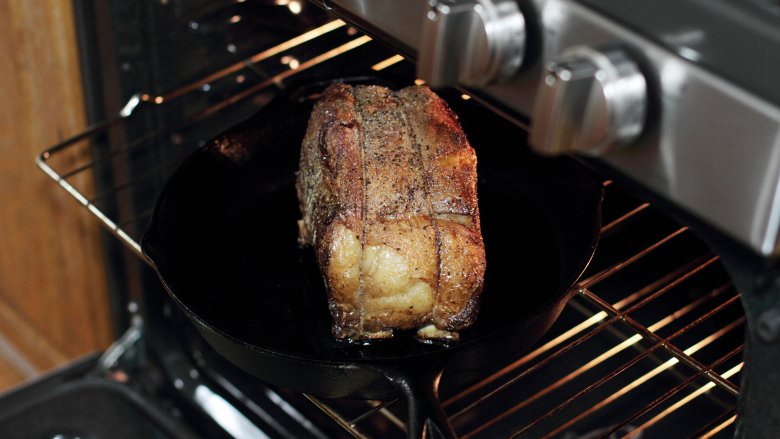
Pan roasting your food (searing it on the stove top and then moving your frying pan to the oven to finish cooking) adds flavor to your dish and helps ensure that cuts of meat are cooked to the proper internal temperature while still getting caramelized on the outside, but you need to make sure it's safe to put your frying pan in the oven.
If you're using cast iron, enameled cast iron, stainless steel, or carbon steel with handles made of the same material as the pan itself, you should be able to use those in the oven.
But if you're using nonstick pans, or if your pans have plastic handles, there are a few things you need to know.
For pans with plastic handles, the best way to preserve them in the oven is to wrap any plastic parts in a double layer of wet paper towels, which should then be wrapped in aluminum foil. The water prevents the plastic from getting above the boiling point of water (212 degrees), so a handle can be oven safe at a 425 degree oven for about an hour and a 450 degree oven for about a half hour.
For nonstick pans, you also need to make sure that they don't get above 500-600 degrees in the oven. At 500 degrees, the chemical PTFE in the nonstick coating becomes unstable, degrading the nonstick surface. For best results, check to see if your frying pans are oven-safe when you buy them, before attempting to put them in the oven.
You cook acidic foods in a new cast iron frying pan
The seasoning on a cast iron pan is actually a layer of polymerized oil which helps to keep your food from sticking to the pan when you're cooking, and also helps protect the metal that the pan is made of. So when this layer of seasoning begins to deteriorate, the food that you're cooking can come into contact with the pan's interior metal, discoloring you pan and making your food taste weird and metallic.
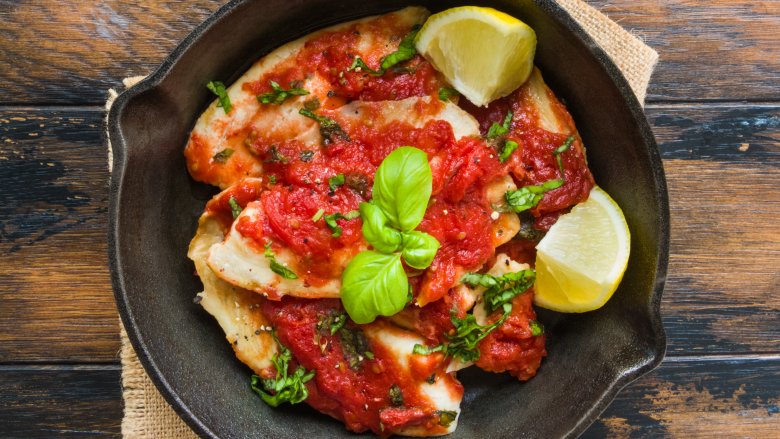
That's why, although you can cook acidic foods like tomato sauce or lemon chicken in your cast iron pan, you need to be strategic. Making these high-acid foods in a brand new cast iron pan that doesn't have a heavy layer of seasoning built up can leave you with a skillet that everything sticks to — and a dinner that tastes like spare change.
Even if you buy a brand new pan that claims to be pre-seasoned, it's a good idea to wait until you've additionally seasoned your cast iron a few times and cooked up a few batches of bacon in it to build up that polymerized layer before you move on to more acidic dishes like meatballs in marinara.

