12 Ways To Prevent Apples From Turning Brown
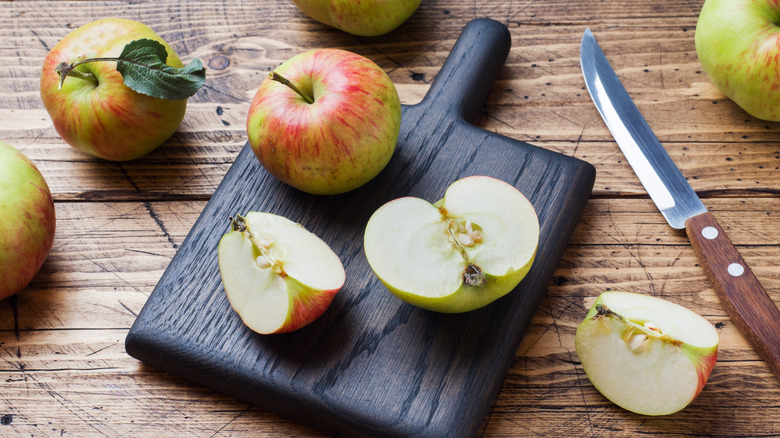
One of the most popular and versatile fruits, apples make the ultimate, fresh, crisp, and nutritious snack. But often, when we've sliced them into bite-sized pieces, they have a pesky habit of turning brown. This browning process can occur rather rapidly, giving them an unsightly appearance that makes them a little less appealing to tuck in to.
The culprits behind the discoloration of apples are chemicals called polyphenols, which react with oxygen in the air to cause browning. Once an apple is cut open, it takes only a couple of minutes for this reaction to occur.
Fortunately, there are several effective methods to keep your apple slices looking fresh and appetizing. Whether you're preparing apples for a lunchbox, a fruit platter, or your grandma's famous apple crisp, these tips will help you keep your apples bright and delicious. There are simple soaking solutions, effective storage methods, and more specific techniques like utilizing the antioxidant properties of ascorbic acid. So, have a browse through these handy apple preservation strategies, and find one that best suits your needs.
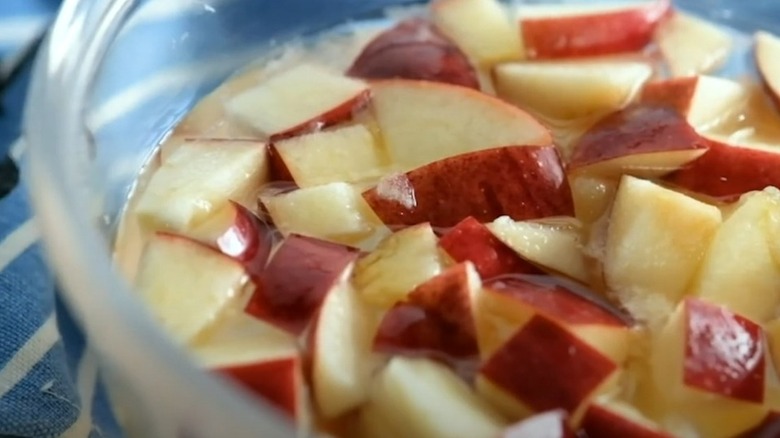
1. Put them in a bowl of plain water
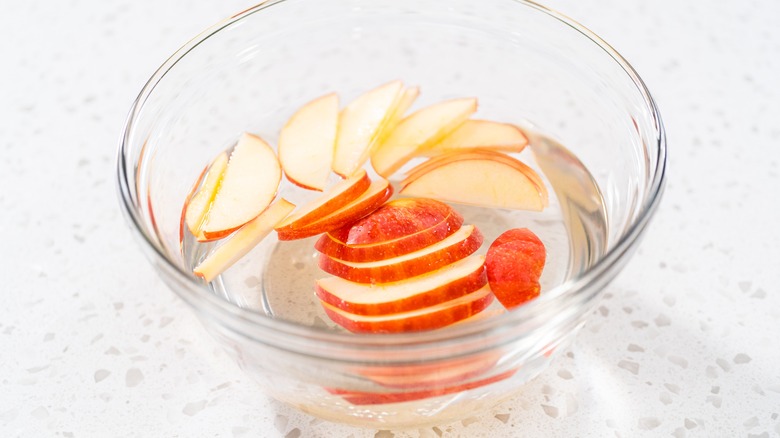
We're starting off with an incredibly simple, yet highly effective way to prevent apple slices from browning. For this one, all you need to do is pop the apples into a bowl of water, and watch how they remain pale and crisp, with no signs of discoloration.
This method works by reducing the apple's exposure to oxygen, which is the main cause of browning. When apples are submerged in water, the water acts as a barrier and prevents oxygen from reaching the fruit's surface, which slows down the reaction responsible for the discoloration.
To use this method, place your freshly cut apple slices into a bowl and fill it with enough cold water to cover them completely. You'll need to ensure that the apples are fully submerged, which can be tricky since they tend to float. A handy trick to keep them under the water is placing a piece of kitchen towel on top, which will get heavier as it soaks up water, and push the apple slices downwards.
This technique is especially useful if you're preparing a large quantity of apples for a recipe, such as for an apple pie or tart. As you work through the batch, just toss the slices into the bowl of water, keeping them there until you're ready to use them. This method is more effective in the short term, best used for apples that you plan to eat or cook within four to six hours.
2. Soak them in honey water
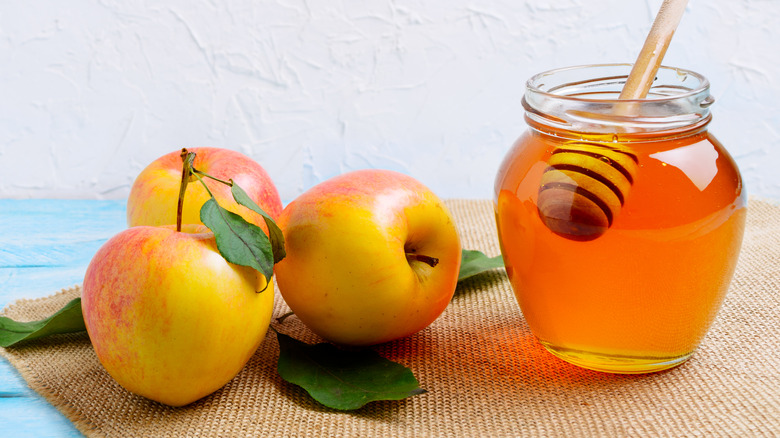
Another tried-and-tested method for keeping apples fresh is soaking them in honey water. Honey has natural anti-oxidant properties that can slow down the oxidation process and ensure your apples stay vibrant for longer. Using honey can also add a subtle sweetness to your apples, enhancing their natural flavor.
To prepare honey water, use one tablespoon of honey per one cup of water. Stir until the honey is fully dissolved, then add your apple slices and let them soak for about five minutes. After soaking, drain the apple slices and either serve them immediately or pop them into a plastic storage bag to use later. If you don't like the idea of the residual sweet honey taste, you can always rinse the apples after soaking too, which won't make this preservation method any less effective.
The great thing about this technique is that you don't have to leave the apples sitting in the liquid, as is recommended with the plain water method. All it takes is a brief soaking in the honey solution. Then, once drained, the apples should show no signs of browning for about 12 hours when stored at room temperature.
3. Soak them in cider vinegar and water
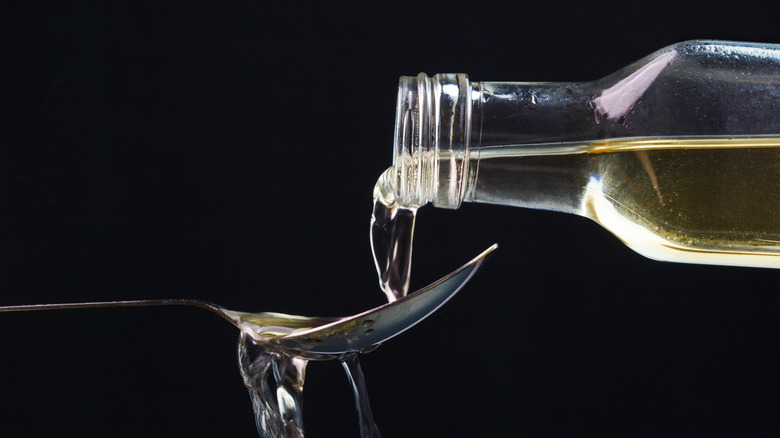
If you don't have honey on hand, cider vinegar is another simple ingredient that you can combine with water to make an effective apple-preserving soak. Vinegar's acidity helps to inhibit the oxidation process, meaning no unsightly discoloration. Another benefit of using vinegar is its antibacterial properties, which further aid in keeping the apples fresh.
To prepare the solution, add one tablespoon of cider vinegar per one cup of cold water into your bowl. Stir everything well, then place your freshly cut apple pieces into the solution, making sure they are fully submerged. Allow the apple slices to soak for about five minutes, then drain and rinse the slices under cold water to remove any residual vinegar taste. Now, you can serve them right away in various dishes, or store them for later.
This hack is a great one to opt for if you're preparing apple slices for recipes that require them to maintain their fresh appearance, perhaps for a crisp apple and walnut salad, or a grazing board that will be sitting at room temperature for an extended time period. You can also drain the apples without rinsing if you'd like to leave them with a slight tangy flavor.
4. Soak them in lemon and lime soda
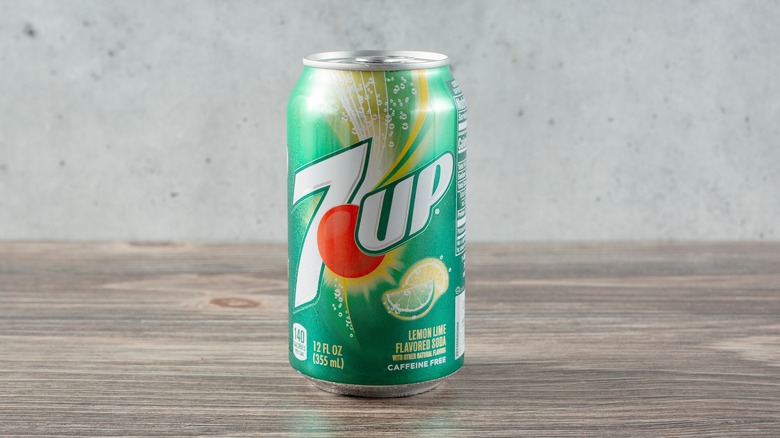
This method is a little more fun, and surprisingly effective too. If you have a can of lemon and lime soda knocking about in your fridge or pantry, it's time to put it to use. Soaking your apples in this fizzy drink will prevent browning, due to the citric acid present in the soda. Like other acidic ingredients, this will help to slow down that dreaded oxidation and inevitable discoloration.
With this method, you simply pour lemon and lime soda into a bowl and submerge the apple slices. Again, you'll need to let everything sit for about five minutes. But after soaking, you can drain them, rinse them, and store them in a plastic food bag for later. After using this hack, your apples should stay fresh and crisp for about six hours at room temperature. So, while not quite as effective as the honey water method, it's still a great way to extend freshness, especially if you don't have other natural preservatives on hand.
5. Soak them in lemon water
We've tried lemon soda, but how about something a little more natural? Plain old lemon juice can be another useful tool for preserving the appearance, taste, and texture of your apples. Again, it's the citric acid present in the fruit's juice that acts as the preserving agent here, and opting for this method can add a refreshing, zesty flavor to your apples too.
If you'd like to give this technique a go, juice some fresh lemons, and mix in a tablespoon of lemon juice for every cup of water in your bowl. After a good stir, add the apples and soak for five minutes. Then, as with the other soaking methods, you can drain and rinse the slices before serving or storing.
While this method is great for shorter term apple storage, it actually seems to be less effective than other soaking options, such as honey water or vinegar water. In a test carried out by The Kitchn, apples soaked in lemon water, then stored in a plastic bag at room temperature, started to brown after just three hours. Honey water, on the other hand, kept them fresh for four times as long.
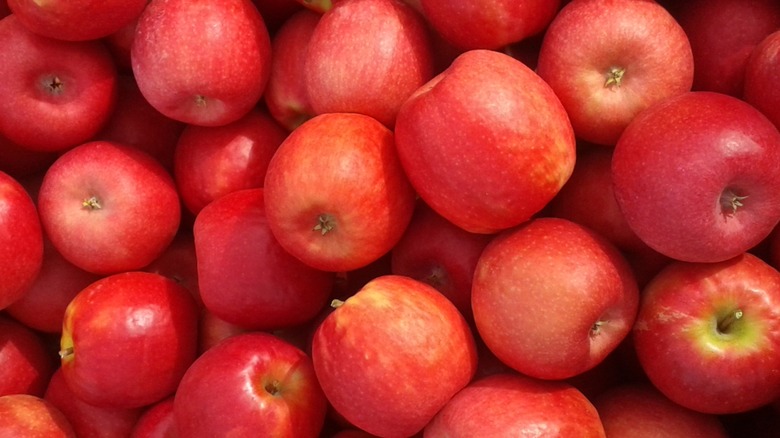
6. Pick a low-browning variety
The browning of apples is caused by a reaction between natural polyphenols in the fruit, and oxygen in the air. But, this reaction cannot take place without an enzyme called polyphenol oxidase (PPO), which is also naturally present in the apple. When we slice into an apple, this releases PPO, which then drives the oxygen-polyphenol reaction and leads to browning.
However, one unique variety of apple has been bred to produce none of the crucial PPO enzymes. When sliced and left exposed to the air, the Arctic apple remains its pleasing natural shade of off-white. This genetically modified apple was created by inserting an anti-PPO gene into the apple, and could provide an excellent solution to the ever-growing problem of food waste.
There is also some variation in the browning speed between more common varieties of apples, due to natural differences in the amounts of both PPO and polyphenols they contain. Low-browning apples will contain lower amounts of either PPO, polyphenols, or both of these compounds. Some examples of low-browning varieties include Pink Lady, Empire, and Cortland apples.
7. Soak them in salty water
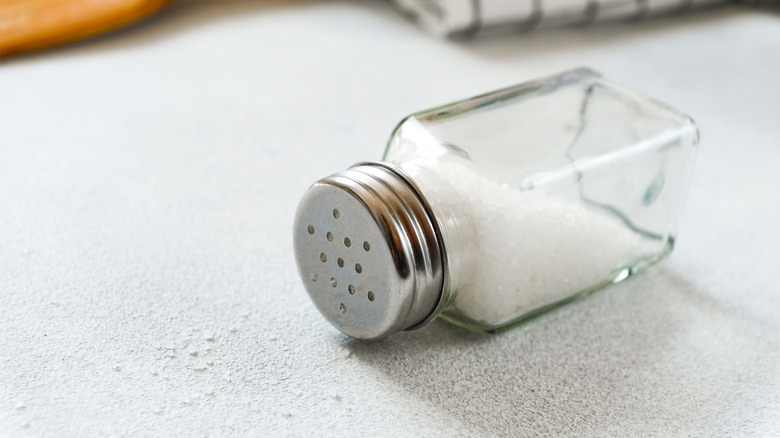
Salt is a potent preservative, used to keep all kinds of foods fresh, from meat and fish to pickles and salt. And, it's a fantastic tool to keep your apples from browning too. When we soak apples in salty water, the salt works to draw oxygen away from the fruit's surface, which prevents oxidation from occurring.
To use this method, start by mixing half a teaspoon of salt with a cup of cold water in a bowl, scaling this up as needed. Once you've stirred the mixture well to dissolve the salt, place the apple slices into the salty water and soak them for five minutes. Next, drain and rinse the apples under the tap before using, or storing for later. Rinsing will ensure that the apples don't retain any unwanted salty flavor.
This hack is super convenient, since it requires just one ingredient that you're pretty much guaranteed to have on hand in your kitchen at all times. It's also highly effective, with salt-treated apples staying fresh for up to 12 hours at room temperature.
8. Soak them in an ascorbic acid solution

Here's a technique that might bring back memories of school science experiments. Soaking sliced apples in an ascorbic acid solution is a brilliant way to prevent browning. Ascorbic acid, also known as vitamin C, acts as a powerful antioxidant that interferes with the interaction between polyphenols and the enzyme polyphenol oxidase.
Ascorbic acid typically comes in powder or tablet form. Using the powder to make a solution is generally easier, as this allows for more specific measuring, but you can also crush up whole tablets if needed. Some vitamin C supplements even come in a range of flavors, such as orange or lemon-lime, which can add a unique citrusy twist to your apples. It's recommended to add about two and a half teaspoons of ascorbic acid to every cup of water you're using to soak the fruit. Make sure to stir well to fully dissolve the powder. Then, add your apples and soak for five minutes. Rinsing is not recommended with this method, so simply drain them and store the apples as preferred.
This ascorbic acid method frequently comes out top in anti-apple browning experiments, having demonstrated its ability to keep apples fresh and vibrant for up to 48 hours after soaking, even when stored at room temperature.
9. Use an elastic band to hold the slices together

Another ingenious hack that can prevent apple-browning, and one that doesn't require soaking in a liquid, features the humble elastic band. That's right, grab one of these and use it to hold your slices of apple together, and you can dramatically slow down the oxidation process that causes browning.
First, make a slice down one side of the apple, keeping close to the core, then cut along the other side of the core so you have one central section, and the two side sections. Now, hold the side sections back against the core, as if forming a whole apple again, and make two more cuts at a 90 degree angle to the others, again on either side of the core. You should now have 8 bite-sized apple pieces surrounding the core. Next, carefully reassemble the apple by holding all of the pieces together, and place an elastic band around them to hold everything firmly in place.
This technique works by preventing exposure of the apples inner flesh to the air, which slows oxidation. It's a great one to use if you're packing an apple in your lunch box, serving as a super quick prep method that won't slow down your morning, but will keep your fruit looking appetizing for longer.
10. Keep them in an airtight container
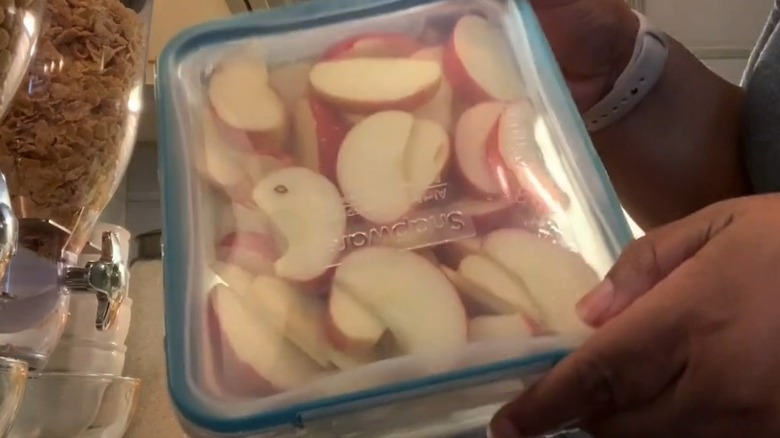
After you've used one of the above methods to keep your apples looking fresh for as long as possible, the way you then decide to store them will also impact the speed at which they brown. If you're not using the apples right away, for snacking or adding to a recipe, your best bet is to store them in an airtight container.
Two great options are placing the treated apples into a plastic, zip-up food bag, or into a sealed, lidded container. If using a bag, try and squeeze as much air as possible out of the inside before sealing it up. This will reduce the apples' exposure to the air, and the oxygen that's responsible for driving the browning process.
Compared to simply leaving them out exposed to the air, placing apples into a bag or container after soaking or treating them can dramatically extend the time they take to start browning, though this will depend on the specific preservation technique you have opted for.
11. Use plastic wrap
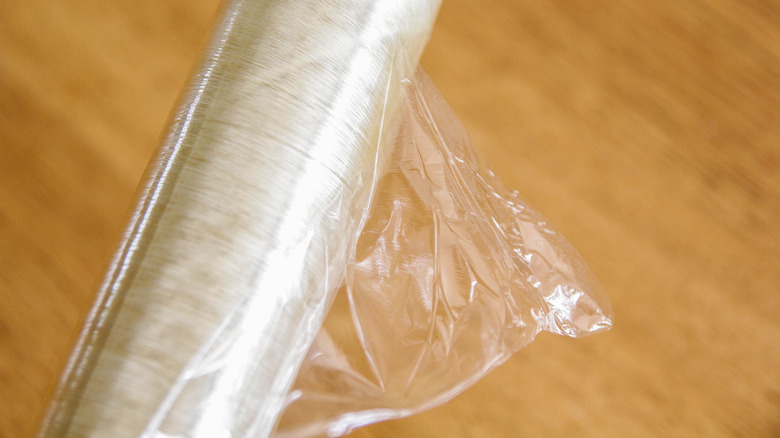
If you don't have a spare food container or bag handy, you can also use plastic wrap to keep your apples fresh. This can help to limit the fruit's exposure to oxygen by creating a barrier between its surfaces and the air.
Select your apple preserving method of choice, such as soaking them in one of the solutions suggested above. While they're sitting in the liquid, you can get the plastic wrap ready by laying a sheet of it out on the countertop. Once the apples are done soaking, drain them, followed by a quick rinse if required. Then, you can place them directly onto the plastic wrap, and fold the sheet tightly around the fruit. Make sure everything is nice and secure, so no air can enter easily.
You can store your wrapped apples at room temperature until you're ready to use them, which should preferably be on the same day. If you want to keep them for longer than this, you'll need to put them into the fridge.
12. Put them in the fridge
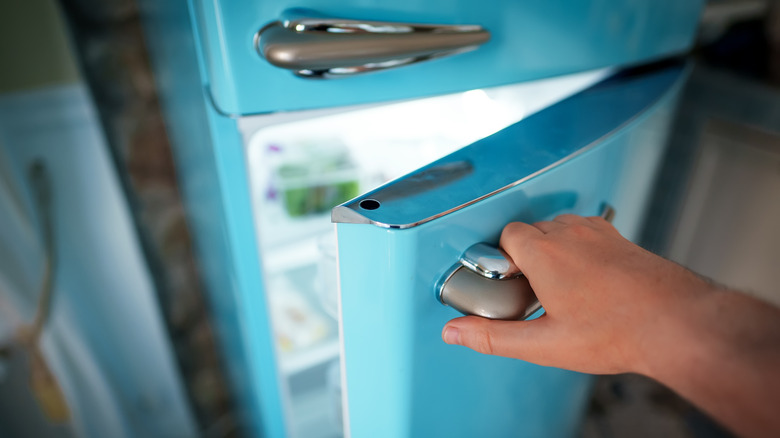
Once you've treated your apple slices and wrapped them or popped them safely into an airtight bag or box, you can store them at room temperature if you intend to use them on the same day. However, if you want to extend their freshness further, it's a good idea to place your apples into the fridge.
When paired with one of the methods above, refrigerating apple slices will also aid in slowing that unwanted browning. This is because cooler temperatures can work to reduce the activity of polyphenol oxidase, the enzyme responsible for oxidation. Ensure that the temperature of your fridge is set to between 34 to 40 degrees Fahrenheit and put your prepped apples into the crisper drawer for best results. Using this method, they should stay fresh for between three to five days.
Chilling your sliced apples is the best way to make the most of these handy anti-browning techniques, and can be particularly useful for meal prep, school lunches, or when you need to prep apple slices ready for use in recipes later in the week.