12 Tricks Chefs Use To Get Perfectly Caramelized Onions Every Time
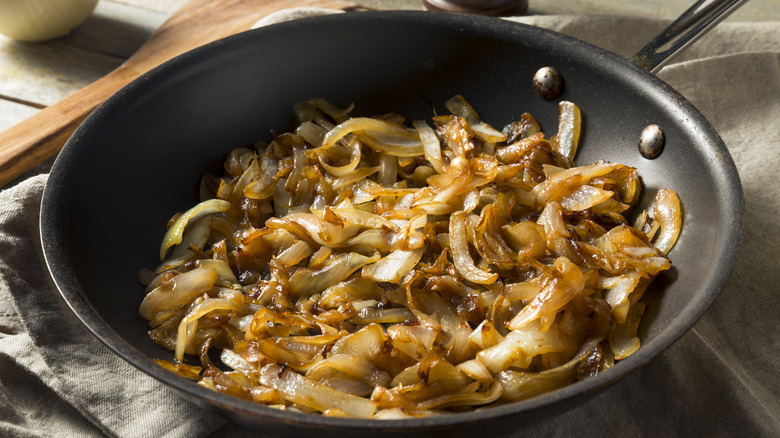
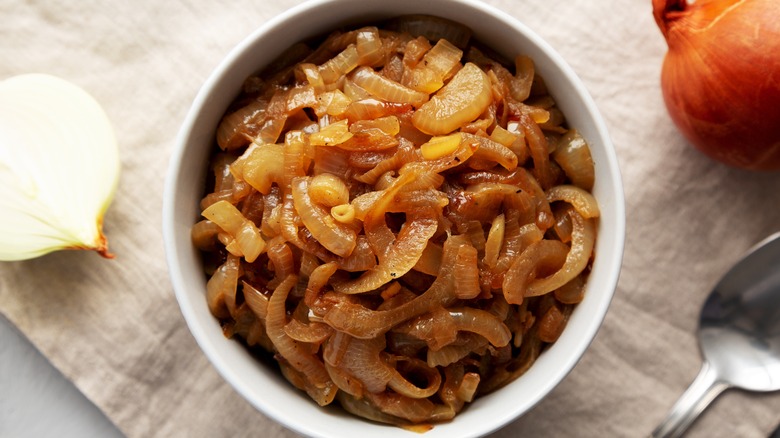
There's something oh so moreish about perfectly caramelized onions. Those sweet, golden strands of aromatic deliciousness can bring heaps of flavor to a simple dish, adding depth and aromatic flavor to everything from burgers and steaks to soups and stews. However, achieving that perfect caramelization does require some specific techniques.
If you've ever faced the frustration of ending up with burnt, bitter, or unevenly cooked onions, we're here to help. The good news is that with the use of a few key tips and tricks, you can master the art of caramelizing onions and consistently achieve delicious results.
For this article, we consulted some expert chefs, and now we're bringing you the very best tips for getting perfect caramelized onions every time. We'll cover everything from which type of onions to select and the best equipment to use to specific cooking methods and lesser-known tricks that can make all the difference. Whether you frequently whip them up at home, or are a complete caramelized onion novice, these simple techniques are easy enough for anyone to try, and will ensure you unlock the full potential of this delicious veggie.
1. Use a large skillet
A vital factor in achieving perfectly caramelized onions is choosing the right skillet. According to Nick Zocco, Executive Chef at Urban Hill, using a large, heavy-based skillet is your best bet. He advises using "something that has a thick steel bottom that can withstand heat up to at least 500 to 600 degrees." There are a couple of key reasons for this. Firstly, a large skillet provides ample surface area for the onions to spread out, ensuring that they cook sufficiently and evenly. Secondly, a heavy-based skillet heats more evenly and maintains a consistent temperature, preventing hot spots that can cause burning. Chef Zocco adds, "Don't use cheap non-stick pans — it's worth spending the money on a pan that will last for years of use."
When you use a smaller or lighter weight skillet, the onions tend to crowd, which traps moisture and leads to steaming rather than caramelizing. This results in softer, less flavorful onions that lack the rich, golden color and deep sweetness of sufficiently caramelized ones. The roomy surface area of a large skillet allows the onions to sit in one single layer, giving them space to release their moisture and develop that all-important caramelization.
To start cooking your caramelized onions, place your skillet over medium-high heat and give it a few minutes to warm up. Once the skillet is hot, add your fat of choice and then your sliced onions. The onions should sizzle gently as they hit the pan.
2. Opt for Vidalia onions
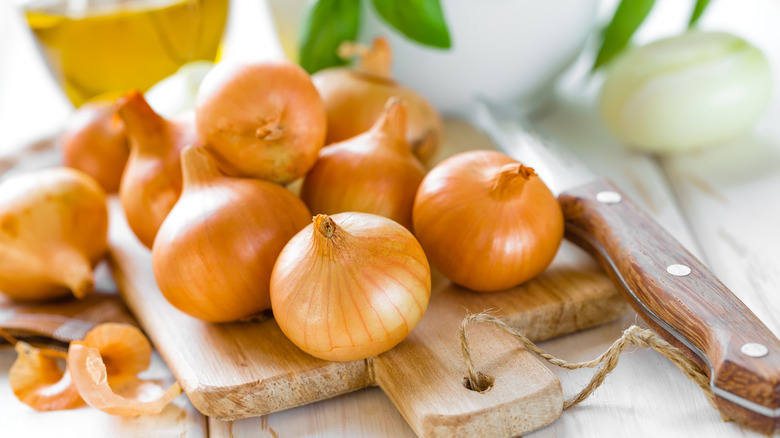
Onions come in a variety or different shapes, colors, and sizes, so which is the best one to choose for making a batch of perfectly caramelized onions? We consulted Kyle Swartzendruber, Executive Chef at Soby's New South Cuisine, on his go-to variety for making caramelized onions. He responded, "My favorite onion to use is a Vidalia, or sweet, onion. I prefer this kind because these onions tend to have more natural sugars. This ensures that you are going to get sweet, caramelized onions without adding sugar."
Vidalia onions are the gold standard for caramelization because they have an excellent depth of flavor, and more sweetness than other varieties. Other types of onions, such as red, white, or yellow, or even shallots, can absolutely be used, but using Vidalia onions will guarantee you a rich and satisfying flavor once caramelized.
If you opt for a different variety of onion, you can still achieve that same wonderful level of caramelization, but the flavor profile will just be a little different. On the other hand, caramelized white onions would have a slightly more tart and savory taste, while red onions will provide some gorgeous vibrant color. If you'd like to achieve a mixture of different colors and flavors, you could absolutely combine a few different onion varieties together in one batch.
3. Slice the onions thinly
An import aspect of your caramelized onion prep is how you slice up the onions before adding them to the skillet. When it comes to caramelizing, large chunks or diced up pieces of onion won't quite give you the same result as sliced up strands. For caramelized onion perfection, you'll want to slice the raw veggies up thinly and evenly.
Thinner slices of onion will cook evenly and caramelize faster than chunkier cuts, and result in a melt-in-your-mouth texture. However, it's also possible to slice them too thinly, which could result in the onions burning or sticking to the pan. To ensure that every piece reaches that beautiful golden-brown shade and jammy texture, follow the guideline of making each slice approximately ⅛ inch thick.
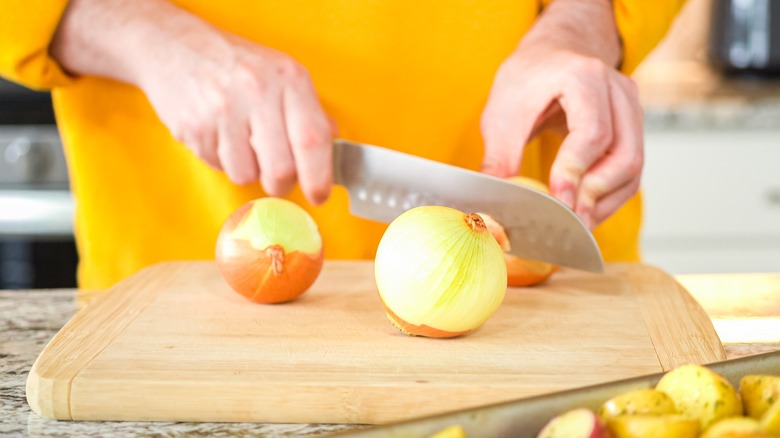
To slice your onions, start by cutting off the top and bottom ends and removing the outer skin. Using a sharp chef's knife will help you to slice with ease. Next, cut the onion in half from top to bottom. Lay each half flat on your cutting board and slice from top to bottom, aiming for those ⅛ inch thick slices. Slicing in this direction will help the onions to hold their shape and not fall apart too much during cooking.
4. Use a combination of oil and butter
Is oil or butter best for making caramelized onions? It's a contentious question, and the reality is that both types of fat have some excellent properties which make them great choices for browning those delicious aromatic slices. For this reason, we recommend using a combination or both oil and butter in your next batch.
Using butter for your caramelized onions will add a rich, creamy flavor, which will contribute more strongly to their overall sweet and savory flavor profile than oil can. However, butter alone has a relatively low smoke point, meaning it can burn quickly if used as the sole source of fat. This is where oil comes in. Adding a dash of olive oil or vegetable oil, which have higher smoke points, can help to stabilize the butter, preventing it from burning during the long cooking process required for caramelization.
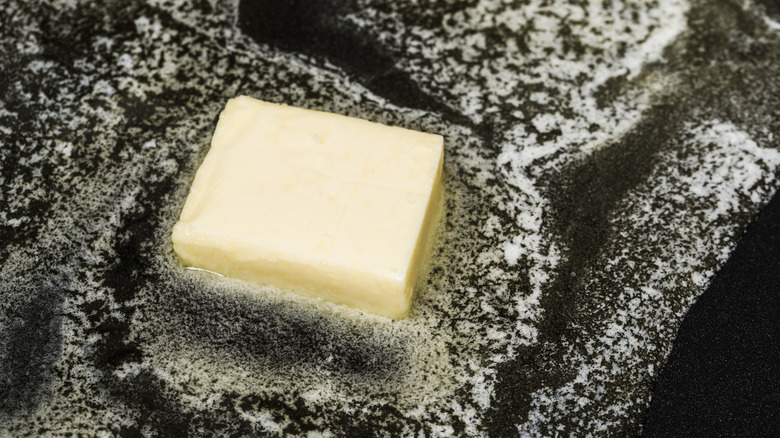
Once you've heated your large skillet on the stovetop, add about 1 tablespoon each of butter and oil. Let the butter melt completely and the mixture heat up before adding the onions. This combination of fats will ensure that the onions cook evenly, develop a rich, golden color and delicious, balanced flavor, all without burning or sticking to the pan.
5. Don't overcrowd the pan
To ensure your onions caramelize nice and evenly, something important to keep in mind is the number of onions you're adding to the skillet. If you add too many onions to the skillet at once, they release a significant amount of moisture. This excess moisture causes the onions to steam rather than caramelize, resulting in a softer, less flavorful end product.
To avoid lackluster caramelized onions, use a large skillet and spread the onions out in a single layer. An ideal amount is two large, sliced onions in one 12 inch skillet. If you have more onions than can comfortably fit in your skillet, it's better to cook them in batches rather than overcrowding the pan.
As the onions cook, they'll shrink significantly, releasing their moisture and concentrating their sugars. In fact, they will decrease in volume by approximately ⅔ by the end of the caramelizing process. By giving your sliced onions enough space to cook down together in one even layer, you can be sure that they'll brown perfectly and develop that deep, sweet flavor.
6. Cover the skillet
One of the most appealing characteristics of caramelized onions is their tender, jammy texture. Ensuring that the onions soften significantly is a vital part of the cooking process, and covering the pan or skillet can help with this.
If we place a lid onto a pan, the steam produced during cooking gets trapped in. When it comes to onions, this steaming helps to soften them up. Now, we don't want the onions to be steaming for the entire duration of cooking, as this won't help them achieve that desired golden brown, flavorful finish. So, knowing when and how long to cover the pan is key to achieving the best results.
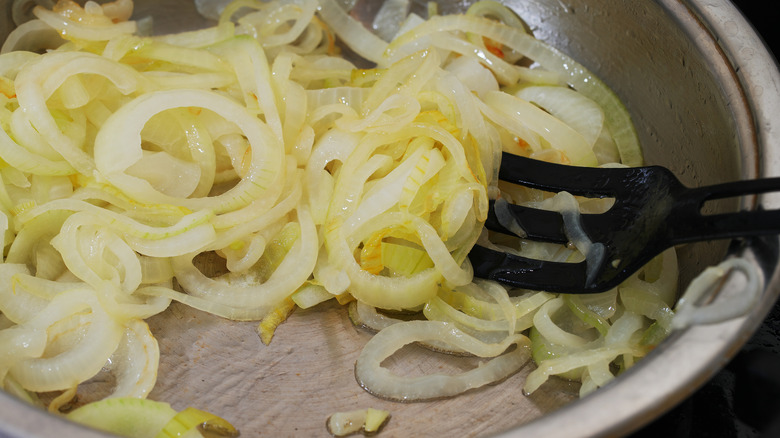
Once you've added the onions to the hot pan right at the beginning of cooking, now is a great time to add a lid. During this initial stage, the goal is softening up the onions, and this will happen more quickly and evenly if you trap in that steam. Then, once everything has softened up nicely, which should take about 10 minutes, remove the lid to allow the moisture to evaporate away. You can then focus on the browning stage.
7. Add some sugar and salt
The majority of that amazing flavor profile that caramelized onions possess comes from the vegetable itself, but there are a couple of simple add-ins that can enhance their deliciousness even further. When we asked Chef Nick Zocco how best to enhance the flavor of caramelized onions, he told us, "I like to add a little bit of salt which helps develop the [caramelization] process a little quicker (...) and results in a nice brightness and umami to the onions."
Salt plays a crucial role in drawing moisture out of the onions, which is what we need to get that caramelization going. You'll want to add this early on in the cooking process, as the salt will help to speed up the initial softening stage. This moisture released prevents the onions from burning and sticking while the heat is slightly higher. We would suggest adding half a teaspoon of salt per three onions cooked.
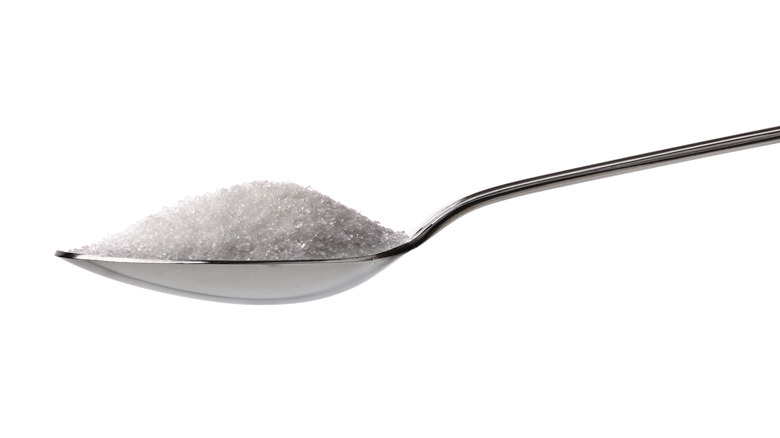
To help balance out the added saltiness, there's also the option to incorporate a little sugar into your caramelized onions. This can intensify the natural sweetness of the onions themselves, and enhance the browning process, too. But a little goes a long way. Chef Kyle Swartzendruber advises that adding sugar to the onions can speed up the caramelization process, but warns "the added sweetness can be easily overdone." So, to make sure you don't overpower the onions, add no more than 1 teaspoon of sugar per three onions.
8. Use the low and slow technique
Perhaps the most important technique for achieving perfectly cooked caramelized onions is using the "low and slow" technique. As the name suggests, this method simply refers to cooking the onions over low heat for an extended period of time. Executive Chef Nick Zocco is an advocate for this technique, telling us, "Low and slow is key! Onions need to release [their] water content slowly so that the sugars and amino acids can develop into a 'caramel'." He emphasizes that patience is essential here, and how rushing the process will likely result in disappointing onions. According to Chef Zocco, "If you start your onions in a super hot pan, they can caramelize too quickly which burns the sugars in the onion before they have time to develop into the creamy, sweet, and luxurious texture and flavor we want."
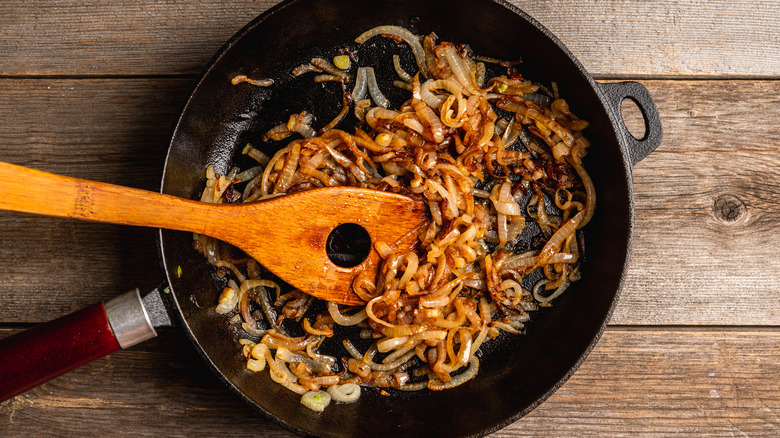
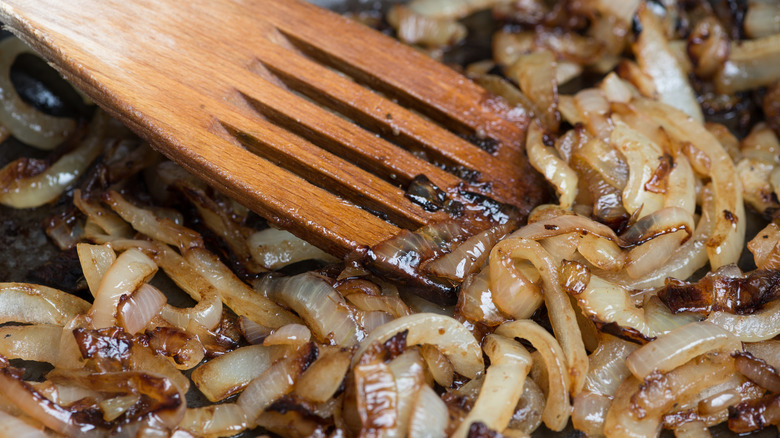
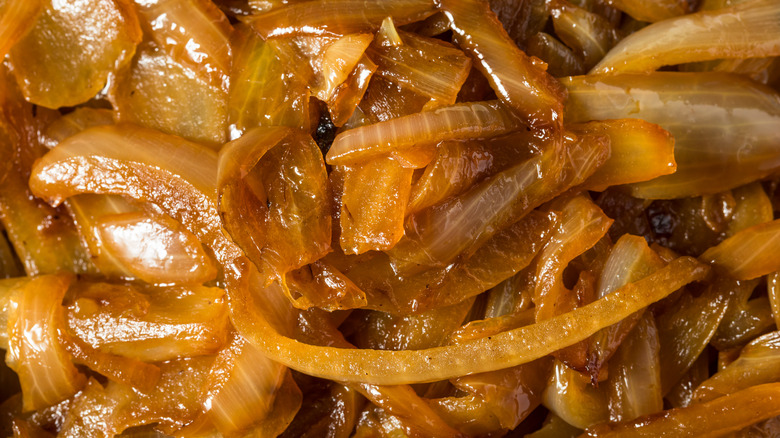
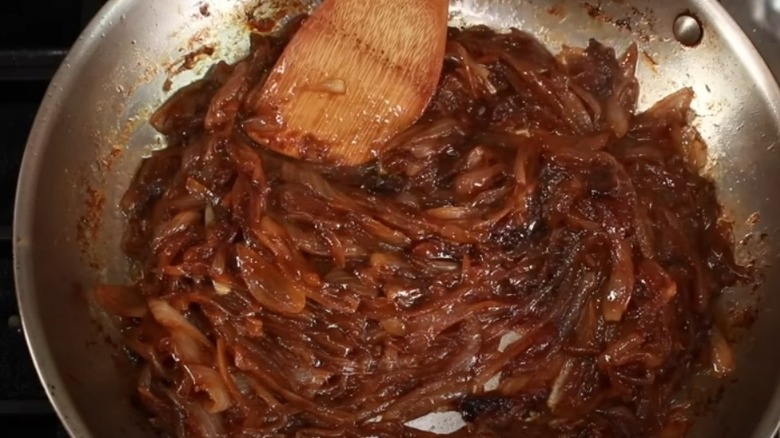
During the early stages of cooking the onions, using a medium-high heat is absolutely encouraged to help with the initial tenderization. But after this stage, prepare to be in for the long haul. After sautéing the onions for 10 minutes or so, it's time to turn the heat down to medium-low and let the caramelization begin. This process should take between 50-80 minutes, and it's important to give the onions a stir every few minutes or so to ensure even cooking. During this time, you'll notice the onions gradually transform from the raw, white slices to golden-brown, sweet, and tender strands.
9. Add a little baking soda
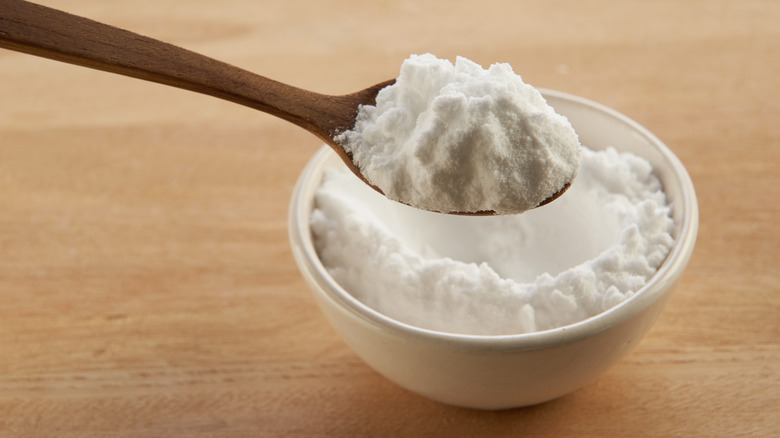
Cooking onions low and slow is of course the traditional method for ensuring the ultimate flavor and texture, but if you're short on time and want to speed up the caramelization process, there's an unexpected ingredient that can come in handy. Adding a pinch of baking soda to your onions at the start of cooking can drastically reduce the cooking time required to achieve caramelization.
Baking soda raises the pH level of the onions, which accelerates the Maillard reaction — a chemical process responsible for browning and flavor development. It also causes the cell walls of the onions to break down more rapidly, leading to onions with a softer texture. This means you can achieve perfectly caramelized onions in a much shorter amount of time of around 10 to 15 minutes.
However, make sure to use baking soda sparingly. If you use too much, this could impart an unwanted flavor into the onions. A tiny pinch of about an ⅛ of a teaspoon per pound of onions is all you'll need. Keep in mind that these speedy baking soda-enhanced onions tend to have a slightly softer, mushier texture than those cooked in the traditional way.
10. Stir them frequently
As with most dishes cooked in a skillet, keeping a watchful eye and stirring frequently is key when making caramelized onions. This will encourage even cooking, prevent burning, and helps the onions release their natural sugars for that wonderfully sweet and aromatic flavor you're aiming for.
When you start cooking the onions, they will initially release a lot of moisture. Stirring frequently helps this liquid to evaporate so the onions don't become mushy. It also promotes even cooking since all sides of the onion slices should get a chance to come into direct contact with the hot pan and brown up. Stirring will also prevent any onions from sticking to the bottom of the pan and burning. Aim to stir the onions almost constantly during the early sautéing stage, and every few minutes during the "low and slow" caramelization stage. This way, they should develop a uniform golden brown color, flavor, and texture.
11. Deglaze the skillet
A simple technique that can really give your caramelized onions the wow factor is deglazing the skillet. This involves adding some liquid to the hot pan to dissolve the flavorful browned bits (known as the fond) that get stuck to the bottom.
Deglazing ensures every bit of that rich, caramel flavor gets incorporated into the onions, and isn't instead left sitting in the skillet. The best time to deglaze the pan is at the end of cooking, once the fond has had plenty of time to build up, though you can also do this at any point throughout cooking if you notice that some of the onions are sticking to the bottom.
Executive Chef Kyle Swartzendruber's deglazing liquid of choice is vinegar to bring some balancing tang to the onions. He explains, "The vinegar, as an acid, acts as a flavor enhancer while releasing all that added color and flavor that [has] married to the pan." You can also use various other liquids to deglaze your onions, depending on how you'd like it to impact the flavor. Water will not affect the taste, allowing the natural sweetness of the onions to shine, while chicken broth can add a deeper savory flavor.
To deglaze, add a few tablespoons of the liquid, then start scraping the fond from the bottom of the pan, stirring it back into the onions. Then, continue to cook the onions until the liquid has evaporated and the onions have absorbed the additional flavor.
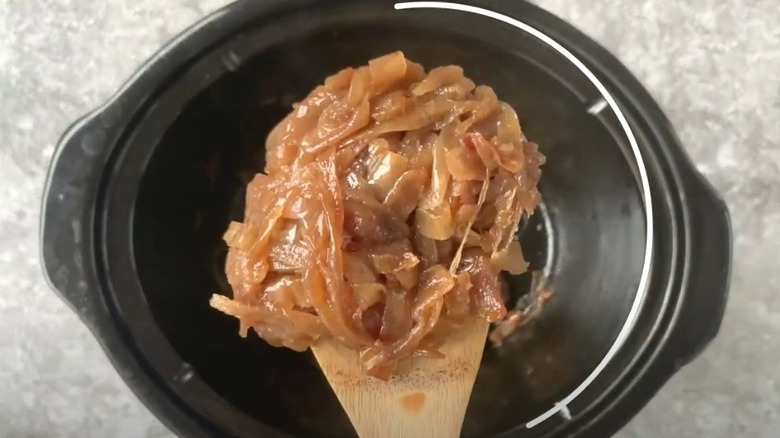
12. Make them in a slow cooker
Let's face it, making caramelized onions is time consuming, since they require your attention throughout the lengthy cooking process. But if you're looking for a hands-off method to achieve perfectly caramelized onions, making them in a slow cooker is an excellent option. With this method, you can caramelize a large batch of onions with minimal effort, leaving the slow cooker to do the work.
To make slow cooker caramelized onions, first thinly slice up your onions of choice. You should be able to cook a large quantity of onions in one go — around 3 to 4 pounds. Add these to your slow cooker, then drizzle over some melted butter or olive oil (or a mixture of the two) and give everything a good stir. All that's left to do is pop the lid on and let them cook on low for 8 to 10 hours. After this time, check the onions and season them as desired with some salt and pepper. If the onions are still too moist for your liking, you can cook them for an additional couple of hours with the lid slightly open to allow some of the moisture to escape.
