14 Tips For Making The Perfect Quiche
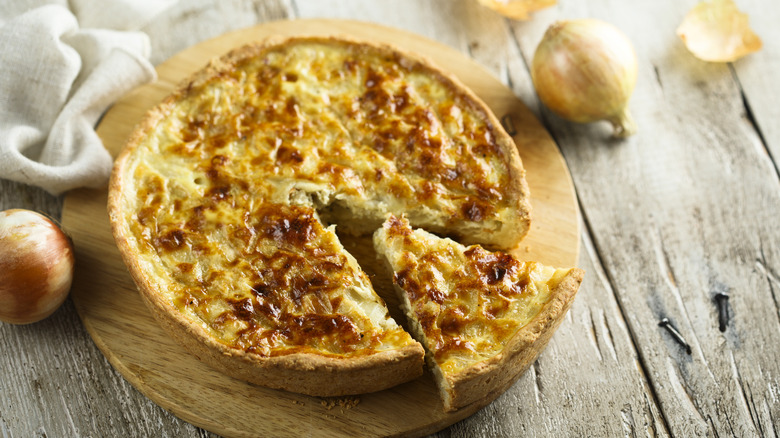
If you're craving something rich, satisfying, and easily adapted, quiche is the answer. With its buttery crust and anything-goes filling, it is delicious, practical, and the ideal recipe for when you want to clear out the veggies in your fridge and impress your dinner guests at the same time. Unfortunately, quiches are also easy to get wrong. The crust can become soggy, the eggy filling can turn rubbery, and all those veggies can make the dish watery and shapeless instead of creamy and sharp-edged when you cut into it.
Producing the perfect quiche every time is never guaranteed, no matter how confident you are in the recipe or how many times you've made it. With a few helpful tips, however, you can increase the likelihood that what you pull from the oven is exactly what you'd envisioned when you started. We spoke with two chefs to learn exactly how they ensure that their quiches are flaky, creamy, and flavorful, and how home cooks can incorporate these techniques into their next recipe. From chilling the pastry dough to cooling the final product, here's how to ensure your quiches are extraordinary.
1. Opt for shortcrust pastry
There are many types of pastry in the world, from the flaky puff pastry that gives beef Wellington its buttery texture, to phyllo dough which makes spanakopita both crunchy and delicate enough to melt in your mouth. When it comes to making quiche, not all types of pastry are created equal. Rather than opting for a version that will fall apart the moment you slice into it or become cement-like in your mouth, your best course of action is to make shortcrust pastry. Known for its perfect balance between flaky and tender, shortcrust holds up under the weight and moisture of the egg filling but isn't overly dense or gluey.
One of the reasons shortcrust pastry is so widely used in quiche recipes and beyond is that it is much faster and less stressful to make than, say, puff pastry, which can take hours of labor and still not produce the intended results. All you need is flour, butter, salt, and water. You can make it by hand or with a food processor, and it takes less than 10 minutes to whip up (though you will need to set aside extra time for refrigeration). If you've never made pastry, shortcrust is a good place to start, and even if you're a seasoned pastry-maker, it has all the qualities you need for a perfect quiche crust.
2. Chill the dough before baking it
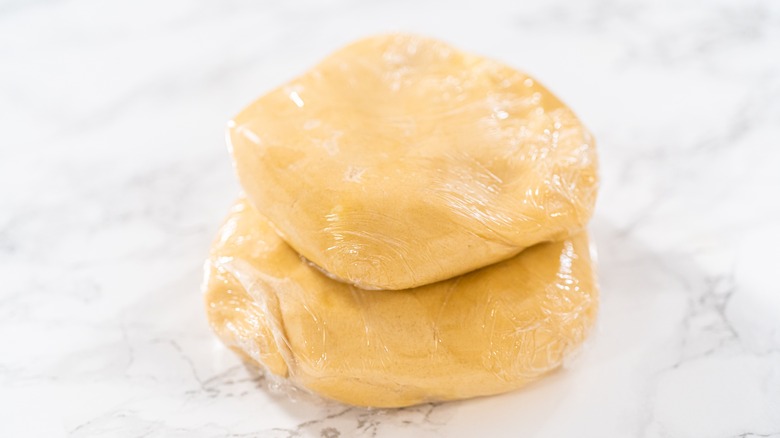
Even though shortcrust pastry takes only about 10 minutes to make, you'll need to factor chilling time into the recipe. No matter how much of a hurry you're in, this step should not be skipped. As pastry chef and recipe developer Emily Laurae told us, "Chilling the dough before baking is a must! [It] helps solidify the fat and allows the mixed dough some time to rest, which helps keep the crust's shape and prevents shrinking. Plus, a well-chilled dough makes your crust extra flaky and tender."
Pie and quiche crust is tricky to make in the best of circumstances. It might be too sticky, too dry, or too thin when rolled out. It might tear when you transfer it to the pie tin or end up being too thick and not large enough to reach the lip of the tin. You don't want to add to these anxieties by having room-temperature dough that sticks to the rolling pin, won't hold its shape, and shrinks when baked. You should leave at least an hour and a half for chilling. It sounds like an unnecessary delay, but it makes all the difference.
3. Brush the crust with egg wash
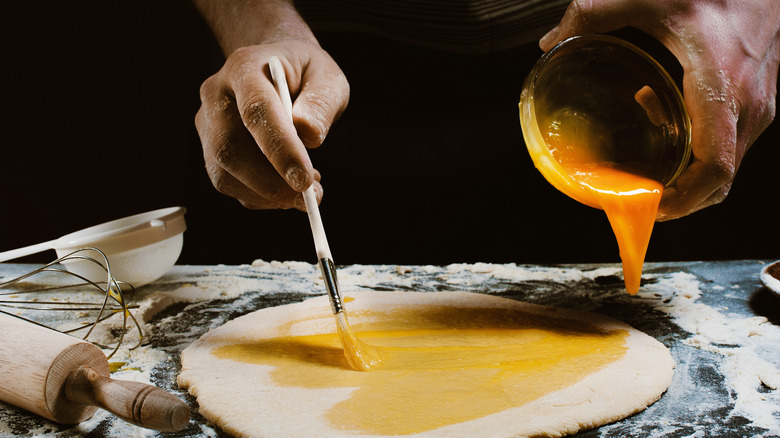
One of the most frequent issues with quiche is soggy crust. There is no way to get around the fact that the egg filling is liquid and therefore predisposed to seeping into the freshly baked pastry shell. It might seem like you're destined for a soggy pastry bottom, but luckily, a simple egg wash can work wonders.
There are many uses for egg washes; mixing an egg yolk with milk, cream, or water will give a loaf of bread or pie a golden hue, while a wash made with egg whites produces a glossy, photo-ready finish. Aesthetics aside, egg washes can also act as a seal between the dough and the liquid filling in a pie, tart, or quiche. Simply whisk a whole egg or egg white and brush it on the bottom of the pastry shell before baking. It won't be completely waterproof, but it will stave off some of the dreaded absorption while the filling sets. Make sure to brush the edges of the crust as well to give it a nice sheen.
4. Blind bake the crust
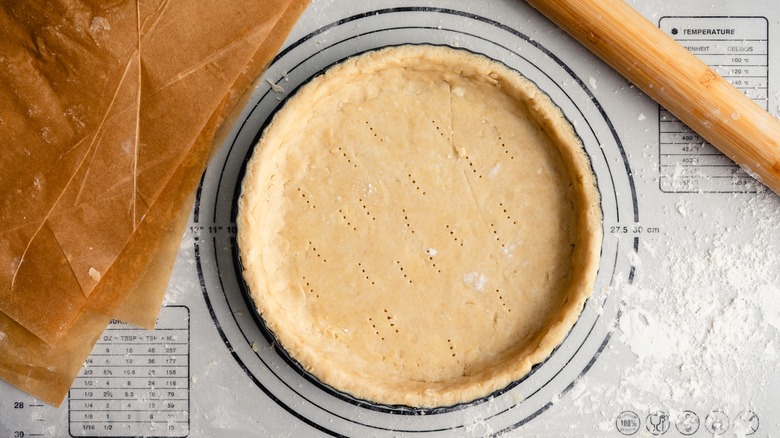
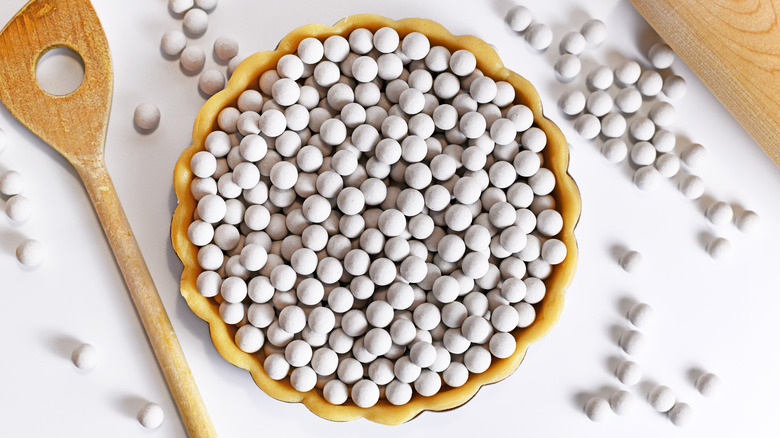
There is no fail-proof way to prevent the crust from becoming soggy, so most experts suggest using multiple lines of defense to increase the likelihood that your pastry will remain dry and flaky. Emily Laurae advocates for blind baking. As she explains, blind baking (also called par-baking) means "baking the crust with pie weights or dry beans to keep the crust flat and firm before you add the filling."
Sylvia Fountaine, the chef and recipe developer behind the website Feasting at Home, echoed Laurae's suggestion and added another reason that cooking experts love blind baking: avoiding an overcooked custard. If you cover raw pastry dough with the egg filling and cook them at the same time, it will take much longer for the crust to bake than the eggs. According to Fountaine, blind baking "ensures the crust is cooked all the way through without overbaking the custard."
Luckily, unlike chilling the dough, it only takes about 20 minutes to par-bake the crust. Once you've rolled out the dough and transferred it to the pie dish, cover it in pie weights or beans to prevent it from bubbling up or doming. Bake it at 375 F until it is lightly golden, and then remove the weights and bake it for another five to 10 minutes to ensure the surface that was covered by the weights is cooked through. Be sure to let it cool before adding the filling.
5. Do not fill the crust to the brim
The ideal quiche is a thick slab of eggy indulgence, not a thin, rubbery pancake. But don't let the fear of the latter lead you to overcompensate by adding too much filling. As Emily Laurae told us, "One of the biggest mistakes I see with quiche is overfilling your crust as it leads to messy spillage and a soggy quiche crust." You might think that you're maximizing every last millimeter of space in the pie shell, but keep in mind the eggs rise when baked. If you fill the crust to the brim then you will end up with custard leaking down the sides of the dish and spilling into your oven, leaving charred egg and a putrid smell in its wake.
To avoid this, leave about half an inch between the top of the pastry shell and the surface of the custard. The filling will rise as it bakes and fill some of the space, and you'll still be able to see your beautiful pastry. If you have any leftover egg mixture, just grease a muffin tin and make mini frittatas or turn it into a delicious breakfast scramble.
6. Use a three-to-two ratio of eggs to dairy
Quiche filling is made with eggs, but it shouldn't be made exclusively with eggs. On their own, eggs become stiff and rubbery, and you want your quiche to be silky and light. On the flip side, however, the filling needs to set. Even worse than a rubbery quiche is one that collapses into a gloopy puddle when you cut it, and that's exactly what happens when you use too much liquid and not enough eggs. So, how many eggs should you use for a quiche?
The ratio is key, and while there is no hard and fast rule that you must follow, Sylvia Fountaine has a formula that works for her every time. "The perfect quiche is silky smooth rather than rubbery or eggy," she said. "To achieve this silky texture, the ratio is three extra large eggs to 2 cups of dairy. For the best texture use 1 cup heavy cream combined with 1 cup half and half."
7. Whisk the custard
As with ensuring the crust is dry and flaky rather than soggy, there are more ways than one to achieve a light, custardy filling instead of a dense, rubbery one. In addition to the non-negotiable adherence to a good egg-to-dairy ratio, it pays off to spend a little extra time working out your arm muscles by whisking the custard filling.
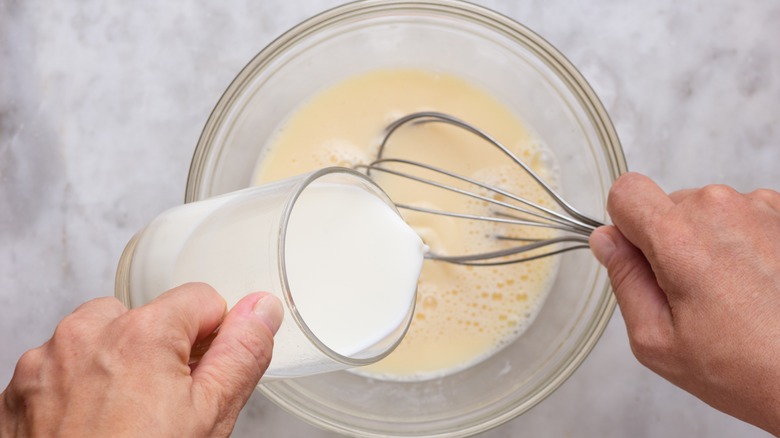
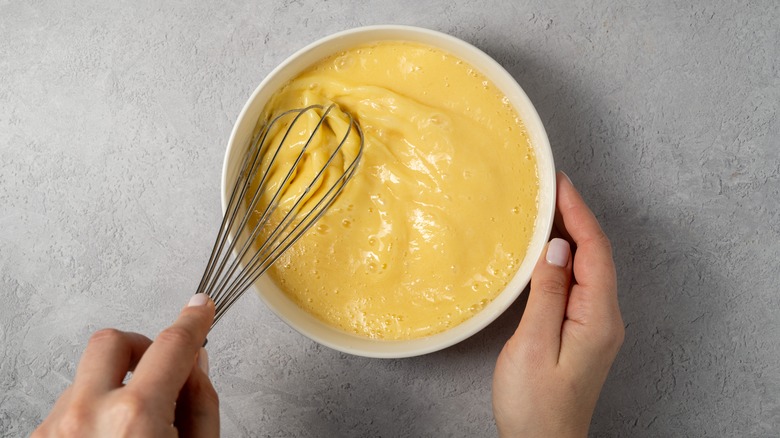
As Tasting Table explains, the reason you should whip your eggs when making quiche is that incorporating air into the custard with vigorous whisking helps keep the final product featherlight and soft. All you have to do is vigorously whip the eggs for about three minutes, then add the dairy and whisk again for about four minutes. You can use a standing mixer or do it by hand with a French whisk or balloon whisk (a fork will not help you here). Make sure to complete this step before adding the other fillings since the solid ingredients will interfere with aeration.
8. Always cook the veggies first
Some veggies are full of moisture which, when added to quiche, increase the risk of a soggy crust. One option is to avoid these ingredients altogether, which would be a shame considering how much flavor and visual appeal they contribute. Luckily, there is a way to avoid the added moisture and enjoy the presence of spinach, zucchini, onions, and pretty much every other vegetable.
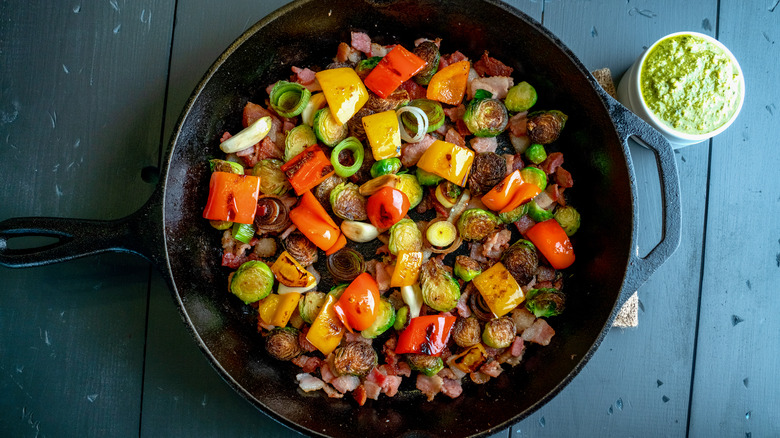
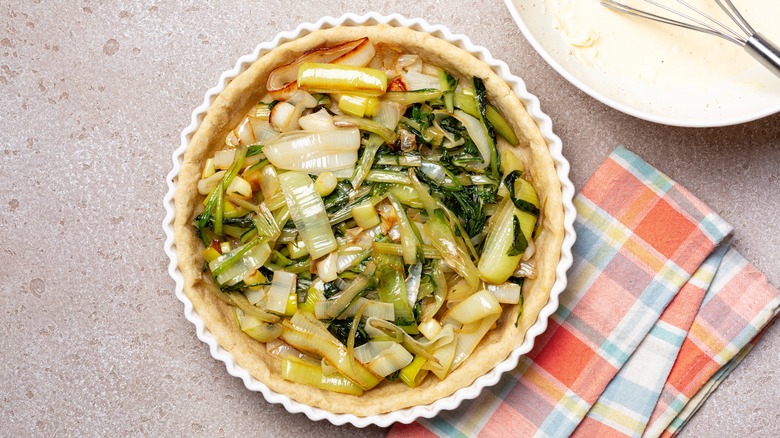
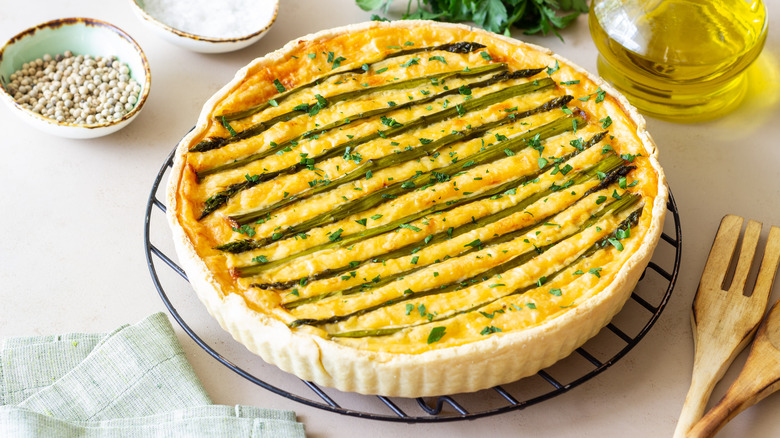
"I love adding veggies to quiche," Sylvia Fountaine said, listing sauteed mushrooms, caramelized onions, leeks, sauteed zucchini, and broccoli as some of her favorite options. Not only are they nutritious, she explained, but they also add plenty of color to an otherwise monochromatic dish. "The secret is to cook them first to remove any water," she said. Stick to sauteeing and roasting, since these methods will dehydrate the veggies and add a caramelized flavor. Boiling and steaming will just run the risk of introducing more moisture.
9. Get creative with fillings
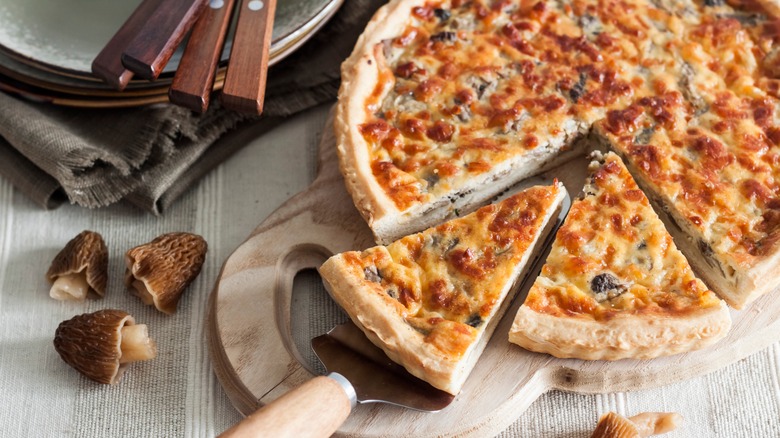
Perhaps the most well-known variation is the quiche Lorraine, a classic French recipe that showcases simplicity at its finest. Made with only eggs, cream, bacon, cheese, and sometimes garlic and onions, the filling demonstrates just how delicious a savory custard tart can be. However, it also obscures the fact that quiche doesn't have to be a celebration of culinary minimalism. There are countless ways to make the filling, and each will satisfy a different craving. Sure, you can never go wrong with a classic quiche Lorraine or spinach quiche, but there are plenty of ways to shake things up, too.
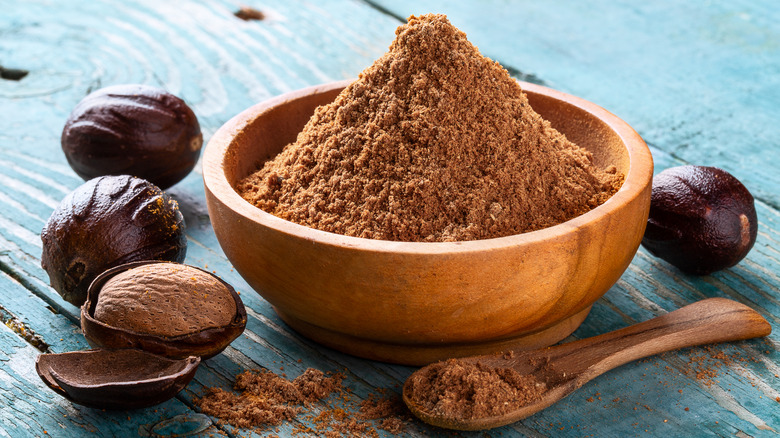
One of the best ingredient additions to elevate quiche is nutmeg. Though it may be famous for its role in desserts, this comforting winter spice can be the MVP of any quiche recipe. It cuts through the creaminess of the dairy, adds a layer of warmth to the veggies, and doesn't overwhelm the flavor of the dish the way other spices would. Another delicious option is Dijon mustard. With its sharp flavor, it plays a similar role as nutmeg in cutting through the dairy but adds a bit more heat. Depending on how much you add, it can also help thicken the egg mixture and make it creamier.
10. Spread the fillings on the crust before adding the custard
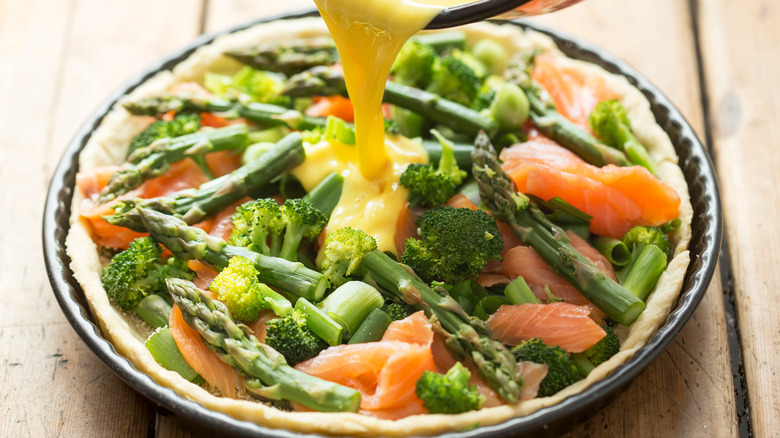
Once you've whisked your eggs and dairy into a deliciously frothy custard, it would be a shame to knock all the air out of them by dumping in the other ingredients. The best way to avoid this is by adding the solid fillings and the custard to the pastry shell separately. Start by layering the veggies onto the crust. Then, pour the egg mixture slowly over top. This will help preserve as much of the air as possible.
Another benefit of adding the solid fillings first is that it makes the assembly mess-free and keeps the ingredients well distributed. When you add them to the egg mixture first and then try to pour everything in at once, the solid fillings will come out of the bowl last, splash into the custard, and likely end up all on one side of the pastry shell. You don't want to rearrange the ingredients after they're in the dish as it might break the crust and create a leak. For the cleanest, smoothest assembly, start with the solid ingredients first and pour the custard in last.
11. Use a water bath
If you've made quiche more than once, chances are, you've had the surface split a time or two. A cracked quiche is heartbreaking when everything about the recipe has, until that point, been plain sailing. You can make perfectly shaped pastry dough, blind bake it to deliciously crispy flakiness, cook the veggies to heavenly tenderness and flavor, and whisk those eggs to airy perfection only to have everything fall apart at the very end. Opening your oven and expecting to find the culmination of all that goodness, you instead find a quiche with a large crack running down the center. It won't affect the flavor, but it will definitely affect the appearance.
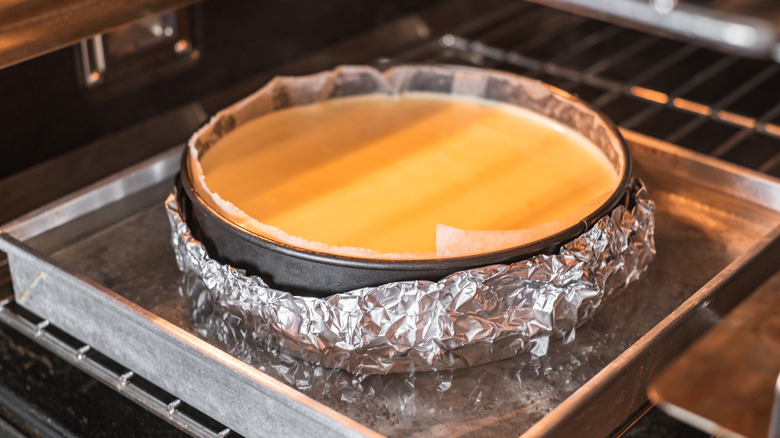
Sylvia Fountaine has a solution. "To keep the top from cracking," she told us, "add a shallow pan of water under the quiche while it is baking." One of the main reasons quiches split is that the surface of the custard is cooking faster than the center. A water bath (also called a bain marie) creates steam that cooks the top of the quiche more gradually than the hot dry air of the oven.
12. Cover the edges of the crust with foil
One common issue that arises with quiche is a burnt crust. Since you've already cooked the pastry, the part that isn't covered with egg has plenty of time to turn from an inviting golden color to an overbaked dark brown. Not only will it look overdone, but it will taste bitter too. On the other hand, you don't want to avoid a burnt crust by undercooking the custard or you'll end up serving raw eggs.
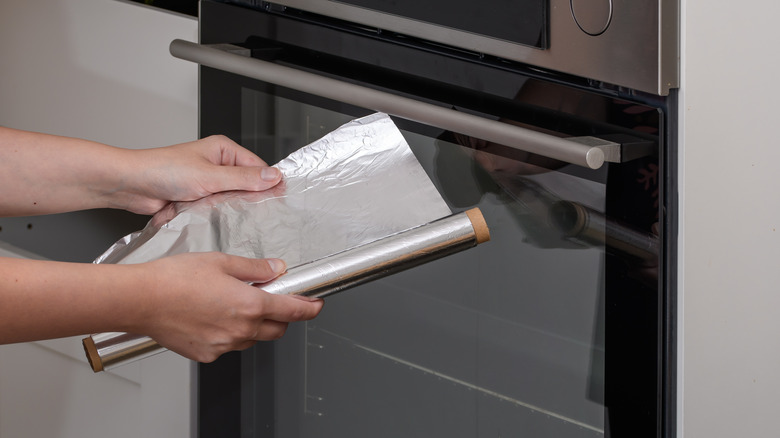
To prevent a burnt crust and raw eggs, aluminum foil is your secret weapon. If your crust is already the color and texture you want it to be before you bake the quiche, cover the edges with strips of foil before you put it in the oven. If you want it to brown a little more, wait until it's reached the desired color and then add the foil partway through baking. Since strips can be unruly and fall off with the slightest jostle, the easiest method is to cut a circle out of a square piece of foil and crimp the remaining piece around the edges.
13. Don't be afraid of the jiggle
One of the greatest misconceptions about baking quiche is that the middle needs to be fully set before you remove the dish from the oven. Far from giving you the perfect texture, however, this will guarantee dense, rubbery results. Just as you should always remove scrambled eggs from the burner just before they're finished cooking to ensure they stay moist and airy rather than dry and rubbery, you should always take quiche out of the oven when it still has a slight jiggle. For one thing, residual heat will continue to cook the custard as it cools. For another, quiche is made with plenty of dairy, meaning that it should never be completely solid. Even when it's cooled and you slice into it, a little bit of movement is a sign that it's light and creamy, not raw.
One of the best ways to ensure that you don't accidentally overbake your quiche is to keep the oven at a moderate temperature. You might need to ignore your recipe in this regard, but trust us, it works. Instead of knocking the temperature up to 350 F or 400 F, choose 325 F. The quiche will take longer to cook, but it will retain its silky texture throughout instead of overcooking on the sides and edges before the center starts to set.
14. Let the quiche cool for at least 10 minutes
Once that quiche comes out of the oven, you'll probably want to dive right in. After permeating the kitchen with an irresistible aroma for almost an hour, it seems only fair that you should dig in right away. But now is the time to draw on your last vestiges of patience, because it will taste so much better if you wait a little while. Since you've pulled it out of the oven just before it's done cooking, the quiche will still be in the process of setting as it cools. Letting it sit will also allow the flavors to settle in the way they always do with day-old soup.
So, just how long should you let your quiche cool? Some chefs suggest hours — even up to a day. This may yield the most delicious and perfectly textured results, but let's face it: Not all of us are that patient. Just make sure it has cooled almost completely or you'll end up with a burnt tongue and an unset custard — 10 minutes at the very least.
