Mistakes Everyone Makes When Cooking Tuna Steaks
Making tuna steaks requires a very specific cooking method, so it's common for people to make mistakes during the process. If you find yourself failing consistently or getting results that are less than ideal, chances are you're making a crucial error — or several.
Not only will we explain what you're possibly doing wrong with your tuna steaks, but we'll also go over some guidance on what you can do to get them just right. Your mistakes may start at the grocery store or during the prep process before you ever even get your fish to the pan or grill. Even seemingly small details in temperature, preparation, and what you put on your tuna steaks can matter.
Or, you might be missing a crucial step you should be taking after those tuna steaks have cooked. So, if you're ready to take your tuna steaks to the next level and get them just right, go point-by-point to see what you shouldn't be doing (and what you should).
Not knowing how to choose a good tuna steak
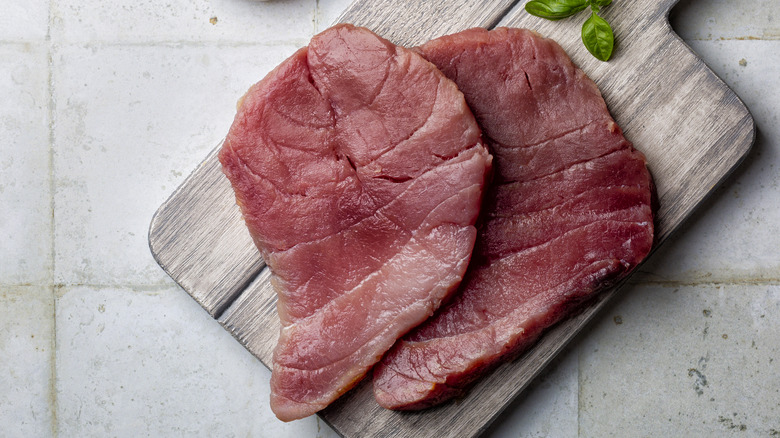
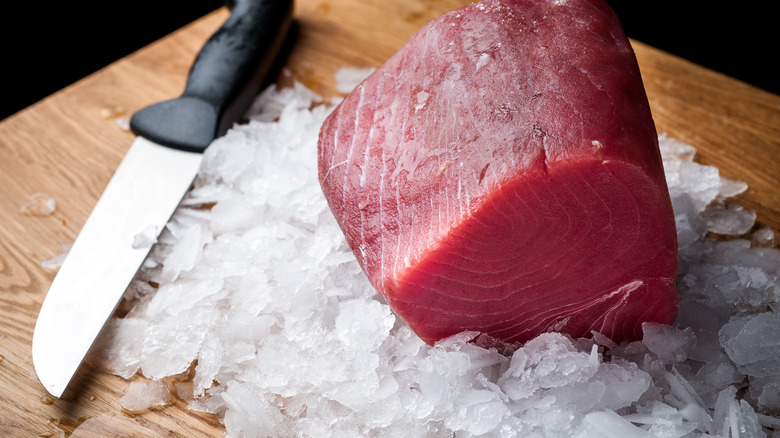
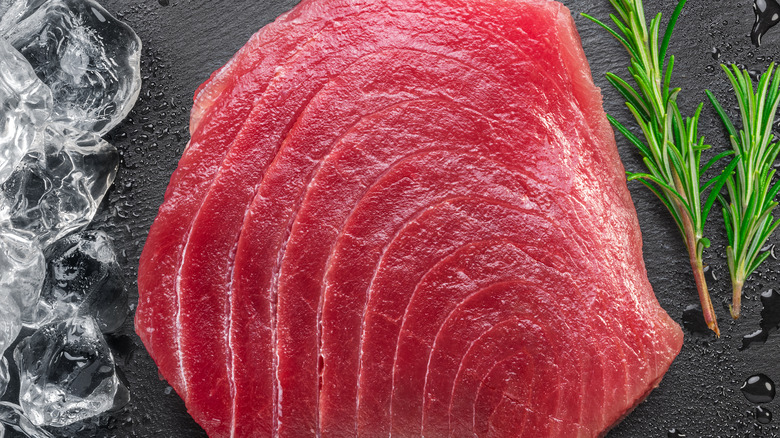
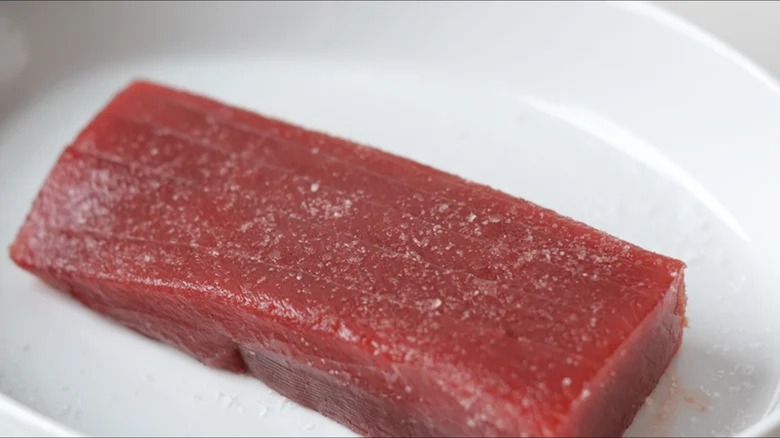
Because tuna steaks are typically served with pink centers, it's essential to select the freshest, best-tasting tuna possible. You'll be happy to know that tuna steaks are required to be processed at extremely cold temperatures. This means that any parasites the fish harbored die and are no longer a threat, so the main concern is flavor. Thus, it's important to ensure the raw tuna hasn't gone bad. The raw tuna steak should have a translucent quality and be bright pink or red; it should never be brown, milky, glossy, slimy, grey, or blue. You should also take note of its odor. It should smell more like the ocean than like fish. The older it is, the fishier it will smell.
Another thing to consider is sustainability. If you don't know the status of a tuna species, you can always check the IUCN Red List to find out if a species is stable, declining, or decreasing and inform your purchase.
Not brining them first
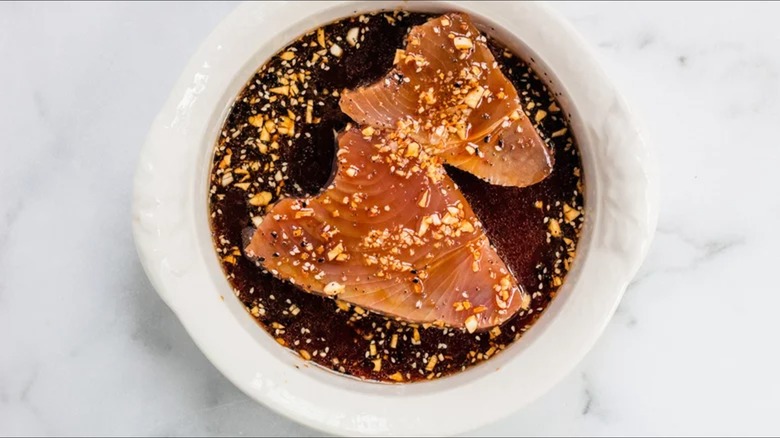
There are several good reasons you should always brine tuna steaks, which include not just boosting the flavor, but also providing a better texture and appearance. While it helps season the steaks, brining doesn't leave them overly salty even though a brine should be extremely salty and cover all the steaks. The water concentration for brining can be anywhere from a third of a cup of sea salt for every eight cups of water or even a higher concentration like one-third cup of salt to four cups of water. Dry brining is also an option.
The salt from brining helps to break down any tough muscle. The dissolved proteins then come together to form a gel that helps to retain water and keep the fish moist. Brining also removes a protein called albumin, which causes those unappealing white coagulated blobs that you sometimes see when you cook fish (though it's worth noting that it's still safe to eat if that happens).
Extending the marinating or brining time
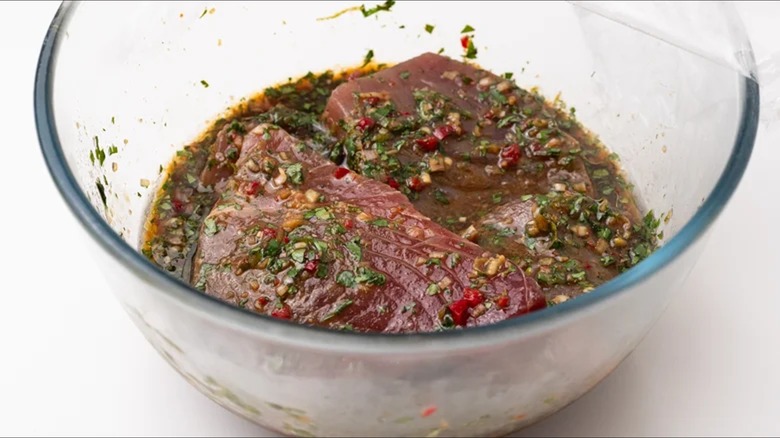
Brining and marinating tuna steaks help with their flavor and texture, but don't think that more is always better. There is such a thing as too much marinating or brining, and with tuna steaks it can happen more quickly than you might think.
The consequences can be serious. Leaving tuna in brining water too long can make it tough and overly salty. If you're working with thin tuna steaks, 15 minutes should be plenty of time for marinating or brining. For steaks on the thicker side, you can get away with up to 30 minutes, but don't go beyond that if you want to maintain the right texture and flavor. A multi-hour or even overnight soak will almost certainly make your tuna extremely unpleasant to eat.
The reason it takes less time to marinate or brine fish compared to other meats is that they have different muscle structures. The fibrous muscle bundles in fish are up to 10 times shorter than those in other types of meat. These bundles are closer to a centimeter long, compared to the up to 10 centimeters-long bundles you might find in other animal sources of protein. The shorter muscle bundles in fish don't take nearly as long to break down as longer ones do, meaning your tuna steak should only get a relatively quick soak.
Not considering the thickness of the steak when cooking
One of the draws of a nice tuna steak is a flavorful pink middle with a seared exterior. This means that part of your cooking strategy should hinge on tuna steak thickness. Tuna steaks should be a specific thickness for optimum flavor and juiciness; ultimately, you should be searching for the thickest ones you can find. The thinnest a tuna steak should be is an inch, but if you can find one that's between 1.25 or 1.5 inches , that's even better. That's largely because thicker ones can tolerate cooking times on the top end of the suggested range all the better.
Another reason you want to look for a thicker tuna steak is its volume. The thicker the piece of meat, the more of a pink middle you can enjoy. Plus, thicker steaks retain more moisture when you cook them, providing you with a juicier piece of meat.
Cooking tuna steaks when they're too cold
One mistake that you may have been making with tuna steaks is cooking them while they're still frozen or cold from the fridge. However, though you want a rare center, it should never be cold when you bite into it. So, like most meat, it's best to plan ahead.
Whether you start with frozen or fresh steaks, the end goal is the same. However, they will take different amounts of time to get to the right temperature. If you're using frozen steaks, place them in the refrigerator at least overnight to thaw. If you're starting from refrigerated or straight-from-the butcher meat, it still needs time on the counter to help it lose its chill. Since the cooking time is so short, you can't depend on cooking alone to get the middle to the right temperature. Also, be sure to unstack them if you have several so that each has the best chance of reaching room temperature without interference.
Your tuna is ready to cook when it reaches room temperature. It should take an hour on the countertop to get to this point, but according to the U.S. Department of Health and Human Services, it's safe to leave out for up to two hours. However, if the place you're resting it is 90 degrees Fahrenheit or above, it shouldn't sit out for longer than an hour.
Not patting them dry
Not patting your tuna steaks dry is an easy mistake to make. However, leaving them wet ultimately prevents them from achieving the ideal sear. So, if you want your tuna steaks to brown instead of steam, it's essential to pat them dry before cooking with paper towels or a lint-free tea towel. This step is especially important if you've brined or marinated the tuna steaks beforehand. The flavors from the brining or marinating process should have already permeated the meat as far as they will, so you're unlikely to be removing flavor when you dry them.
One strategy for ensuring the steaks are dry is to allow them to rest and come to room temperature before cooking. Rather than leaving them in their packaging or placing them on a plate, you can set them on a wire rack (with something beneath to catch any drippings). That way, you'll have less moisture to deal with on both sides when you start patting them dry.
Not getting your pan or grill hot first
One of the biggest mistakes you can make is throwing your tuna steak onto a hot pan or grill before your cooking surface has reached the proper temperature. Since the cooking process involves a rapid sear, starting with a cold pan simply isn't the way to go.
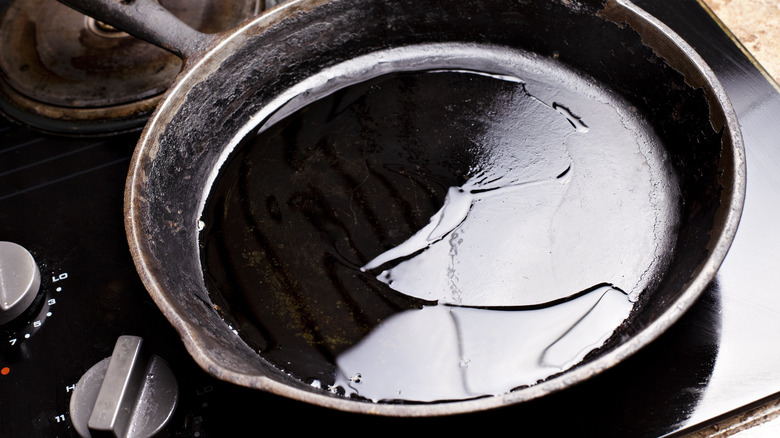
If you're cooking on the stovetop in a pan, it's essential to get the pan scorching hot before you even think about adding any meat. Turn the heat up to high and wait until the dry pan starts smoking. If the meat doesn't make a satisfying sizzling noise the moment it touches the pan, you didn't get it hot enough. A super hot pan also helps to ward off any moisture that could get in the way of a nice sear. If the pan makes noises and smokes when you add the tuna, don't worry; it's all part of the process.
If you're cooking on a grill, everything likewise needs to be super hot, including the grill itself, the grill top, and the coals (if you're using charcoal). Since it's such a fast cooking process, it's essential that you cook the steaks over the hottest area of the grill. Set up one or two zones of intense heat by making either one or two stacks of charcoal, depending on how many steaks you want to grill at once.
Using a non-stick cooking pan
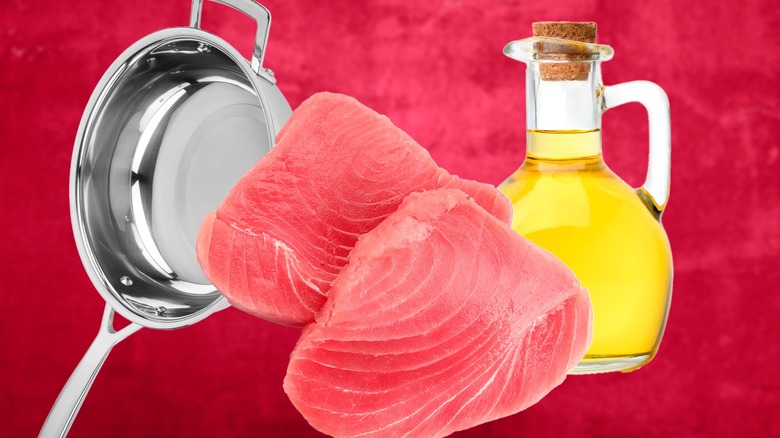
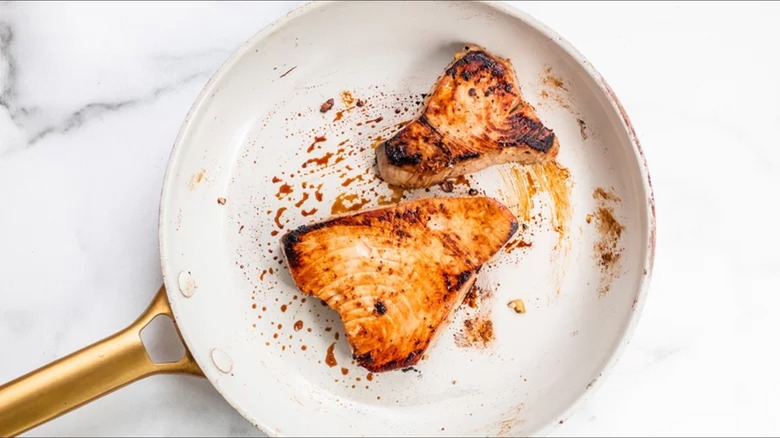
As mentioned, when cooking a tuna steak, you should be getting the pan screaming hot. Since many non-stick cooking pans can't handle the type of heat you need to sear your steaks and won't give you the same finished texture, it's best to avoid them and opt for an all-metal pan instead.
Pans with a non-stick coating cook differently than stainless steel or cast iron. If you have multiple types of pans, you've probably noticed that non-stick pans don't brown or crisp meat as satisfactorily as metal ones.
The high temperatures necessary for searing fish steaks can also ruin the chemical coating on non-stick pans. While some brands, like Teflon, can handle heat up to 500 degrees Fahrenheit, not all non-stick pans are this forgiving. If a non-stick pan can't handle high heat, you might find that your food starts to stick to the pan's surface anyway.
Adding oil or fat to the pan instead of to the tuna steaks
When we think of cooking fish or any other type of meat with oil, it's natural to think we should add the oil to the pan. But you should actually be brushing the tuna steaks with the oil or fat rather than coating the pan with it.
If you've ever made tuna steaks and added oil to the pan instead of to the fish, you have likely already learned your lesson. It may have spattered or splashed everywhere and perhaps even set off the smoke alarm. Plus, all that popping grease (especially near the open flame of a gas stovetop) can be a fire hazard. So, if you don't want to be dealing with a smoke alarm and possibly a real fire (here's a reminder to always keep a working fire extinguisher in your kitchen), it's best to switch up your oiling strategy. Plus, you'd probably rather eat your fish in a smoke-free kitchen.
The oil can also help any seasonings adhere to the fish. So, when working with tuna steak, be sure to oil first and season second.
Using oil or fat with a low smoke point
Since you should be cooking your tuna steaks over super high heat, it's important to pay attention to the type of oil or fat you use. If you use something with a low smoke point, then it will burn and smoke up the room more than high smoke point product.
What's more, different stovetops and pans generate different levels of heat. However, once the oil starts smoking, you know that it has reached its smoke point, which is the point at which the oil starts to break down.
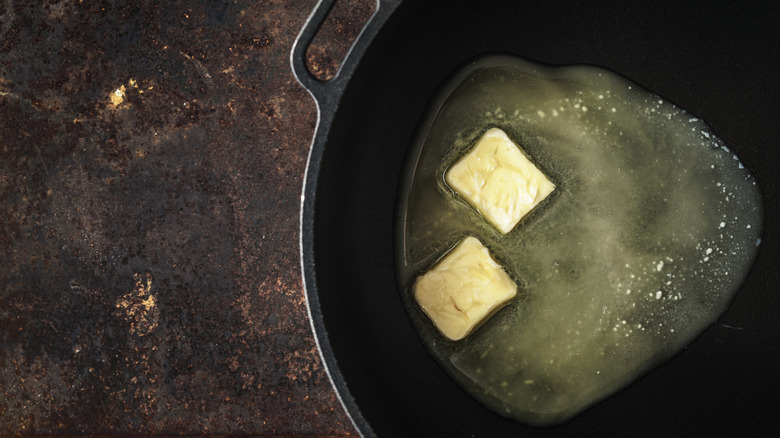
Without knowing exactly how hot your pan is getting, it's best to choose a fat or oil with the highest smoke point possible. Ones with smoke points below 350 degrees Fahrenheit include butter, olive oil, and unrefined sesame oil. Others can't handle anything much over 400 degrees Fahrenheit like canola oil, lard, grapeseed oil, unrefined avocado oil, some vegetable oils, and refined sesame oil. These are all likely poor choices for cooking your tuna steak.
Instead, choose a fat or oil that stays stable up to 450 degrees, like sunflower oil, refined coconut oil, corn oil, ghee, peanut oil, or soybean oil. To truly err on the side of caution, opt for safflower oil or refined avocado oil, which can withstand temperatures above 500 degrees Fahrenheit.
Not salting them first
If you skip the brining step, then pre-salt your tuna steaks. The ideal time to salt your fish is right before you throw it on the heat. Since salt will draw moisture out of the steak and make the surface wet again, you don't want it sitting around long enough that you'll have to pat it dry and remove some of the flavor of the salt. So, oil up your fish, add your salt and any seasonings, and then put it in the pan or on the grill — in that order. Pre-salting also helps with the browning process by removing moisture and helping the meat get a deep sear quickly.
The amount of salt you use is up to your personal taste. However, many recipes use about half a teaspoon of sea salt per steak. If you're using a marinade that already contains salt or a sodium-rich ingredient like soy sauce, consider cutting the amount down to about a quarter teaspoon per steak.
Overseasoning your tuna steak
One way to ruin a good tuna steak is to overseason it. Oil it first, and then add any spices — but not too much. That's becuase the delicious and delicate flavor inherent to tuna steaks can stand on its own. Even if you're the type of person who normally enjoys a lot of flavoring agents on your meat, you may find this one to be an exception. In fact, some people skip seasoning their tuna steaks altogether.
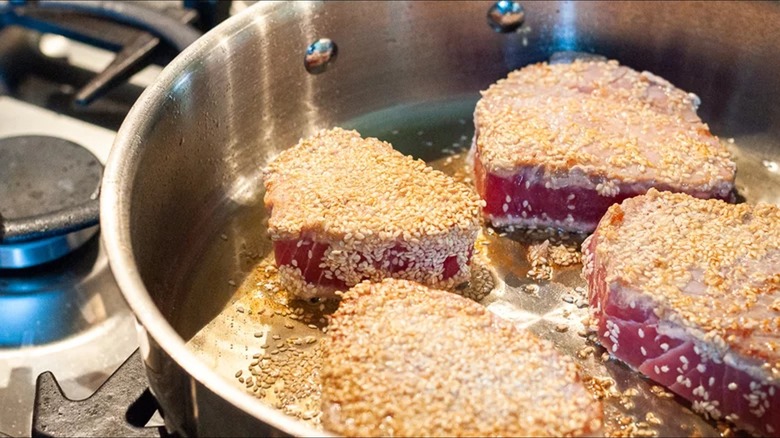
If you do decide to add flavor to tuna steak, make it simple so that it doesn't overwhelm the taste of the meat. For instance, you could leave it with just salt and maybe a little pepper, and it would be perfectly fine. Or you add something simple like a sesame seed coating, everything bagel seasoning, or a miso glaze.
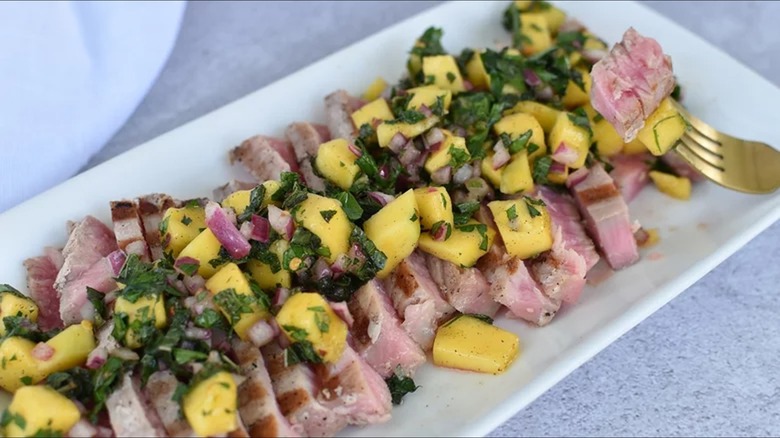
Whatever you use, don't overload it. Since the tuna is cooked at such a high temperature (albeit briefly), you can end up burning any dried or fresh herbs, which could leave it with an unpleasantly charred rather than seared flavor. You'd be better off using a recipe that includes a marinade to infuse it with flavor, sprinkling the tuna steak with chopped leafy herbs (like cilantro) after it's done, adding a squeeze of lemon, or using a dipping sauce. Take our twist on Bobby Flay's tuna steak recipe, which uses a fresh mango salsa as a topping for cooked tuna.
Overcooking tuna steaks
Tuna steaks are meant to be pink and raw inside, practically melting in your mouth. If you keep failing at making them and end up with dry fish, overcooking might well be to blame.
If your recipe or the steak's packaging suggests cooking the meat for three minutes per side, don't. Tuna steaks come from the fish loin (the back end), which loses moisture if overcooked. There's a reason that fully-cooked canned tuna comes packed in water or oil; long cooking dries it out and makes it flaky. If you want the meat fully cooked, your best bet is to poach it in hot olive oil, but only for five to seven minutes total. Then, continue soaking it in oil in the refrigerator for at least 24 hours.
It doesn't take a long time to sear tuna steak for eating. The internal temperature should be around 118 degrees Fahrenheit when cooked, which should take about a minute and a half on the first side and another minute on the other. Some people cook it even less, opting for only 30 seconds to a minute per side. The sides of the steaks need no more than five to 10 seconds of searing time.
Not letting them rest after cooking
We know you want to sink your teeth into your tuna steak as soon as possible, but make sure to let your fish rest first before digging in. The wait will be entirely worth it.
Resting allows for a little carryover cooking, meaning your steak isn't truly done until it has sat a bit outside the pan. Unlike with cooking times, resting time isn't precise. At a minimum, you want it to rest tuna steaks for two to five minutes.
However, there are some advantages to letting a tuna steak rest until it's room temperature. For one thing, it's easier to cut and less crumbly. There will also be less of a stark difference between the temperature on the outside of the fish and the rare interior (which ill only be reaching around 118 degrees Fahrenheit). Resting it on a rack allows air to more evenly cool the steak, so it's likely to get to the temperature you want more quickly.
