BBQ Experts Say You Need To Stop Making These Mistakes With Pulled Pork
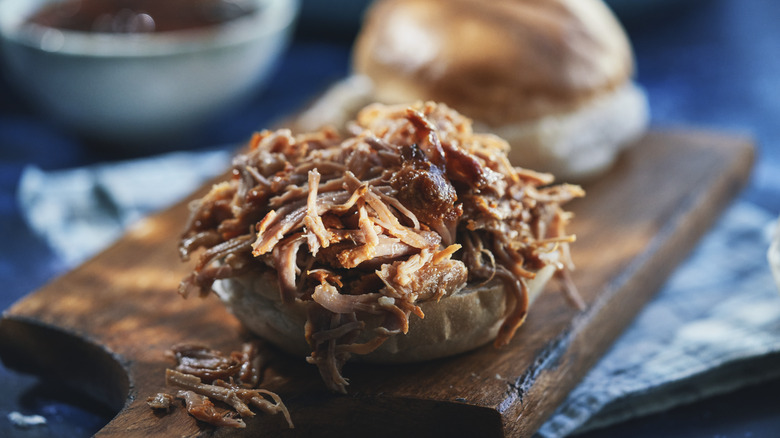
Whether you are at a backyard picnic or at the local barbecue restaurant, you'll likely find pulled pork as one of the staple menu items. Pitmasters have perfected the art of pulled pork over the years, which is especially popular in the Southern region of the United States. Pulled pork is an ideal choice for catering and at-home barbecues, as it can feed many people at once, and can be dressed up for a polished dish or slapped on a bun in a messy, delicious sandwich. It also makes great leftovers!
If you've ever watched chefs or pitmasters in action, it can seem daunting to try to tackle this versatile protein at home. But by using a smoker, slow cooker, or a Dutch oven, you can make pulled pork that may rival your favorite barbecue joint's sandwich. In order to become your own pitmaster or pulled pork professional, you will want to avoid these 10 mistakes that experts say many at-home chefs make when cooking pulled pork. From cooking techniques to storage tips, these guidelines will have you enjoying juicy pulled pork and its leftovers for days to come.
Choosing the wrong pork cut
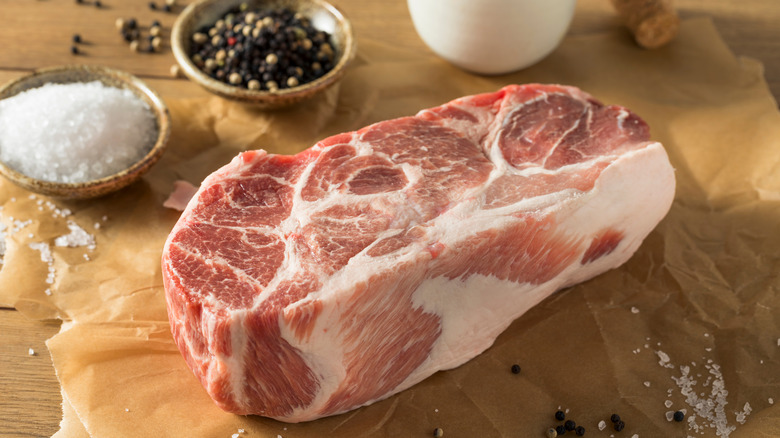
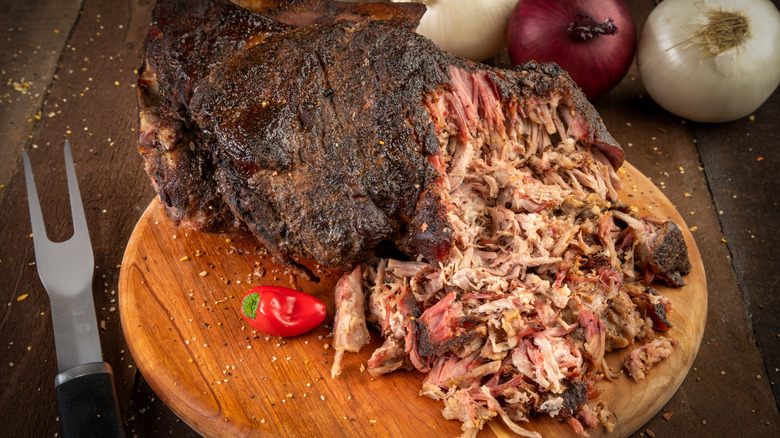
The first step is to pick your cut of meat. The wrong choice can result in dry, flavorless, or tough pork that is difficult (or near impossible) to shred. Some cuts are fattier than others, and there is a debate between pork shoulder or pork butt — sometimes called "Boston Butt" — being the perfect pick. Contrary to what it sounds like, both pork butt and shoulder come from the pig shoulder, but the butt is higher up on the leg than the shoulder cut.
"The wrong cut will not only not give you the flavor you want but will also not provide the final unctuous pulled texture you are looking for," Executive Chef Matt Bolus, owner of The 404 Kitchen and Gertie's Whiskey Bar in Nashville and Louisville, told Mashed.
So, which should you choose? Experts say that depends on what you're looking for. If you want a crisp skin, pork shoulder is ideal, as it's sold with the skin on. However, pork butt may be a better option if you plan on stewing, braising, or roasting the pork. You may also see bone-in or boneless options. Tony Roberts, owner of Proud Soul Provisions and BBQ, says to choose a shoulder bone-in with the blade in-tact, as it helps with moisture retention throughout the cooking process. "An untrimmed pork shoulder from the grocery store or butcher should be semi-round — approximately the size of a volleyball, with a 1-inch thick fat cap," Roberts said.
Not letting dry rub or seasoning sit
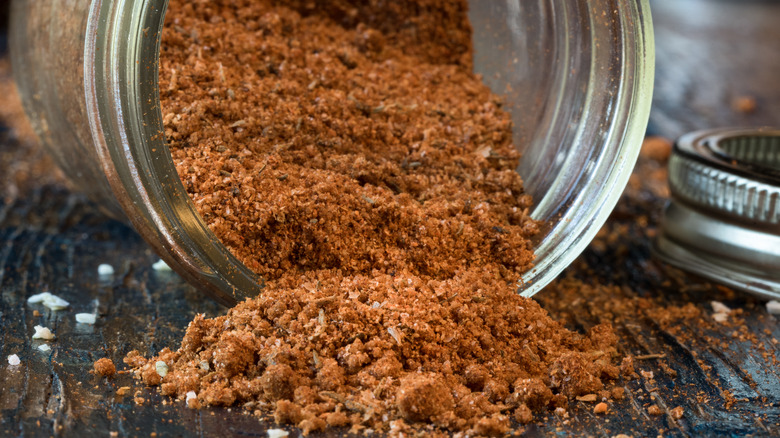
Seasoning your pork with a rub is a key step in the pulled pork process. An underseasoned pork butt or shoulder means a lack of flavor — and who wants that after all the effort? The first decision is what kind of rub you will use for your pulled pork. "A generous covering of an all-purpose BBQ rub works great for traditional BBQ pulled pork," Tony Roberts said. "I like rubs that have a combination of paprika, sugar, salt, pepper, garlic, and citrus elements."
The other important component of seasoning is to let it sit for a minimum of 30 minutes to a day ahead of time so the meat has time to soak up the seasonings, giving you a deeper flavor. "When seasoning for a dish like this you want to be very generous with the amount you use, the entire surface should be covered with your spice blend of choice. I even go a step further and heavily salt the pork the night before and leave it in the fridge uncovered until I am ready to cook it," Matt Bolus said, adding that the seasoning blend itself is your preference.
Your seasoning may also contain what's called a "binder" to keep the seasoning on the meat. Lane's BBQ suggests a thin layer of olive oil, mustard, or mayonnaise to hold that seasoning in place. The binder isn't designed to impact the flavor of the meat.
Putting pork on a heat source still cold
After selecting your cut and seasoning it, you may be anxious to get your pork going right away. But resist the urge to throw the meat on the smoker straight from the fridge. Putting the meat on the smoker or in the oven cold increases the cooking time. Instead of the meat beginning to cook, time is spent bringing the meat up to the correct cooking temperature (via TastingTable). Not only is that inconvenient for planning purposes, but more time on the smoker can lead to a burnt crust.
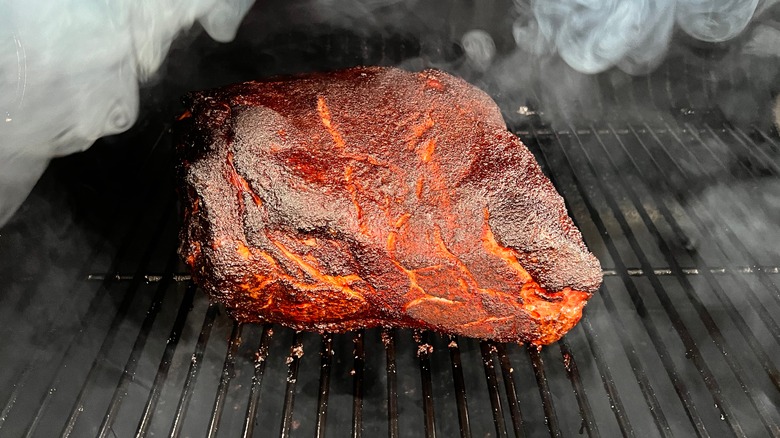
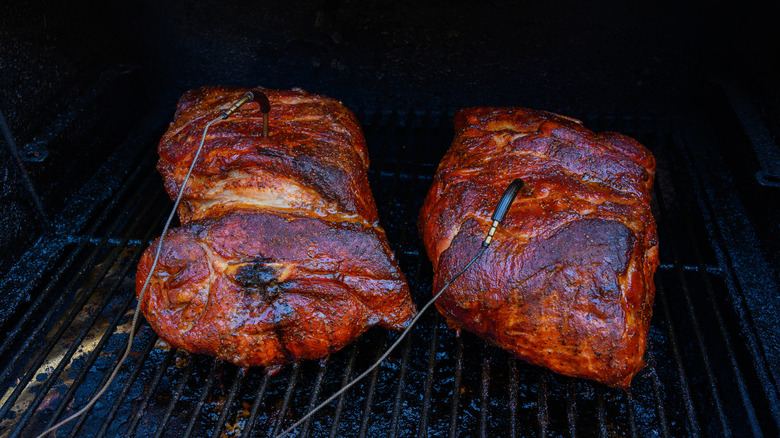
To avoid a longer cooking time, you should take your pork out of the fridge at least a few hours ahead of time. This process allows the pork to reach room temperature and will cook at an even pace. The extra prep time will pay off when you get your perfectly cooked pork with that tasty, crispy "bark" on the exterior. This bark can't be formed in a slow cooker or oven, so you may want to opt for the smoker if that bark is a must for you.
It should be noted that it's important to be mindful of the time when leaving your pork out of the fridge, as you don't want it to go bad before cooking. The National Pork Board states you should never let raw meat sit at room temperature for longer than two hours. And the last thing you want is a foodborne illness at your gathering.
Not cooking your pork long enough
Pulled pork takes a time commitment to cook to perfect deliciousness. Experts say cooking your pork long enough to tenderize is the most important rule to follow. "This is a low and slow-cooked dish. If you try to speed it up all you will get is dry and tough shreds of meat that no one will come back for," Matt Bolus said.
It's always disappointing when your pork doesn't pull just right. The time needed to cook your pork may vary by cut and if you use a smoker vs. the oven. For example, a 5-pound pork butt should take about 6-7 hours, 8 pounds would be 8-10 hours, 10 pounds would be 10-12 hours, and so on (via Coleman Natural). As for the slow cooker option, you can likely expect about 4 hours on high or 8 hours on low. A faster cooking option is the Dutch oven method at roughly 2-4 hours.
These timeframes only serve as guidelines and monitoring the meat is key. In order to hit that temperature just right, you will want to invest in a good meat thermometer. This way you can ensure your pork is cooked all the way through, as sometimes the caramelized crust on the outside of the meat can make it look burned when in reality, it's just right. It's also important to know that undercooked pork can be unsafe, as the USDA reports foodborne organisms like trichinosis and Escherichia coli can be contracted.
Cooking your pork too long
There's also such a thing as leaving your pork on the smoker or in the slow cooker for too long. It can sound confusing, but low and slow doesn't mean long and slow! It's a delicate dance to get through the "stall" period, where your pork internal temperature sticks at around 150-160 degrees Fahrenheit for a long period of time. After that stall, your pork continues cooking on to the sweet spot.
You may be tempted to kick up the temperature to get through this, but that can make your pulled pork overcook quickly. In this case, you can wrap your pork in butcher paper or foil to help speed up cooking. However, you don't want to get your pork above an internal temperature of 205 degrees Fahrenheit. That's when the moisture starts seeping out of the muscle fibers, and with that, comes the toughness we all try to avoid. Overcooked pulled pork will likely be a chewy, dry consistency instead of that desired tender juiciness that pulls apart easily.
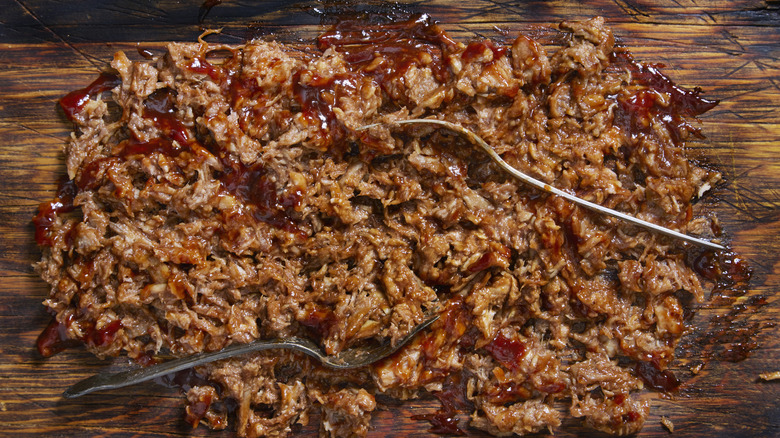
If your pork has made it to that overcooked point, you are probably having a tough time pulling apart the pork. In this case, you can try adding the reserved juices and fat drippings that you hopefully saved throughout the cooking process. If not, slather on your favorite barbecue sauce to add flavor and hopefully some additional moisture.
Not allowing meat to rest insulated
Once your pork is nearing the finish line, it can be tempting to get right to pulling! You'll need to rest your pork for a minimum of 30 minutes but ideally up to 2 hours before starting to pull, according to Smoked BBQ Source. If you skip this process, you lose out on that extra cooking time (called carry-over cooking time), as well as moisture and flavor. Carry-over cooking means that your pork keeps cooking even after it's been removed from heat for as long as 30 minutes. That rest time also allows the muscle fibers to relax and moisture to be released.
The insulation portion of rest time is also key. Many recommend a method that uses a tight plastic cooler and then wrapping the meat in foil and towels to insulate during rest time. Or if you're hours away from serving, you can use the oven at a low temperature (around 170 degrees Fahrenheit) to allow your pork to rest (via Traeger). You will want to be mindful of your resting technique, as it can affect the pork's texture.
But you don't want your pork to rest for too long, as the internal temperature needs to stay at 140 degrees Fahrenheit to prevent illness (via National Pork Board). As long as you can regulate your internal temperature above the required minimum, it could rest for longer than two hours. So, keep that meat thermometer handy.
Taking shortcuts when pulling your pork
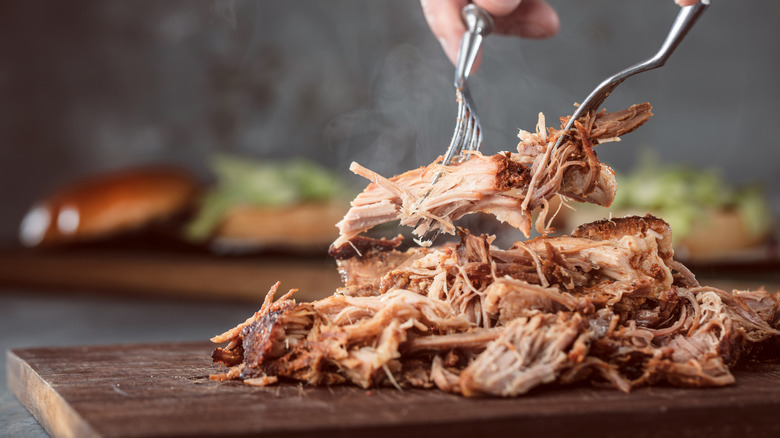
There's some debate over the technique of pulling pork. Some prefer pork with more of a chopped, chunky meat texture while others prefer thinner meat strands. The best part about making your own pulled pork at home is that you get to choose your meat's texture and get your hands dirty (but don't forget heat-proof or latex gloves).
"I personally like to pull or shred apart the muscle into medium and larger chunks/sizes," Tony Roberts said. "This allows for more moisture retention and a better overall mouth feel while eating. If you pull apart into small pieces the pork can dry up and not be as pleasant to eat."
If time is of the essence and you have a lot of pork to get through, you can also use a stand mixer to help break up the chunks of meat. This can be followed up by the double fork method, where you use two forks to shred the pork. Push the forks together and pull them apart, with one fork holding the meat slab and the other pulling pieces away. A meat shredding tool called bear claws has the same idea behind it but allows you to pull a larger area at a time. Take the time to sift through your pork and remove bones or gristle pieces before fully shredding, as these can be an inedible surprise. If you're cooking your pork ahead of time, consider delaying the pulling process to retain moisture.
Not preparing your pork for freezing properly
One of the biggest perks of pulled pork is quantity. You can get more "bang for your buck" by defrosting some pulled pork for a quick weeknight meal. Think pulled pork tacos, sandwiches, pulled pork egg rolls – the options are endless! But leftovers can be ruined if your pulled pork isn't stored with some forethought.
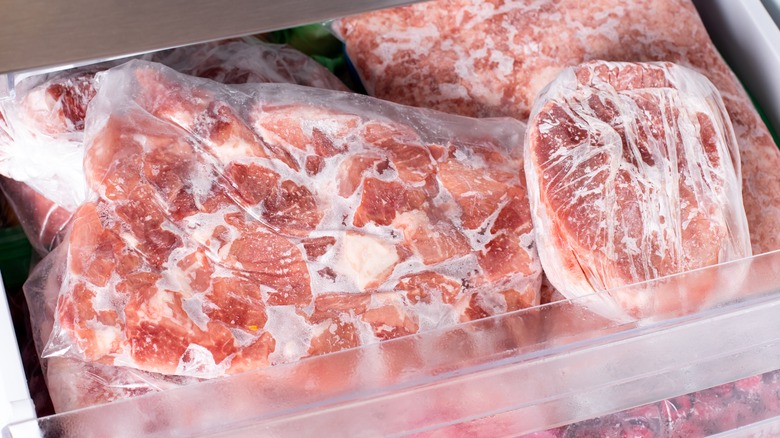
There are quite a few ways to freeze and store your pulled pork. But before you attempt to portion out and freeze it, you will want to be sure it cools fully. Smoked BBQ Source recommends using a vacuum sealer and dividing your pork into smaller portions. The vacuum sealer removes all the excess air that can lead to that pesky freezer burn and a mushy consistency when reheated. Another bonus is that it takes up less freezer space, and doesn't use up all your food containers!
If a vacuum sealer isn't an option, pick up some resealable freezer-safe bags at the grocery store. You can then manually take the extra air out of your bag by pressing out as much air as you can before fully sealing. Once properly frozen, try to use your pulled pork sooner rather than later. According to the USDA, you can store cooked meat for two to three months in the freezer. Beyond that timeframe, there may be some quality loss, but it is generally still safe to eat.
Reheating your pork improperly
Reheating your previously delicious pulled pork for leftovers and finding it dry? This can happen if you don't thaw your meat ahead of reheating, or if you throw it in the microwave at the regular power level without additional moisture like barbecue sauce or the drippings you hopefully saved from your cooking.
Improper heating can also be dangerous, as reheating in plastic bags can cause chemicals to be released into your food. That can be avoided by purchasing BPA-free bags. Another mistake made is leaving it too long in the slow cooker, as your pork needs to stay at an internal temperature of 165 degrees Fahrenheit to prevent illness.
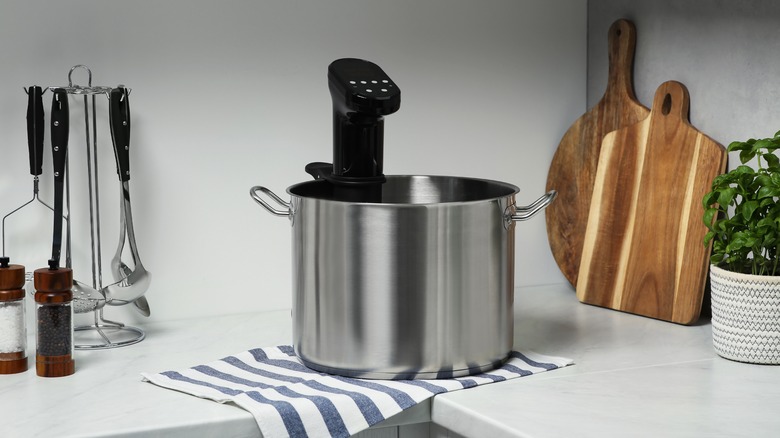
So, how can you properly reheat your meat? The preferred method to reheat large amounts of pulled pork is in the oven low and slow like when you cooked it. Wrapped in foil at 250 degrees Fahrenheit in the oven should do the trick. If you stored your pulled pork in vacuum-sealed bags, you can reheat your pork straight from the freezer with hot water on the stove to steam back to a warm temperature, according to Tony Roberts. You can also invest in a sous vide machine.
Once reheated, the USDA recommends eating refrigerated pork within three to four days before bacteria begin to grow. And while you can reheat pulled pork multiple times, each time increases bacterial growth (and also impacts the quality) (via Smoked BBQ Source).
Using the wrong type of wood for your smoker
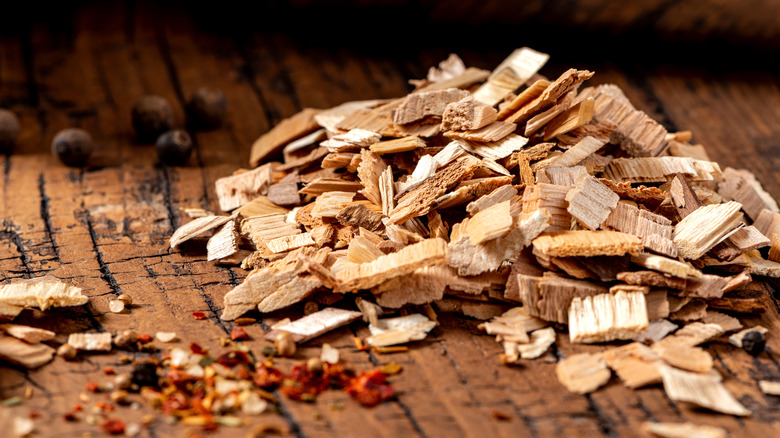
While you can definitely execute a tender pulled pork in the slow cooker, many are partial to the smoky taste and bark caramelization that is obtained on the smoker. "Flavor is going to be the biggest benefit of smoking a pork butt versus braising it in the oven or cooking it in a crockpot," Matt Bolus said, adding that smokers like the Big Green Egg allow precise temperature control for a "set it and forget it" method of cooking similar to the slow-cooker method. "With the EGG (or other smokers) you are able to add in any wood flavors of your choice like oak, hickory, and applewood. These are all great additional flavors to be added to a pulled pork when cooking and none of them can be achieved in a seasoning mix."
For Tony Roberts, a blend of pecan and cherry are his woods of choice for pork shoulders. "The sweet smoke profiles of pecan and cherry complement the pork without overpowering it," he said.
But you should be careful about using too much wood since it can lead to overpowering smoke — and that translates into an overly smoky flavor. It's recommended to start with around 2 ounces of your wood of choice for your grill or smoker and adjust as needed. You will also want to be sure those vents are open so the smoke doesn't get trapped and permeate through the meat.
