Ceramic Vs Metal: Which Pan Is Better For Baking Pie Crusts?
Many home bakers assume that whatever pie pan they have on hand will deliver the perfect pie crust, no matter what recipe they're making. And why wouldn't they? If you have a pie-shaped pan that can go in the oven without melting and you can keep a keen eye on the timer, you should expect that your finished pie comes out a winner. But there's a notable difference between ceramic and metal pie pans beyond the obvious; the materials they're made of can alter the quality of your pie crust, even if you follow your recipe to the letter.
As a long-time baker, I wondered which type of pie would yield better results with a basic pie crust. I've used metal and glass in my kitchen exploits, and I've never paid attention to the differences they produced — or rather, I took the blame for any errors that resulted in overdone, underdone, or otherwise inedible finished crusts. With curiosity getting the butter — er, the better — of me, I thought it would be a good idea to compare ceramic and metal pie pans to see which serves up a preferable pie crust for the sake of turning out seriously delicious pies. We bakers sure are a wild lot.
Metal pie pans heat more quickly than ceramic
Unless you're looking for a brown bottom on your pie crust, you should watch your metal pie pan baking very closely. Metal pie pans are usually made from either stainless steel or aluminum, which means they heat up quickly and intensely. Though they hold heat nicely as they bake, their hot surfaces can potentially compromise your crust in ways you won't appreciate. A few too many minutes under heat and your metal pie pan can make your crust more crumbly than desired, or even leave you with a burnt bottom. That kind of surprise isn't fun for anyone.
The flip side of this is that metal pie pans also cool down relatively quickly, too. This means your finished pie shell will be ready to fill, or your completed pie will be ready to serve, shortly after you remove it from the oven. The trick is to set your timer for a sensible number of minutes and check the oven frequently to make sure you hit optimal heat and take your pie out of the oven at precisely the right moment. If my recipe says "Bake at 400 F for 15 to 17 minutes," I set my timer for 14 minutes and leave the pie in longer if it doesn't look finished. This process will vary based on the recipe you're creating, of course, but it's always safe to peek early and often.
Ceramic pie pans are designed to heat more evenly than metal
For a more even heat-up, ceramic pie pans are the way to go. The stoneware used to make these pans allows distribution through your thin crust layer to slowly come to the right consistency. This can extend the baking time of your project, so prepare accordingly. Ceramic pans also retain their heat longer than metal, which means you'll want to bake your crust for no longer than recommended since it will continue to heat even once it's out of the oven. The result can be a dried-out pie crust that feels chalky or ashy instead of flaky.
Depending on where you shop, you'll find ceramic pans with both finished (glossy) or unfinished (porous) interiors. The natural personality of an unfinished pie pan requires seasoning, a process that helps seal the pores over time so your crust doesn't stick. Unless you're devoted to this sort of stoneware or have a heritage piece you're eager to use, I find the finished pan much easier to deal with. It's essentially a no-stick situation that accepts all ingredients equally and cleans up like a dream. Yes, we bakers dream of easy clean-up after we make pies ... is that so wrong?
One type of pie pan may be preferable based on the crust you're making
While you may not be looking to amass a huge collection of pie pans to accommodate your baking endeavors, having the right pans for the occasion already on hand can make whipping up new creations a whole lot easier. Even if you've gotten used to what your metal pie pan can do, you may find that having a ceramic pan in the cabinet works better for helping grocery store pie crusts bake up in a way that feels and tastes homemade. If you're making your own pie crusts out of other foods like oats or cookie crumbs, you may find metal a more helpful surface for pressing the ingredients firmly into the classic crust shape you're looking for.
Should your recipe call for a ceramic pie pan but you opt for a metal pan instead, or vice-versa, know that you may have to adjust the cooking time or temperature to ensure a proper bake. With a bit of caution, you can make any pan work for the pie you're making, though it's preferable to decide ahead of time so you can rest easy while your oven adds the finishing touches.
Our crust recipe was a simple one
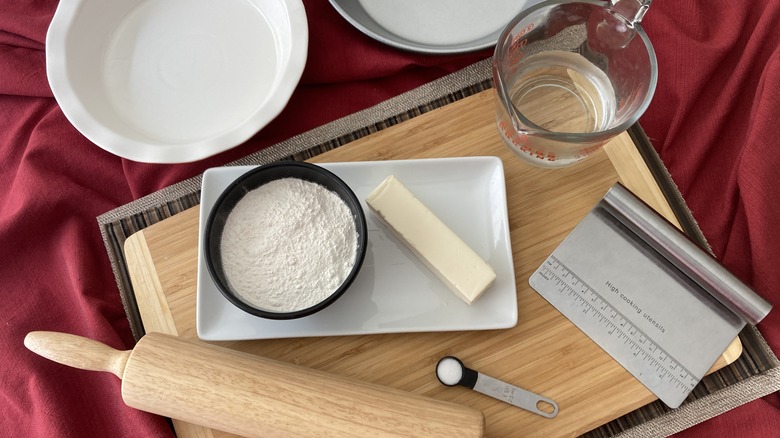
Rather than haul out the gourmet crust recipe with 19 ingredients and a two-week prep process to test these pans, I opted for the simplest crust recipe I could find: a straightforward combination of flour, butter, water, and salt that forms the basis of short crusts used for generations. My theory is that if this homespun crust can reveal the differences between ceramic and metal pie pans, then more complex recipes will surely benefit from baking in one material or the other.
Of course, there are dozens of crust recipes featuring ingredients that are bound to bake better in one or the other, a detail that helpful cooks will point out in the recipe, or at least somewhere in the thousand-page blog entry where the recipe appears. But sometimes, you just have to wing it in the kitchen and try the pans you have to see what happens, especially if you're recreating Grandma's sixth-generation Sweetheart Pie recipe that calls for three kinds of dairy. In those instances, you'll be the one to discover which pie pan works better, helping future generations in your family bake a better pie. And to ensure that I could gauge the doneness of the finished crust, I baked both crusts without filling them; anything added to the pie would have possibly altered the results, and the food scientist part of my brain just couldn't let that happen.
The metal pan produced a thin, crispy crust
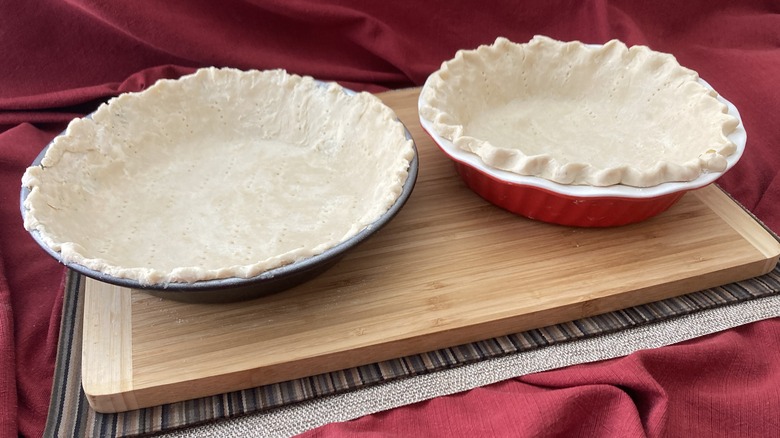
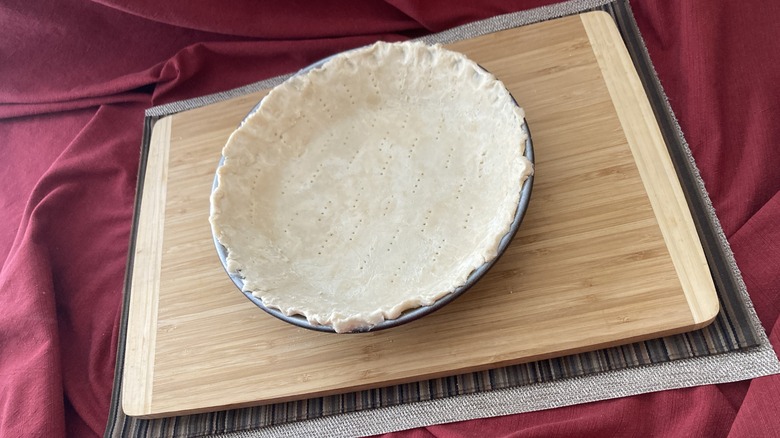
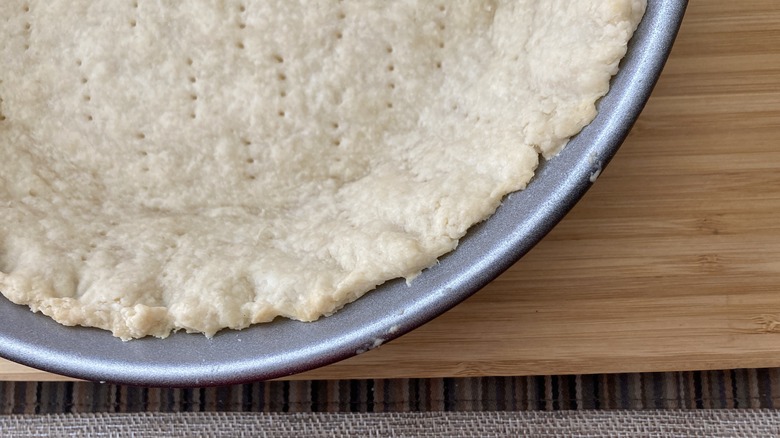
The crust in the metal pan went into a 400 degrees preheated oven for 14 minutes, though the recipe called for 15 to 17. I had a sense that the surface would super-bake the crust, and I wanted to be able to intervene if I saw things getting out of hand, tell-tale signs of overbaking like edges that get dark quicker than the rest of the crust. Luckily, 14 minutes was all it took to get the dough to a proper bake that looked finished enough for my liking. The rustic fluted edges were just the right shade of om-nom-nom, thanks to the rolling pin trick for getting an even crust.
In addition to making the crust look like it would grow up to be a classic pie — you know ... the kind you see sitting on window sills in classic cartoons — the old-fashioned metal pan gave a tawny color and bubbly texture to the crust. The flakiness was superb, breaking away with a bit of crumb but not splitting wildly. I know this because I snapped off a section and gave it a taste; it was buttery and crisp, similar to a tart shell that could easily be filled with mousse and fruit for a delicious dessert boasting a range of textures.
The ceramic pan produced a thick, tender crust
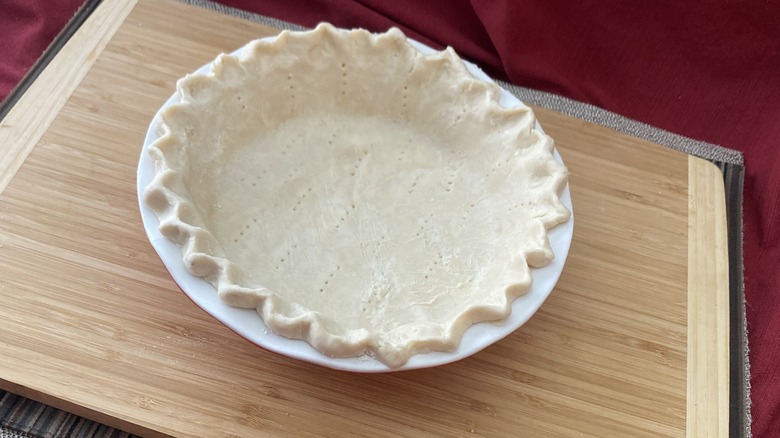
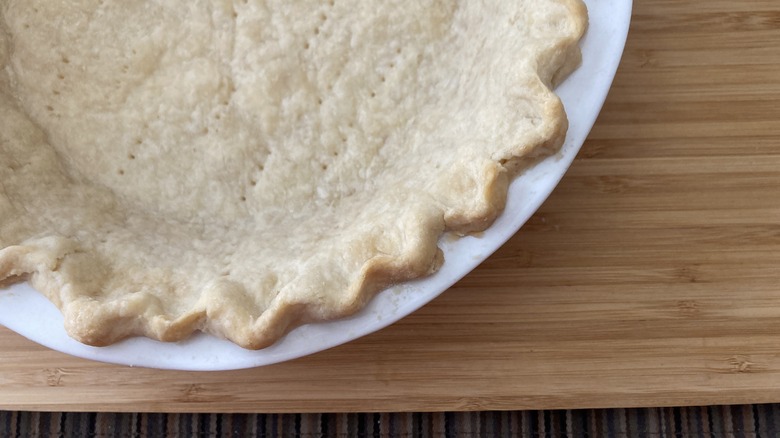
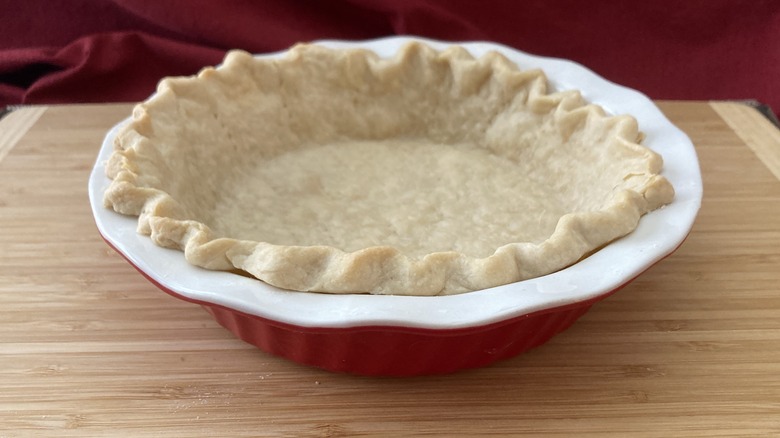
Boy, ceramic pie pans sure are pretty. Even empty, these deluxe dishes really shine, which means the pie inside ends up as eye candy no matter how it tastes. I found the ceramic pie pan an attractive way to present a pie, much more polished than the metal pan and great for moving from oven to table. This one also went into a 400-degree oven, but after the first 14 minutes, the crust still looked pale and underbaked. I added another three minutes and examined it again; still, it wasn't finished to my preference. After another three minutes, it was finally done, which means it baked three minutes longer than the recipe said and six minutes longer than the metal pan. So, now I know ceramic pie pans are fussy.
Evenness is the key word here when describing the baking process. After an initial 14 minutes of baking, the crust still appeared quite blond, so I left it in for another three minutes, and another three after that. The fluted edges finally matched the center by then, though they had a slightly crisper texture than the more tender center when I was finally able to sample it. Between the pretty presentation and heartier texture, the ceramic pan crust felt perfect for heavier ingredients or even a savory pie or quiche.
Verdict: Ceramic was a bit better than metal
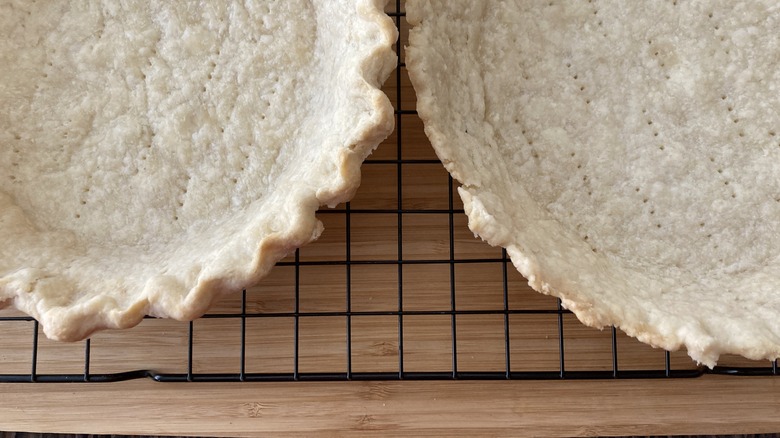
Though both pans did an admirable job with their respective versions of the same dough, the ceramic pan allowed the crust to remain a bit more tender in the center while still achieving crisp edges. By contrast, the metal pan required both the center and edges to crisp up to about the same texture, likely a product of the quick cooking time. The color of the crust in the ceramic pan was ideal, an appetizing golden brown that looked to be baked just long enough. The metal pan looked similar enough to the ceramic pan to be not just a sibling, but maybe a twin, if such a thing exists for pie crusts.
The fact that the ceramic pan took longer to complete the bake also gave me a sense of control that the metal pan didn't. I felt like I had enough time to let the ceramic pan pie crust bake as long as it needed to in order to finish, but I knew I had to jump up at the 14-minute mark to inspect the metal pan crust to make sure I didn't push my luck. To me, this is a sign of workability that gives ceramic pans the nudge they need to win the bake-off.
