Stop Making These Mistakes When Poaching Eggs
From breakfast to lunch through dinner, poached eggs are a delicious treat. Serve them plain, with hollandaise sauce, on toast with avocado, floating in a tomato soup, or sitting atop caramelized onion tartlets; they still taste great. Eggs are easy to poach — in fact, it takes as little as two minutes to get them ready. Yet, we consistently make mistakes when trying to achieve the coveted golden yolk drip.
Maybe we salt our poaching water, damaging the texture of our eggs. Sometimes, we overcook the eggs and lose the beautiful runny yolk. Of course, common mistakes abound when poaching eggs, whether at home or in a high-end restaurant, but all these mishaps are lessons we learn from.
Everyone wants to elevate their poached eggs from good to great and improve their poaching skills to impress the most discerning palates at their dining table. Mastering a few essential tips will quickly achieve this goal. We'll share common pitfalls people succumb to when poaching eggs, so read on.
Using old eggs
It's a shame when your poached eggs look like abstract art, feel rubbery, and fail to achieve a round, picture-perfect shape. If this reads like a familiar story, your biggest mistake with making poached eggs is using old eggs. The whites of not-so-fresh eggs break off into ghost-like wispy strands, turning the poaching water into a cloudy haze.
In contrast, fresher eggs have firmer whites with a better shape than their less-fresh counterparts, resulting in a more beautiful, better-poached egg. Before buying your poaching eggs, check the carton's expiration date. Using eggs within 3 to 5 weeks after buying them is recommended for quality results.
To tip the scales in your favor, always perform the egg float test before cooking to decide if your eggs are suitable for poaching. Gently set an egg in a water-filled bowl. If the egg suddenly sinks, it's fresh, but if it floats, it's old and unworthy of use.
Using a shallow skillet to cook the eggs
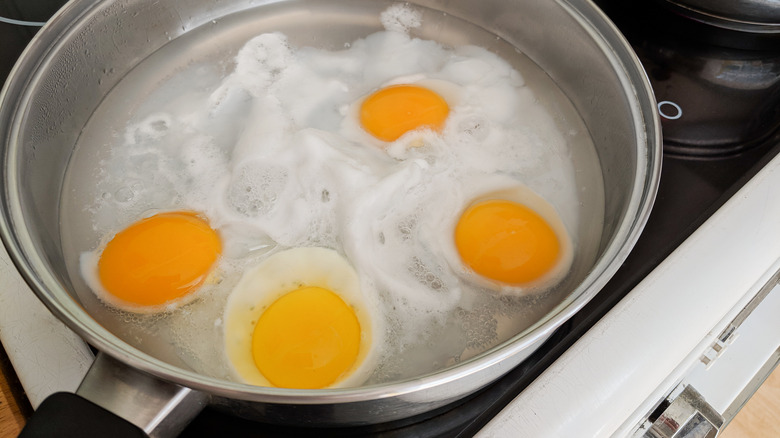
Poaching eggs using a small, shallow skillet is like inviting a bunch of friends over for a movie night, but your living room couch only fits two. It causes the eggs to spread outwards and flatten like a giant pancake (not quite the picture we're going for). Even worse, overcrowding the pan may fuse the eggs together, and retrieving them intact becomes challenging.
The challenge with a shallow pan is that its depth restricts the water from gently swirling around and poaching your eggs into beautiful, rounded shapes. You'll need a deeper cooking pot or pan for better maneuverability when adding eggs to simmering water. A deep poaching pot allows the eggs enough room to cook uniformly with little to no issues. Plus, a pan with recommended depth makes retrieving the poached eggs easier with a slotted spoon and helps guard against the eggs sticking to the bottom.
Keeping the water at a rolling boil
Raise your hands if your poached eggs have ever turned into wispy white clouds strewn all over your saucepan, creating a chaotic mess. Almost every egg-poaching fan succumbs to this mistake, and the prime culprit is always boiling water.
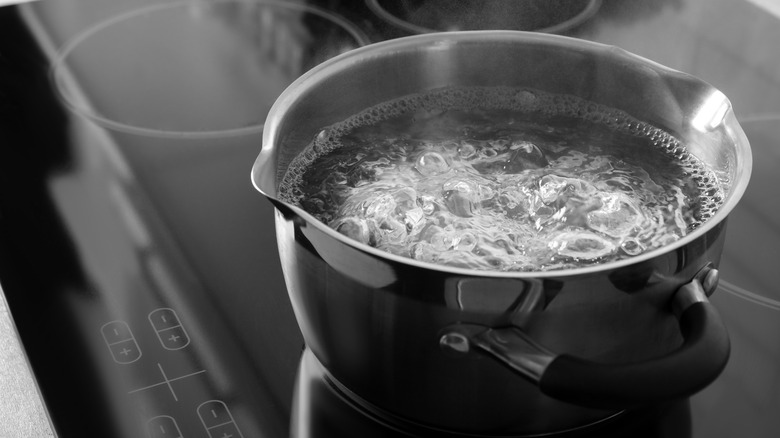
Keeping your water at a raging boil cooks them too quickly. You start guessing when the eggs are done, and odds are, they're overcooked, rubbery, and lacking that coveted, runny, golden yolk. Or, the force of the boiling water may simply break the eggs apart. The best remedy for this poaching pitfall is to simmer the eggs at around 195 Fahrenheit.
With a slow and light simmer, the odds of nailing an ideal texture for your poached eggs increase. That's because simmering provides just enough heat to gently cook the egg whites without any unwanted turbulence. So keep an eye on those water bubbles, ensuring they're small and gentle, and you'll poach like a pro.
Not adding a splash of vinegar to your water
We've all heard that a simple splash of white vinegar in your poaching water is all it takes to perfect your poached-egg breakfast. But what really makes vinegar the holy grail of achieving perfectly poached eggs? Without vinegar in the poaching water, your egg whites are likely to run and spread, creating unsightly streaks.
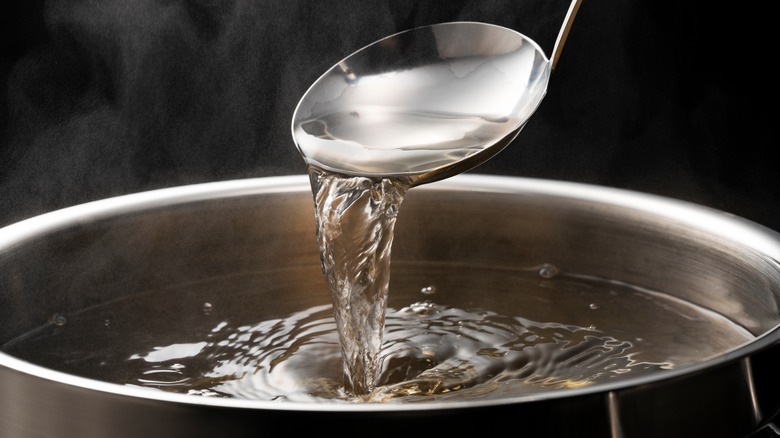
Adding a small amount of vinegar in the first few seconds of poaching creates a slightly acidic environment that gently firms up the egg white. It assists in speeding up the thickening process of egg whites, helping the egg hold its rounded shape and remain in one piece instead of spreading throughout the water. Don't forget the vinegar if you're gearing up to poach some eggs today. It's the secret ingredient you need, especially if you're an inexperienced egg poacher or are dealing with eggs that aren't super fresh.
Not swirling the poaching water
Uh oh, don't say you've been skipping this step, too! Failing to swirl your poaching water might seem trivial, but it can wreak havoc on your poached dreams. Get some fresh eggs if you want to set yourself up for success. Then, crank up your stovetop and boil water in a saucepan. Once it boils, reduce the heat to a low simmer. Take a spoon and create a whirlpool in the water by stirring a small circle for 10 seconds. This should create a vortex that lasts for about 7 seconds. If it lasts longer, it could mean that the water is too cool, and the egg could separate.
Next, take an egg and gently drop it into the center of the vortex from a teacup. Be careful not to let the egg touch the water, as it will disturb the motion of the vortex. Let the egg spin until it comes to a stop. Cook the egg for 1.5 to 2 minutes, and once ready, use a slotted spoon to remove the egg from the water. This water-swirling technique is the secret to perfectly poached eggs, according to TikToker Paul Foster and Michelin-starred chef. The circular motion helps keep the whites set around the yolk, preventing your eggs from sticking to the pan's bottom.
Cracking the eggs directly into the water
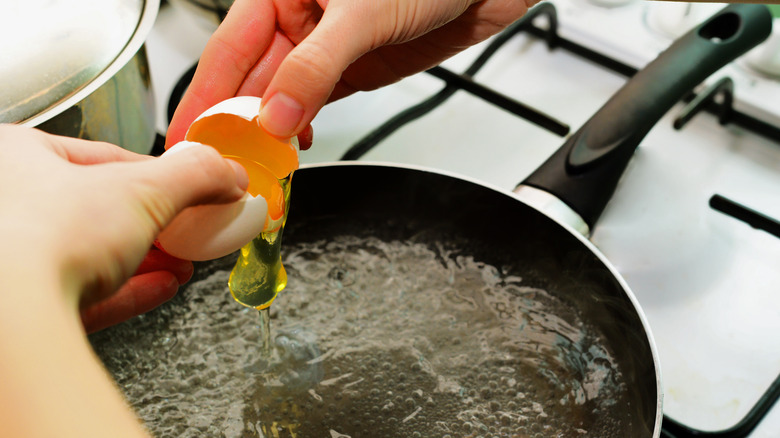
Cracking eggs directly into the water — instead of into small measuring bowls first — is going to hurt your poached eggs. We know dirtying a few kitchen bowls is slightly annoying, but this is an essential step if you don't want to waste a bunch of eggs in your quest for poached perfection.
Before gently slipping your eggs into the poaching water, crack them into individual small bowls first to achieve that Instagram-worthy rounded shape. Breaking eggs directly into the water is risky. You can burn your fingers or drop the eggs into the water too roughly, making them hit the bottom of the saucepan and spread them like a gross version of egg drop soup (not the image you want with your poached eggs). Cracking eggs into a bowl before adding them to the simmering water keeps them intact. There's no point in poaching an egg if the yolk is already broken and runny.
Overcooking the eggs
Are you poaching your eggs a little too long than you should? Almost every egg-poaching fan succumbs to this pitfall once in a while. Overcooked poached eggs are not exactly the stuff of greatness; they have rubbery whites and firm yolks that make them unpleasantly chewy, so they just don't taste good.
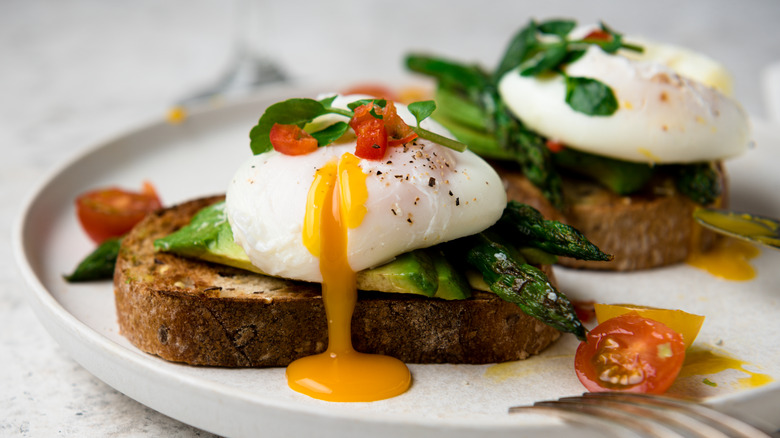
A perfectly poached egg must have a round shape, a firm egg white, and an almost gooey but runny golden yolk. Achieving this delicate look and texture takes practice and timing — a minute more than the required cooking time can bring your egg game to ruin. So to avoid losing the magic of your poached eggs, time the cooking process accurately.
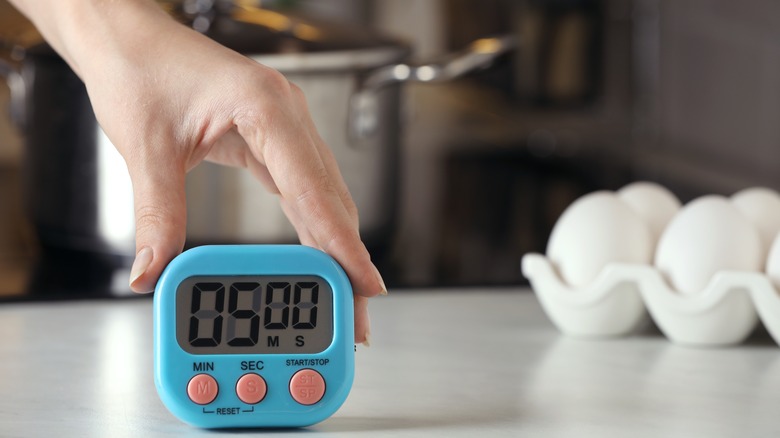
Have a timer on hand once you slip the eggs into the water and set it according to your desired doneness. The ideal cooking time for poached eggs may vary depending on their size. For large eggs, poaching for 2.5 minutes gives you perfectly set whites with a runny yolk, while 4-5 minutes gives you a well-done poached egg with a firmer yolk.
Salting the water
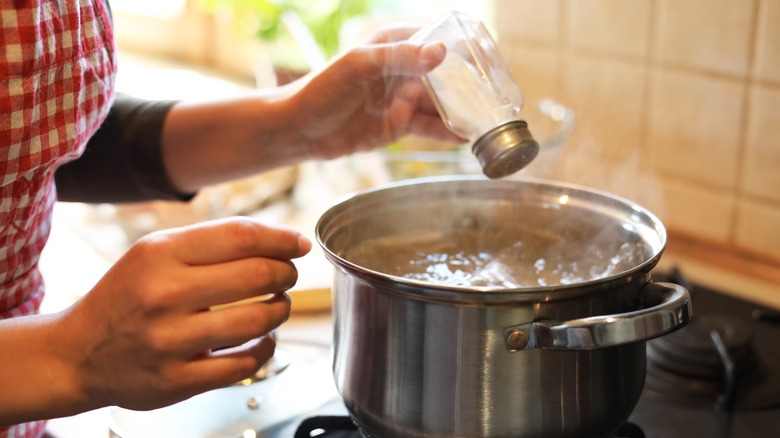
Every exceptional cook masters basic cooking elements like heat, acid, fat, and salt as they can make or break a dish, and poached eggs are no exception. Salting the water is critical to elevating many dishes. Can you imagine not salting a pot of water for cooking vegetables, broth, rice, or boiling pasta? You'd experience some depressingly tasteless concoctions. It's the same with eggs. They taste better when salted, but eggs are naturally complex and break many (cooking) rules.
When poaching eggs, for instance, salting the water can turn your perfectly tender poached egg into a rubbery disappointment. So, you want to forgo salting your poaching water at all costs. It's better to season your poached eggs afterward when you're ready to create your eggs Benedict or slip them over your avocado toast. Since making poached eggs is a delicate affair, you don't want to risk botching your results with salt.
Not using olive oil to cook the eggs
We know you're used to poaching eggs in water, a delicate yet simple process — but have you ever tried taking things a notch higher and poaching eggs in olive oil? At first, adding olive oil to poached eggs might seem sacrilegious, a culinary fax paus even, after all, oil and water hardly mix. But this authentic poaching method is a surefire way to impress guests at your next brunch or dinner party. Plus, it's the next level when it comes to flavor. So why not?
The good news is that this process is easier to pull off than poaching an egg in simmering water. To cook a perfect egg, gently heat a quarter cup of olive oil over medium heat. Then, crack an egg into the pan and carefully baste the whites until fully cooked. To keep the yolk creamy and runny, tilt the pan to prevent browning. Make sure to avoid overcooking the egg; it should be just set, with no coloring. Once perfectly cooked, slide it out of the pan. Replicate these steps to make a perfect and delicious olive oil-poached egg at home, and season it with spices and fresh herbs to elevate its taste.
Poaching eggs in the microwave using a regular mug
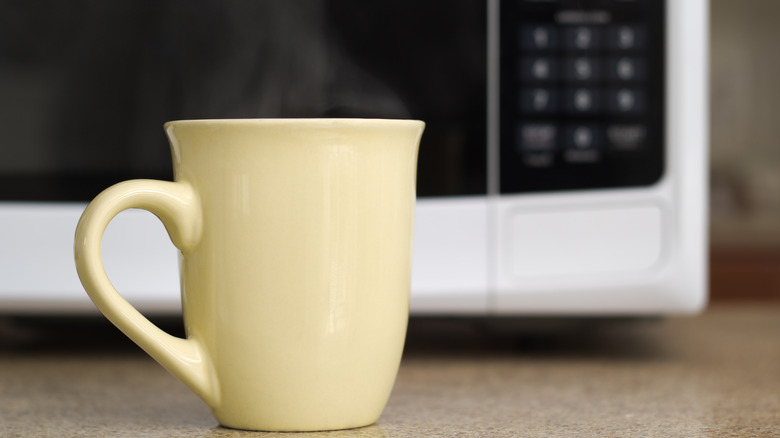
The art of poaching eggs on the stove is delicate and tricky to master, and that's probably why many people prefer using a mug to poach eggs in the microwave, deeming it the easiest and most convenient option, but sadly, it's not. In fact, it's the most dangerous way to go about poaching eggs.
When poached in a regular mug, an egg can violently explode in the microwave, splashing hot water around, including on you. To lower the risks of splatter burns from boiling water when microwave-poaching, skip the mug and use a microwave-safe bowl or ramekin instead. It works well for this purpose, especially if you know how to use it for poaching eggs.
To get started, microwave your water without the egg in the ramekin for about one and a half minutes. Then, strain the whites using a fine-mesh strainer and slip the egg into the heat-proof bowl. Before placing it in the microwave, allow the egg to rest for 30 seconds to achieve fully set whites until it turns cloudy. Cover the ramekin, then pop it back in the microwave (now with the egg) for about 60 seconds. Once done, flip the egg and let it cook for 10-15 more seconds before removing your poached egg.
Not using a small, fine-mesh strainer
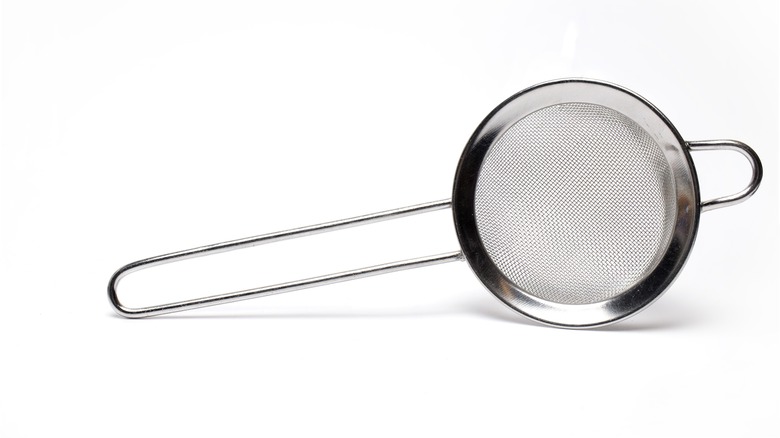
As small as it is, a fine-mesh strainer is the secret to perfectly poached eggs as it drains excess wispy, loose whites, creating well-rounded eggs with a tight, compact shape.
Before poaching, crack your egg into the strainer to drain off the runny, tentacle-like strands of the whites, and only keep the thick, firmer whites and the yolk. Then, gently drop the egg into a cooking pot of brisk simmering water. You can do more eggs at once this way, and they'll all come out looking prettier and more restaurant-worthy.
Another pro tip is adding your egg to the water while it's still nestled in the fine-mesh strainer. With this method, it's possible to shape your egg using the strainer's rounded edge. Just tip the strainer to help roll the whites around the yolk, and voila! You're left with a perfect round egg with no tentacles.
