The Biggest Mistakes Everyone Makes When Baking Bread
It's no secret that it's really, really tough to get bread right. Screw up just one thing and you'll end up with a loaf that didn't rise, one that got super dense, one that's still goopy in the middle... you get the idea. There are a ton of variables to baking bread, and you know what that means, right?
There's a ton of potential ways you can ruin a perfectly good loaf.
It doesn't matter if you're making some white bread to serve alongside soup, something a little lighter to make sandwiches with, or if you're trying your hand at mastering sourdough: there are some mistakes you're likely to make — but don't worry, there's good news. They're easy enough to avoid for next time, because there will be a next time. Cutting through a loaf you baked yourself is super rewarding, but first, let's talk about some common mistakes you should watch out for, because they'll make all the difference in the world when you slice into that finished product.
Treating all flours the same when baking bread
Back when your parents, grandparents, or great-grandparents used to bake bread, chances are pretty good they only had one option when it came to flour. That's definitely not the case today, and while you still might choose all-purpose flour for some breads, there's also whole wheat flour, almond flour, white whole wheat flour... and so on, and so on.
And each of those flours acts a little differently, so treating them all the same and trying to use them interchangeably will absolutely ruin your bread — according to experts interviewed by Bon Appetit.
Say you use Grandma's recipe for bread, which may have been written with all-purpose flour in mind. You want a loaf of wheat bread, though, and it's not going to work as it's written. Whole wheat flour is much, much more absorbent than the recipe's assuming your flour is, and you'll end up using more water and getting a super sticky dough that's incredibly hard to knead right. That's even further complicated by the fact that coarsely whole wheat flour will break up gluten and protein chains if it's overworked, and you'll end up with a loaf that crumbles instead of cuts.
Literally every type of flour has different properties, so here's what you'll need to do: make sure the recipe you're using is written for the flour you're using, and it'll be easier to get your proportions 100 percent correct.
Not using the right amount of fat when baking bread
We're all looking for ways to get healthier, and it might seem like swapping low-fat oils or butters into your bread is an easy way to cut back, but it's not — and here's why.
According to The Oils & Fats Specialist Group of the New Zealand Institute of Chemistry, fats play a key role in the chemistry of baking. They're necessary for lubricating the dough and retaining gases, which not only helps the loaf rise, but also keeps it fresh.
When you're using a standard, full-fat version of whatever butter or oil you're mixing into your dough, you're probably fine. The problems start when you try to use reduced-fat ingredients, partially because the lower fat content means you'd have to use more of the spread than the recipe calls for to get the same effect, and that's going to mess up your water and liquid ratios.
Also, reduced fat spreads and butters are made with a different process than other butters. Since they have more water, a different chemical emulsion is needed to keep the water and fats mixed, so when you go to mix it into your dough, it's not going to incorporate as well as a full-fat product. According to Quaker Oats, you should always make sure you're using an ingredient that contains 70 percent or more fat; otherwise, your bread is going to be tough, chewy, and dry.
Using too much or too little sugar when baking bread
Red Star knows yeast — they make it, after all, and they say sugar has an important part to play in the baking process.
Sugars, they say, don't just come in the form of white or brown sugar. They can also be in molasses, honey, corn syrup, or fruit juices, and that's important. Sugars essentially act as the fuel for yeast; yeast needs it to work, and undergo the process that's going to make your bread rise. If there's not enough sugar, the yeast isn't going to work well because it doesn't have enough to feed on. But if you add too much sugar, you'll end up getting the same lackluster effect because the extra sugar is stealing water away from the yeast. (That's why sweet breads always call for more yeast than savory ones.)
And here's another thing: if you add your yeast and then sugars right on top of it, it'll slow the process down and your bread's not going to rise here, either. You'll have to mix it precisely according to your recipe in order to get this particular process to work right.
Two other notes: yeast doesn't feed on artificial sweeteners, so you can't use them to replace sugar and get the same loaf of bread. Also, the darker the sugar, the more quickly the bread is going to brown — so keep that in mind when you're setting your time and temperature.
Underestimating the importance of hydration when baking bread
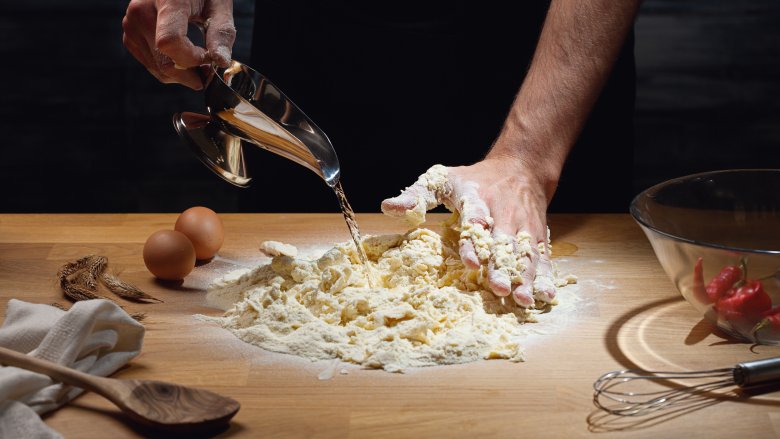
Hydration is exactly what it sounds like — it's the amount of liquid in your dough. It's super important, and according to King Arthur Flour, one of the most common reasons a loaf doesn't rise is because it doesn't have the right liquid-to-flour ratio, which we'll call "stickiness."
A well-proportioned dough shouldn't stick to your hands or to the side of the mixing bowl in a way that makes it frustrating to peel off. It should only feel tacky to the touch, and when it does, that means the dough is the right environment for yeast to feed (and release carbon dioxide to get the bread to rise), and for the gluten to stretch.
According to Red Star, it's not just water you have to worry about. It's also milk and fruit juices that you'll need to consider, and there are some sneakier sources of moisture, too. Eggs will add moisture to dough, and some fats or liquid sweeteners will also impact the liquid-to-flour ratio. Keep that in mind if you're tempted to add something the recipe doesn't call for — it's all going to change what's happening in your dough.
Not accounting for your water quality when baking bread
So, you know liquids and water is a big deal. Have you thought about the quality of your water? That makes a difference, too, and overlooking it can ruin your bread.
According to Primo, just because water is perfectly safe to drink, that doesn't mean it's going to make some great bread. If there's chlorine in your water, it can interfere with the way enzymes in the dough work — and that'll change the final product. Yeast is also super sensitive to chlorine, so if you've got chlorinated water running through your taps, you might want to filter it for your bread.
If you have hard water — which means it has high levels of calcium and magnesium ions — it's also going to interfere with the chemical process that goes on in bread. King Arthur Flour says gluten won't be as pliable, and the fermentation rate will slow... but having water that's too soft is just as bad. Without those minerals, your yeast isn't going to react correctly and your dough won't form into that firm ball you're looking for. If your tap water isn't right down the middle on the hardness scale, you might want to find an alternative.
Using water that's too hot or cold when baking bread
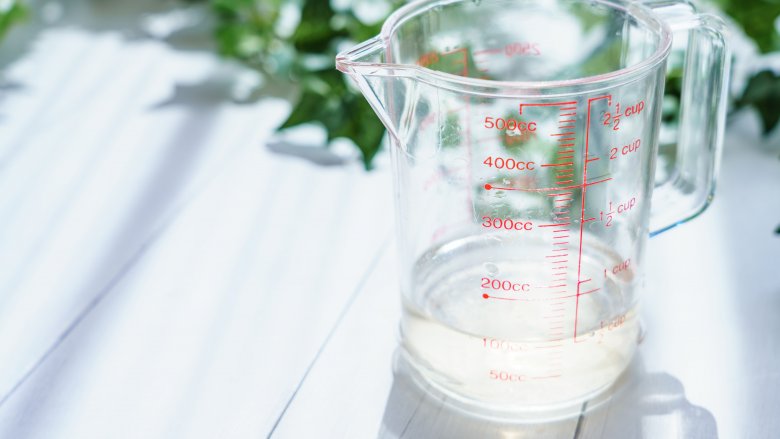
Water is super important when it comes to figuring out how to get the best loaf of bread for your time, and if you're just reaching for the tap, measuring, and pouring your water into your mixing bowl, you're doing it wrong. Here's why.
Yeast, Red Star reminds us, is alive. And like other living organisms, it does best in a certain type of environment. If it's too cool, the yeast isn't going to work, and if it's too warm, you run the risk of either killing it or making it work too fast (and that will lead to a weirdly lumpy loaf).
What should you do? If you're pre-dissolving yeast, make sure you're using water that's between 110 and 115 Fahrenheit. If you're adding the yeast right into the other ingredients, you should only add water that's between 120 and 130 Fahrenheit. Bet you didn't know it was that exact, did you? Those temperatures are right in the middle of a safe zone: according to Quaker Oats, temps of above 135 degrees Fahrenheit will kill yeast, and temps below 105 degrees Fahrenheit won't activate it. Now you know!
Not realizing your yeast is dead when baking bread
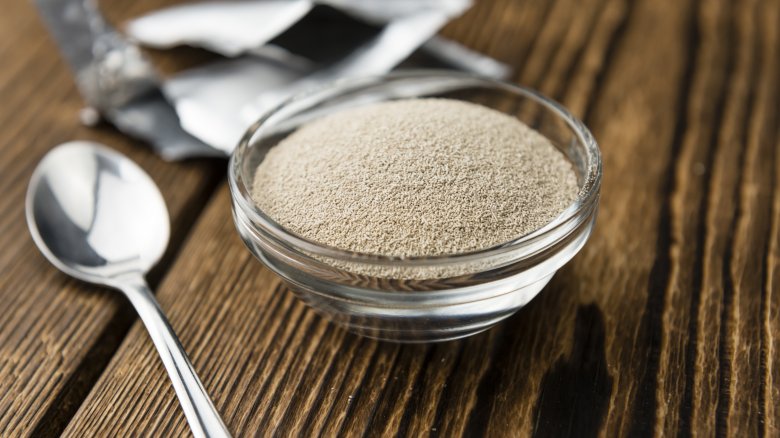
Here's a mistake that's super easy to make, especially considering most of us aren't used to cooking with ingredients that are actually living things. While most ingredients are fine if they sit in your cupboard for a while, if that dry yeast has been there for a bit, it might be dead.
It also might be dead if it was stored improperly, says Red Star, or if it's past the "Best if Used by" date. This is one time those dates actually mean something's really, honestly gone off, because yeast will become less and less active with age. That's even true if you haven't opened it yet.
Properly storing your yeast is crucial, too, and if it's kept in a way that brings it into contact with air, heat, or moisture, it's going to degrade very quickly. (So, keep it in a cool, dry place, in your fridge, or in your freezer.) If you have doubts, test your yeast before you use it. It's easy — Taste of Home says all you'll need to do is put one packet into half a cup of warm water (remember your temps!) along with a teaspoon of sugar. Let it sit for 10 minutes, and if it starts to foam, it's fine.
Kneading too much or too little when baking bread
Whether you're kneading by hand or with a stand mixer, it's a crucial part of the process that's incredibly easy to get wrong. Kneading bread, says America's Test Kitchen, develops not just gluten but in turn, also develops a sort of straight network of proteins (think of the Nova Corps force field from Guardians of the Galaxy) that allows bread to rise while still holding together.
But here's the thing. If you don't knead bread long enough, you won't get enough air in the dough, the ingredients won't be evenly distributed, and well, you won't get enough of those Nova Corps ships in their rows to hold the force field. But if you knead it too much, you're also going to damage your dough. The movement of the dough, your hands, and the dough hook is going to cause too much heat to build up and too much air to get into the mix, which will make a loaf that doesn't have too much flavor.
The key is to look for a few things in your dough: it should easily pull free of the sides of the bowl or your work surface, and when you pull it, it should remind you a bit of a rubber band in the way it snaps back. If that's your dough, stop kneading.
Adding too much flour when kneading bread dough by hand
Not everyone has a stand mixer, and you certainly don't need one to knead bread. But according to America's Test Kitchen, having one saves you from making a few mistakes. For starters, it means you're working the dough in a more uniform fashion. It takes a lot of muscle to knead dough in a regular way for 20 to 25 minutes, after all. But there's something else at work here, too — you're also keeping your liquid-to-flour ratios more exact.
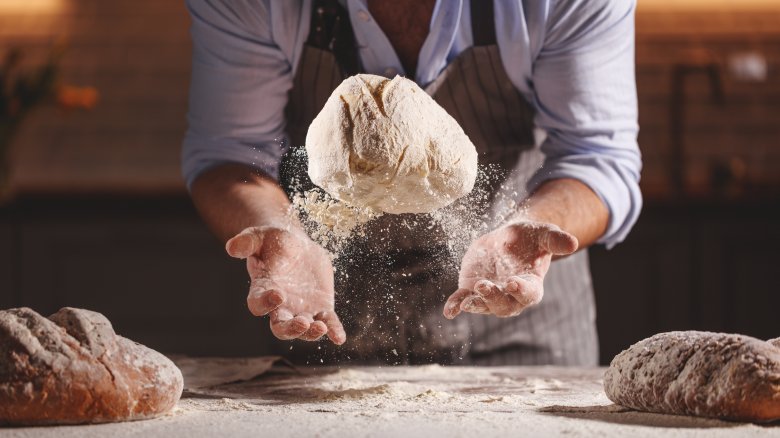
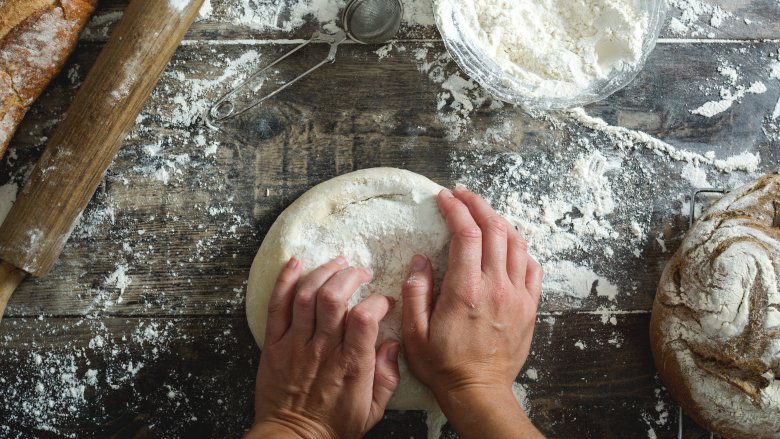
What's the first thing you do when you're kneading by hand? You sprinkle some flour on the work surface, on your hands, and on the dough to keep it from sticking. You'll probably do that a few more times over the course of the kneading process, and if you use too much flour, that can turn into a huge mistake. While some doughs might need a little extra flour, they're not going to need a lot — not if you're following the recipe right, at least. If you do add too much, it's going to change the texture of your loaf into something you're not going to want to replicate... ever.
Messing up the rise when you're baking bread
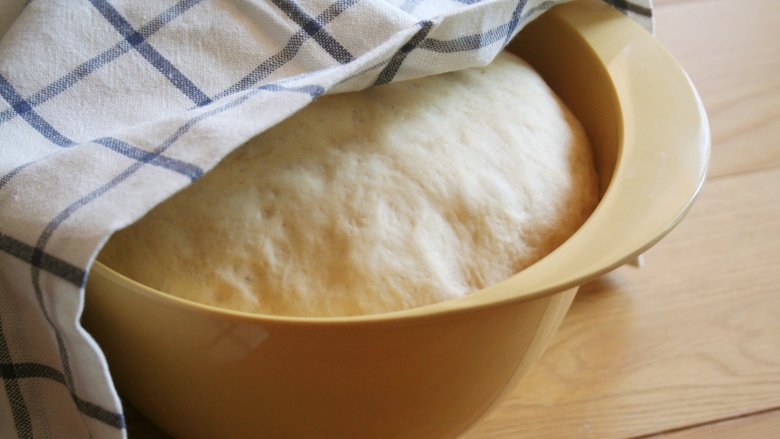
Baking bread is tricky, and you can even make mistakes as you're doing nothing but watching the clock. First off, take some advice from Paul Hollywood, and never, ever forget to cover your bread with a protective little hat. (And that's not even a joke — a shower cap can work pretty brilliantly for this step!)
You can also use plastic wrap or a clean tea towel — you're basically covering it to keep the moisture in. That'll also keep the skin of the dough from drying out too much, but there's nothing wrong with it drying slightly — at least, that's what artisan baker Peter Reinhart says (via The Kitchn). Breaking that skin when you're splitting your dough and putting it into bread pans is a mistake, too, because if you don't break that super-thin skin, you'll be able to cut long, deliberate slashes in the top to give the bread a place to break and fold as it bakes and expands, which will give you a much better-looking loaf. You're not doing that? Oops!
Using the wrong size pan when baking bread
How many times have you pulled a loaf of bread out of the oven and been disappointed that it didn't rise much? According to King Arthur Flour, your mistake might not have been anything to do with the recipe or the ingredients at all — it may have risen just fine, but if you used the wrong size pan, it certainly won't look that way.
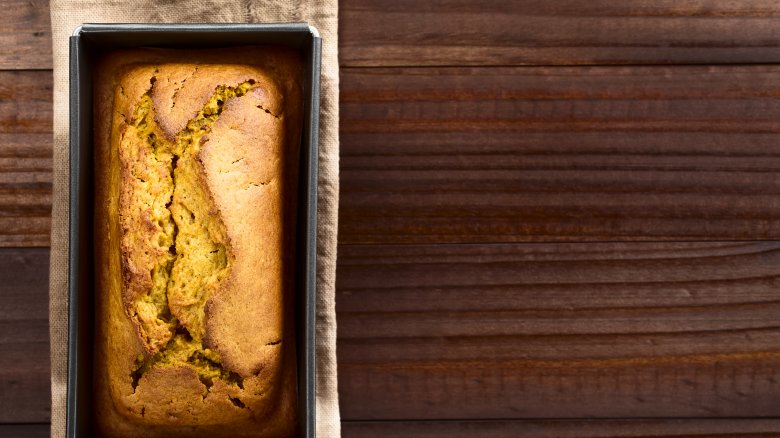
And we're not even talking about a huge difference in pan sizes — you might have 2 different size bread pans in your cupboards right now and not even realize it. There's 9x5-inch pans, and there's 8.5x4.5-inch pans. That makes a difference? Yes, it does!
The bigger pans are actually for breads that don't use yeast — like your favorite banana bread. The smaller pans are for breads that call for yeast. And that half inch makes a huge difference: do the math, and you'll find that the bigger pan actually has about 30 percent more room in it, and that means yeast breads aren't going to rise as big and tall in the bigger pan. Size does matter!
Baking all breads at the same temperature
If you've ever just sort of set the oven at 350 without giving the recipe a second glance, well, you shouldn't. (Why 350? We found out in this piece.)
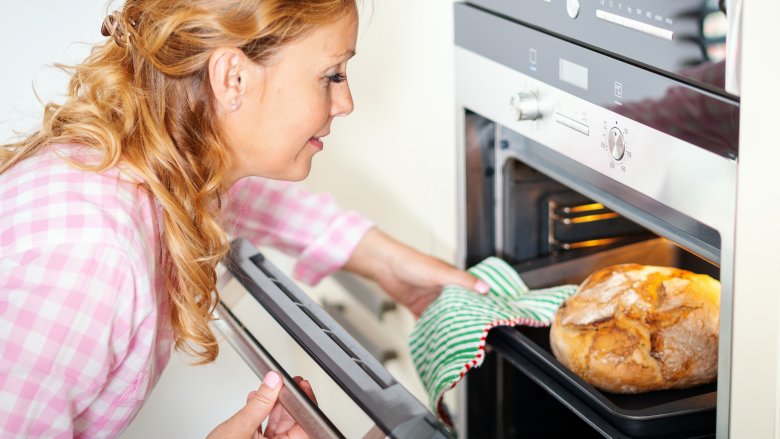
According to Taste of Home, not all breads should be baked at the same temperature. First, our yeast breads. Those are typically baked at temperatures between 400 and 425 Fahrenheit. When you're baking a recipe that has a higher amount of fat than your typical loaf of, say, white bread, you'll need to drop that temperature considerably. Here's another rule of thumb: if you use less than half a cup of sugar, bake at 375. If you use more than half a cup, bake at 350.
That's great for oven temperature, but what about internal temperature? If you want to make sure your loaf is baked all the way through, use a thermometer. According to King Arthur Flour, there are two temperatures you should be looking for. Baking to 190 degrees Fahrenheit will give you a moist but fully baked loaf, while a more traditional 210 degrees will be a little drier and a bit chewier. Now, get your thermometer! You don't have one? Mistake!
Letting the bread cool in the pan
You've measured and mixed, kneaded and proofed, and finally, you've baked. You're in the clear now, right? Not exactly.
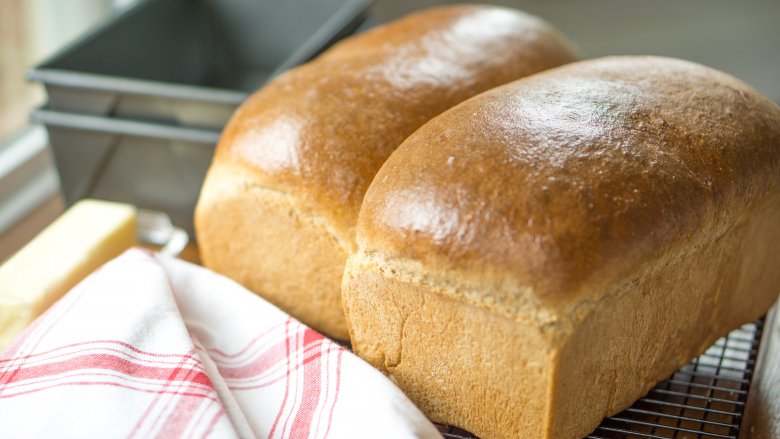
If you've ever pulled the pan out of the oven and left it somewhere to cool, you're not doing it any favors. According to King Arthur Flour, the most you should do is let yeast bread rest in the pan for about five minutes, then transfer it to a wire rack. That five minutes isn't always necessary, either, and it's only to allow a slightly wobbly loaf to firm up a bit. Ideally, you'll want to transfer it to a rack immediately after taking it out of the oven. That'll prevent the crust from getting tough, and no one wants a super tough crust.
Here's another tip when it comes to getting the crust just right. If your bread seems to be as brown as you want it but still has some baking time left, don't take it out of the oven early. Just cover it — gently — with a piece of aluminum foil, and let it finish the bake time. That way, you should be able to take it out of the pan immediately. Look at it this way: it'll cool faster, and it'll be ready to eat faster, too!
