14 Mistakes Everyone Makes When Cooking Smash Burgers
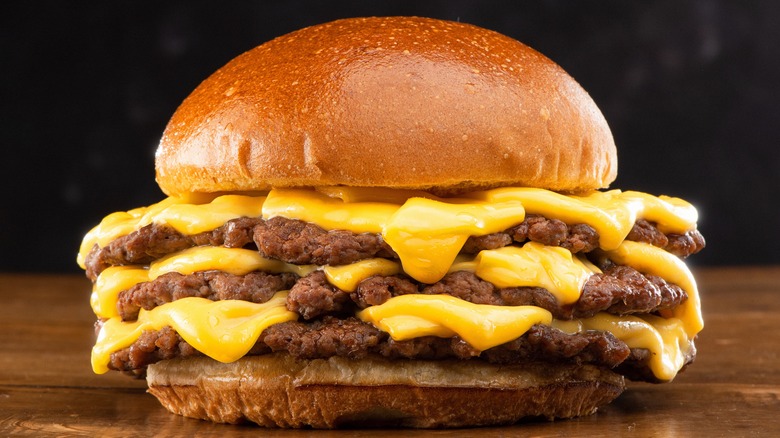
A simple smash burger is sometimes exactly what you need. Nothing else will do. And the good news is that it's so quick to make and easy if you follow the right steps in the correct order. Talk about home-cooked fast food at its best. Because the patties are thin, you've got a great reason to munch down on a few, too.
Compared to regular patties, smash burgers are still juicy if they're griddled right. What makes them so moreish is that you get more of that crispy brown outside. Get this wrong though and you're missing what's best about this type of burger. While you can fry smash burgers up in no time, that doesn't mean that there aren't any pitfalls. Before you turn on your griddle, check out the following mistakes everyone makes when cooking smash burgers. Practice makes perfect, so you've also got an excuse to try these tips out a few times to make your smash burger a smashing success.
1. Not using quality, fresh beef
No matter what kind of burger you're cooking, a burger is only going to taste as good as its ingredients. Using sub-par ground beef or beef that's been sitting in the back of your freezer for months is only going to get you a sub-par smash burger. So, what kind of ground beef should you look for at the grocery store?
Beyond using fresh beef versus frozen beef for your burger patties — a choice that's ideal for a few reasons, including the fact that fresh beef simply makes a juicier burger, something McDonald's discovered when it successfully rolled out its new-and-improved fresh beef burgers in 2018 — choose high-quality beef with a lot of flavor and a lot of juicy fat. The pros at Smashburger use only Certified Angus, grass-fed, corn-finished beef for their patties, specifically fresh chuck that's 80% lean and 20% fat. This lean-to-fat ratio is considered juicy, but still a little healthier than a chuck blend that's 70% lean and 30% fat. If you, like Smashburger, also specifically choose grass-fed, corn-finished beef, you'll likewise find that the beef is more flavorful, fattier, and juicier than beef that's been grass-finished.
2. Using beef that's too lean
You might be tempted to think that using good quality beef means using lean meat. Not so. One of the mistakes everyone makes when cooking smash burgers is using meat that doesn't have enough fat in it. Smashburger restaurants use an 80/20 lean and fat ratio, and this, combined with the quality of the meat, results in a juicy burger. Using meat leaner than this could result in a dry burger that's not going to be tasty no matter how much mayo you add. You don't want a smashed burger to turn into a cardboard-like disc, but glisten with a little grease instead.
Some recipes suggest a 15 percent level of fat could be adequate, but you need the fatty meat to sizzle as soon as it hits the heat without adding any oil. If you make up a mix, then you can combine cuts for an even higher amount of fat, like 25 percent. It's not just that it'll get a nice sizzling crisp on the outside, but it'll lock in the meaty taste of the smash burger, too. If you're opting for Wagyu and gourmet smash burgers, then you'll be using beef that's at least 20 percent fat, if not higher. Not only does the marbling from the fat give this Japanese beef its unique texture, but it's also not as high in saturated fat as other types of beef.
3. Squashing an already flattened patty
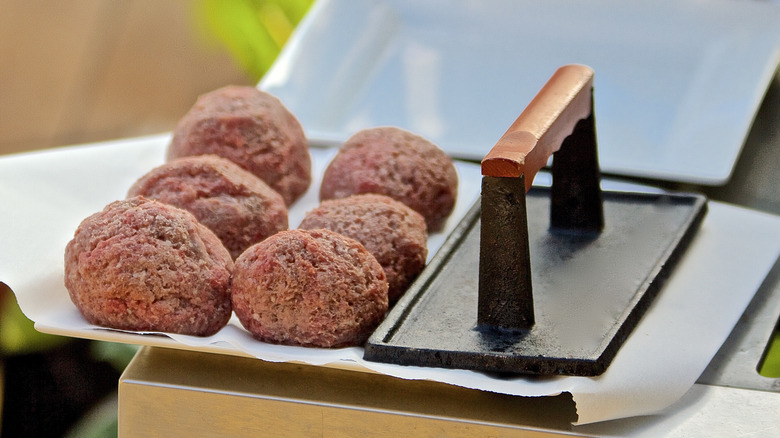
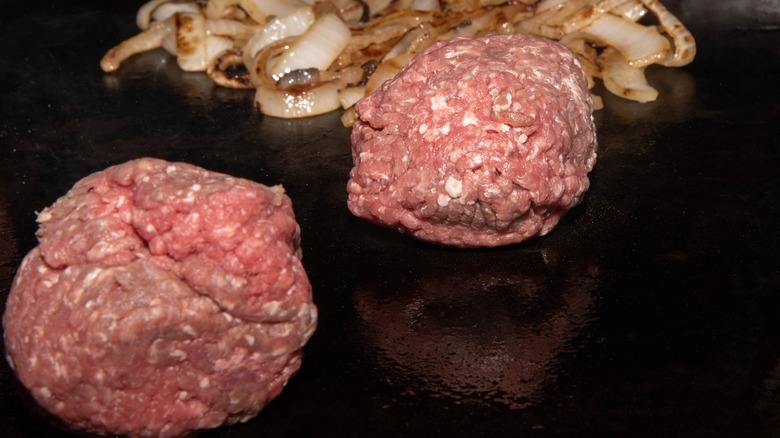
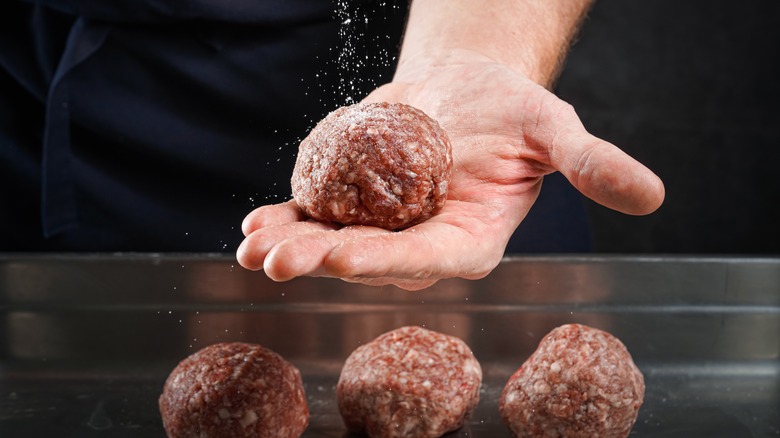
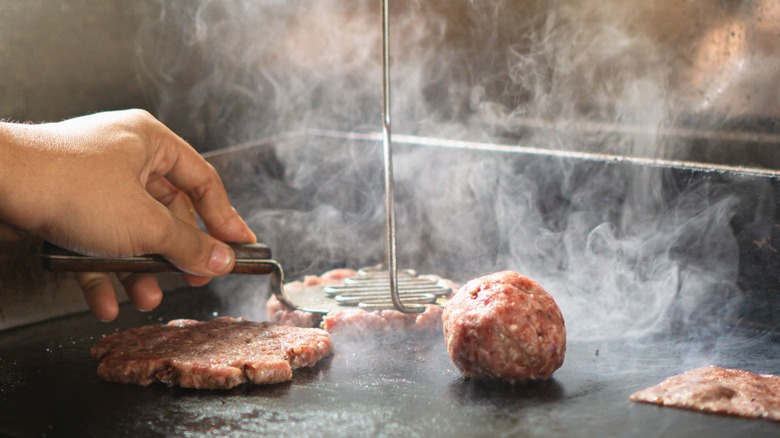
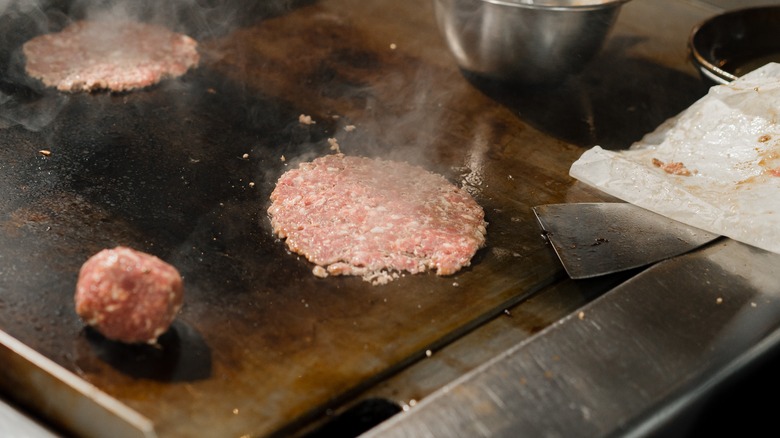
You can grind beef at home, buy it already ground at the store, or even ask the butcher to do it for you from a piece of chuck steak. Rather than shaping the meat into a hamburger, use your hands to mold the ground beef into meatball shapes. By pushing, pulling, and rolling it, the meat will stick together more easily, and that means it's less likely to fall apart when you smash it.
By creating balls and adding these to the hot grilling surface, it's going to be easier to press down on them and flatten the meat out. You can work the meat a little so don't be overly concerned about how much you're handling it. One advantage of smash burgers is that making spheres is way easier than trying to shape the perfect burger if you don't have the special equipment at hand.
4. Not using parchment paper when smashing
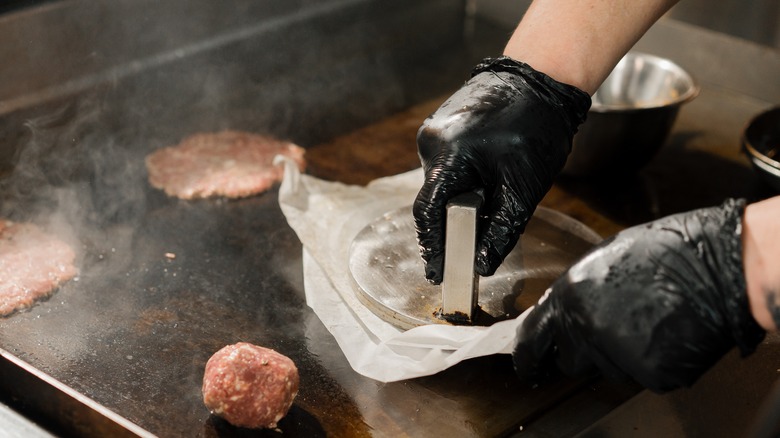
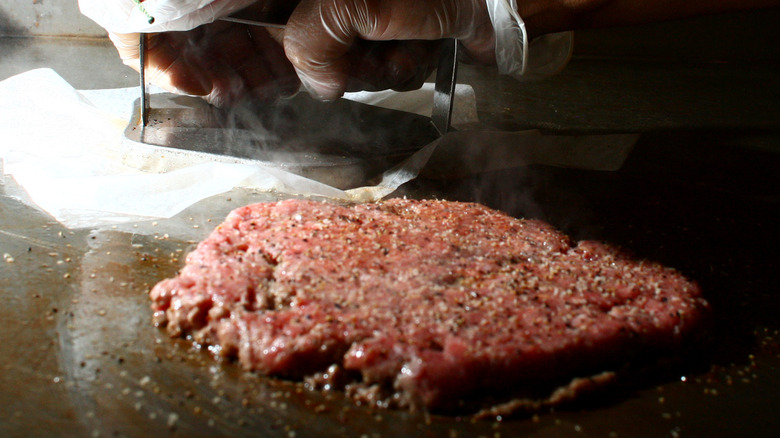
If you've ever flattened a chicken breast to make chicken parm or chicken cordon bleu, then you're already familiar with the process where you sandwich the chicken between layers of Saran Wrap or parchment paper, then have at it with a mallet or rolling pin. The protective layers keep the chicken in place and prevent it from sticking to your weapon of choice. The same idea applies to smashing your smash burgers; if you go at them without a protective layer, you will end up with burgers that slip and slide, stick to your press, and then break apart in the process.
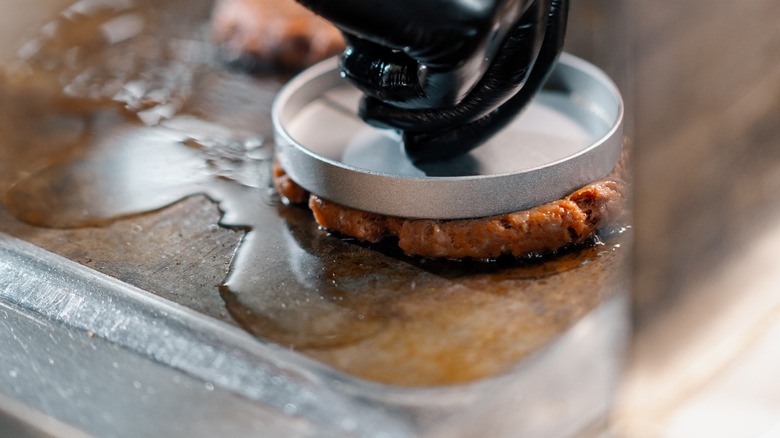
To keep your burgers in place, whether you're pressing them before cooking or right after adding them to your cooking surface, as well as ensuring the burgers don't break apart as they stick to your makeshift press, lay a sheet of parchment paper between the beef and the press before you start pressing. Because most folks don't have a burger press at home, you might have to get a little creative and use a heavy item to press your burgers thin, such as a stainless steel pan, cast iron pan, cookie sheet, or large spatula.
5. Making them too big or too small
In terms of portion size, aim for around 2 ounces for a small burger if you want to double up in a bun. Or you can double the amount of meat if you want to chow down on one large patty. It might depend on the bun you're using, and how big that is, or whether you like a double burger, smashed or otherwise. The advantage of making the patties smaller is that you get more crust, which is ultimately what makes smash burgers so delicious. However, you might be wondering how big and thin you should go.
The more flattened the meat is, the bigger the burger will be. Of course, this may depend on the size of your bun as what you probably don't want is flaps of smash burger wafting around outside the bun, rapidly cooling down with no toppings. If you're a smash burger fan, you'll know that there's something irresistible about nibbling off a little meaty crust that's sticking out a burger bun before taking a proper bite. A good tip is to cut the parchment paper you will cover the meat with into a circle that's about the size of the burger you want. It'll then act as a guide as you smash the beef.
6. Not seasoning in the right way
One of the classic mistakes everyone makes when cooking smash burgers is about seasoning. This includes not seasoning enough, adding too much, or doing it at the wrong time. Considering how quickly smash burgers cook, you might think that as long as you fling around with a salt cellar in the style of Salt Bae it'll be good enough. There are plenty of burger recipes that add ingredients to the meat. But if you've got good quality ingredients, you only really need salt and pepper.
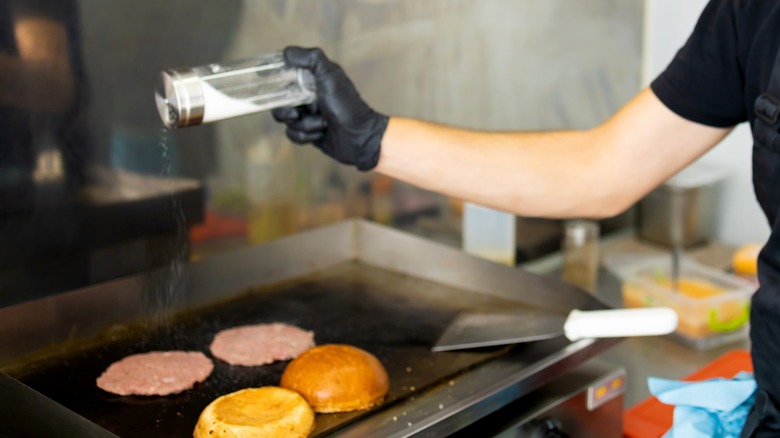
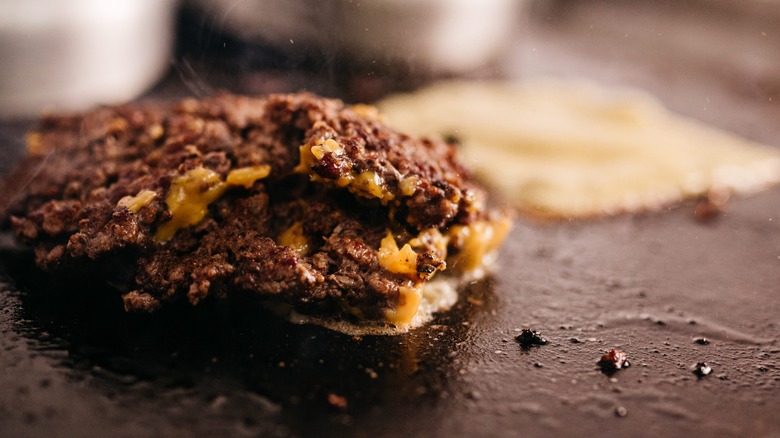
Don't add salt to the raw meat as it'll give it a chewy texture when it cooks. Instead, add the salt on top of the smash burger when it's on the griddle or in the pan. Salt after you've smashed it and it's browning and turning crispy on one side with the juices bubbling up. You might want to use kosher salt which has a milder taste, along with black pepper, and a little garlic powder, too. Smashburger also adds ground-up triple-roasted chicken skin for extra flavor. The In-N-Out burger chain is reported to add a flavorful twist before flipping. They add a little mustard to the top of the patty so that when it's flipped, it creates a flavorful crust on the second side.
7. Not using the right equipment
You know the types that always have all the latest and most expensive kitchen utensils. Heck, you might be one of them, and proud of it. Aside from a surface that you can heat to a high temperature, the two most important utensils you need are something to smash the burger with and a spatula to flip it. You can purchase various specific smashers, or you can use a wide spatula to squash the meat and the handle of a second one to press down on the first one.
You can also use a spatula to smash the burger balls into flattened patties. To assert more force, use a kitchen mallet or even a potato masher to press down on the spatula. The trick here is to smash the meat quickly. You'll need a spatula that's more akin to a scraper, or at least has a super-thin edge to get under the meat without disturbing it.
8. Not cooking at the right temperature
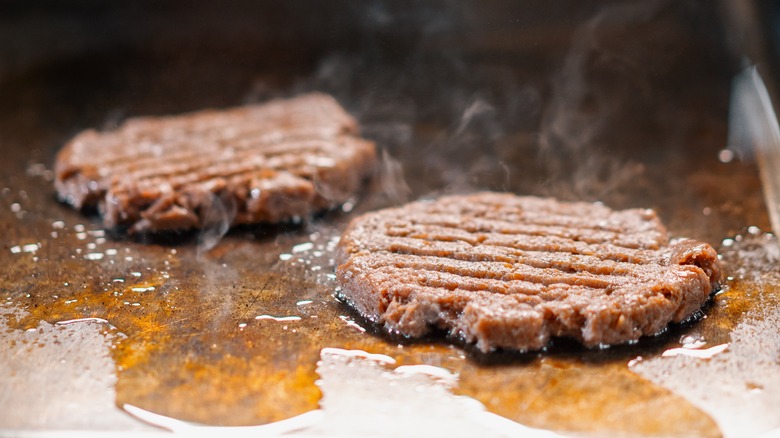
Temperature is everything when grilling smash burgers. And it's not just a must that your hot cooking surface is at a high temperature. The meatballs need to be cold, too, to create a sizzling contrast. However, you might want to take them out of the fridge before cooking if they are feeling a little too firm to smash. When they hit the griddle or pan, you should hear a definite hiss. As you smash the beef, this will only grow louder as the Maillard process starts to happen. This is where the meat sears and browns due to caramelization. Without this, your smash burger just isn't going to be as appetizing.
This reaction happens when the temperature hits around 320 F. However, for a sizzling smash burger, you will want a hot plate that's hotter than that — over 400 F at least. This is why it's important to use a griddle or hot plate designed for these high temperatures or a stovetop grill pan that can withstand this level of heat.
9. Not keeping the press down to create a crust
The whole concept of a smash burger is that it's like a regular patty, just smashed down. It's not about aesthetics, although they do look fabulous for some reason. Pressing the meat down and thinning it out creates a greater surface area to char. It's this combination of crusty exterior and juiciness that wins on sheer mouthwatering appeal. However, one of the biggest mistakes everyone makes when cooking smash burgers is not keeping the press down long enough to create a crust. The press serves two purposes, to smash the beef, and to also continue to squash down on the now-smashed patty with enough force to sizzle the underside.
Smashburger founder Tom Ryan suggests pressing down on the parchment-covered patty and keeping the press down for 10 seconds. What you don't want to be doing is lifting the press up and down to flatten the meat. Instead, smash the meatball in one single, decisive action as soon as they hit the heat. This applied pressure ensures that a caramelized crust is formed. Not only does this taste amazing, but it creates a barrier to stop the juices from escaping out the side. Instead, they're kept inside and rise to the surface. Now you know why smash burgers can be deliciously crispy and juicy at the same time.
10. Flipping at the wrong time
After a couple of minutes of cooking, it's going to be time to flip your burger. This is only a guide, as cooking times will depend on how thin the patty is and how hot the griddle or pan is. The important point is that the underside of the patty is seared to perfection. You'll see that the meat on top of the patty has started to color, too, but it won't be cooked through.
Unless you take a look under the meat, you might be wondering how you know if it's cooked. You'll see the juices cooking within the meat and emerging on the surface of the burger. A tell-tale sign, too, is that the edges will start to sear and crisp up. When this happens, it's time to get your spatula ready. However, when you flip it to sear the seasoned side, you won't need to cook it for as long. It'll need just a minute or so.
11. Cooking a flipped smash burger too long
When cooking a fat, juicy burger, you have some time to cook that patty to your desired level of doneness. Grilling a rare burger that's a little under an inch thick is going to take around 5 minutes total to cook, and if you want a well-done burger of the same size, it should take about 10 minutes. This is not the case with a super-thin smash burger, and when it comes to the risk of overcooking, smash burgers are not forgiving. Cook it just a little too long, and you have a charred, dry, sad circle of singed beef.
Smash burgers are always cooked well done, but you need to treat them as if you're cooking them near-rare. A good smash burger recipe will tell you to cook your pressed patty on one side for 3 minutes, before flipping and cooking for another 3 minutes, at most. This is enough time to make the patty crispy and brown on both sides, without undercooking or overcooking the interior.
12. Leaving the crust on the pan or griddle
If you've mastered how to make a smash burger patty as well as how to smash it, create a crust, and cook it, you now need to be mindful of when you flip it. With the meat being thinner than a usual burger, there's more chance of the thin patty breaking apart when you flip it. For this, you'll need to use your spatula in the right way. Why? Because you don't want to leave behind that wonderfully browned crust that's on the underside of the burger. That's what gives a smash burger its mouthwatering taste and texture after all.
It's time to flip your smash burger. Hold your thin spatula at an angle that's around 45 degrees. This will give you enough leverage to get under the burger. You want that ultra-thin edge of your spatula to be sliding under the meat while also pressing into the griddle or pan. This is where a griddle makes making smash burgers so much easier because there's so much more space. As you push the utensil under the meat, jig it a little back and forth so that you can once again gain purchase on the burger in a way that's not going to scrape off the charred deliciousness.
13. Serving it in an untoasted bun
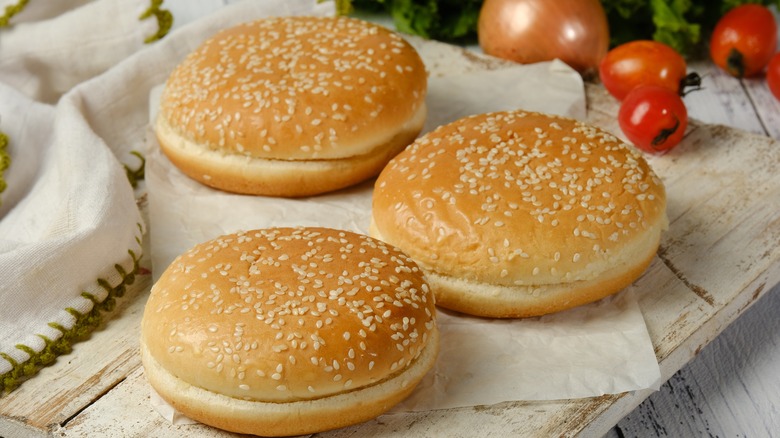
Toasting a burger bun on the inside is a must. The crispiness stops the bun from becoming soggy with the juiciness of the burger and the consistency of the toppings. If it does, it can easily break apart as you chomp down on it. A great way to toast burger buns is by rubbing a stick of butter across a hot surface so it's covered with a thin layer. Add the split buns before the butter browns. You want them to toast lightly and not become too hard. The butter is there to stop them from sticking and also add flavor. You can toast both sides of a bun. You might want to choose a sturdy bun, too, such as brioche.
If you're short on a griddle or grill-pan space, then it's easier to toast buttered buns on the hot surface before the burgers. Since the meat takes hardly any time to cook, you don't want to hold up on enjoying it because you're waiting for a bun to toast. You can brown the buns as the surface of the grill heats up rather than when it's super-hot since that could result in burning the buns instead of toasting them. Another advantage is you won't get burnt bits of smash burgers stuck to the bread or leftover bits of meat burning onto the pan or griddle as it continues to heat the buns.
14. Not changing the toppings to suit smash burgers
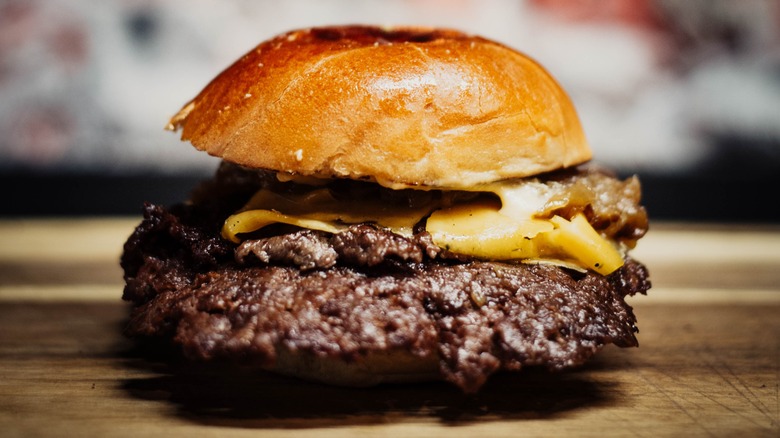
Your smash burger is cooked to crispy, juicy perfection. Your bun is toasted. But there is still one more mistake everyone makes when cooking smash burgers to consider, and that has to do with toppings. What you add to your burger, smashed or otherwise, is up to you. As the debate in some quarters continues about whether bacon is a no-go or not, new ideas such as adding gourmet sauces such as truffle aioli and Sriracha-mayo are being explored. What extras you add count and one of the reasons why burgers always taste better at a restaurant is because of the thought that goes into creating tasty toppings.
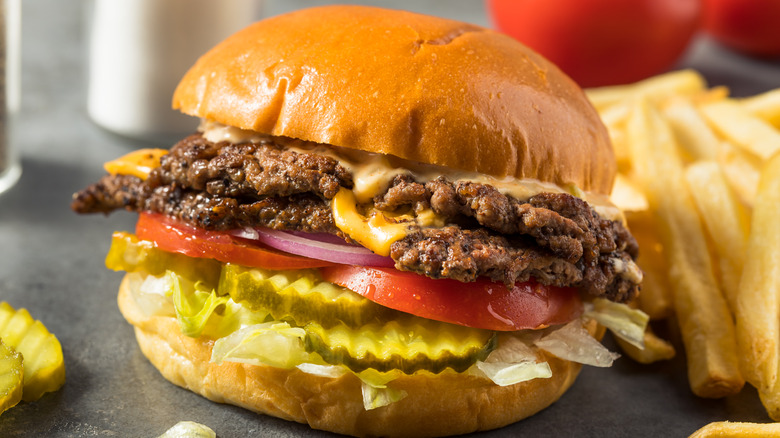
As with any type of burger, you don't want the taste and quantity of the toppings to overpower the taste of the patty, which should be the star in the bun. They need to be cut differently as well to complement the thinness of the meat. Instead of large lettuce leaves, finely shred a crunchy iceberg lettuce. Rather than chunky slices of tomato, use a sharp or serrated knife to make them thinner. It's best to have all your toppings ready as smash burgers cook quickly.
