10 Mistakes Everyone Makes With Royal Icing, According To Chefs
Have you tried making the perfect royal icing to decorate cookies, gingerbread houses, and other tasty treats, only to find that you just can't seem to get it right? You're not alone. From whipping up royal icing that hardens quickly to trying to work with bubbly or runny royal icing, even experienced bakers can sometimes get tripped up with this easy-to-mess-up frosting.
The good news is that most common mistakes people make with royal icing are easy to correct or prevent if you're aware of them before you start. To curb your confusion when it comes to making royal icing like the professionals do, we spoke with baking experts who have plenty of experience working with and creating their own royal icing. Not only did we ask our experts where people usually go wrong with royal icing, but we also asked for their best tips for avoiding those mistakes. And we promise — these are simple corrections to incorporate that'll lead you to drool-worthy royal icing that looks beautiful, too.
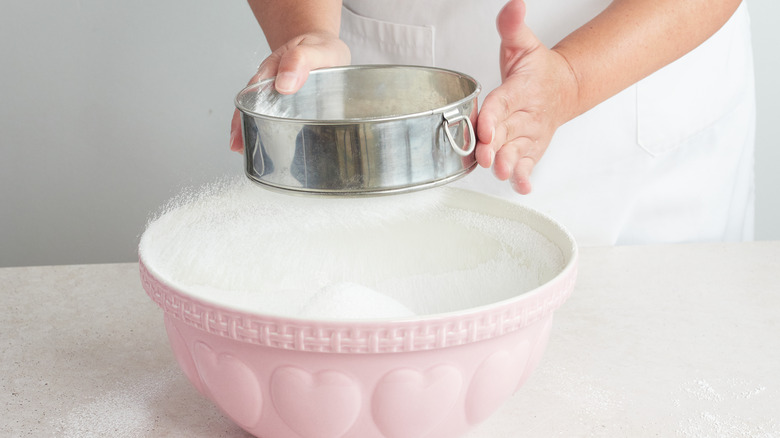
Skipping the sugar sifting
One of the main ingredients in royal icing is powdered sugar. Powdered sugar blends much more easily than granulated sugar, which typically needs warm water to dissolve. Using powdered sugar helps royal icing become sweet like you'd expect while keeping its consistency light, creamy, and smooth.
But if you've ever followed a royal icing recipe or compared several to see which one you want to use, you've probably noticed something listed in each one: a suggestion to sift your powdered sugar before adding it. While it can be tempting to save some time by skipping this step, it's not recommended.
Dana Pollack, the founder and CEO of Dana's Bakery, explains that sifting powdered sugar prevents clumps in the final result, and not sifting your sugar "will make decorating difficult and make the final result look sloppy." In other words, don't overlook this important step if you want picture-perfect royal icing for decorating cookies and other baked goodies.
Overmixing the icing
Because you want royal icing to come out nice and smooth, you might think that putting a lot of elbow grease into mixing it to thoroughly blend everything might be the solution. However, there's such a thing as overmixing, especially when it comes to an ingredient as delicate as royal icing.
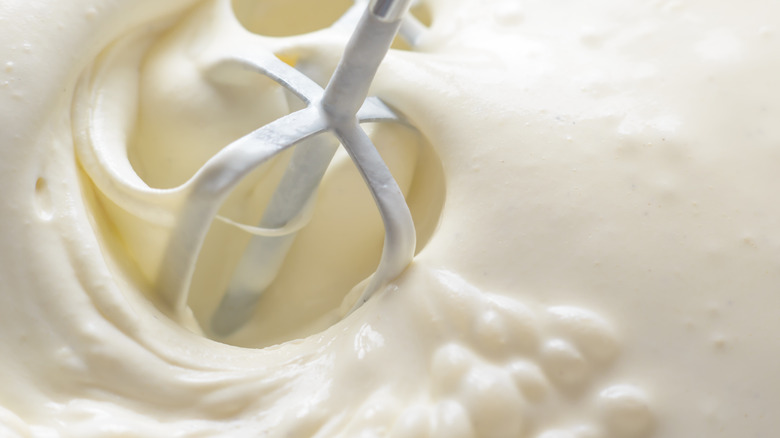
Fortunately, Pollack says that if you're just mixing royal icing by hand, the chances of you overmixing it are slim. However, you should be careful not to overdo it with an electric mixer. Pollack explains, "If using a mixer and you overmix, you'll whip too much air into the [icing], leaving you with a frosting that looks more like a crunchy sponge than a smooth finish."
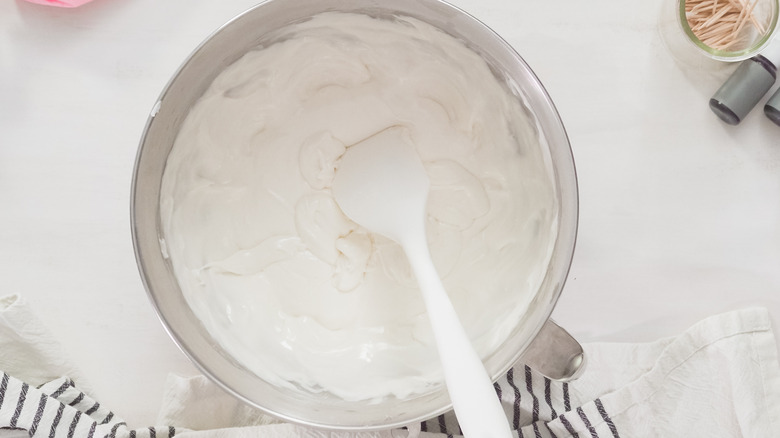
Royal icing is all about its consistency, so Pollack offers a helpful trick to make sure you mix it just enough rather than too much: "If you run a butter knife through the royal icing in your mixing bowl, the icing should blend back together in 15 seconds. This royal icing consistency holds its own but softens or floods lightly so that any peaks made in the icing smooth out easily."
Using the wrong mix of meringue powder and powdered sugar
Getting the right mix of ingredients is crucial when making royal icing. Many recipes for royal icing require powdered sugar, water, and fresh egg whites. However, more and more bakers are swapping egg whites for meringue powder because of the risks associated with consuming raw eggs. For example, Tracy Mattson, the owner and chef of COOKIE...take a bite!, switched out egg whites for meringue powder in her go-to recipe and hasn't looked back since, stating that "finding a quality brand and sticking with it makes a difference."
Equally as important as finding the right brand — Mattson loves Genie's Dream Meringue Powder, for reference — is using the right ratio of meringue powder to powdered sugar to achieve an ideal royal icing consistency. Meringue powder helps stiffen up royal icing just like egg whites would, so it's important not to go overboard. Mattson makes large batches of royal icing for her cookie store, so her typical recipe calls for eight pounds of powdered sugar to 340 grams of meringue powder. Sticking to that ratio, a smaller home-use batch would be closer to about one pound of powdered sugar to three tablespoons of meringue powder.
Accidentally exposing it to grease
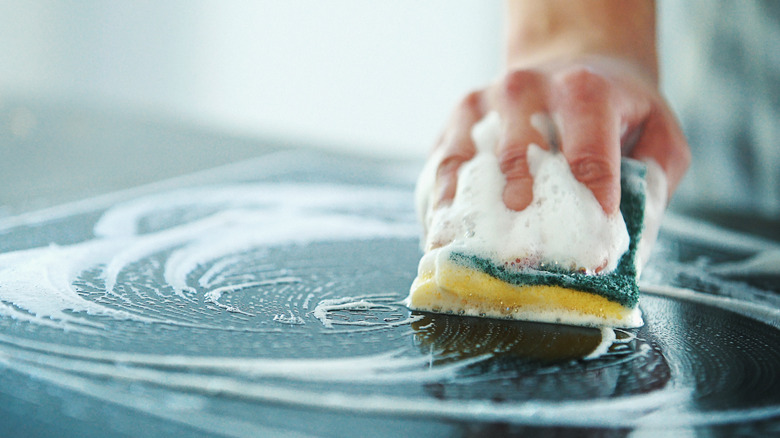
Kitchens can get quite messy while baking, as ingredients like eggs, powdered sugar, oil, and flour can easily overtake your countertops. Although cleaning is something many bakers deal with after they've made all their yummy creations, it shouldn't wait if you're making royal icing, especially if you have oil or grease lying around.
Jessica Robinson, a cookbook author, food blogger at A Farmgirl's Kitchen, and The Greatest Baker contestant, says that grease making its way into your royal icing is a surefire way to ruin your recipe. "Royal icing will not set properly if you expose it to any sort of grease," says Robinson. "Make sure your kitchen counter, work surfaces, mixing bowl, whisk attachment, and rubber spatulas are clean and free of grease." Robinson even waits to cook anything else until she's done with her royal icing, to make sure she doesn't accidentally interfere with the icing's setting process.
Not going out of the box with your recipe
Royal icing usually only has a few ingredients, no matter what recipe you follow. And, although it can be finicky to get right, there's still no harm in experimenting with a recipe that works well to see if you can improve it even more. After all, baking is all about science and experimentation, and if bakers never chose to do something different, we may not have as many delicious treat possibilities to enjoy.
Mattson says that one of the biggest mistakes she sees others make with royal icing is not going out of the box with their usual royal icing recipe to try something new. "If we hadn't been open-minded to trying new ingredients," Mattson explains, "we wouldn't have the icing that we use today, which makes our decorating so much easier!" Mattson uses two ingredients that aren't necessarily the norm when it comes to royal icing: cream of tartar and glucose syrup. Cream of tartar helps keep the icing bright white, she says, which is helpful when you need a crisp white look for decorating, while glucose syrup helps create a more spreadable royal icing.
So, while a beginner might want to stick to a strict recipe, you might want to consider testing something new as you become more comfortable with royal icing.
Failing to prevent it from hardening
Have you made a batch of royal icing, started prepping or working on the baked goods you'll be decorating, and came back to your icing to find it hardened? This mistake is one that's incredibly easy to prevent but can also be one of the easiest to forget about avoiding. Robinson notes that it only takes about 20-30 minutes, max, for royal icing to start forming a hardened crust, and after a couple of hours, it's likely to become a "solid mass" that won't work well for decorating.
According to Susan Sarich, the founder and CEO of SusieCakes, hardened royal icing results from exposing the icing to air for too long. Her suggestion? Cover your bowl with plastic wrap when you need to do something else, and, if your icing is already in a piping bag, keep the opening of the bag closed tightly to avoid getting air inside while you work.
Robinson says you can also use a clean, moistened kitchen cloth over a bowl of icing to keep it from hardening, or if splitting your batch into smaller bowls, place clean, dampened paper towels over the bowls until you're ready to work with them.
Always making it the same consistency
Many different royal icing recipes exist for a reason: there are a lot of ways you can use royal icing to decorate, and not all applications require the same type of royal icing consistency. "There are royal icings that are 'thinner' and contain more liquid, which work especially well for flooding," says Sarich. "Those which are 'thicker' and contain less liquid are more well suited for decoration and detail work."
Pollack offers a helpful explainer for customizing royal icing's consistency to your needs. Royal icing should be at its thickest for piping. Run a butter knife through the icing to test its consistency. If the line from the knife takes about 25 seconds to disappear, your icing is the best consistency for piping. A medium consistency is great for outlining and causes the consistency test line to disappear in about 15 seconds. If your test line disappears in 8-10 seconds, your royal icing is a little runnier, making it an ideal consistency for flooding.
Robinson suggests starting with a stiffer consistency and then separating the icing into other bowls to thin out as needed.
Not using the right kind of coloring
When you go to the baking section of your local grocery store, you're likely met with several options for food coloring, including liquid, gel, and powder coloring. Liquid food coloring tends to be the most affordable option, but it could affect your final royal icing results.
Mattson personally prefers natural coloring, like the plant-based India Tree colors. "Some of the manufactured colors taste really bad, and it is very noticeable when used in large amounts," explains Mattson. However, she also realizes that natural coloring tends to be more expensive than manufactured coloring, so if you're looking for a more affordable option, choose gel over liquid, "as it doesn't change the fluidity of the final product." Sarich also gives a thumbs-up to gel coloring, stating that it's "more concentrated, which ultimately means you don't need as much," and therefore, "it doesn't alter the flavor profile as much as the liquid coloring would."
Mattson suggests using small amounts of coloring at a time and taste-testing to prevent adding too much. Pollack adds that because gel colors have very strong coloring, it's important to thoroughly mix the icing before adding any additional coloring, as a small amount goes a long way. Then, repeat the process until you reach your desired color.
Allowing bubbles to creep into your decorations
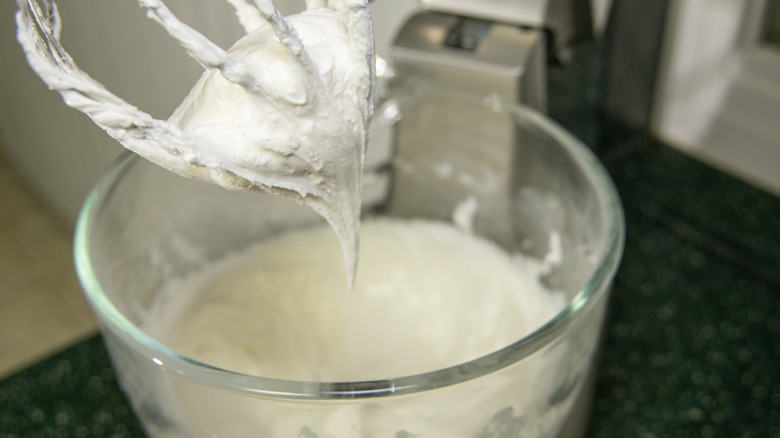
If you've noticed bubbles taking over your royal icing, there are a couple of things that could be going wrong. According to Robinson, bubbles in royal icing are often the result of adding too much air into the icing, usually when mixing it at a higher speed than necessary. To prevent this, she says, try turning down the speed of your mixer and mixing just until everything is well blended rather than overmixing the ingredients. Sarich notes that bubbles can also form when you've added too much liquid to your mix, which you can usually remedy by mixing more powdered sugar into the icing at a low speed.
Now, there's also the possibility of bubbles forming while you're decorating with royal icing. This can happen during flooding, the process of filling in an outlined section with royal icing to create a smooth surface of icing, says Robinson. Specifically, not adding enough icing to the section that you're flooding can cause bubbles to form as you move icing around to fill in all the spots. To curb bubble problems, Robinson suggests having a scriber tool on hand to quickly pop bubbles as they appear in wet icing.
Going straight to flooding rather than outlining
Royal icing is thinner by nature than other types of icing, like buttercream, which are meant to stay in place while still being spreadable. The reason royal icing works so well for adding intricate designs to cookies and gingerbread houses is that it is runny enough to fill in areas completely and dry smooth, creating a beautiful, picture-perfect finish.
To get that eye-catching finish, decorators usually outline before flooding. If you're looking to save some time, you might consider going straight to flooding a cookie, especially if you're making the surface all one color. However, skipping outlining is a huge mistake for royal icing. "Outlining any design before flooding allows you to make a 'fence' and prevent the thinner royal icing from spreading out where you don't want it to go," says Sarich. That's why the royal icing you use for outlining is thicker than the icing you'd use to flood the outlined area. Sarich's best tip for outlining and flooding? "[Make sure] the outline is fully dry before moving to the next step of flooding."
