How To Make The Perfect Cheesecake Crust Every Time
When you hear the word cheesecake, it probably brings to mind a rich, silky filling that is simultaneously dense and so light it could melt in your mouth. Cheesecake has been around since the fifth century B.C. when the Ancient Greeks served it to the first Olympic athletes, but it wasn't until the mid-20th century that a cookie base was added. Call it a cake all you want, but it most definitely needs a crust to stick the landing.
Making an insanely delicious cheesecake requires more than just a silky-smooth, slightly tangy filling. You also need to get the crust right. Whether you're opting for a classic graham cracker base or venturing into more adventurous territory with gingersnaps or Oreos, there are some ironclad tricks and rules of thumb that will ensure you turn out the best possible foundation for your cake. You don't just want to avoid the mistakes everyone makes with cheesecake; you want to master the art of the perfect cheesecake, and it all starts with the perfect crust.
Blend the crumbs to the proper consistency
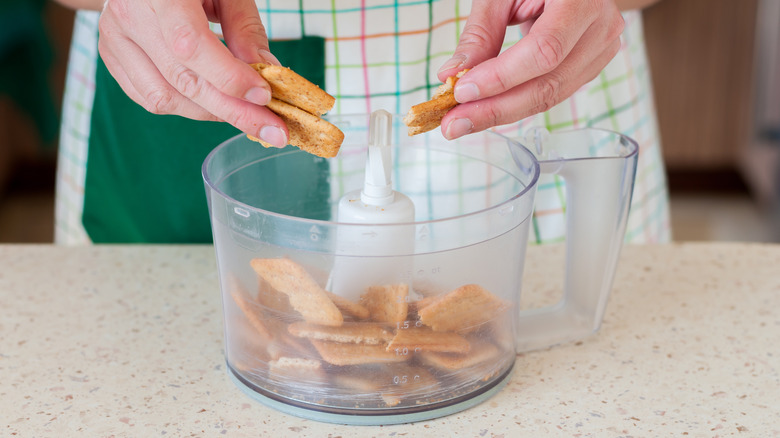
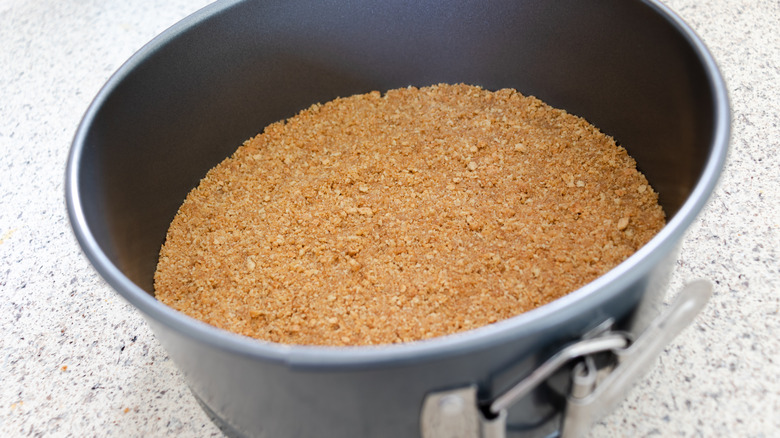
The perfect cheesecake crust should be crunchy rather than crumbly, and that is achieved by blending the crumbs into a fine consistency instead of keeping them in coarse chunks. If they are not ground finely enough, the crust will fall apart when you eat it, and there will be gaps that the filling will seep into, making the base disappointingly soggy.
To achieve the ideal consistency, put the cookies into your blender and pulse them until they resemble coarsely ground coffee beans. If you do not have a blender, put the cookies into a sealable plastic bag. Crush them with a rolling pin or the bottom of a sturdy glass until they reach the desired consistency. If the crumbs are unevenly sized, keep crushing them until they are uniform and err on the side of making them too fine rather than too coarse. Doing it by hand requires a little more effort, but you'll thank yourself later.
Line the pan with aluminum foil or parchment
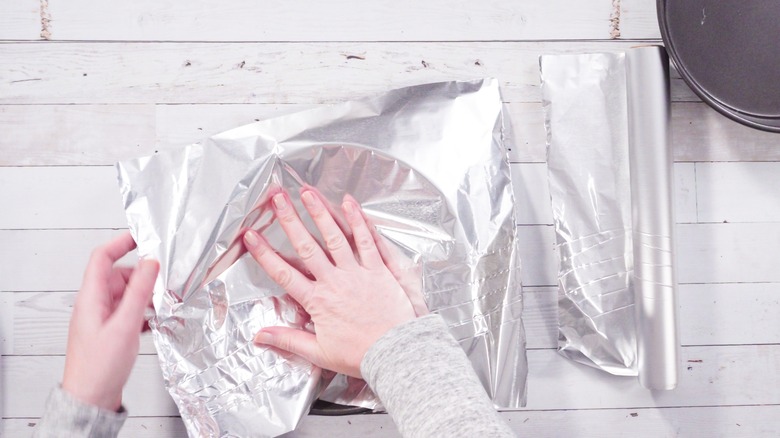
Cheesecake is harder to extricate from its pan than a standard cake. It's dense, the crust is crumbly, and you can't simply turn it upside-down without risking significant damage. Ensuring a smooth transition from pan to plate begins before you make the crust. Before you accumulate your ingredients and equipment, line the cake tin with aluminum foil. That way, as soon as the crust is assembled, you can dump it straight into the pan and press it into shape.
Lining the tin with foil seems like a trivial step if you're using a springform pan, but it makes a big difference. Once the cake has cooled and the sides of the pan have been removed, it can still be difficult to insert a spatula between the bottom of the cake and the pan without damaging the crust. The layer of foil acts as a buffer. Gently tug it out from under the cake, and you'll find that there's just enough of a gap to let your spatula slide under without shaving off any of the crust.
Match the crust to the filling
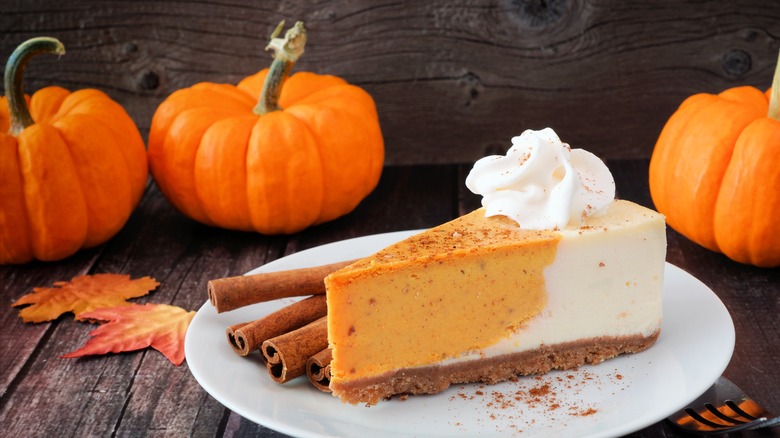
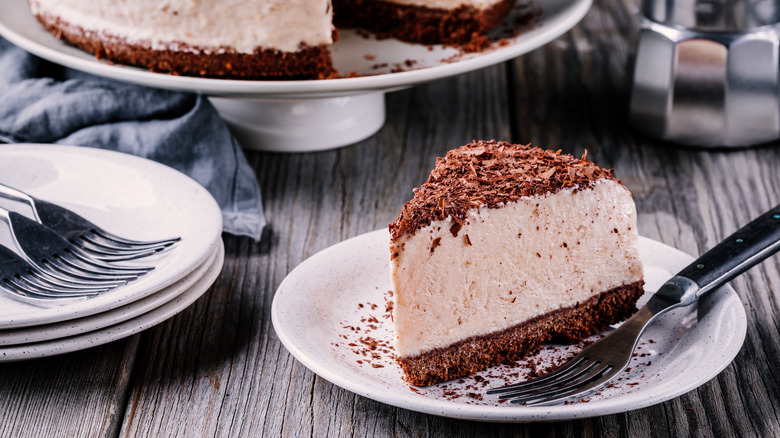
A simple graham cracker crust goes with just about any filling, but if you want to step up your cheesecake game, mixing and matching your crust-to-filling flavors goes a long way. If you love chocolate, double down on a chocolate filling with an Oreo crust. If you're really into autumnal flavors, turn up the volume on Fall by pairing a pumpkin cheesecake filling with a spicy gingersnap base. When choosing cookies, make sure you opt for ones that are dry rather than chewy so they do not become gummy when mixed with butter. You should also avoid ones with nuts or chocolate chips to ensure an even consistency.
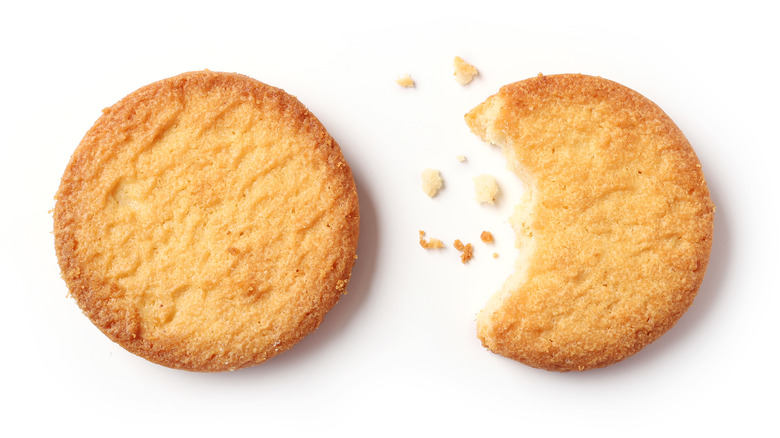
Other classic flavor combinations you can experiment with include peanut butter cookies with chocolate filling, Belgian speculoos with a salted caramel filling, and Nilla Wafers with just about anything. One of the best options that is overshadowed by graham crackers is shortbread. With buttery, melt-in-your-mouth texture and a salty flavor, they complement just about any filling by balancing its sweetness. Graham crackers may be the go-to, but shortbread is the secret weapon to make your guests swoon.
Add flavor
In addition to switching up the cookies you use for the crust, spices, zest, and roasted nuts are a great way to add a little pizazz to your cheesecake. You can't go wrong with a flawless New York cheesecake, but throwing in some unexpected variations into the crust is the perfect way to add a hint of flavor without radically changing the recipe.
For the densest, richest cheesecakes, nuts and spices add depth to the flavor and an even more decadent finish. Roasted pecans add an unmistakable hint of Fall and a fragrance that permeates the entire cake without overwhelming it. Cinnamon, cloves, and nutmeg are classic spice options, but you can also experiment with brighter flavors like cardamom and ginger.
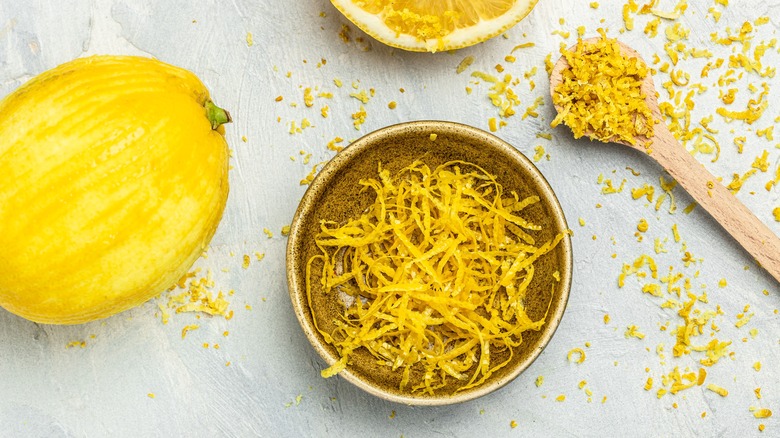
If you want to add a citrusy kick to balance the creaminess of the cheesecake instead of reinforcing it, lemon, lime, and orange zest offer just the twist you're after. Where nuts and spices work well as a team, zest can clash with them, so it's best to let it stand on its own. The bright, floral flavors of lime and lemon zest complement the buttery, neutral flavor of shortbread crusts more than the earthier flavor of graham crackers. The beauty of flavoring your crust is that you can tailor it to your personal preferences.
Make your own cookies
Cheesecake is a labor-intensive dessert. There's a lot of mixing involved, a tricky baking process, and the chilling time can test your patience and appetite. For these reasons, most of us use store-bought cookies for the crust. They taste great, and it's a lot easier than committing to an entirely separate recipe just to make that quarter inch at the bottom of the cheesecake a teeny bit tastier. And yet, there is no denying that freshly baked cookies elevate the flavor of a cheesecake by leaps and bounds. Think of homemade crust as the proverbial cherry on top: if you use store-bought cookies, the results will be delicious; if you use homemade cookies, the results will be phenomenal.
You don't have to choose a complicated recipe. Homemade graham crackers only take about an hour and a half to make and can be stored for weeks in the freezer. Shortbread is even faster — we're talking 45 minutes, and those crumbly bars of goodness are out of the oven. Do not beat yourself up if you don't have the time or bandwidth to make your own cookies, but if you're looking for ways to improve your cheesecake crust, it will not disappoint.
Pack it firmly into the tin
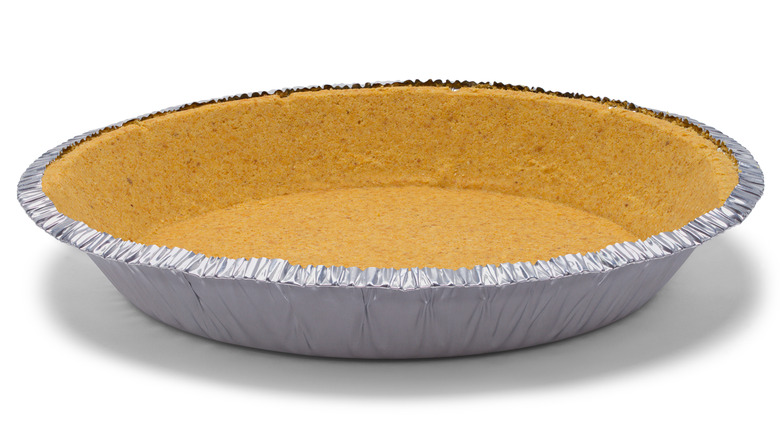
Cheesecake crust should be just that — crust. But sometimes, it's more like crumbs — or damp sawdust. Making a base that holds together instead of crumbling at the slightest touch is key to making sure it's worthy of the flawless filling. You do not want to eat a piece of cheesecake and end up with a plate full of uneaten crumbs. To avoid this pitfall, packing the crust into the cake pan is the most important step once you've ground the cookies into a sandy consistency.
Instead of frustrating yourself trying to roll out the crumbly dough with a rolling pin, just dump it straight into the tin and press it in with your fingers or a fork. The thickness may be less consistent, but trying to roll it out on a cutting board and then transfer it to the pan in one piece is a losing battle. Using the bottom of a glass to press it into the tin instead will give a smooth, mostly even layer that is packed firmly enough to solidify once it's baked and covered with filling.
Use a springform pan
Cheesecakes are exceedingly delicate, occasionally frustrating concoctions. Getting them to set in the oven without the top splitting is hard enough, but getting them out of a pan by turning it upside-down is a recipe for disaster. Not only does it heighten the risk of splitting the surface of the cake and damaging the sides, but it can also ruin the crust. Cheesecake crust is even more delicate than pie crust due to its high butter content and coarse cookie crumbs, and it can easily crumble.
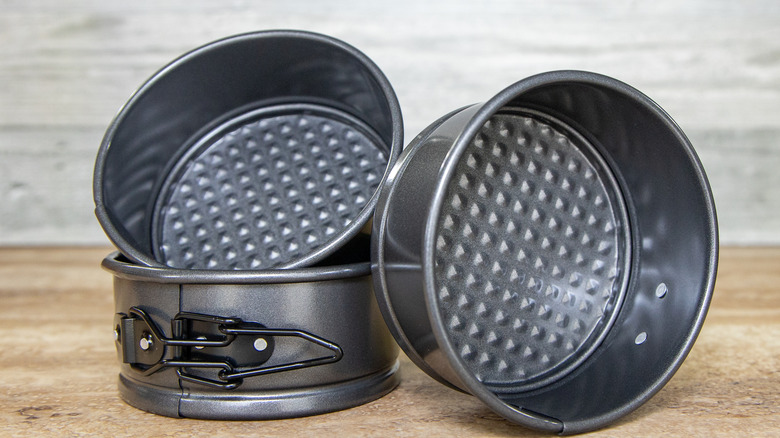
Lining a standard pan with aluminum foil so that you can lift the cake out after it's cooled is an easy but risky option. Cheesecakes tend to be dense and heavy, and there is a strong possibility that they will fall through the foil as you lift. A springform pan is the hassle-free answer to these dangers. Once the cake has chilled, all you have to do is release the clasp and remove the sides. You won't have to worry about splitting the cake, damaging the sides, or leaving half the crust behind.
Do not add extra butter or liquid, even if it feels crumbly
Your cheesecake crust will probably feel crumbly when you pre-bake it, even when you've blended the crumbs into a fine consistency and pressed it firmly into the tin. You might be concerned that you've done something wrong, but don't worry; it's all part of the grand plan of the recipe. As the cheesecake bakes, the crust absorbs some of the liquid from the wet filling. This helps hold it together and gives it the firmly-packed texture you're aiming for.
Do not succumb to the temptation to add extra butter if the crust feels dry and crumbly after you mix it, as this will create an oily texture once it's baked. Once it's chilled, that excess butter will become solid, greasy, and unappetizing. As long as you've blended the crumbs to a sandy texture, used the prescribed amount of butter, and pressed it firmly into the tin, you'll achieve the desired result once it's baked.
Pick the right filling
Graham cracker crust recipes are fairly consistent — about 200 grams of graham cracker crumbs, a few tablespoons of butter, and maybe a pinch or two of spices. However, the proportion of ingredients in baked cheesecake fillings can vary greatly. Cream cheese, eggs, sugar, and sour cream are the usual key players, with the frequent addition of cornstarch, vanilla, lemon zest, and a little salt. If there are not enough eggs to hold the liquid ingredients together, your crust will become soggy. It may also burn if the filling is so wet that it takes longer to bake. On the other hand, you don't want the cake to taste eggy or lose its creaminess, so finding a recipe with the perfect balance of ingredients is crucial.
In general, if you're making a baked cheesecake without starch, about one egg per every eight ounces of cream cheese is necessary to hold it all together. Starch gives structure but can also make the cake overly firm and less creamy, so some recipes rely on eggs alone. A recipe that calls for three eggs and four eight-ounce packages of cream cheese will be rich and creamy, but any fewer eggs or more cheese and you'll risk ending up with a soggy bottom. Always use full-fat ingredients, as low-fat cream cheese and sour cream become runny and guarantee sogginess. When in doubt, check the reviews and comments.
Always pre-bake
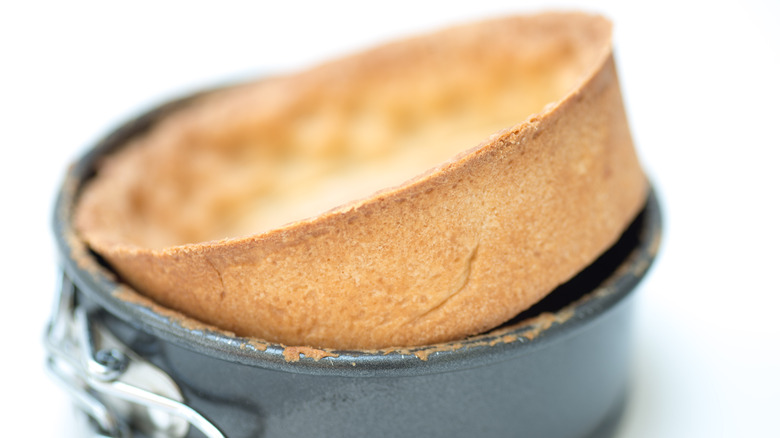
If you're making a baked cheesecake, pre-baking the crust is essential. With such a wet filling, you need all the crispness you can get, and popping your crust in the oven for 10 to 15 minutes works wonders. It solidifies the ingredients, making a firmer, less porous base that will absorb less moisture from the filling. It also enhances the flavor. Just like roasted nuts and browned butter, a lightly browned cookie crust becomes fragrant and tastes rich and nutty.
To make a perfectly toasted crust, preheat the oven to 350 degrees Fahrenheit before gathering your ingredients. Once the mixture is firmly packed into a foil-lined springform pan, bake it until the edges start to change color, about 12 minutes. Remove it from the oven and let it cool on a wire rack while you prepare the filling. By the time the filling is ready, the crust will be at the perfect temperature.
Adjust the ingredients and technique for no-bake recipes
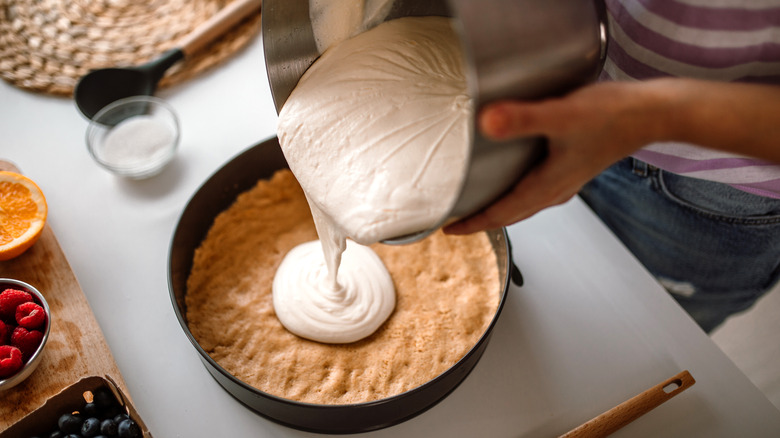
There are two main ways to make cheesecake. The first calls for baking it in a water bath. This type gains its structure from eggs and starch and is dense, creamy, and custardy. The second type requires no baking. It uses whipped cream and sometimes gelatin instead of eggs and starch and usually omits sour cream. It is lighter and has a more mellow dairy flavor than baked cheesecake, which has a pleasantly sharp taste from the sour cream. No-bake cheesecake is also quicker to make and doesn't run the risk of cracking on top.
Regarding the crust, there are more subtle differences between the two types of cheesecakes, but they are just as crucial to the outcome. First, at the risk of stating the obvious, the crust in a no-bake cheesecake is not pre-baked. Instead, it relies on a higher proportion of butter to solidify when chilled. Because it doesn't gain added flavor through pre-baking, this type of cheesecake crust presents the perfect opportunity to experiment with different types of cookies. Graham crackers taste delicious when toasted with butter during pre-baking, but they can taste dull and even a little chewy in an unbaked crust. Opting for crunchy cookies made with brown sugar is a great way to liven up a no-bake cheesecake. Browned butter, spices, and citrus zest are other options for the crust that will instantly elevate the finished product.
Brush it with an egg wash
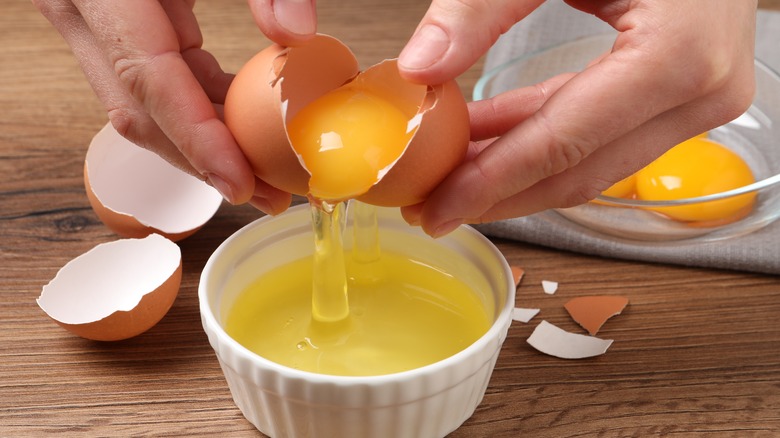
Eggs are a miraculous ingredient. Whether you need aeration, structure, emulsification, or richness, they work overtime to provide a mixture of benefits that are impossible to substitute with any one ingredient. In baked cheesecake, they provide crucial coagulation and richness, but there is another way to incorporate them into your recipe.
Mixing up a quick egg wash and brushing it over your crust before pre-baking it will give you some added crunch and create a sealant against the moist filling. You've probably used egg washes to provide color and shine to pastries or to seal the edges of a pie crust. They also act as a barrier. Brushing the bottom crust with egg wash prevents it from absorbing too much moisture from the filling. If you want maximum crunch and extra protection from sogginess, use pure egg white. This type of egg wash is often used as edible glue for cookies and pastries, and it will keep your cheesecake crust crispy and dry.
Use butter
Cheesecakes are the height of decadence. Made of several types of rich dairy, sugar, and eggs, it is not the sort of thing you could comfortably eat every day despite being utterly delicious. If you are trying to be calorie-conscious while still enjoying your favorite foods, you might be tempted to cut corners where you can. Full-fat ingredients in the filling are non-negotiable if you want to avoid a runny, soggy cake, so you might think the butter-rich crust is the best place to shave off some calories.
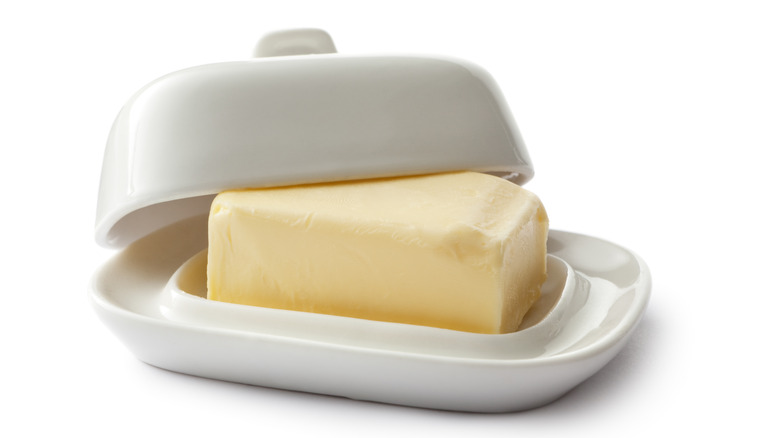
Unfortunately, swapping butter for vegetable oil, yogurt, or an egg will drastically change the taste and structure of your crust, especially if you're making a no-bake cheesecake. Eggs will make it rubbery; yogurt will make it soggy even before you add the filling; and oil will make it so crumbly that the filling will saturate it, and you'll lose the crust altogether. Butter is used in cheesecake crust because it hardens when chilled and remains mostly solid at room temperature. Oil, on the other hand, stays liquid. Canola oil, which is often cited in recipes as the best option for baking due to its neutral flavor, even stays liquid when refrigerated, making it uniquely unsuited for a cheesecake crust.
Put your pan inside another pan or wrap it in foil
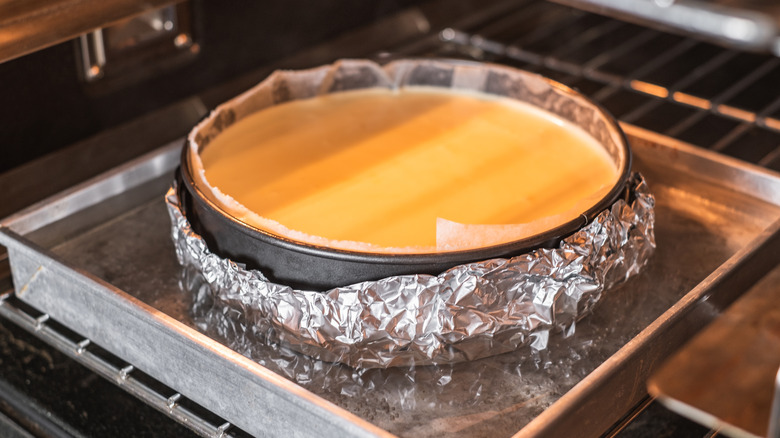
One of the most consequential mishaps that can arise in cheesecake making is leaking water from the water bath. Because baked cheesecake is at risk of cracking and developing burned edges, it is usually baked in a second pan filled with water, which distributes the heat more evenly and cooks more gently than the ambient air in the oven. It's the best way to achieve a uniform, silky texture, but it can also be disastrous to the crust.
Even if your springform pan is advertised as water-tight, it cannot be trusted to withstand upwards of 20 minutes in a water bath. There are several ways to prevent your perfectly crispy crust from being soaked with water. One option is to cover the bottom and sides of the pan with aluminum foil. This will give you moderate protection, but it isn't guaranteed to keep the water out if your pan has a small leak. The other option is to put the cheesecake pan into another cake pan, preferably a traditional one that does not have removable sides. This double pan method will fully insulate your crust from damage, but it isn't the most convenient option if you don't have the right-sized pan. You would need one that is just large enough to hold the cheesecake pan but not large enough to create a large gap between the cheesecake and the water bath. Ultimately, either option will provide suitable protection.
