Big-Batch Tonkotsu Ramen Broth Recipe
Tonkotsu, a rich pork broth, is one of the foundational broths that is used to make ramen. You'll often find it as an option alongside chicken, beef, fish, and vegan or mushroom-based stocks when ordering from your favorite restaurant. While tonkotsu broth is a staple on many menus, it often takes days to produce since it has a boiling time of up to 18 hours in some professional kitchens.
This broth is made primarily with pork bones, feet, and pork belly, and it is boiled at a higher temperature than Western stocks to help draw out the rich collagen and fat from the bones. In turn, the broth has a creamier, supple texture that other stocks don't often have.
But don't let the long cooking time and higher boiling temperature discourage you from making tonkotsu broth at home. Recipe developer Jenny Kellerhals has created a tonkotsu broth recipe for home cooks that you can make over the course of a single day and enjoy for dinner later that night. According to Kellerhals, the recipe follows the key methods typically used to make tonkotsu broth, such as blanching the bones and cooking the broth for an extended period of time.
But small adjustments have been made to make it easier to cook at home. Kellerhals notes that using a large pot and boiling the broth with the lid on helps create the kind of broth that's typically found in restaurants.
Gather the ingredients for the tonkotsu ramen broth
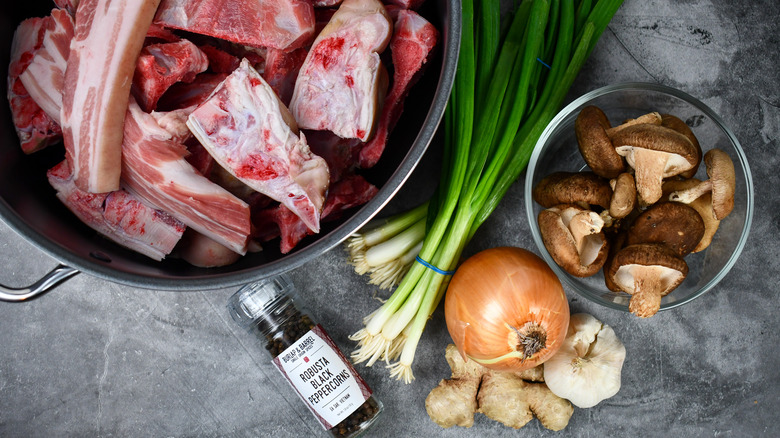
A variety of pork cuts are used to develop the flavors and creamy texture of this broth. Pork bones can be found at a butcher shop and can provide a general pork flavor to the broth. Halved pig's feet are sold in 2 to 3-pound packages at the grocery store: These contribute to the smooth and collagen-rich viscosity to the broth. Thick-sliced pork belly can also be found in packages at the grocery store and contribute creamy fat to the broth.
The broth is fortified with chicken bones, which can also be bought at the butcher in bulk or at the meat counter in some grocery stores. You can also add pork rib bones, tail bones, and pork shank or shoulder bones to the mix if you need to bulk it up or have trouble finding other cuts.
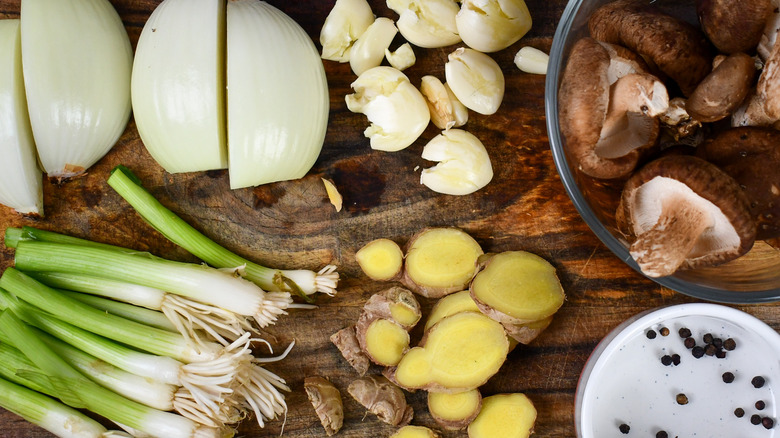
Gather the aromatics, including an onion, scallions, a head of garlic, fresh ginger, whole black peppercorns, and shiitake mushrooms. You can substitute white mushrooms or dried shiitake mushrooms if fresh shiitake mushrooms aren't available. Reserve the aromatics to prepare while the bones are blanching.
Blanche the bones
This broth cooks in a larger stock pot than you may typically use at home, holding at least 10 quarts. Since the broth spends more time boiling at a higher temperature than traditional French stocks, you'll want the extra volume to reduce water loss while boiling. The bones are blanched first to help remove impurities like blood, hair, and any undesirable bits like dirt and grime picked up during processing.
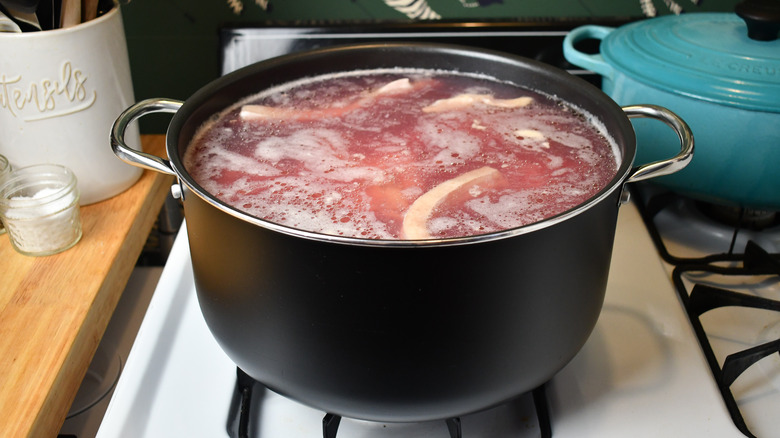
Begin by adding the pork bones and feet, belly, and chicken bones to the pot, and cover them with several inches of cold water. Bring the water to a full rolling boil on high heat, which may take half an hour or more. Skim any foam and impurities that rise to the surface, which may be white, brown, or grey. Once boiling, cook for about 3 minutes, immediately remove from heat, and dump the boiling water.
Cool and rinse the bones
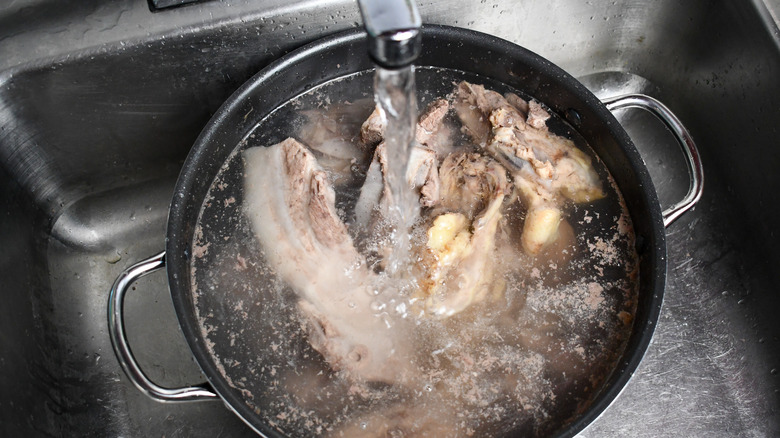
As soon as you've drained the boiling water out, run cold water over the bones in the pot, rinsing each of the bones and loosening any additional detritus. Dump the rinse water, and return the empty pot with blanched bones to the stovetop.
Prepare the aromatics
While the bones are initially boiling during the blanching process, prepare the aromatics for the broth. Peel and cut the onion into quarters. Peel and smash all of the cloves in a head of garlic, about 10 pieces, and slice two large knobs of ginger.
If your shiitake mushrooms are on the smaller side, you can leave them whole. But if they're larger, tear them in half or separate the caps and stems. Cut the white parts from two bunches of scallions, about 12 pieces, and reserve the green tops for garnishing. Set aside some whole black peppercorns.
Add aromatics and fill the pot with fresh water
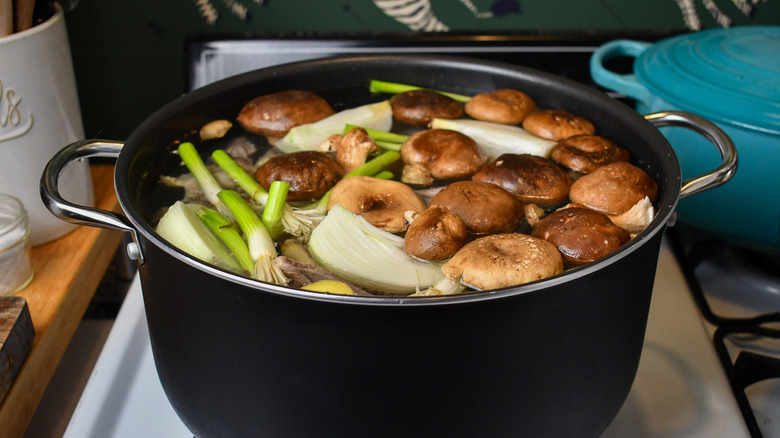
After blanching and rinsing the bones, return the pot of bones to the stove, add the aromatics to the pot, and fill it with cold water. Make sure the bones are completely covered, and the pot is filled to about ½-inch below the edge of the pot. The aromatics might float up, but the bones will stay put where they were initially.
Boil for 30 minutes
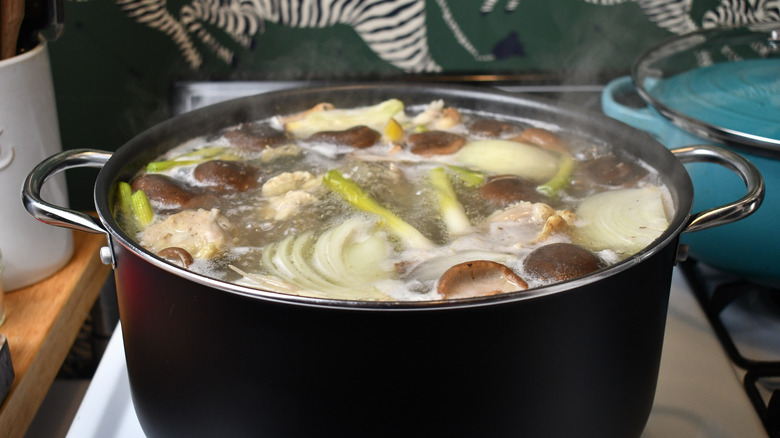
Bring the water to a full rolling boil for 30 minutes, and skim any additional foam and impurities that rise to the surface. The water level will drop while boiling, so after 30 minutes, refill the water back to the highest level your pot will handle, within ½-inch from the brim of the pot.
Cover and cook for 8 hours
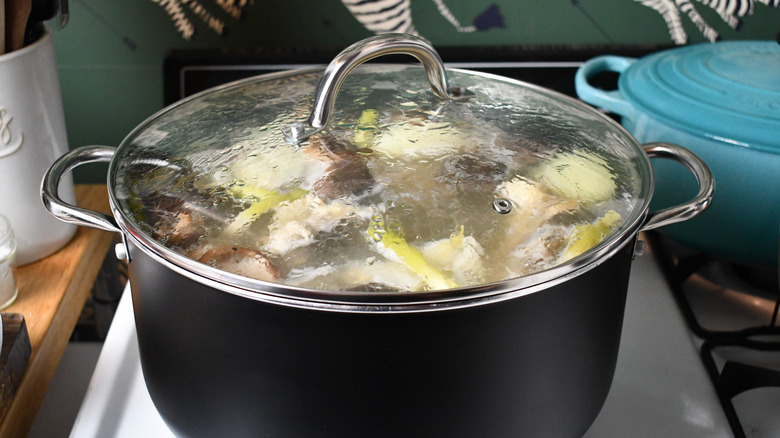
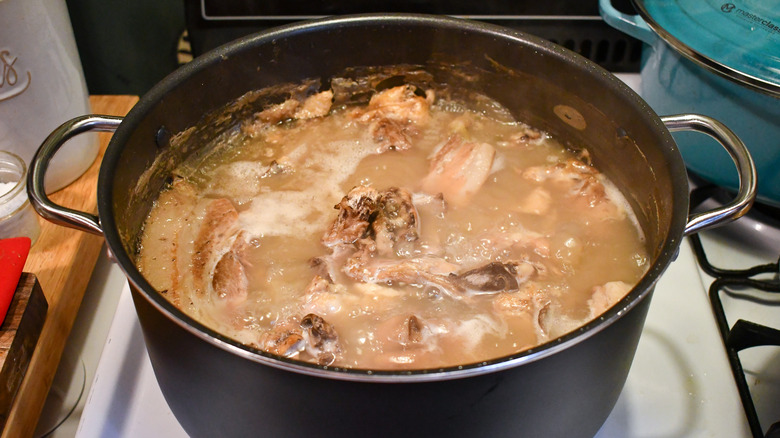
Cover the pot with a lid equipped with a small vent hole, and reduce the heat to medium. The broth will continue to boil gently for the next 8 hours, which draws out the flavor, collagen, and fats from bones and meat.
The lid will slow down how quickly the liquid reduces, but you'll still need to refill it with water periodically to ensure the bones stay covered. When checking the water level, take the opportunity to skim any foam and floating yellow fat from the surface of the broth.
Remove the lid for the final boil
After 8 hours, remove the lid and refill the water to the starting level. Turn the heat up to high and boil for 2 more hours. Refill the water once or twice while boiling to make sure the bones are covered if needed, but generally allow the liquid to reduce.
This final boil helps create the signature tonktosu emulsion of the collagen and fat in the broth. Since the liquid is thicker, it may not return to the full rolling boil that you started with, which is completely fine. Continue to skim the broth occasionally as needed.
Strain and divide the broth
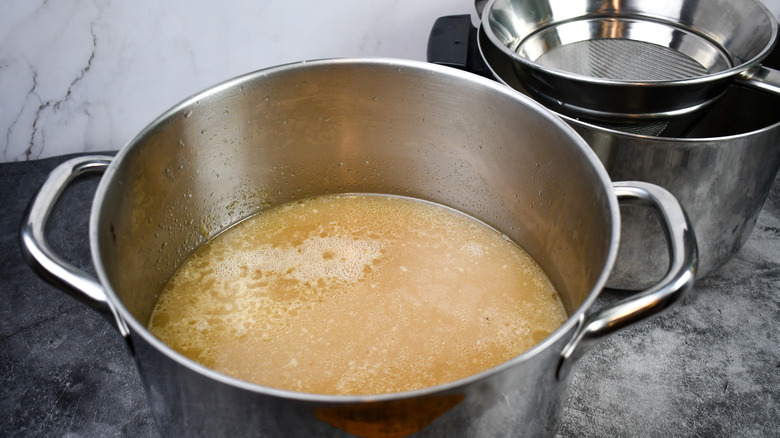
After two hours, remove the broth from the heat. Put a fine-mesh strainer or chinois over a smaller 6-quart stock pot or large bowl. Carefully strain the broth in several batches, discarding the bones and solids. For the best results, strain the broth twice to catch any small bits that may have slipped through the first straining process.
If you don't have a fine-mesh strainer, you can also line a colander and cheesecloth. Strain the broth once through the larger colander to remove the larger bones and pieces. Rinse the colander out, line it with 3 or 4 layers of damp cheesecloth, and strain the broth once or twice more.
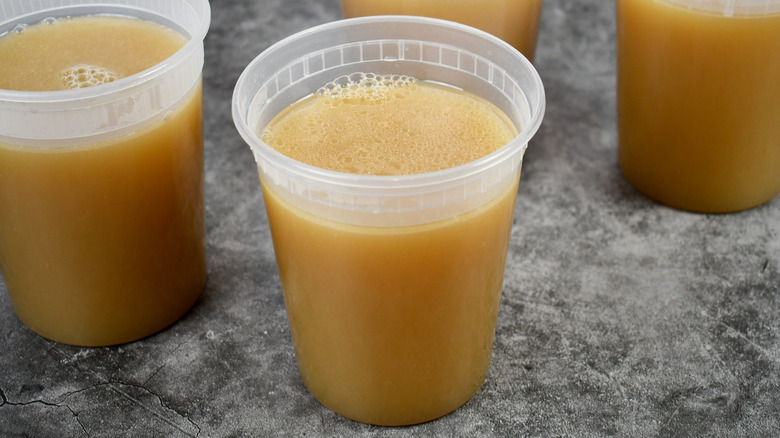
Divide the broth into smaller pint or quart containers for easy storage. Allow the broth to cool to room temperature before refrigerating or freezing. Store the broth in the refrigerator for 1 week or up to 3 months in the freezer.
Prepare your ramen with your favorite toppings
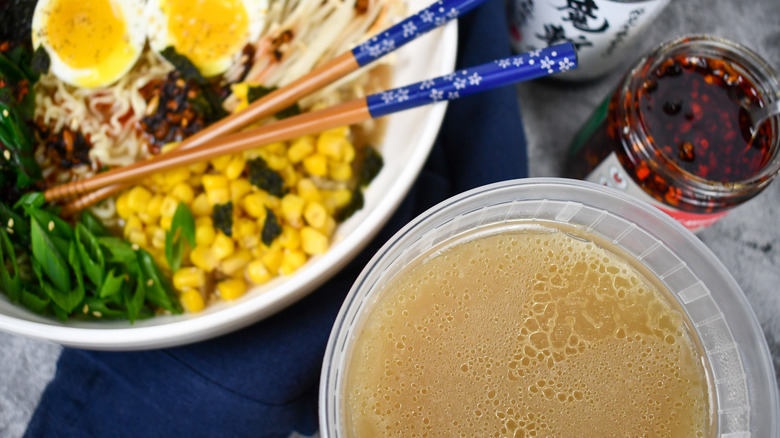
Once your tonkotsu ramen broth is ready, you'll use it as a base to start building the flavors of your ramen bowl. Prepare fresh, dried, or ramen and instant noodles before heating up your broth to ensure it's all served nice and hot. The tonkotsu broth will be the texture of thick jello once it's chilled but will easily melt down into a smooth broth once again over heat. Begin with about 2 cups of broth per serving of ramen, which you can adjust to your fit your preferences.
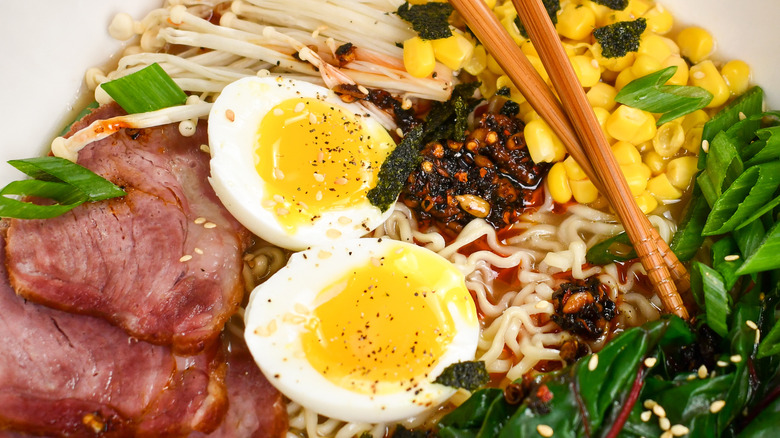
Heat the broth back up in a saucepan with a small splash of water, and season it with salt to taste. Add a few tablespoons of your choice of shoyu or miso to help build the depth of flavors and umami in your broth. Once your broth is hot and seasoned to your liking, pour it over the cooked noodles and top it off with your choice of chashu pork , thinly sliced scallions, mushrooms, soft-boiled eggs, nori, blanched greens, additional vegetables, and chili oil or hot sauce.
Big-Batch Tonkotsu Ramen Broth Recipe
Tonkotsu broth is a foundational broth in making ramen. There are several key elements of making Tonkotsu broth, from the prepping to the blanching process.
Ingredients
- 1 ½ pounds chicken bones
- 5 pounds pork bones and feet
- ⅔ pound pork belly, sliced into thick strips
- 1 onion (yellow or white)
- 2 bunches scallions (about 12)
- 1 head garlic
- 2 knobs fresh ginger, sliced
- 6 ounces shiitake mushrooms
- 25 black peppercorns
Directions
- In a 10-quart or larger stock pot, add the chicken bones, pork bones and feet, and pork belly. Fill the pot with cool water, ensuring the bones are completely submerged.
- On high heat, bring the pot to a boil. Skim off the foam and impurities that rise to the surface. Cook at a full rolling boil for 3 minutes.
- Remove pot from heat. Immediately strain out and discard the water.
- Meanwhile, as the pot reaches a boil, prepare the aromatics. Peel and quarter the onion. Divide the scallions, using the bulb and white part of the scallions for the broth; and reserving the green tops for garnish. Peel and smash all of the cloves in a head of garlic. Slice both knobs of ginger into ⅛-inch thick slices. Tear large shiitake mushrooms in half, and collect black peppercorns.
- Once initial water has been drained and discarded, fill the pot of bones with cold running water to rinse the bones. Discard the water. Repeat a second time if the bones are still hot.
- Return pot with rinsed bones to the stove. Add the prepared aromatics to the pot. Fill the pot with water until it reaches about ½-inch from the rim.
- Bring the water to a full rolling boil, skimming any impurities and foam that rise to the surface.
- Continue to boil and skim for 30 minutes on high heat, then refill the water to the original level, reduce heat to medium, and cover with a lid.
- Cook broth at a low boil for 8 hours, periodically skimming foam and any fat sitting on the surface of the broth. Refill water as necessary to make sure the bones stay covered.
- After 8 hours, remove the lid, turn the heat back up to high, and continue to cook for 2 hours. Skim and refill water as necessary.
- Strain stock through a fine-mesh strainer over a smaller pot or large bowl. Discard the bones.
- For best results, strain twice and divide into pint or quart-sized containers.
- Allow broth to cool to room temperature before covering and refrigerating. Refrigerate for up to a week, or freeze for up to 3 months.
