Easy No Knead Bread Recipe
There's nothing quite like the joy of walking into a bakery with the aroma of bread wafting in the air. Well, if you can mimic the effect at home, we'd consider that a step up. Thanks to recipe developer Ting Dalton of Cook Simply, making your own bread is straightforward. You won't need fancy machines (just a Dutch oven), nor will you have to knead dough until your arms are sore. This easy no-knead bread recipe comes together with very little skill required.
As Dalton comments, "If you've never baked bread before then you'll be amazed by how simple this no knead bread recipe is." She notes that although some recipes make it appear tricky, that isn't the case here, "because this bread is no knead and [it] is baked in a Dutch oven, so you don't have to shape it to an exact ball." She also points out that "the heat from the Dutch oven acts a great heat retainer," producing the impressive crusty exterior. Prepare to become the resident in-house baker.
Get the ingredients for this easy no knead bread
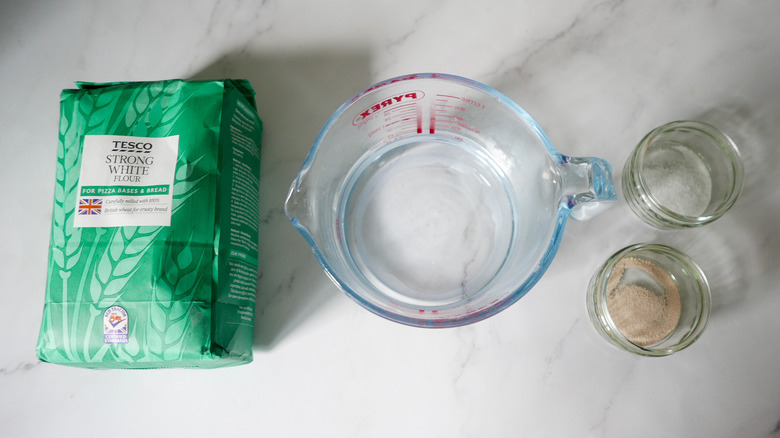
Making bread only requires a few basic ingredients: flour, instant yeast, salt, and lukewarm water. Although the components are simple, there are some specifications to follow. Also, Dalton indicates, "For this recipe you need a cast iron Dutch oven with a lid."
In the U.S. you should be able to find bread flour in supermarkets, however, in other countries it may be labeled as strong white flour. Basically, it contains higher levels of gluten which is exactly what gives the final product a stretchy and light consistency (via BBC Good Food). Instant yeast simply speeds up the process, while lukewarm water is the ideal environment for the yeast to thrive.
Combine the dough ingredients in a bowl
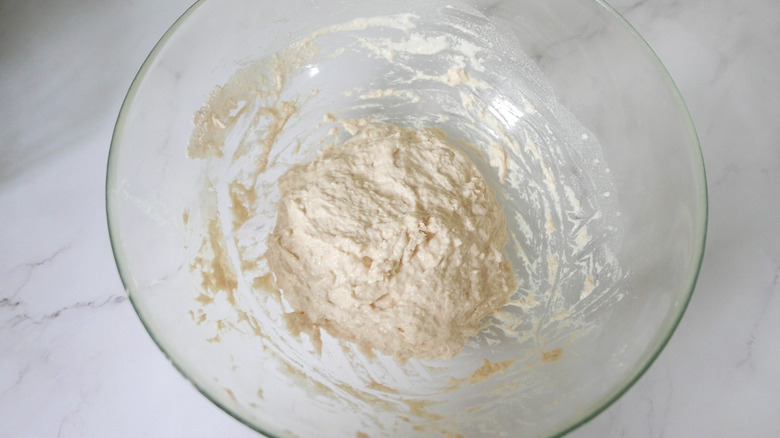
Grab a large mixing bowl and dump in the flour, salt, and instant yeast. Pour in the lukewarm water, mixing it into the dry ingredients. Be sure to scrape down the sides of the bowl to get all of the extra flour. Dalton notes, "It will be a sticky dough, but don't worry."
Let the dough rise
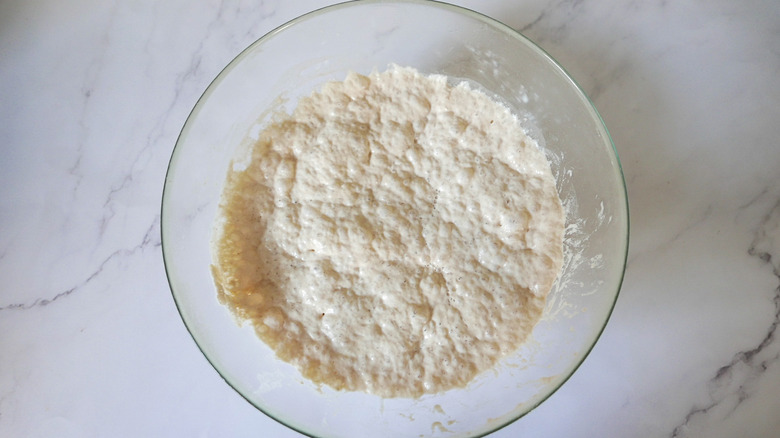
Once the dough is made, cover the bowl with plastic wrap and set it aside for at least 8 hours to rise at room temperature. Depending on the time of year and temperature in your home, you may want to let it rise for up to 24 hours, which Dalton says yields better bread. She adds, "If you can leave the dough to proof in a warmish room, such as the kitchen [this is] better as it will help the yeast work."
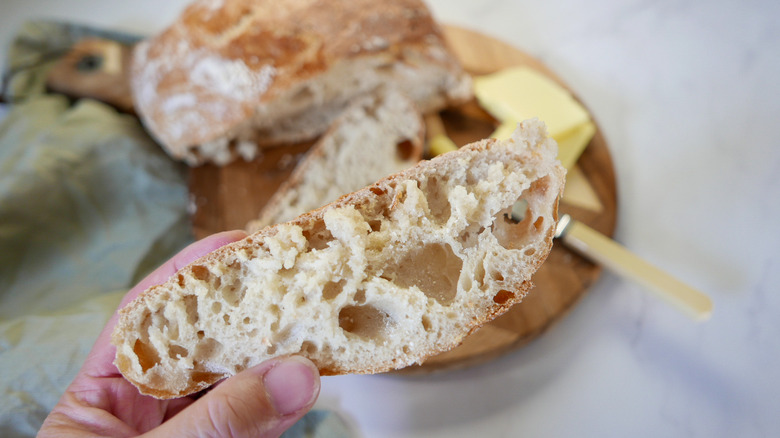
"The hardest part is waiting for the dough to proof," Dalton comments, but be patient because it's what produces "enough air bubbles to get a lovely springy dough when baked."
Preheat the oven and shape the dough
When the dough has finished rising, preheat the oven to 400 F. Transfer the Dutch oven with the lid into the oven to heat.
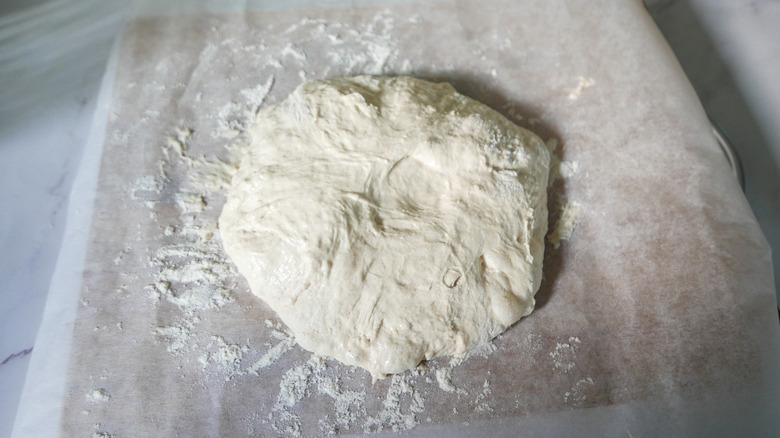
Lay out some parchment paper on a counter, sprinkle it lightly with flour, and plop the dough on the surface. Dalton describes, "The dough will have risen quite significantly and be full of bubbles." Handle it gently to avoid deflating all of the air as you pull the sides in and form it to make a ball shape. Dalton reassures, "Don't worry too, if the dough isn't a perfect ball." Dust the bread dough with a bit more flour and set it to the side.
Bake the dough and let it sit
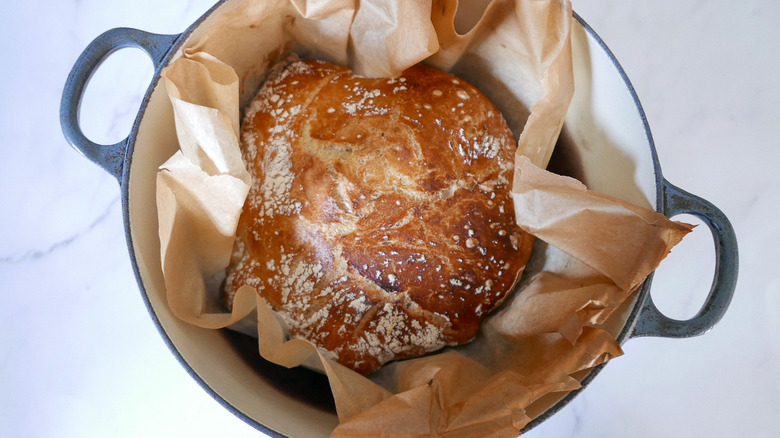
Using oven mitts, remove the Dutch oven from the rack and transfer the parchment paper with the dough into it. With a knife or scissors, slice a cross in the top of the dough — this important bread baking rule will prevent it from bursting erratically from the buildup of heat.
Place the lid back on the pot and bake the bread in the preheated oven for 30 minutes. Then, take the lid off and bake it for another 30 minutes. You'll know it's ready when the top is crusty and golden brown. You'll have to exercise patience once it's done and give the bread 15 to 20 minutes to cool before slicing into it.
Serve this bread with your favorite add-ons
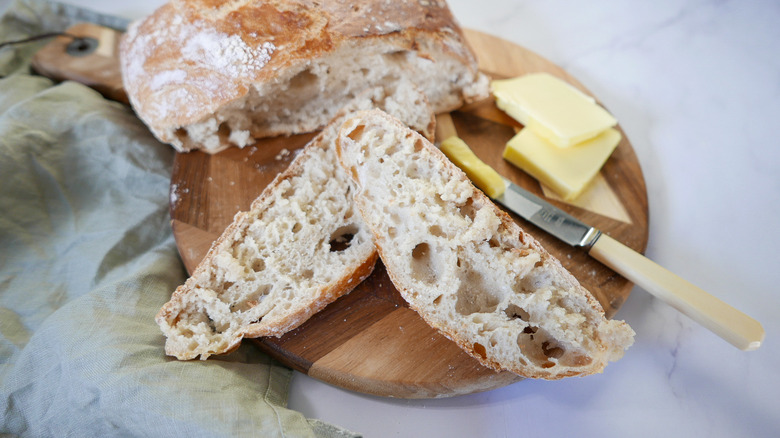
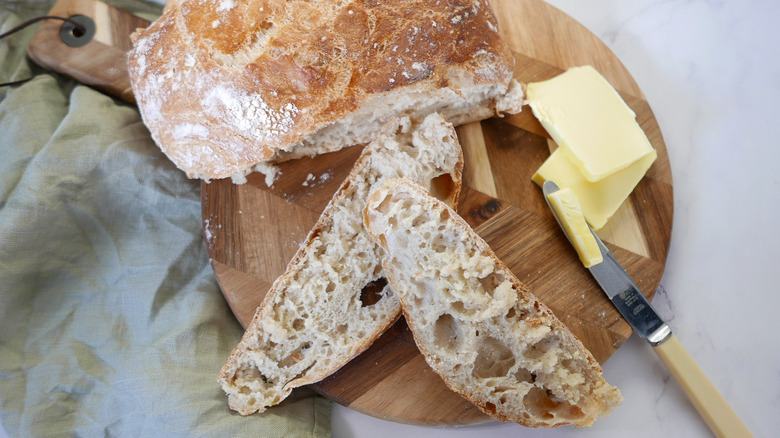
Don't leave it cooling for too long — fresh, warm bread is unbeatable. Dalton suggests to "serve the bread with butter, or any spreads that you love." She also notes that it's "perfect for sandwiches [and] dipping in soups." She's so confident you'll love this recipe that she guarantees, "You'll never not want to make it," highlighting that "the smell of fresh bread at home is divine."
In case you want to keep a stash of carbs on hand, Dalton notes that the bread can be frozen. She recommends to "batch make loaves and then you can take them out of the freezer and defrost and bake to reheat."
Easy No Knead Bread Recipe
This easy no-knead bread recipe yields warm, homemade bread without the hassle.
Ingredients
- 3 cups bread flour
- 1 ½ teaspoons salt
- ½ teaspoon instant yeast
- 1 ½ cups lukewarm water
Directions
- Add the flour to a large mixing bowl, along with the salt and instant yeast.
- Mix in the lukewarm water, scraping down the flour from the sides of the bowl until everything is combined. (The dough will be sticky.)
- Cover the bowl with plastic wrap and let the dough rise at room temperature for 8 hours minimum, but ideally up to 24 hours, especially if the ambient temperature is cold.
- When you're ready to bake the dough, preheat the oven to 400 F.
- Place a lidded cast iron Dutch oven to heat in the oven as you prepare the dough.
- The dough will have risen quite significantly and be full of bubbles. Turn it out onto lightly floured parchment paper and gently pull the sides in to shape it into a ball.
- Dust the dough with some more flour and set it to the side.
- Carefully remove the Dutch oven from the heat and transfer the parchment paper and dough into the pot. Using a knife or scissors, cut a cross on the top surface of the dough.
- Place the lid on the pot and transfer it back to the oven to bake for 30 minutes.
- Remove the lid and bake the bread for another 30 minutes until the top has become crusty and brown.
- Let the bread cool for 15 to 20 minutes before serving.
Nutrition
| Calories per Serving | 149 |
| Total Fat | 0.7 g |
| Saturated Fat | 0.1 g |
| Trans Fat | 0.0 |
| Cholesterol | 0.0 mg |
| Total Carbohydrates | 29.9 g |
| Dietary Fiber | 1.0 g |
| Total Sugars | 0.1 g |
| Sodium | 178.7 mg |
| Protein | 5.0 g |
