Mistakes Everyone Makes With Homemade Jam
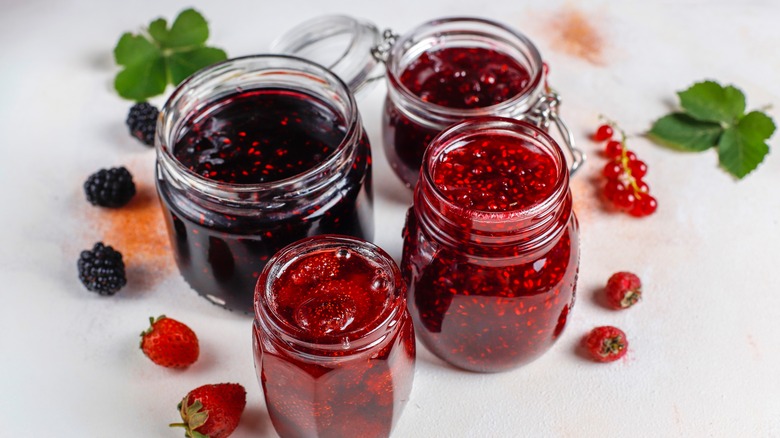
Buying a jar of jam at the grocery store might be convenient, but there's something truly special about making the condiment in your own kitchen. The appeal of crafting homemade jam is about much more than the sense of satisfaction that comes from creating something from scratch. It gives you complete control over the condiment's ingredients, allowing for the exploration of different fruits and flavor pairings. Additionally, homemade jam typically contains fewer preservatives than store-bought spreads, appealing to those who like to know exactly what goes into their food.
While your grandmother may have made it seem effortless, making jam in your kitchen can be challenging. One of the key things is understanding the role of pectin, sugar, and lemon, which are crucial for setting the jam and preserving it. Some other considerations include the choice of fruit and berries, jar preparation, and cooking time, all of which play a significant role in the quality of the final product.
Eager to try your hand at jam-making but not sure where to start? Whether it's strawberry, apple, or apricot jam, here's a list of some of the most common errors people make with homemade preserves!
Using overly ripe fruit
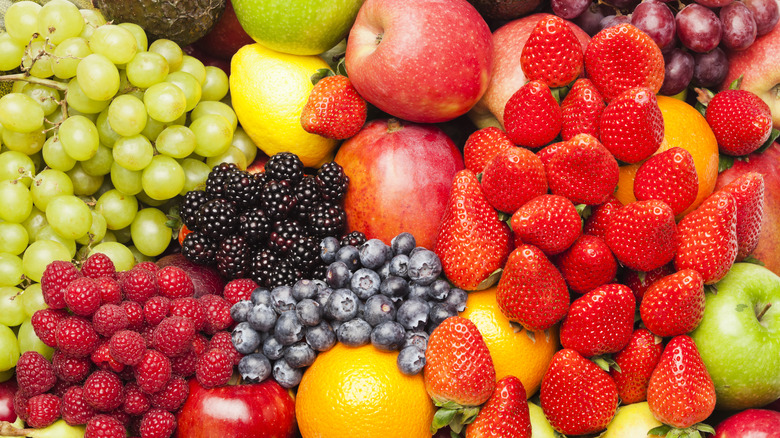
There are two contrasting philosophies regarding the ideal ripeness of fruit and berries for making jam in your kitchen. The first advocates giving mushy, overly ripe produce a fresh lease on life by turning it into jam. According to the other prevailing opinion, all mushy fruit should be discarded or turned into smoothies, with only the freshest and most flawless fruit used to make jam. While there are no right or wrong answers, fresh fruit — the type you would readily bite into — usually results in better confiture. However, jam made from fruit that's past its prime can still be delicious, albeit usually with a sweeter flavor.
No matter the freshness of the fruit you choose for your jam, it's crucial to avoid using any produce that's spoiled or moldy. Decayed fruit can not just compromise the flavor of your spread but also pose a risk to its safety. It's important to remember that mold can penetrate deeply into fruit, meaning that getting rid of it isn't as simple as cutting away the affected parts. On the flip side, fruit that has been damaged by insects, sun, or wind is still perfectly suitable for making jam after trimming the affected parts.
Doubling the recipe

Doubling a recipe involves multiplying the amounts of all its ingredients by two to make a larger batch of the dish. This method is especially useful for feeding more people than the original recipe intended. Although making a larger batch of jam at once can be more efficient — saving both time and energy — the endeavor requires more than simply increasing the quantity of the ingredients.
Besides increasing the amount of ingredients, doubling a jam recipe also requires adjusting the cooking time, as larger quantities of produce can affect how quickly or evenly the dish cooks. The larger the quantity of fruit, the longer it takes for the water to evaporate from the produce. Given that jam's flavor is fresher and better when it spends less time on the stove, if you absolutely have to make a huge batch of jam, it's actually preferable to make it in two separate lots rather than in one enormous pot.
Not adding commercial pectin
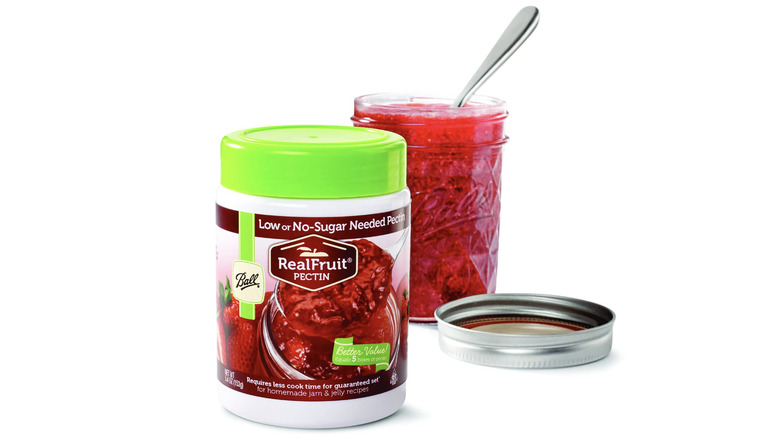
Pectin is a type of natural thickener found in the cores and cell walls of fruit. It forms a gel-like consistency when combined with water and acid, which is crucial for the texture and stabilization of jam. Without pectin, your jam simply wouldn't set. Pectin is released when the fruit is boiled, however, not all fruit contains the same amount of the stuff. Examples of fruits and berries that are rich in pectin include apples, plums, cherries, and black currants. On the flip side, fruit and berries such as blueberries, strawberries, peaches, and pears don't produce a lot of pectin. Additionally, the more mature a fruit becomes, the lower its pectin level.
While high-pectin fruits usually do fine on their own, low-pectin varieties generally require a boost from commercial pectin. Incorporating a little powder or liquid pectin at the start of the jam's cooking process will thicken the mixture, decreasing the cooking time and ensuring that your jam retains the original flavor of fresh fruit. If you don't have access to commercial pectin, you can try substituting it with citrus peels, which are loaded with soluble fiber. In addition, both Granny Smith Apples and unripe apples contain a lot of pectin and can be used to naturally enhance your jam's consistency. Alternatively, you can achieve a denser jam consistency with chia seeds, corn starch, xanthan gum, or gelatin, all of which act as thickeners.
Messing with the fruit and sugar ratio in the recipe

Jam wouldn't be jam without sugar. Not only does sugar add flavor to the final product, but it's an essential addition to get the proper consistency. More specifically, sugar interacts with pectin and acid during the cooking process, helping the jam set. In addition, sugar acts as a preservative, extending the shelf life of the preserve. This is because harmful organisms such as mold and bacteria require water to grow. Since sugar binds with the water molecules in the jam, it minimizes the chances of spoilage. As such, reducing the amount of sugar specified in a recipe could result in a jam that fails to set or has a shorter shelf life.
Many jam recipes call for equal parts of fruit and sugar. However, as the jam reduces during cooking, the concentration of sugar typically increases above 65%. As a rule of thumb, more sugar is required for high-pectin fruit and less for low-pectin fruit. Sugar is usually added to the mixture after the fruit has softened, but while it's still over a low flame. This step ensures that the sugar dissolves before the mixture boils, so as not to stop the fruit from softening. For those who are mindful of their sugar intake, it's possible to reduce the sugar content below the traditional one-to-one ratio with fruit. However, this reduction will require a longer cooking time to achieve the desired jam consistency.
Using the wrong type of sugar
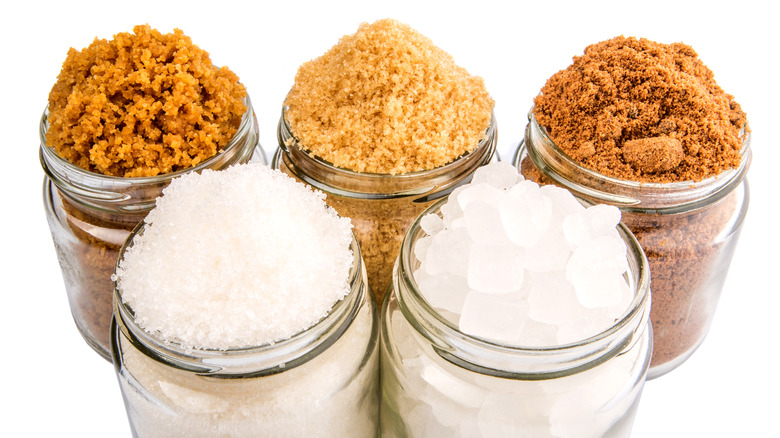
All jams contain sugar. Even jams labeled as "free of added sugar" contain glucose and fructose, both substances that are present in fruit. While traditional jam recipes commonly call for white sugar, this doesn't mean that alternative sweeteners can't be used as substitutes. Yet it's important to choose wisely, as not every sugar is appropriate for jam-making. For instance, the robust flavor of whole or raw sugar might overshadow the natural taste of the fruit in the jam.
Honey or maple syrup can sometimes be used as replacements for sugar in jam-making, however, it's important to exercise caution when substituting sugar with these alternatives. Generally, it's best not to replace more than half the sugar quantity specified in a recipe with honey or maple syrup. Jam makers can also opt for jam sugar — however, this sweetener is essentially just a mix of sugar, pectin, and citric acid designed to help the jam thicken.
Skipping the lemon juice
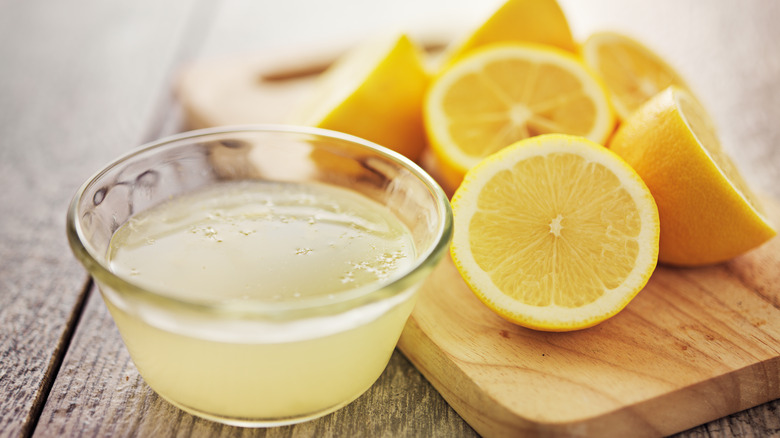
Aside from pectin and sugar, another key element that shapes your jam's flavor and texture is its acidity level. For starters, adding a little lemon juice to your jam can counterbalance the sugary flavor of the fruit. Additionally, it can also help the jam set. This is because acidity activates pectin — the substance that helps jam thicken — by lowering the mixture's pH level. If the jam isn't sufficiently acidic, it will be too runny, while too much acidity can make it too firm or sour.
To achieve the right balance, jam-makers often add lemon juice or citric acid to fruit and berries that are low in acidity. Fruit such as blueberries, apricots, peaches, pears, and strawberries fall into this category. Conversely, apples, plums, black currants, and red currants boast high acidity levels. For fruit or berries lacking in acidity, adding one tablespoon of lemon juice or ⅛ teaspoon of citric acid per pound usually achieves the desired result. While you can use juice from freshly squeezed lemons in the mixture, many are adamant that bottled lemon juice is a better alternative, since the amount of acid in fresh lemons can vary depending on their level of ripeness.
Over-stirring and overcooking the fruit
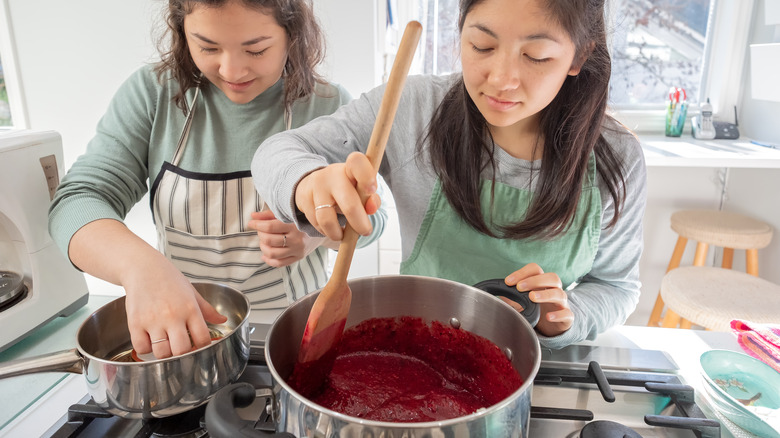
While stirring the jam occasionally as it boils is necessary to prevent it from burning, it's also important not to stir it too often or too vigorously. Over-stirring can lower the temperature of the jam mixture, potentially causing the preserve to take longer to set and affecting the flavor of the final product. Overly enthusiastic stirring can also cause the sugar in the mixture to crystalize and turn into lumps.
Similarly, overcooking or undercooking fruit during jam-making can diminish the quality and appeal of the final product, resulting in a texture that's either too thick or overly runny. As such, it's best to monitor the temperature of your jam with a candy thermometer. An alternate approach is the plate test, where you place a dab of the jam mixture onto a pre-chilled plate and test it with your finger. If it forms wrinkles, your jam has set.
Jam usually sets at around 220 degrees Fahrenheit. Not reaching this temperature will leave you with an overly runny preserve, while overcooking it can make the jam too thick. Luckily, provided that you haven't burnt it, overcooked jam can usually be salvaged. To do this, transfer the overcooked mixture into a saucepan, add a little water, and heat it over a medium flame until it reaches the desired setting point. For undercooked jam, add a teaspoon of lemon juice per cup of the preserve and boil the mixture until it sets.
Not skimming the foam
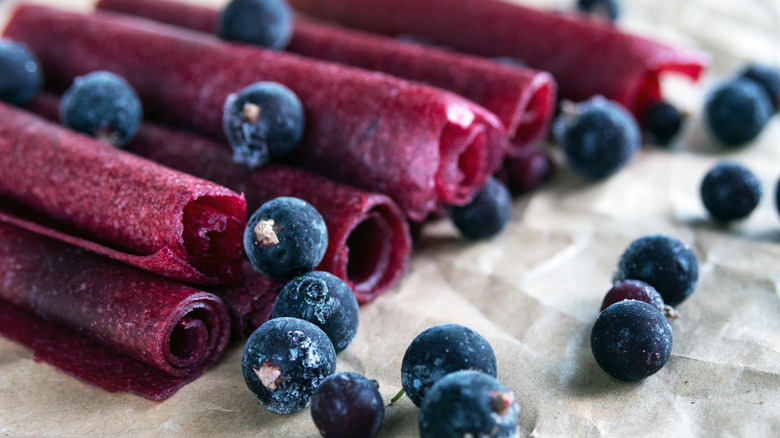
The foam in homemade jam consists of air bubbles that rise to the surface during the cooking process. If it is not removed, it can affect both the jam's appearance and texture. More specifically, foam can make jam cloudy and give it discolored streaks. It can also affect the quality of the jam, potentially rendering it unsafe for consumption. This is because foam harbors air bubbles, and spooning it into preserves can make measuring the headspace between the jam and the top of the jar tricky (the headspace should measure between a quarter of an inch and one and a quarter inches). Once the air is released out of the foam, the headspace may suddenly increase, leading to a higher risk of a weaker seal and spoilage.
To skim the foam off your preserves, first remove them from the stove. Once the jam stops boiling, use a ladle or mesh skimmer to collect any excess foam from the surface. Alternatively, you can try placing a sheet of wax paper over the surface of the hot jam. The foam should stick to the wax paper, making it easy to remove. Remember that a little bit of foam is unlikely to have any negative effect on your jam, so don't go overboard. If you're tempted to discard the fluffy substance, don't. Instead, turn it into fruit roll-ups by spreading the mixture onto a tray or a baking sheet and leaving it in a dehydrator for around eight hours.
Using improperly prepared jars
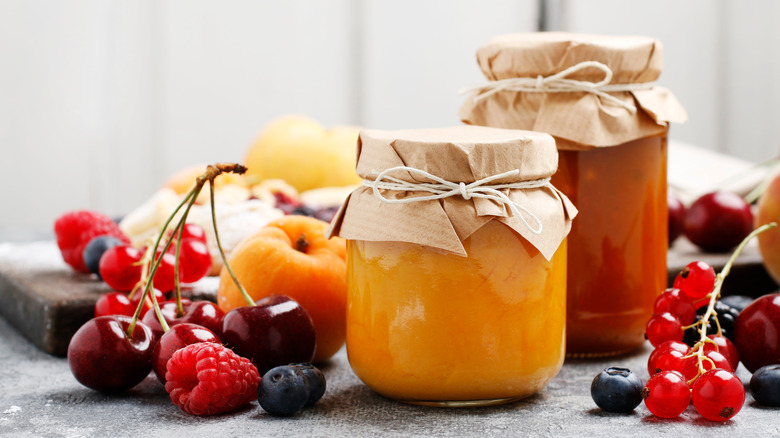
Not taking the time to prepare the jars for making preserves can lead to potentially serious problems. If improperly sterilized, jars may become a breeding ground for bacteria, yeast, and fungi, which can spoil your preserves and even pose serious health risks. Furthermore, any cracks or chips in the jars can weaken the seal, letting in air and compromising the jam's quality and safety.
To safeguard your preserves from contamination, start by selecting quality jars with secure lids, and checking for cracks or flaws. It's best to sterilize the jars by submerging them in a pot of boiling water for at least 10 minutes. Alternatively, you can also run the jars through a cycle in the dishwasher, or pop them in an oven or a microwave, right before putting them to use. Finally, it's always wise to have more jars on hand than you think necessary in case you are left with excess jam mixture.
While it's possible to reuse canning jars, provided they are still in good shape, it's best not to reuse canning lids. There are a couple of reasons for this. To begin with, if reused, the gasket that forms the seal on the lid may not function as well as the first time. This could lead to seal failures, resulting in spoiled jam or even potential health risks. Secondly, even tiny dents on the lid's edge, which might not be readily apparent, can hinder the formation of a secure seal.
Filling and sealing the jars incorrectly
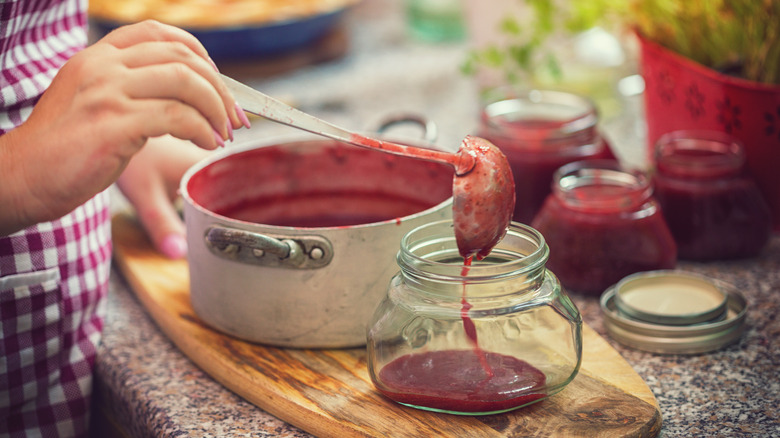
Poorly sealed jars without a sufficient vacuum can compromise your jam, preventing proper preservation and potentially allowing the growth of bacteria. To ensure that you get a proper seal on your preserves, don't overfill them. Many recipes recommend leaving a headspace of between ¼ of an inch to 1 ¼ inches between the surface of the jam and the top of the jar. In addition, it's important to wipe the edges of the jar with a cloth before sealing it with a lid.
Keep the jars hot until they're ready to be used. Subjecting a cold jar to a scalding jam mixture can lead to a phenomenon called "thermal shock," which can cause the glass to crack or even shatter due to the abrupt temperature shift. To seal the jars, place them in boiling water for between 10 and 15 minutes, ensuring that the lids are completely submerged. Avoid using too much force when tightening the lids, as this can buckle them and prevent an airtight seal. If you find that a few of your newly filled jam jars aren't vacuum-sealed, simply place them in the refrigerator and eat them before the rest of your preserves.
Not experimenting with flavors
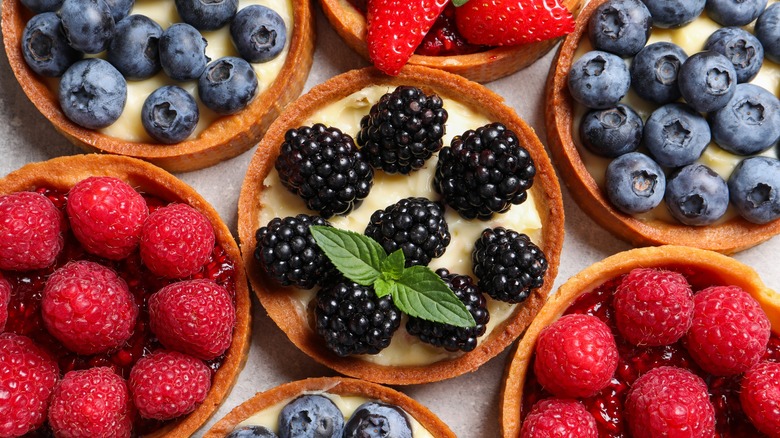
Single-flavored preserves, such as blueberry jam and apricot jam, are often the go-tos for those who are new to jam-making or prefer sticking to the classics. However, the realm of jam flavors extends far beyond these classics. Something as simple as combining different fruits, adding spices, or even incorporating herbs can elevate a basic preserve into a customized culinary gem.
When it comes to bespoke preserves, the possibilities are as limitless as your imagination. For instance, blending strawberry with black pepper and balsamic vinegar, or with vanilla and rhubarb, can elevate the flavor profile of your jams to a whole new level. Don't shy away from blending diverse flavor profiles, such as combining sweet fruits with zesty citrus, or introducing a touch of chili to a sweet preserve for a fiery twist. And if you're feeling experimental, why not try making classic bacon jam, which marries the savory essence of bacon with the complex flavors of coffee and balsamic vinegar?